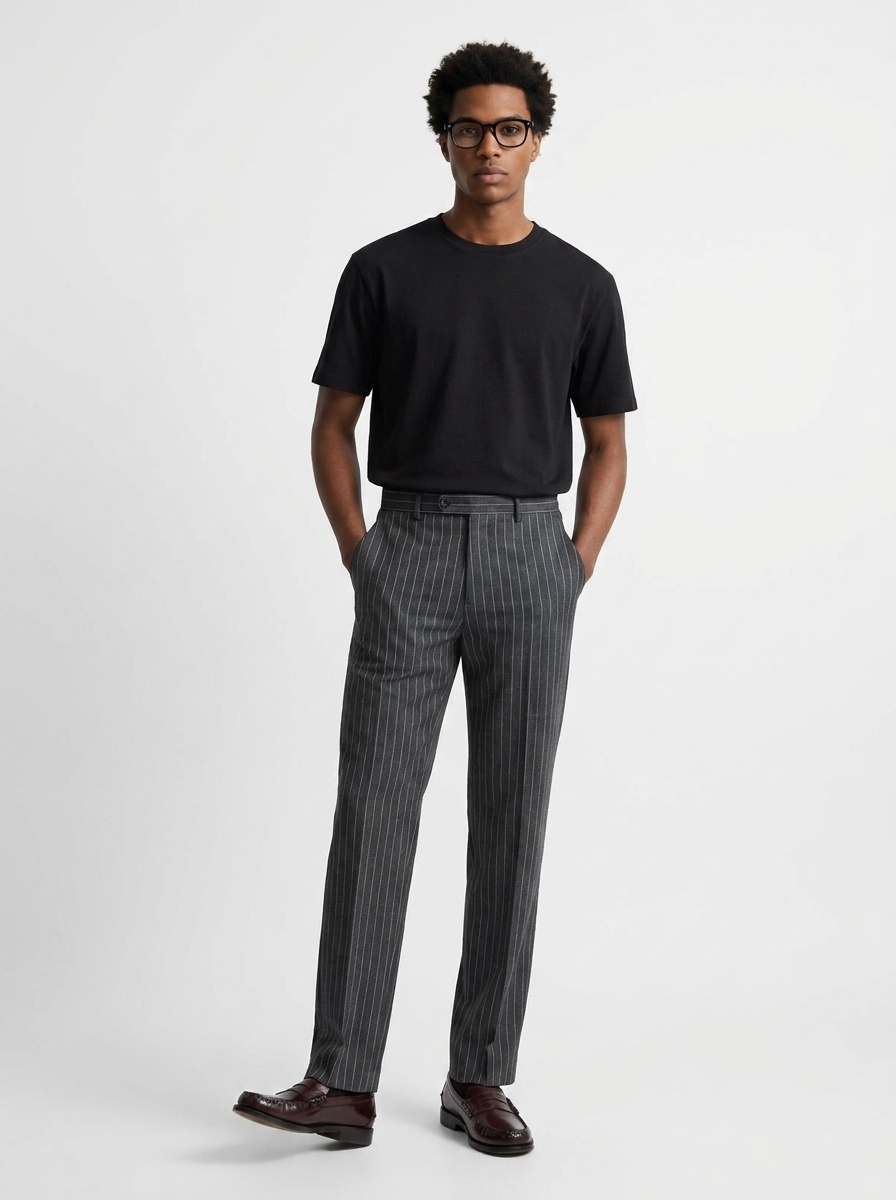
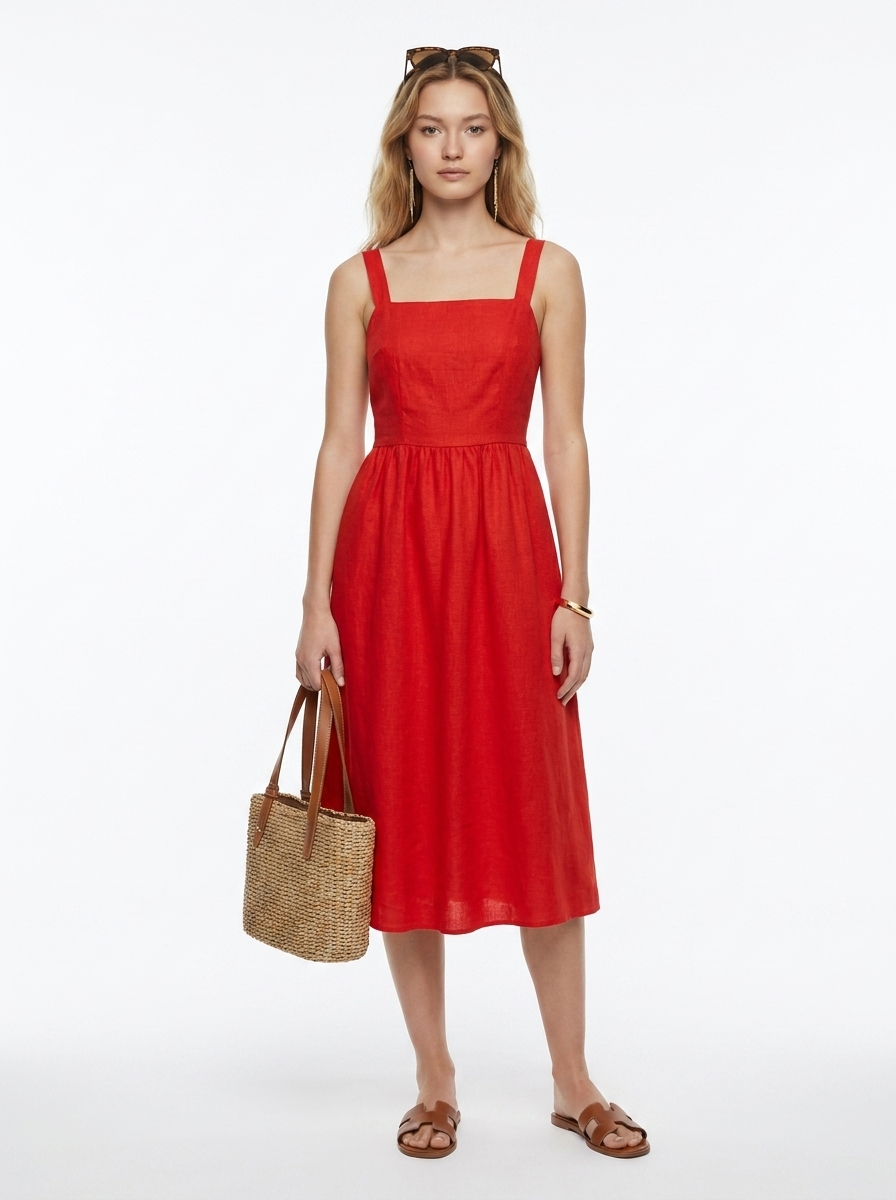
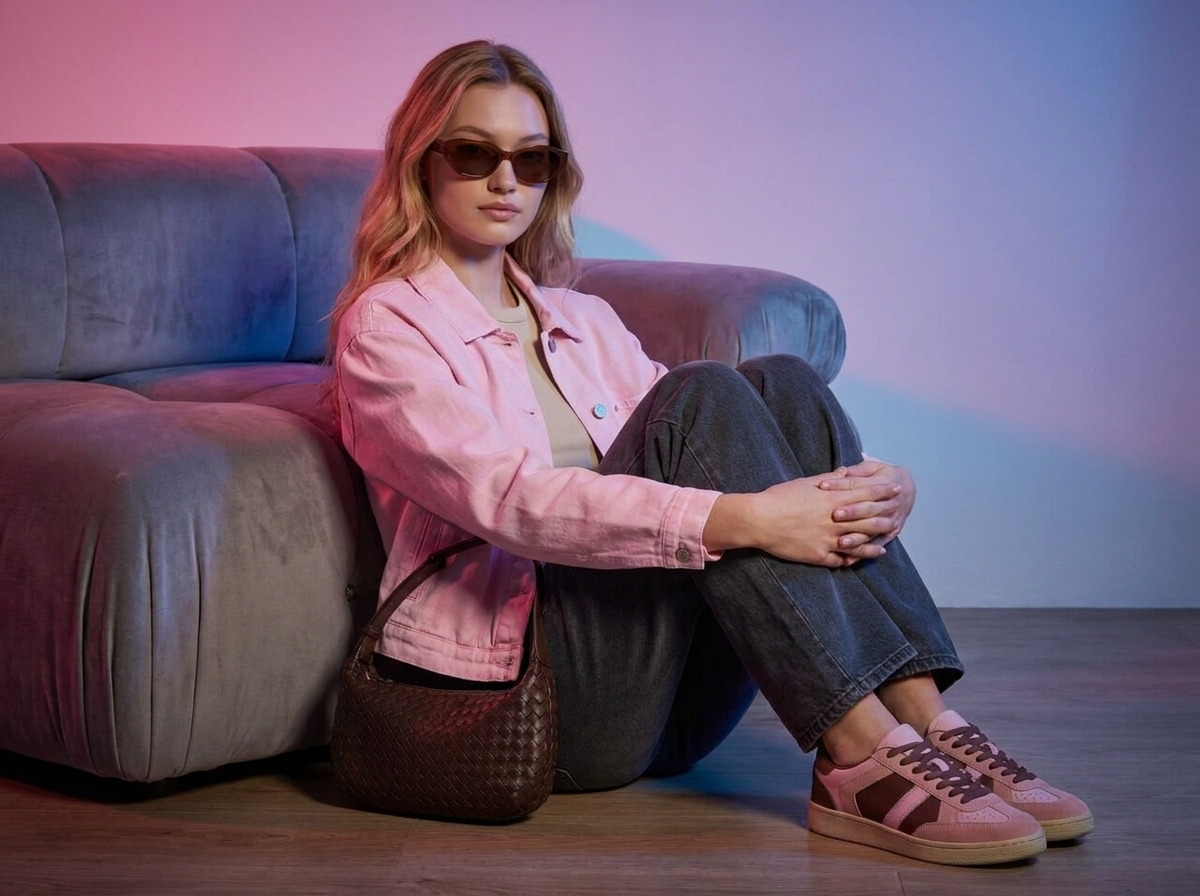
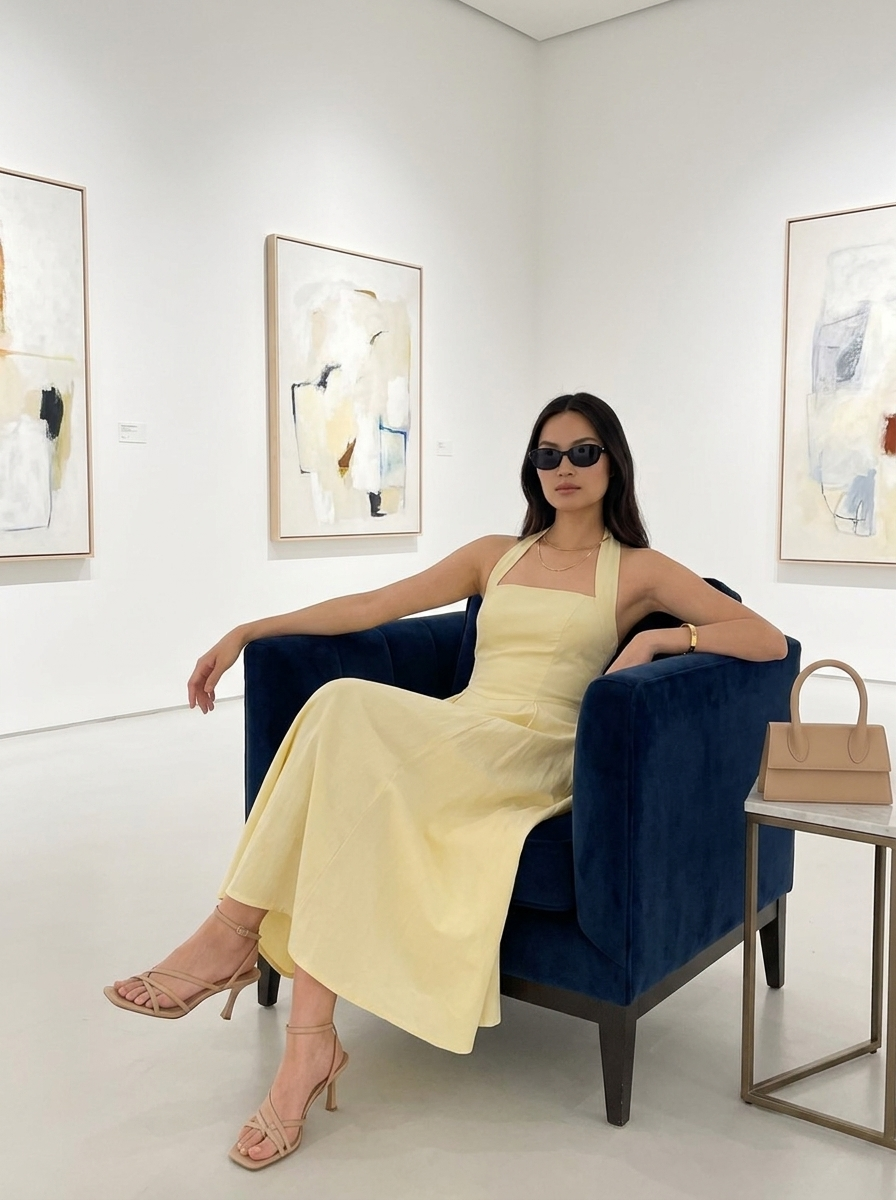
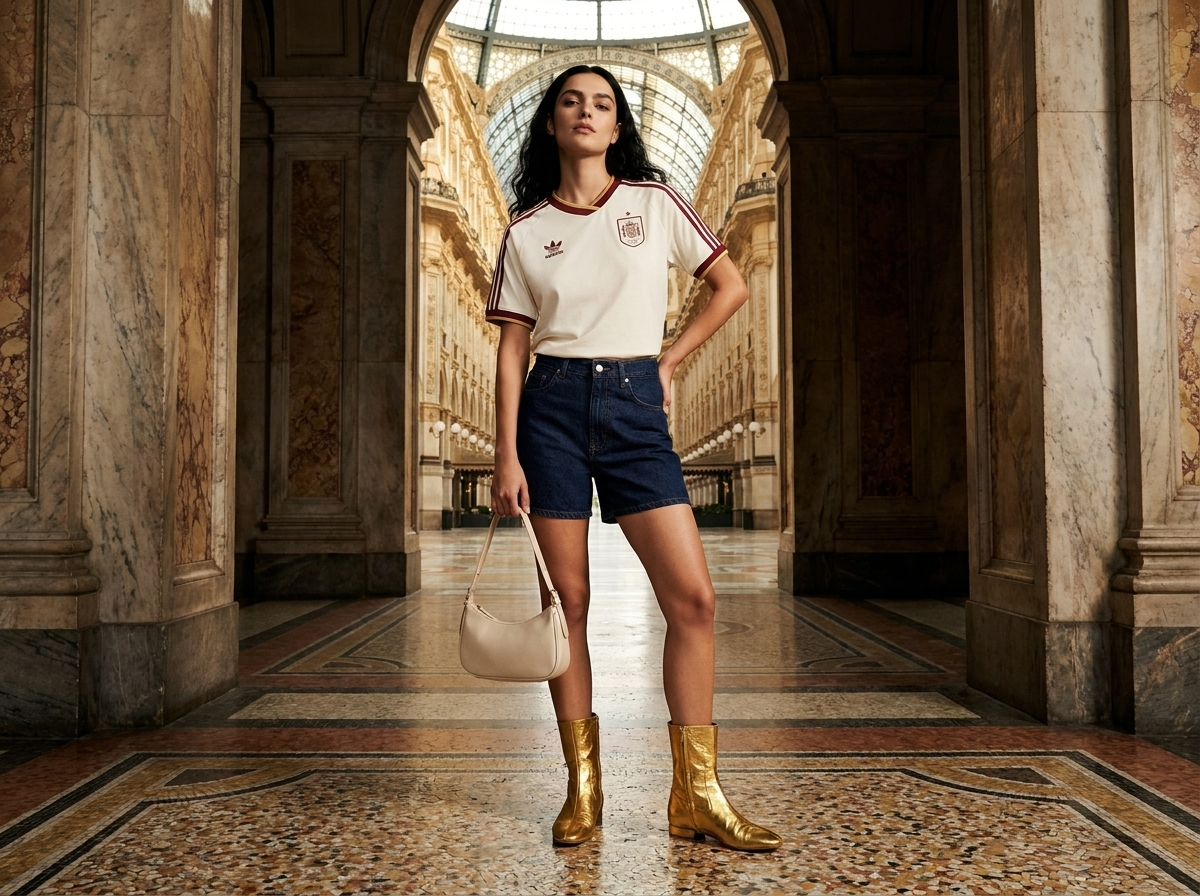
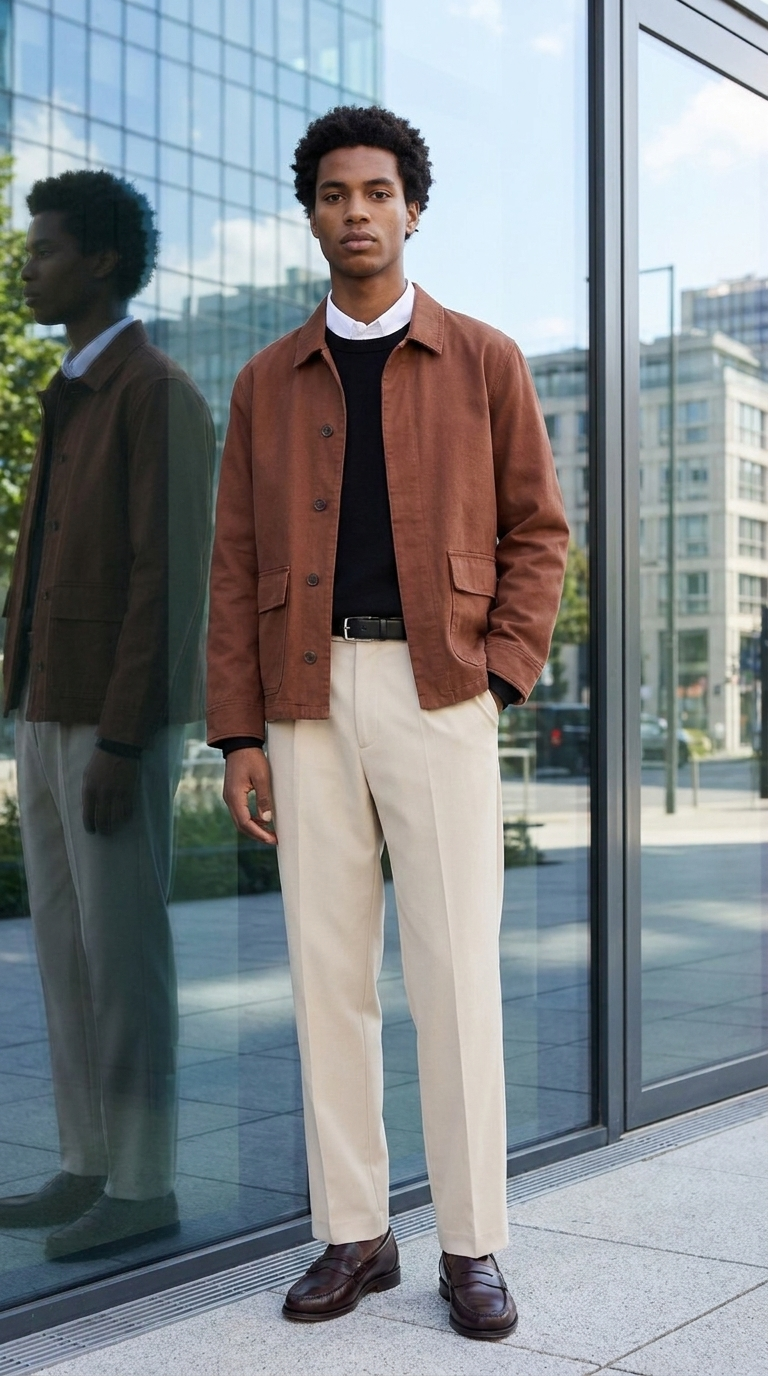
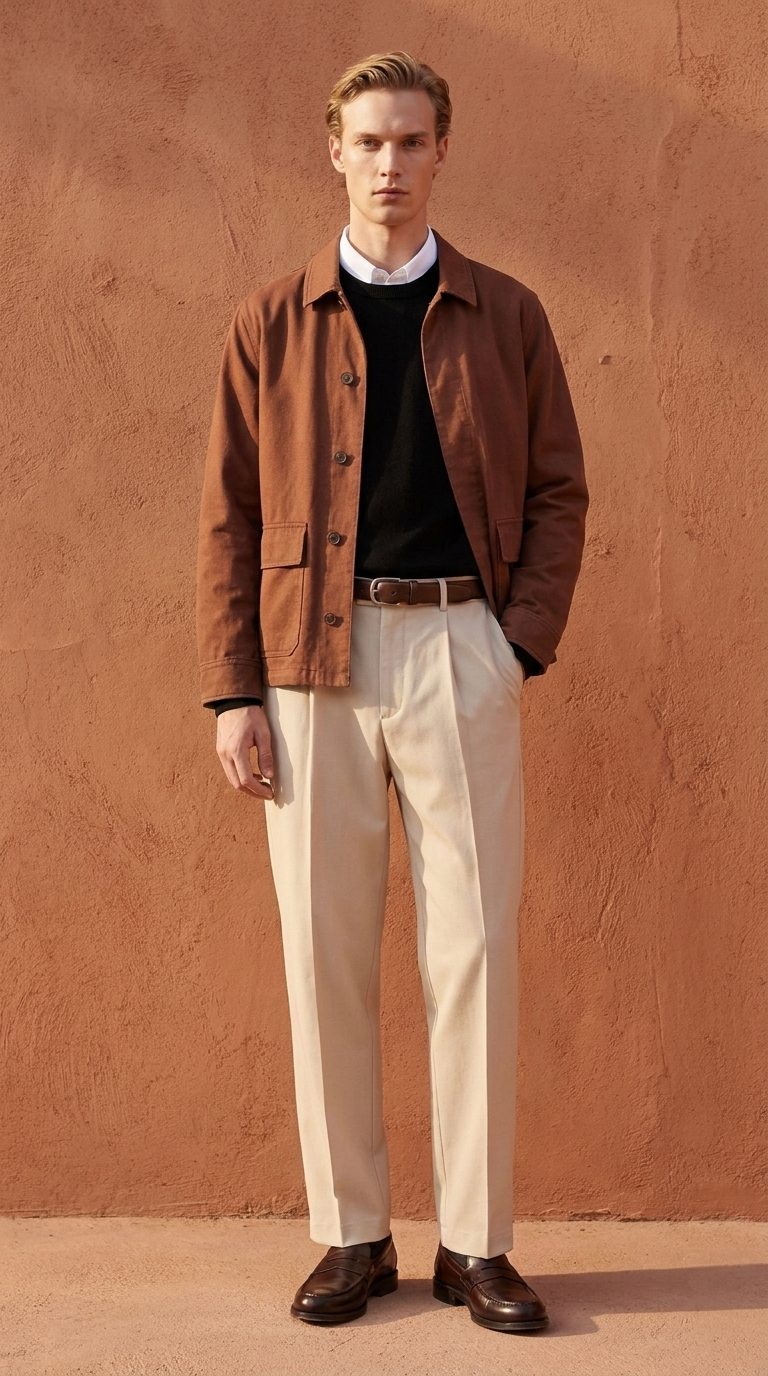
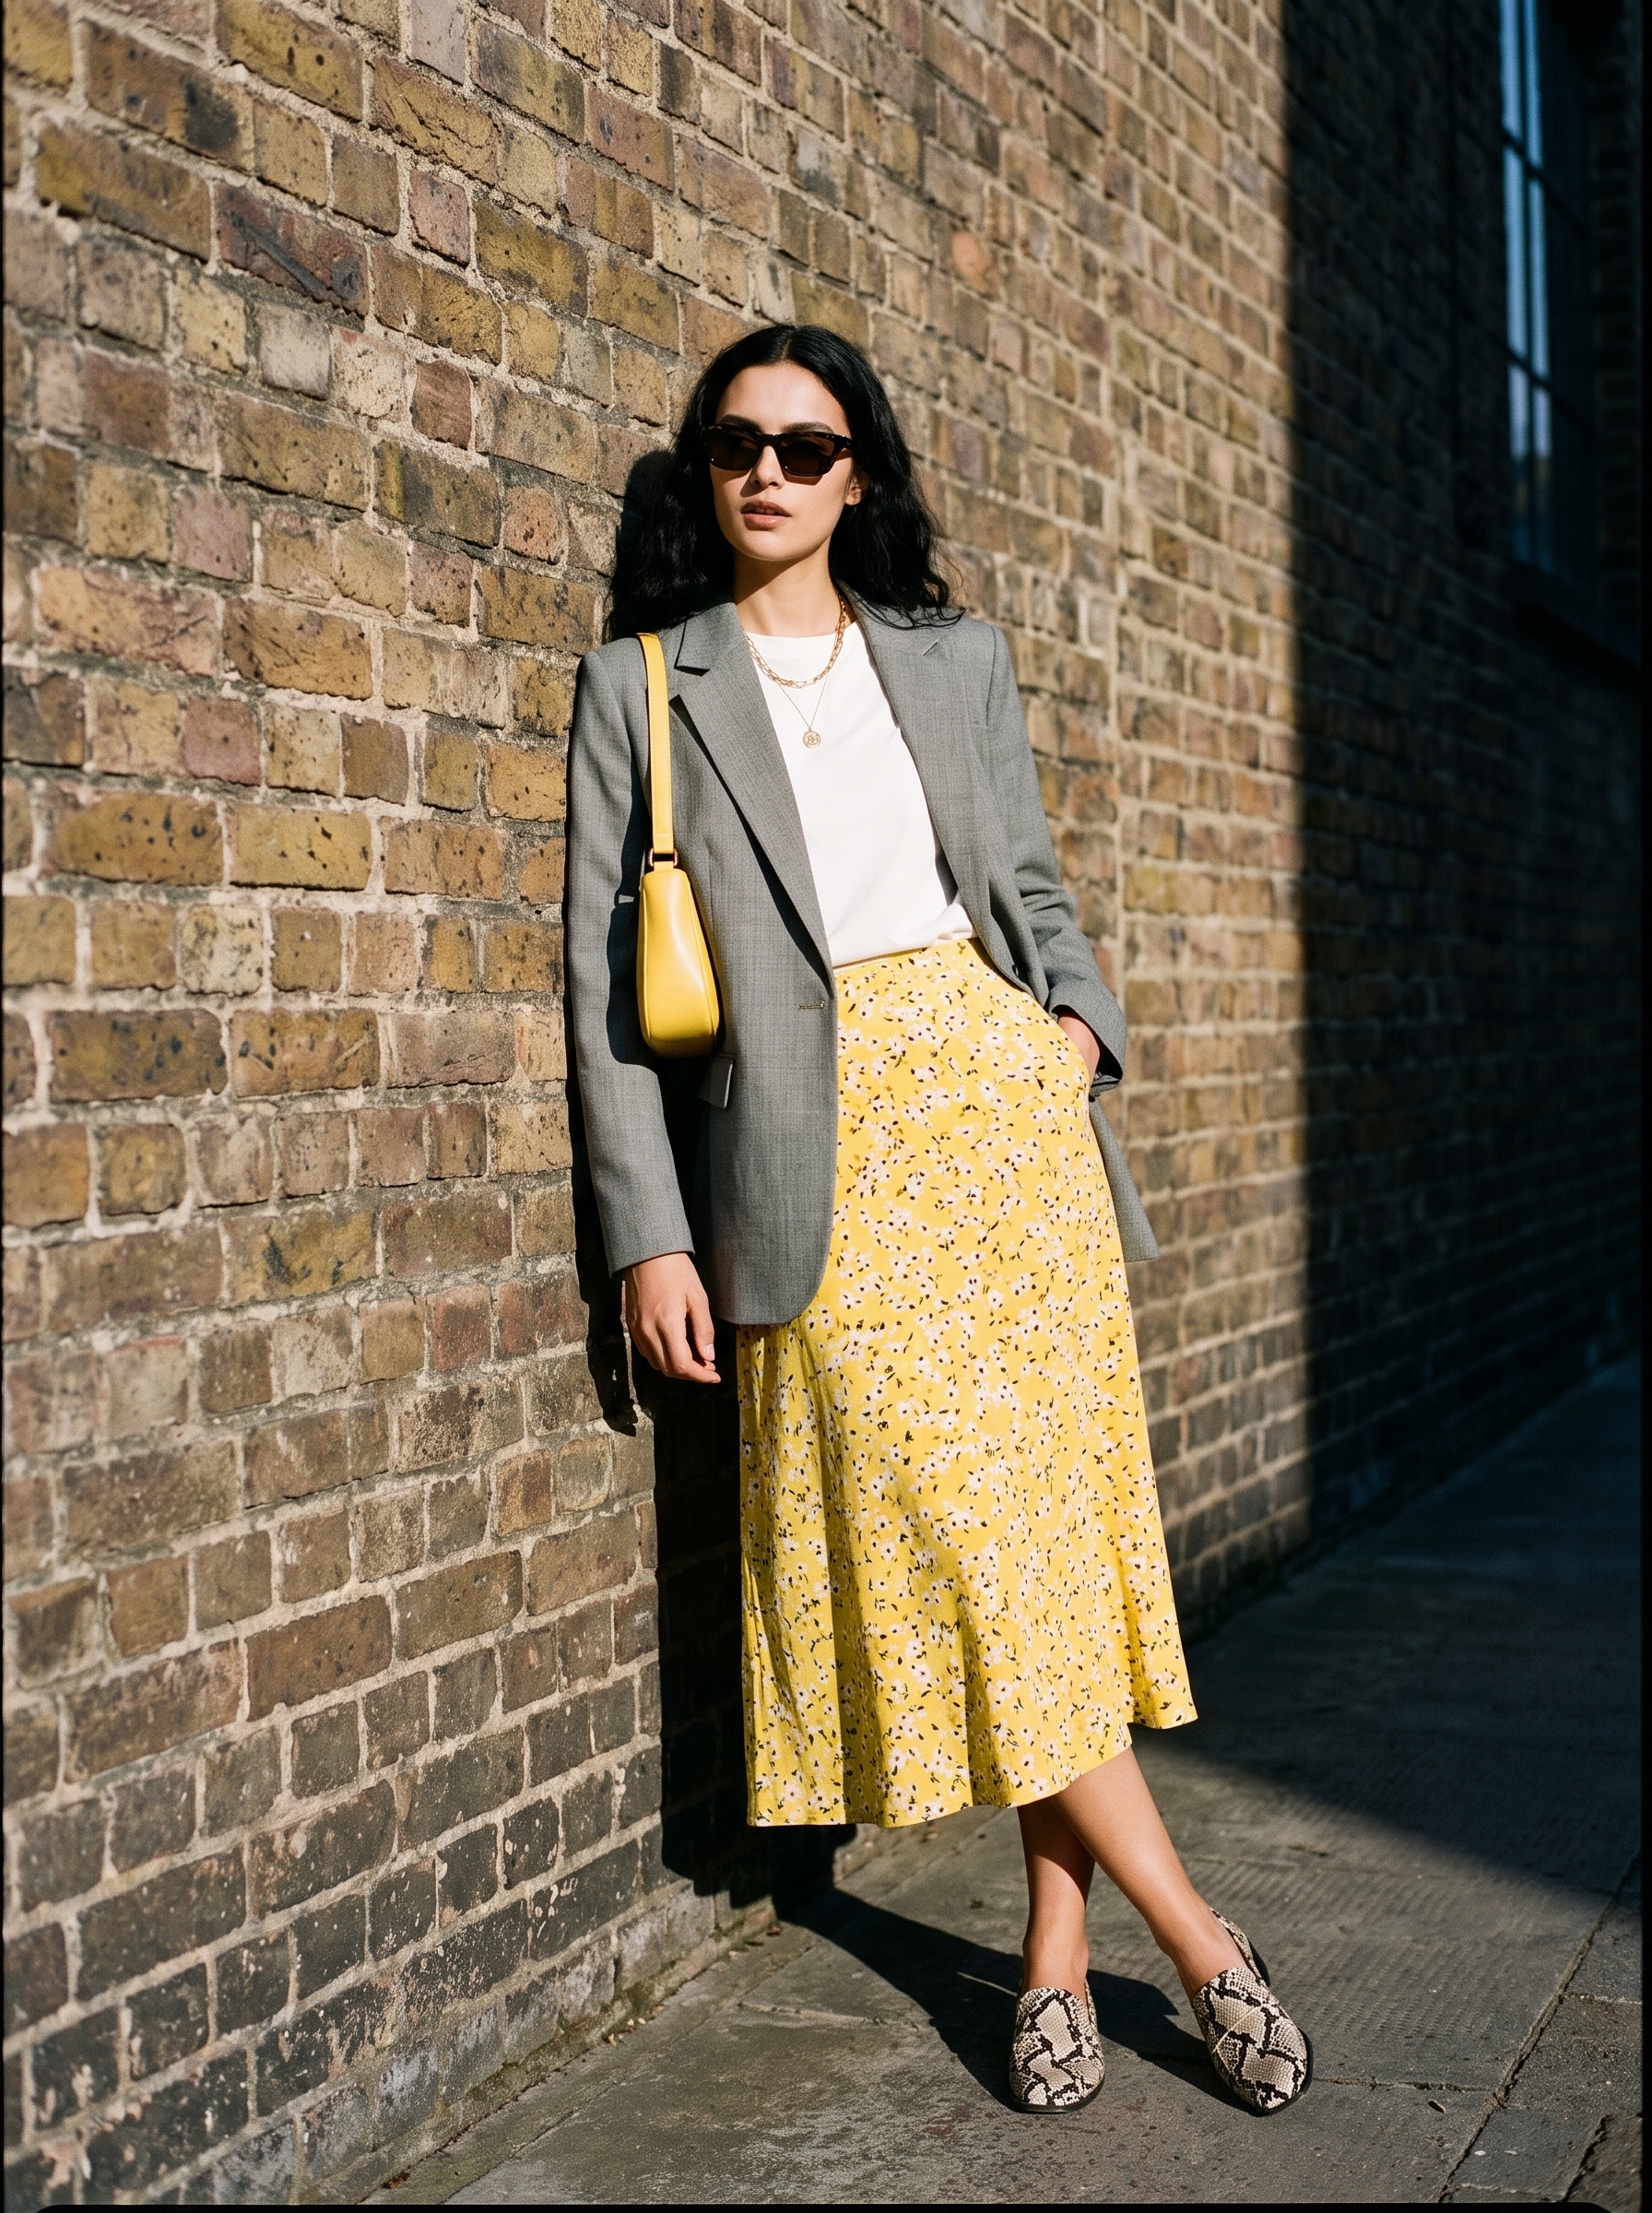
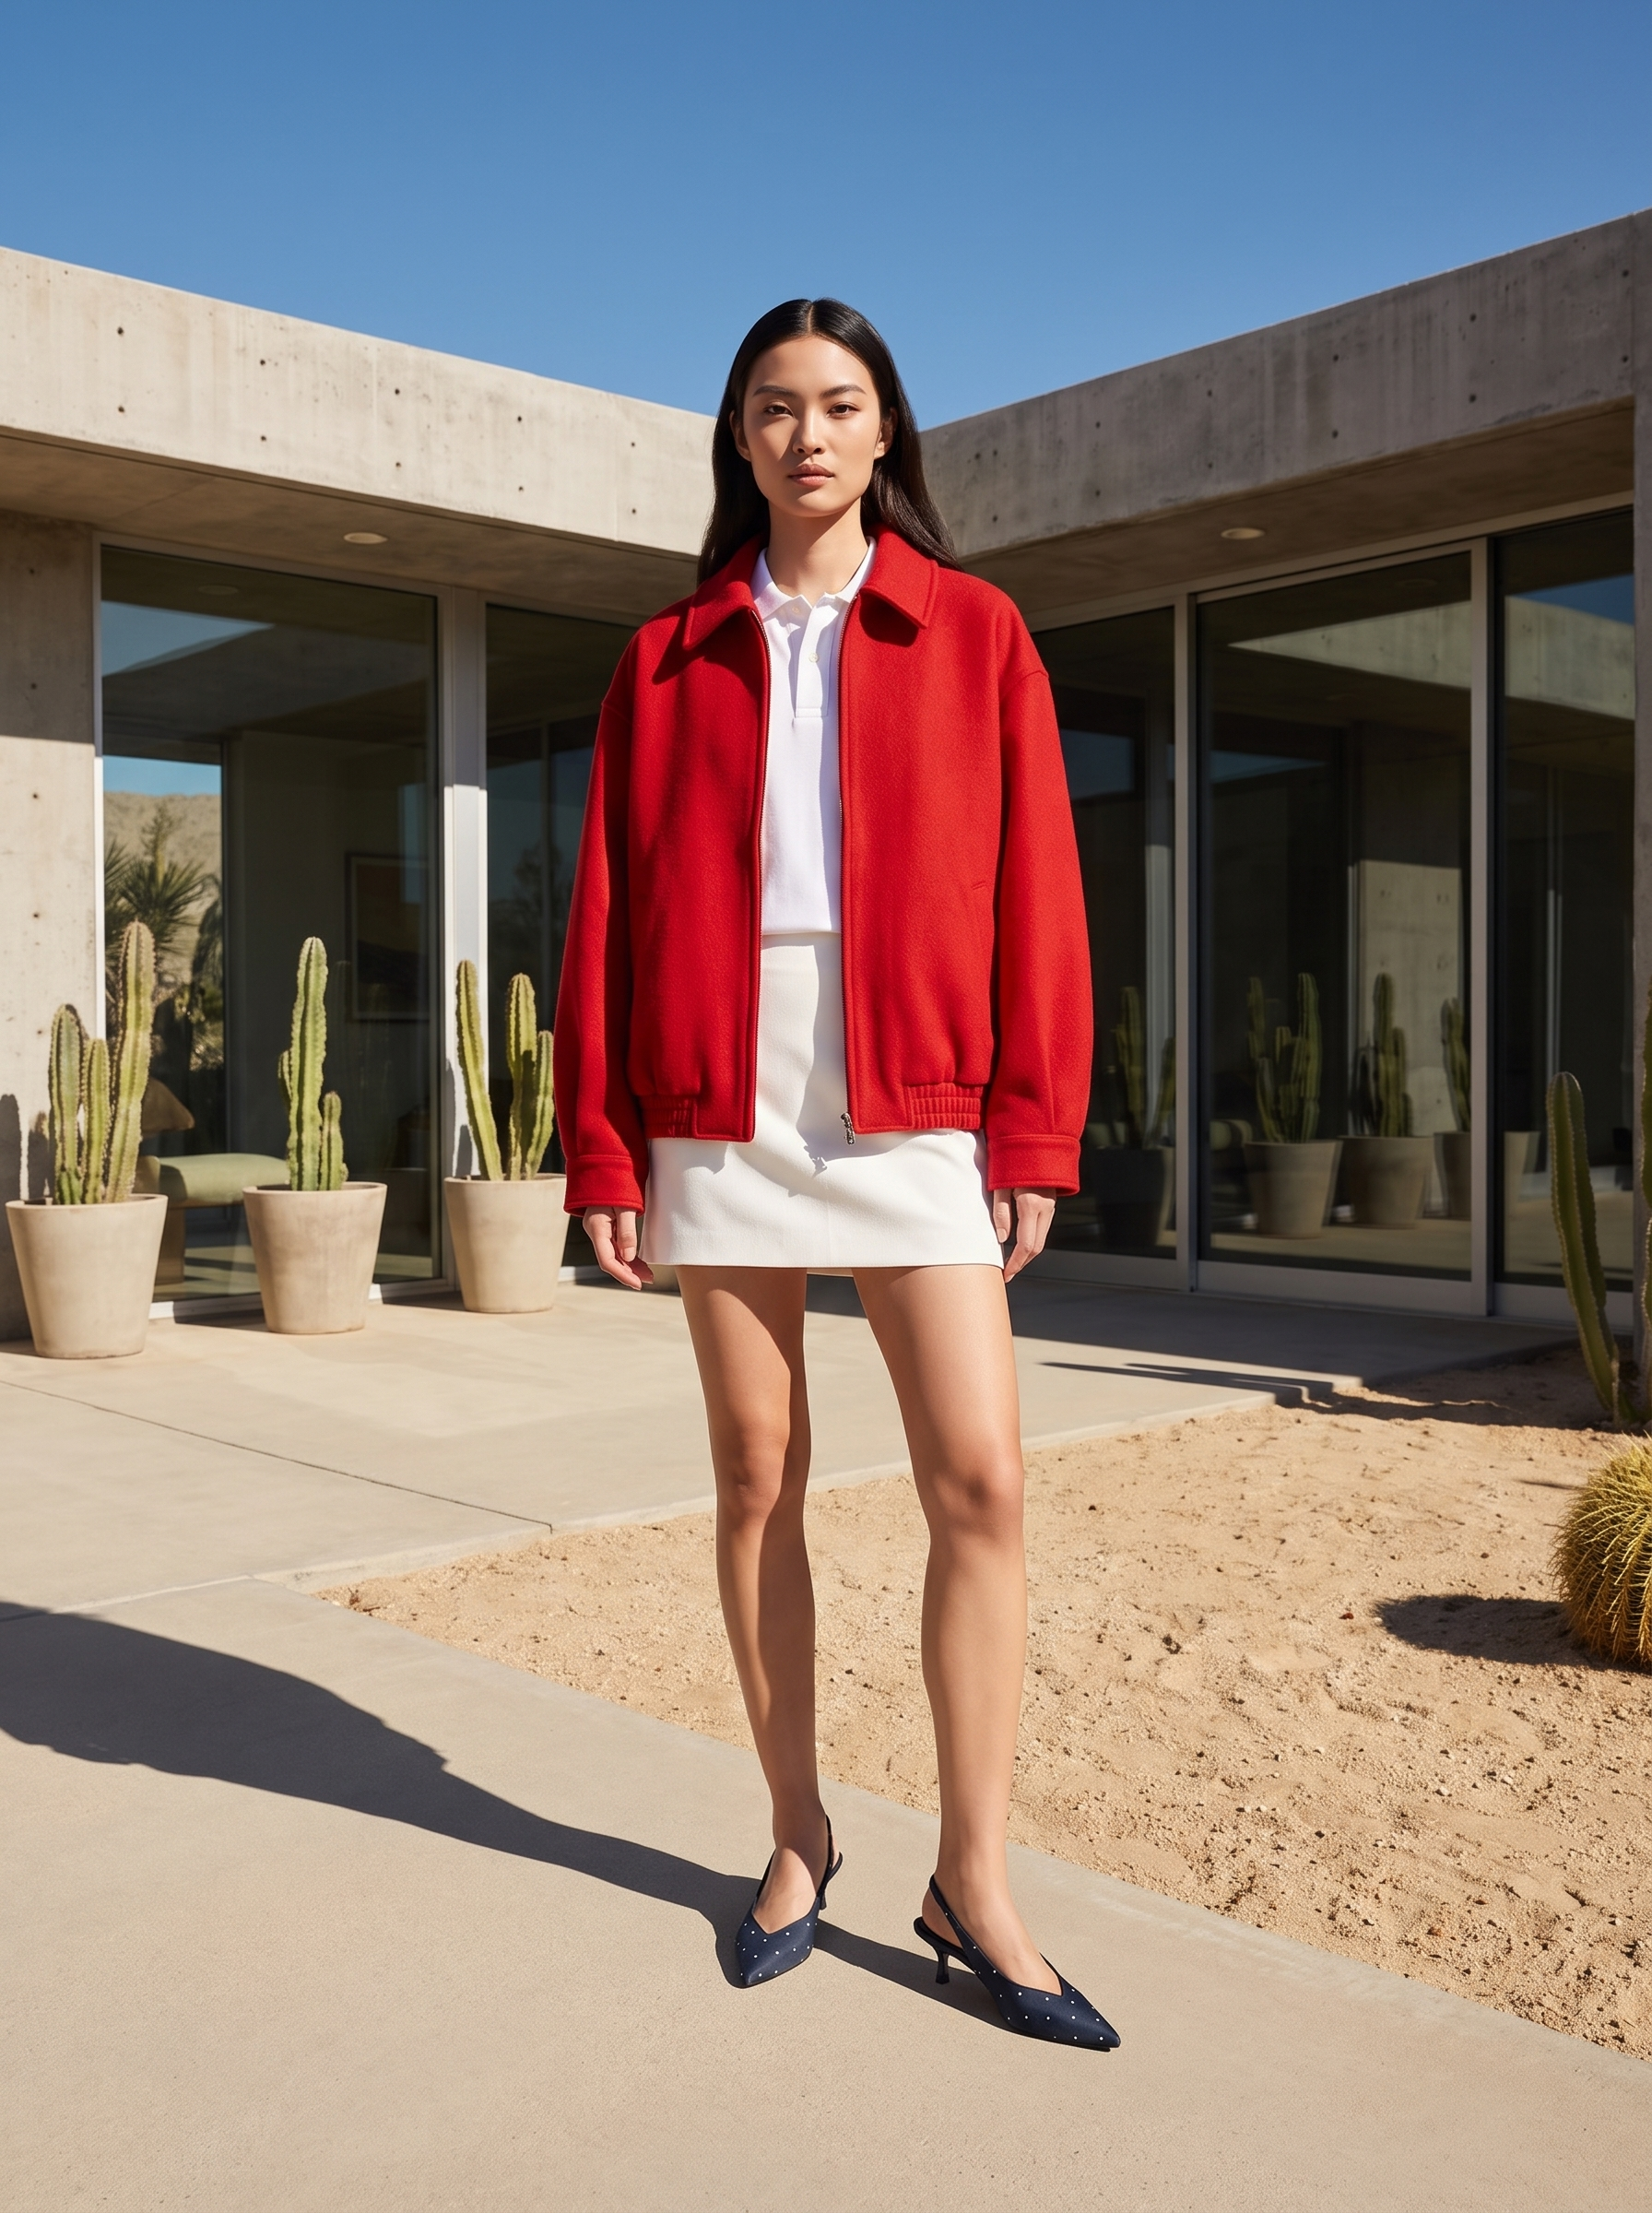
AI Virtual Try-On for Fashion Ecommerce
Upload a garment, choose who wears it, and you get a photograph back. What follows is how AI fashion try-on actually works, and where results tend to go wrong.
Why Should You Use AI Virtual Try-On for Ecommerce Product Photos?
The photo you shot on a table this morning becomes the model shot, with no talent to book and no studio to hire. That shifts the economics of product imagery in a way most teams feel within a week. The cost per image drops far enough that you stop rationing them, and the turnaround drops far enough that a product can go live in the same week it arrives.
A fraction of photoshoot costs
Talent, studio hire and retouching add up quickly, and you pay all of it again for the next product. A try-on run costs a few credits.
From weeks to minutes
A conventional shoot runs weeks per drop once booking, shooting and retouching are counted. Here the garment photo becomes a publishable on-model image in under a minute.
Every model, every market
Put the same garment on a different look, body type or age without casting anyone, and tune your imagery to whichever market you are selling into.
Scales with your catalog
New products stop triggering new shoots. Five hundred SKUs becomes five hundred runs, which is a queue you work through rather than a production schedule.
Virtual Try-On for Online Shopping
Nobody can try on clothes online. Most size questions and a fair share of returns start right there, with someone trying to judge fit from a photo of a garment lying flat. Online virtual try-on narrows that gap by giving every product a proper on-model image, or several.
It extends to the whole catalog, including the long tail that never justified a shoot of its own. Show a piece on several body types and ages and shoppers find someone closer to themselves. You can also use a customer's own full-body photo as the model image, which is about as personal as a try-on visual gets.
| Where the image goes | What to generate | Ratio | Resolution |
|---|---|---|---|
| Product page hero | The garment on a model, clean studio background | 4:5 3:4 | 2K |
| Category and listing grids | Identical framing across every SKU | 1:1 | 1K |
| Instagram feed and lookbooks | The garment styled inside a scene | 4:5 | 2K |
| Stories, Reels, and TikTok | Full-length model shot with room for captions | 9:16 | 2K |
| Homepage and campaign banners | Wide scene with negative space for copy | 16:9 | 4K |
The resolution column assumes Nano Banana Pro, which renders at 1K, 2K and 4K. Nano Banana has no resolution picker and returns one fixed size.
- Model Swap takes a shot you already have and puts a different person in it, leaving the clothing, the pose and the background alone.
- AI fashion video generator turns an on-model still into a short clip, so shoppers see how the garment moves.
How Does AI Virtual Try-On Work?
Two photos go in and a third comes out. The AI reads your garment closely enough to tell that a wool coat holds its shape and a silk slip does not, works out how that particular piece would fall on the body in your model photo, then renders the whole scene fresh. Nothing is cut out and pasted on top. Every fold, shadow and highlight in the result was generated, which is why the fit reads as believable across different body types.
A run needs two things: the garments and the person wearing them. Everything else in the panel is optional.
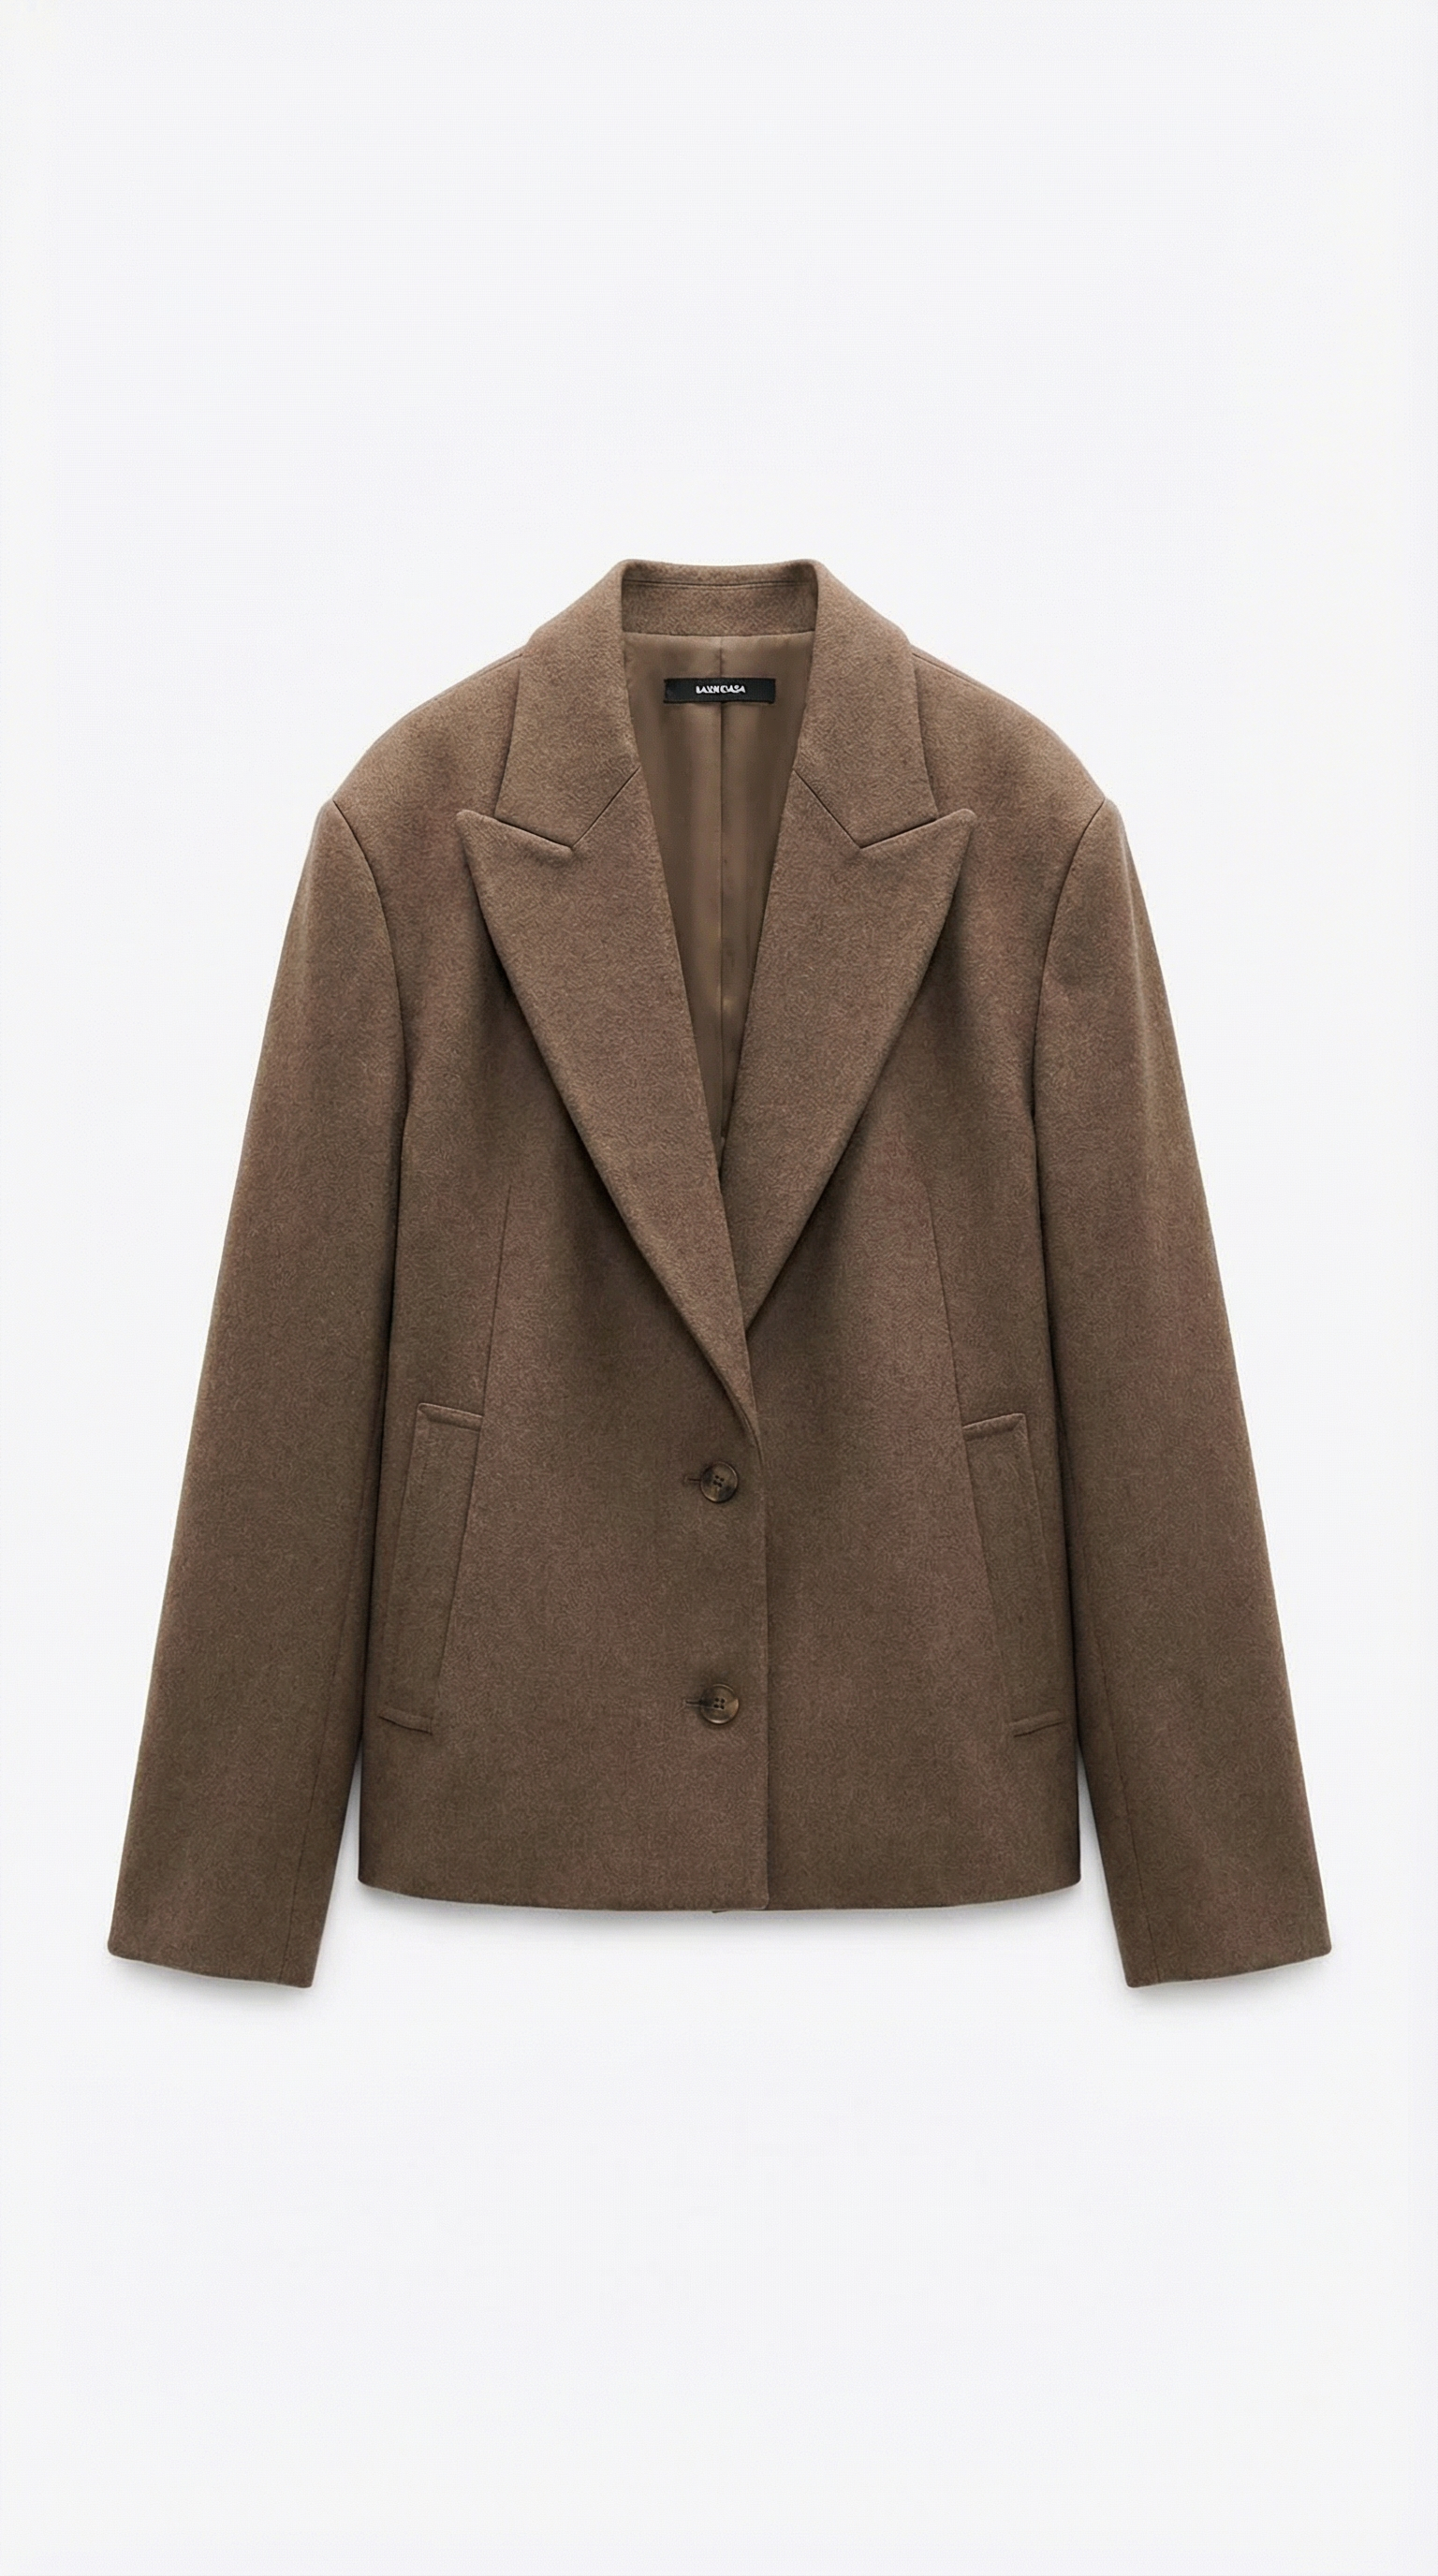
Upload your garments
Up to 5 garment images per run. Flat lays, ghost-mannequin shots and existing on-model photos all work. Stack a top, trousers, shoes and a bag to build a full outfit in one go.
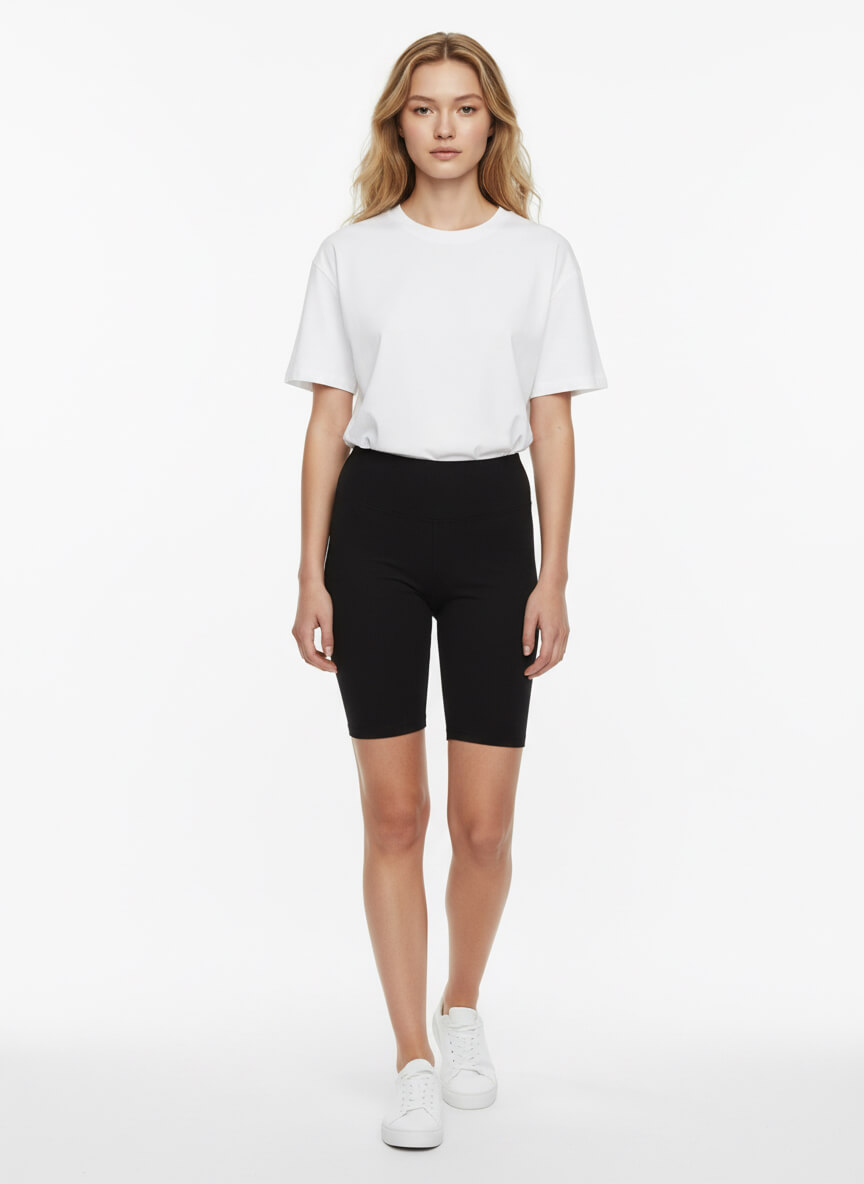
Pick your model
Choose one of the built-in AI models, which cover a spread of looks, body types and ages, or upload a photo of your own. If you upload, use a full-body shot of one person facing the camera. The clearer that photo, the better the result.
Choose settings and run
Set the AI model, the resolution and the aspect ratio, add a prompt if you want to direct the scene, then press Run. The button shows what the run costs before you commit to it, and the result lands in History within seconds.
Before & After
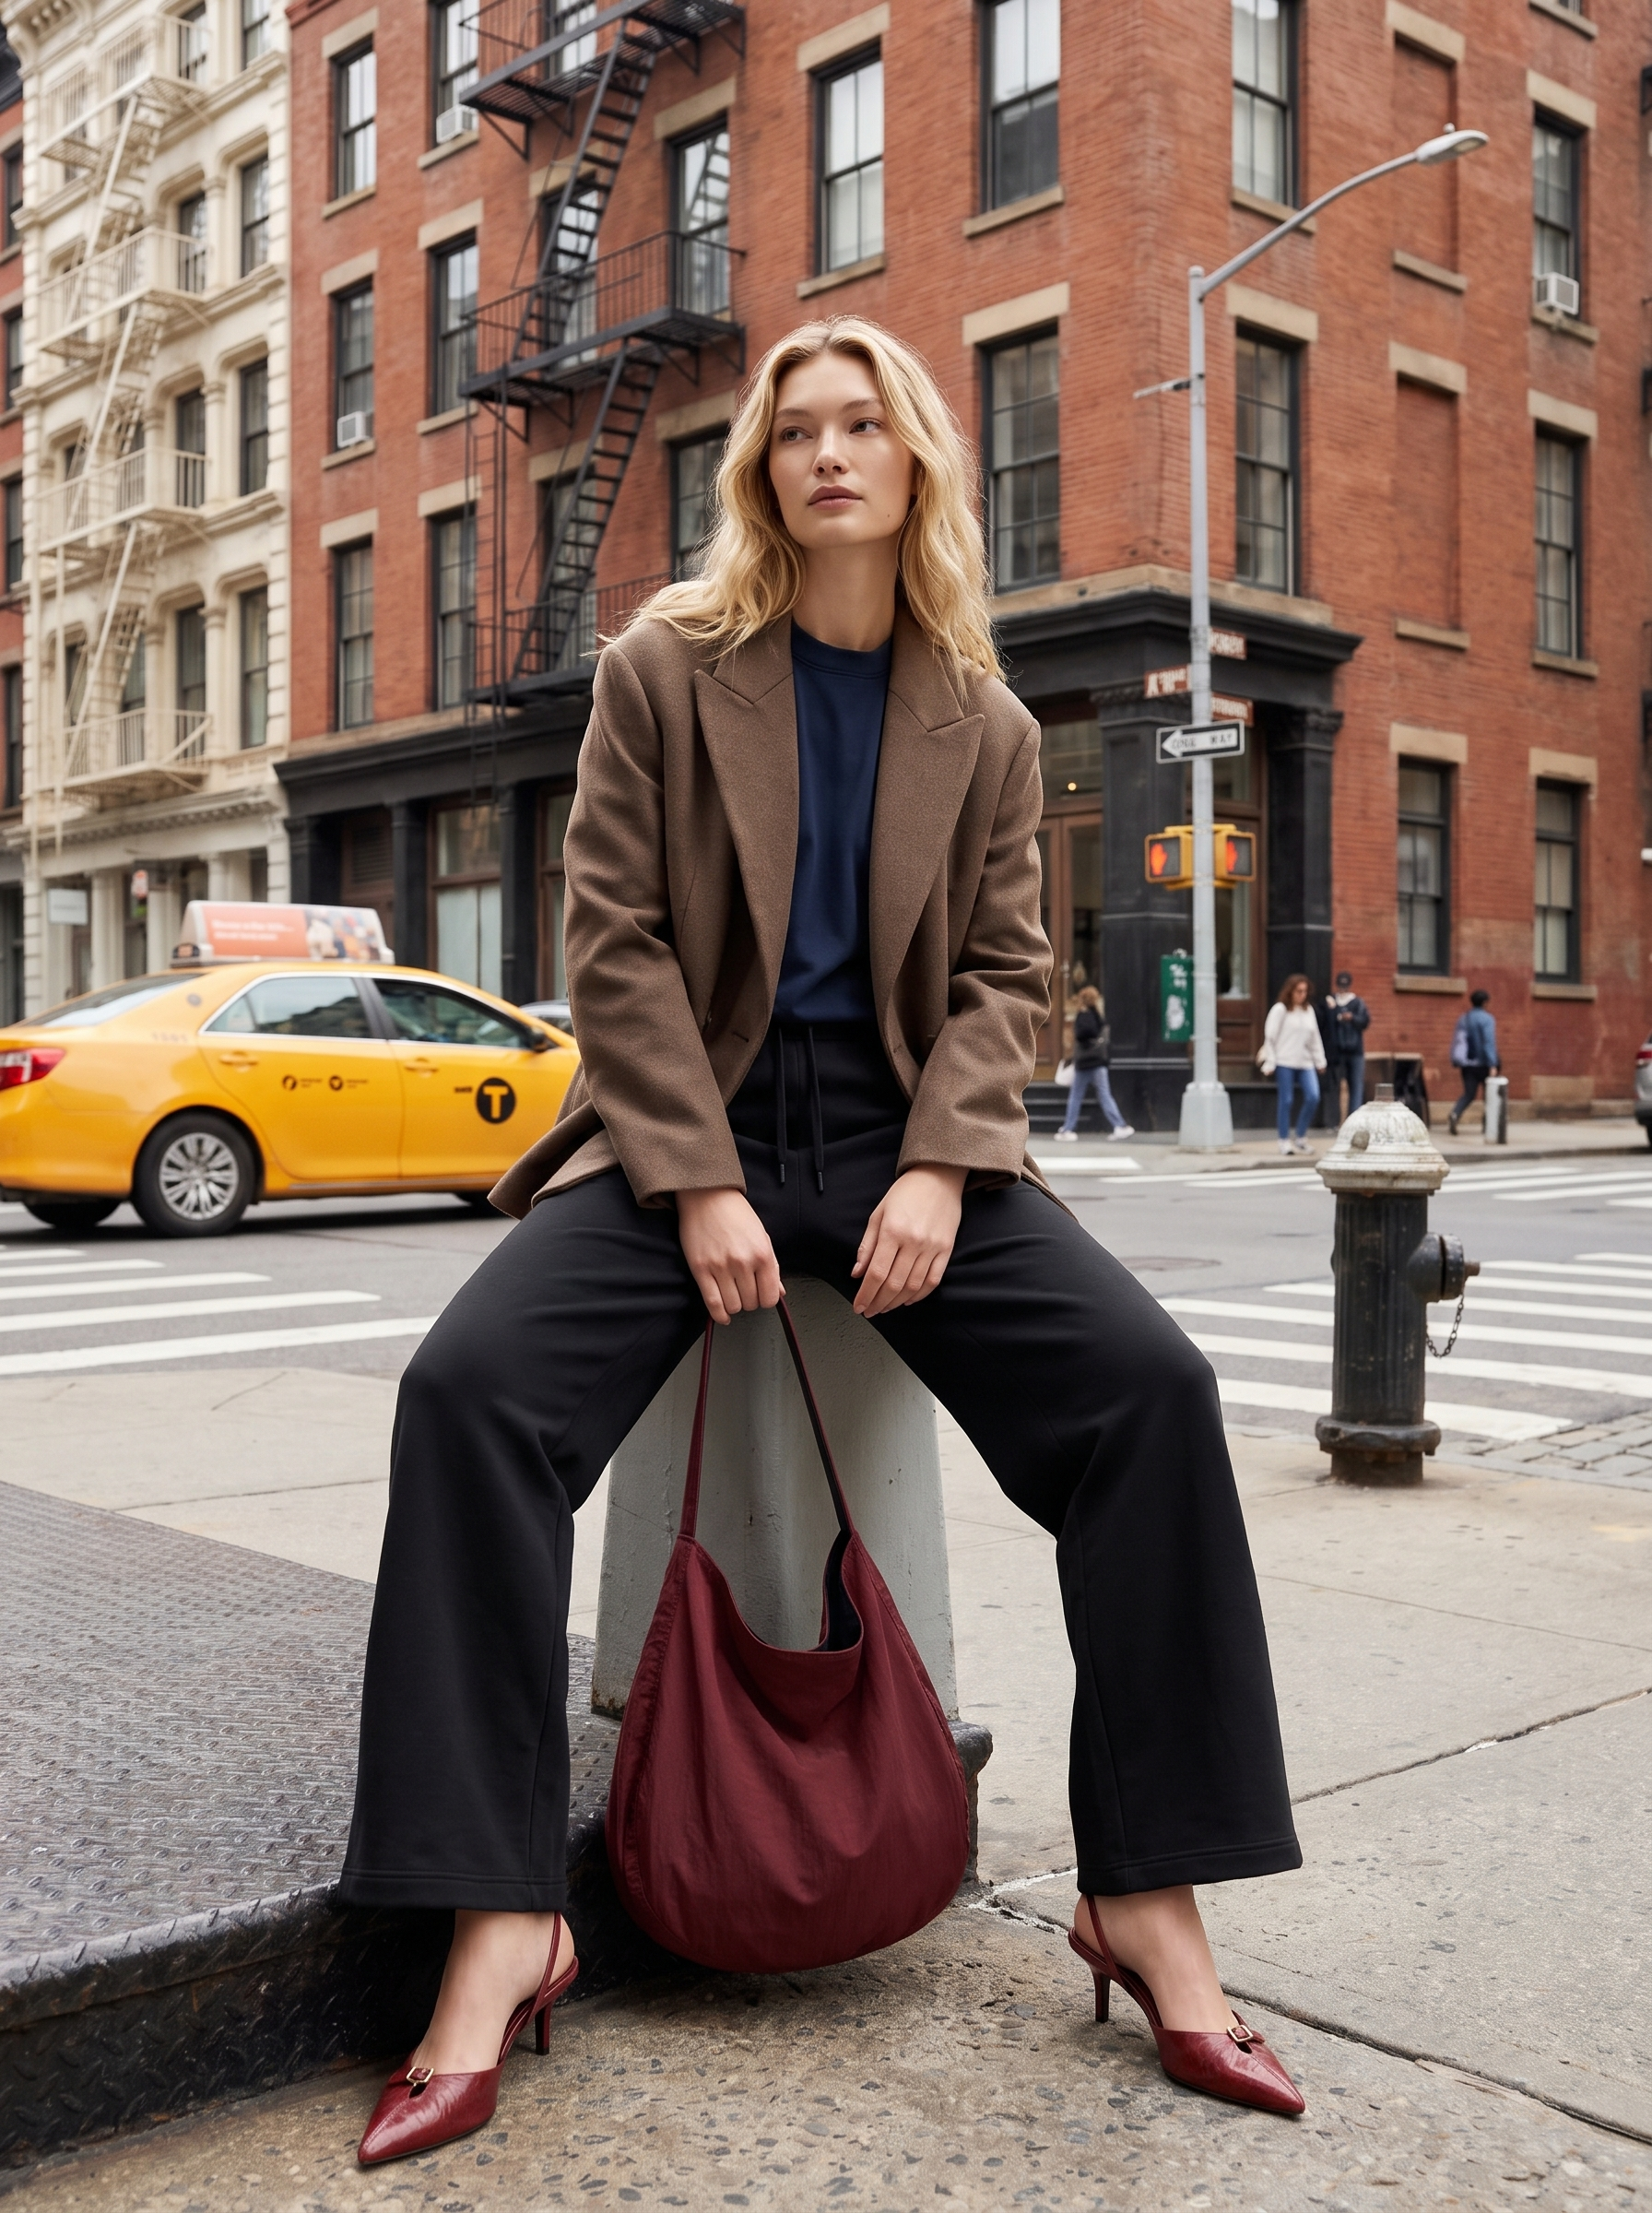
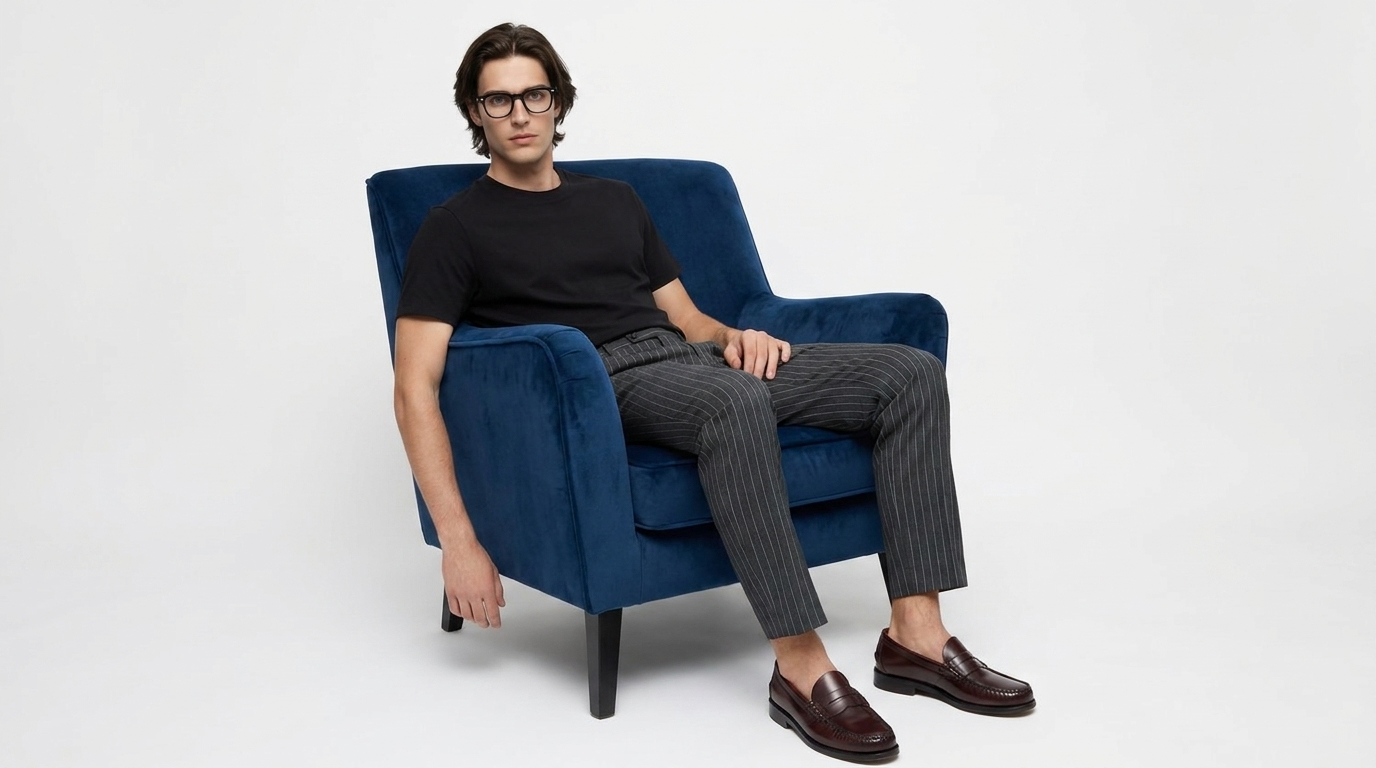
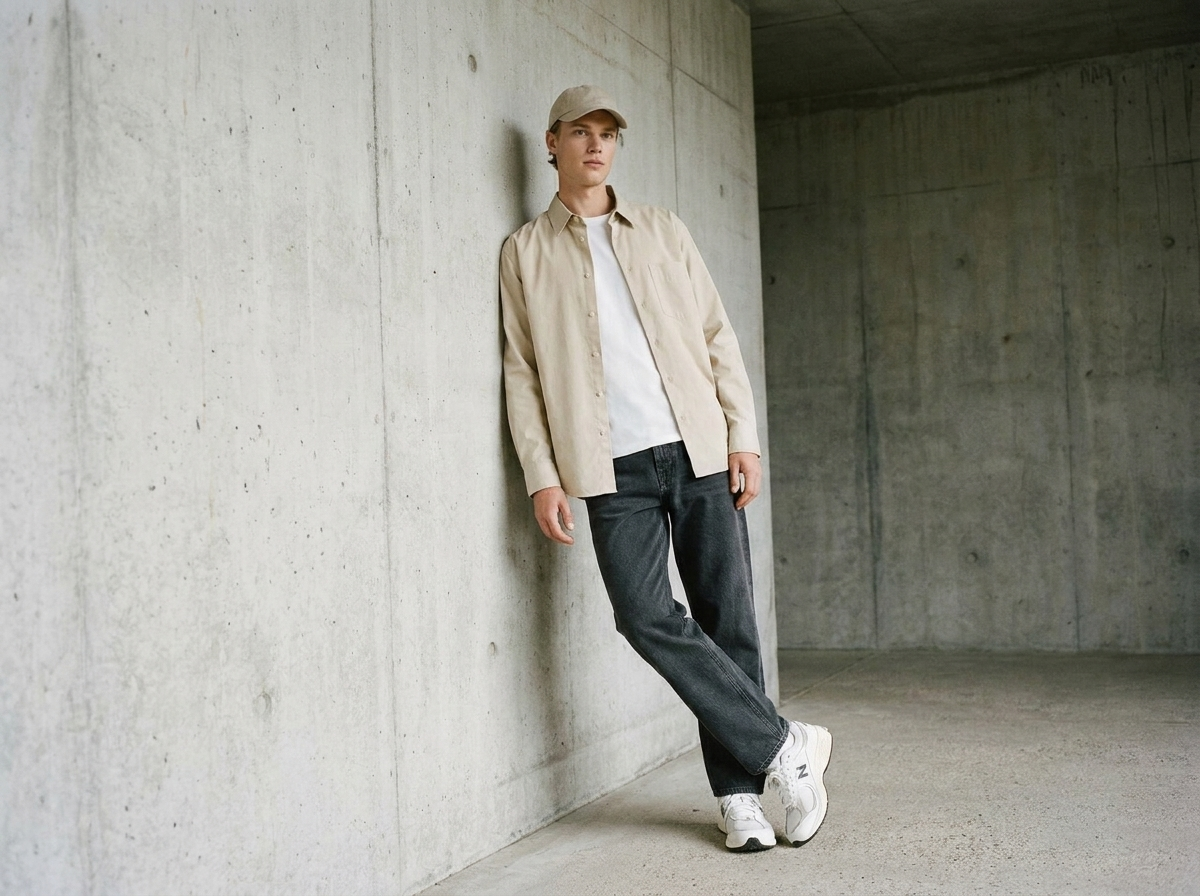
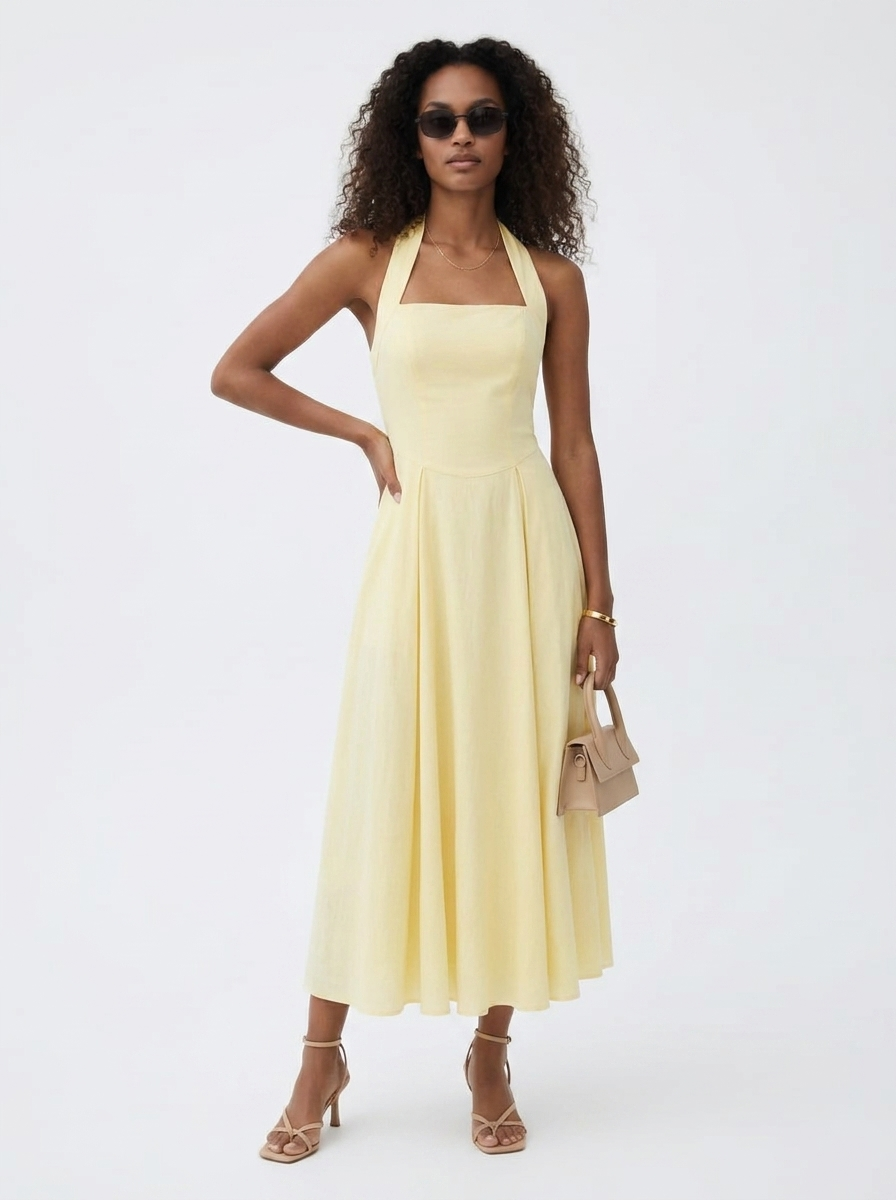
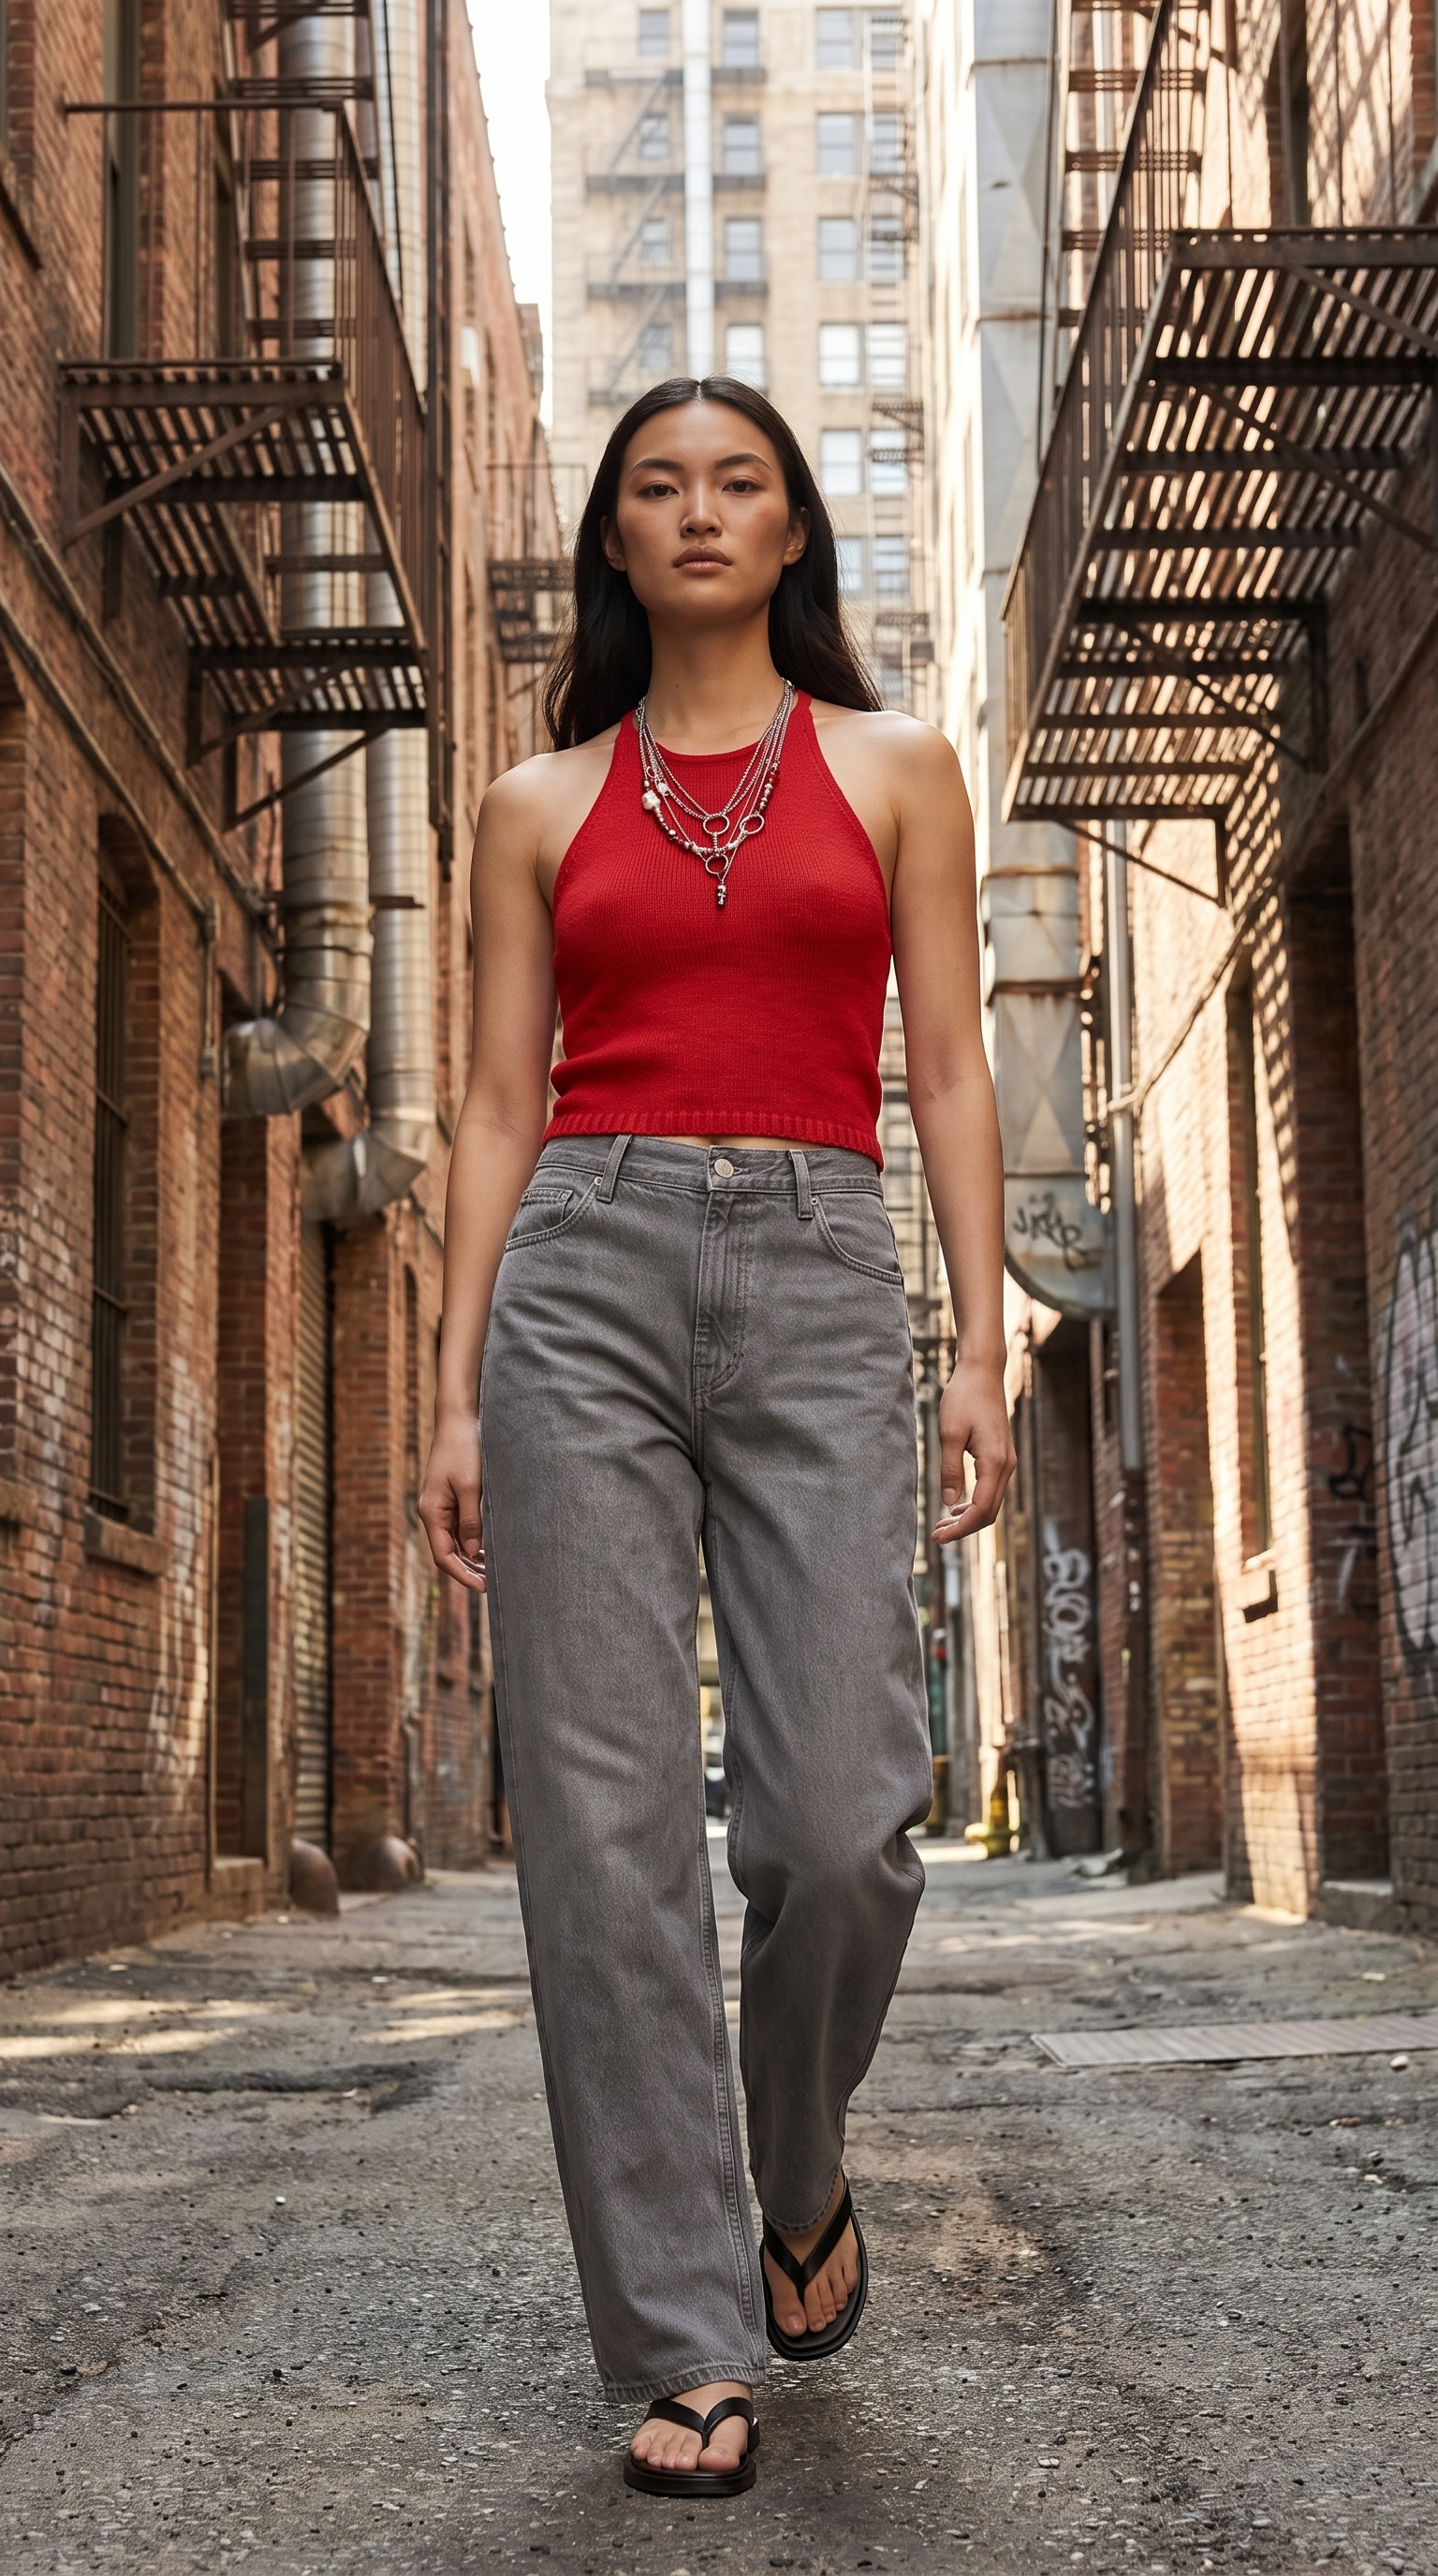
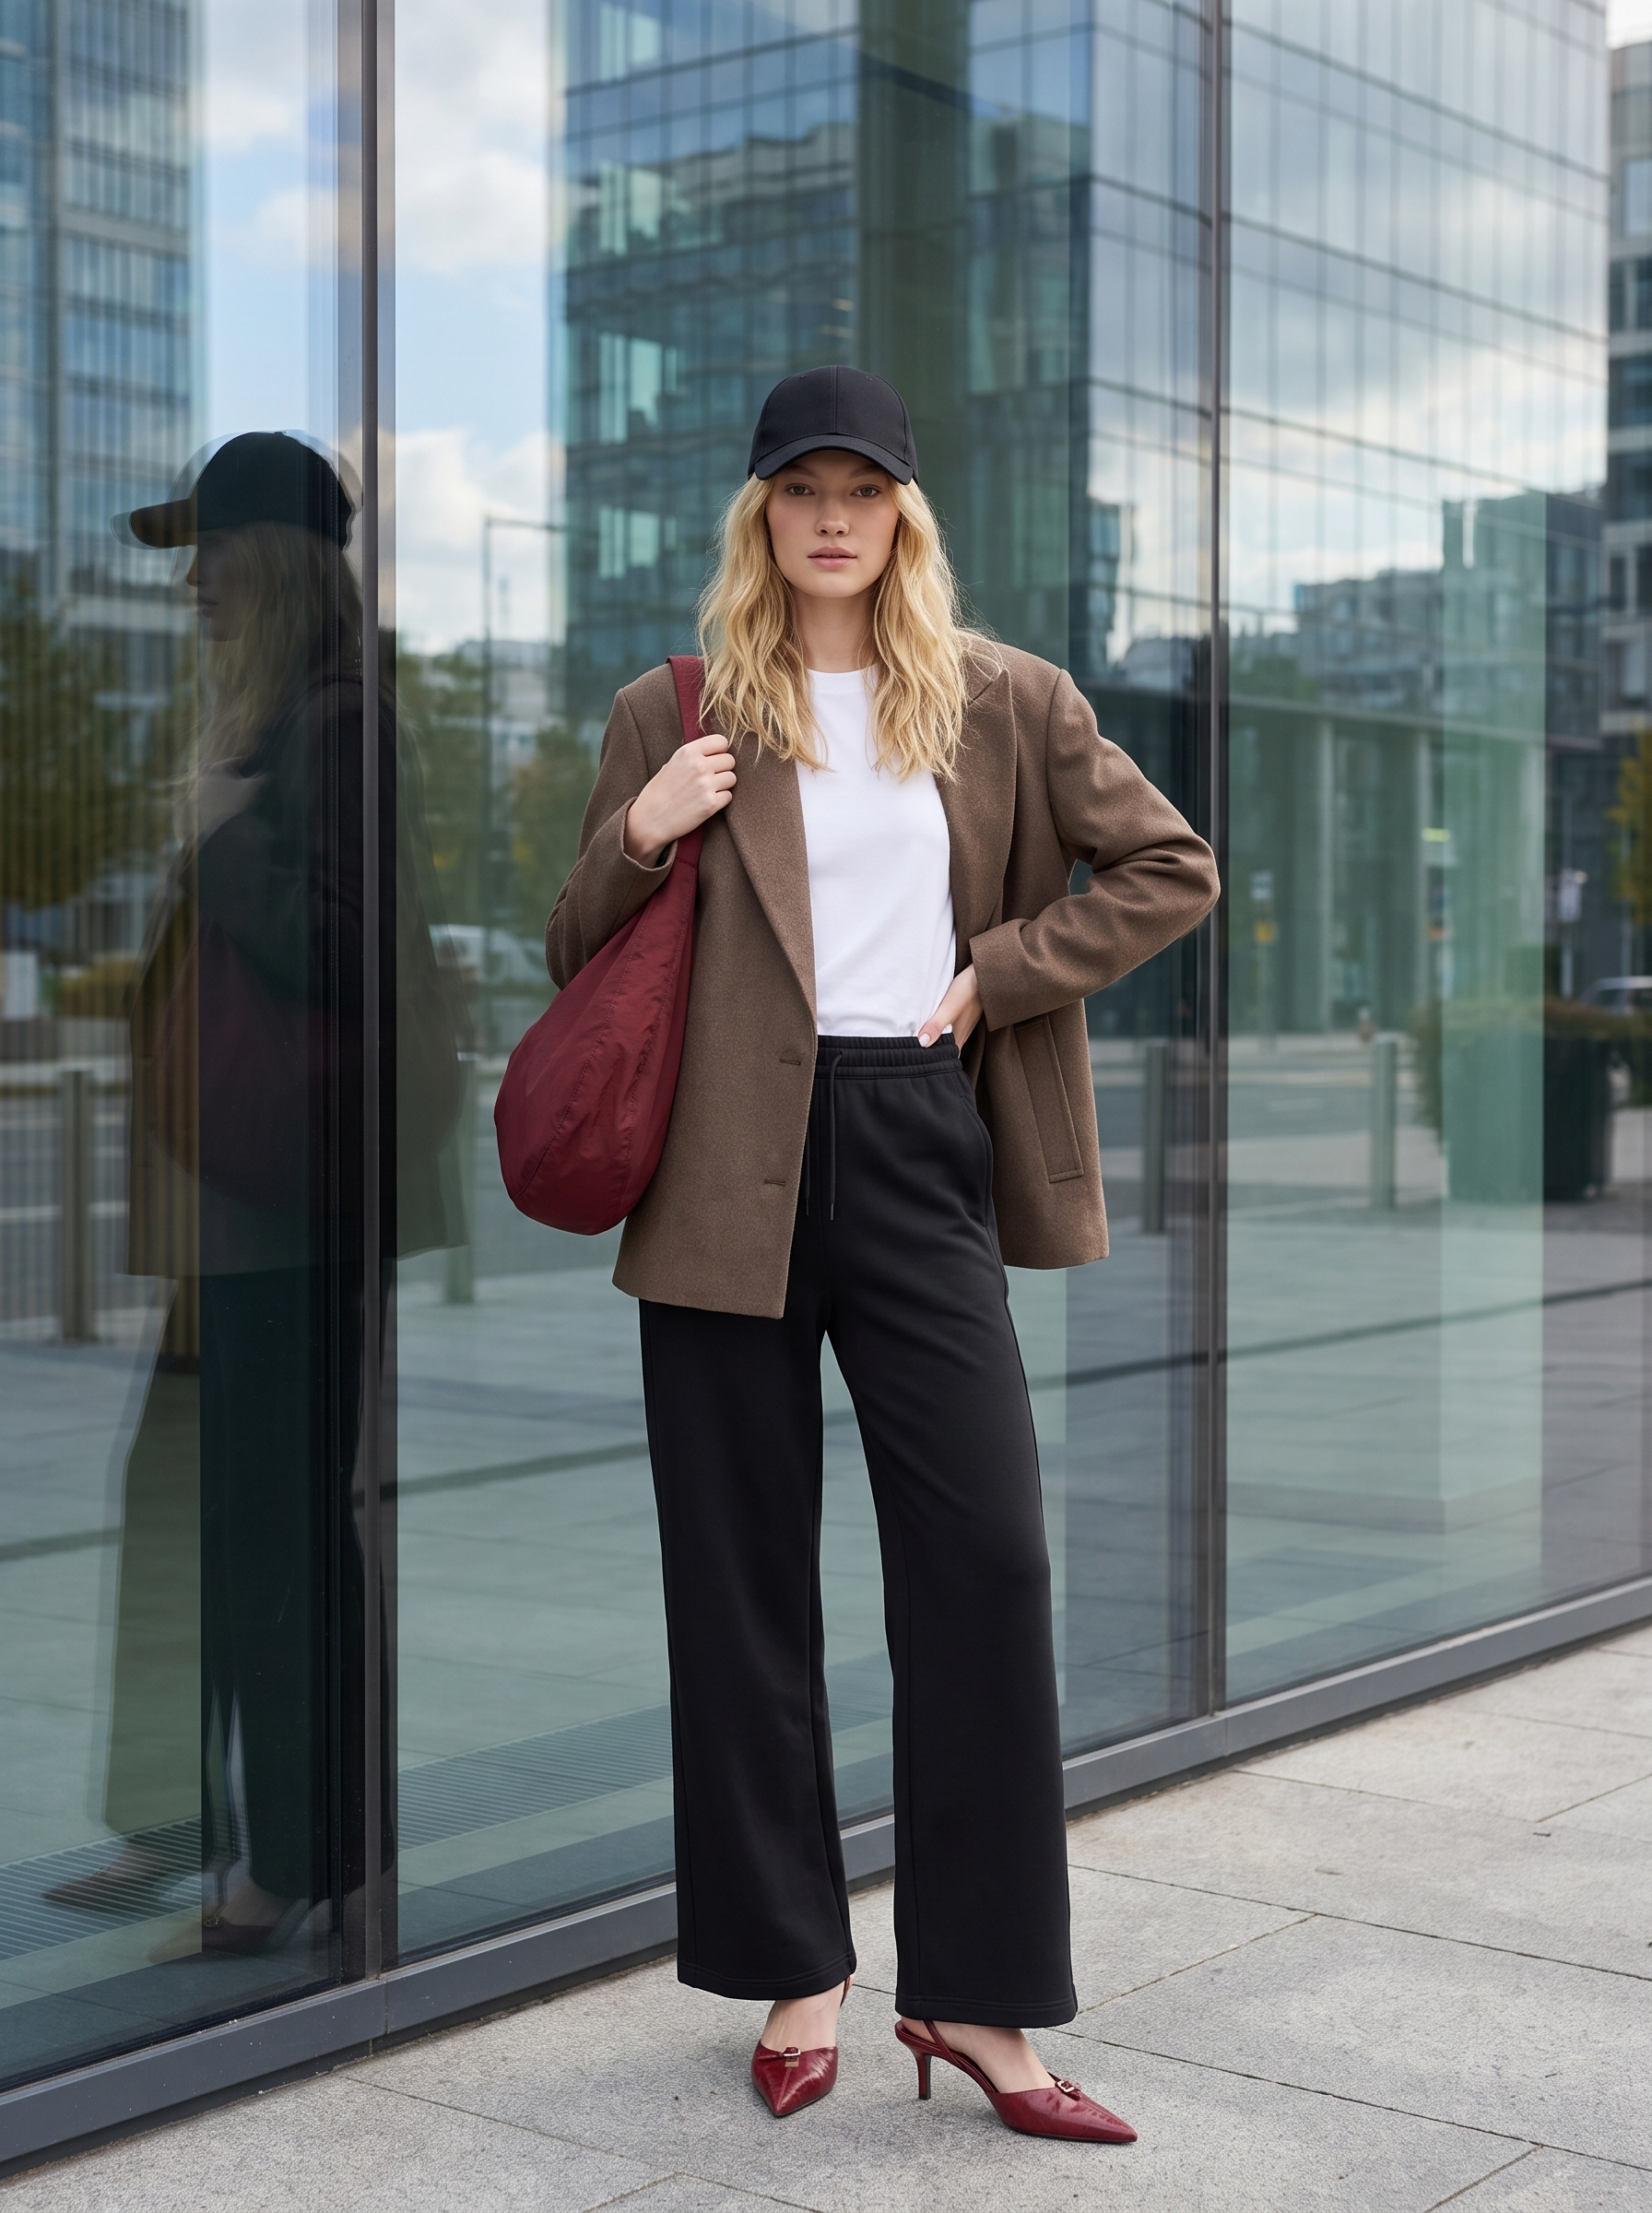
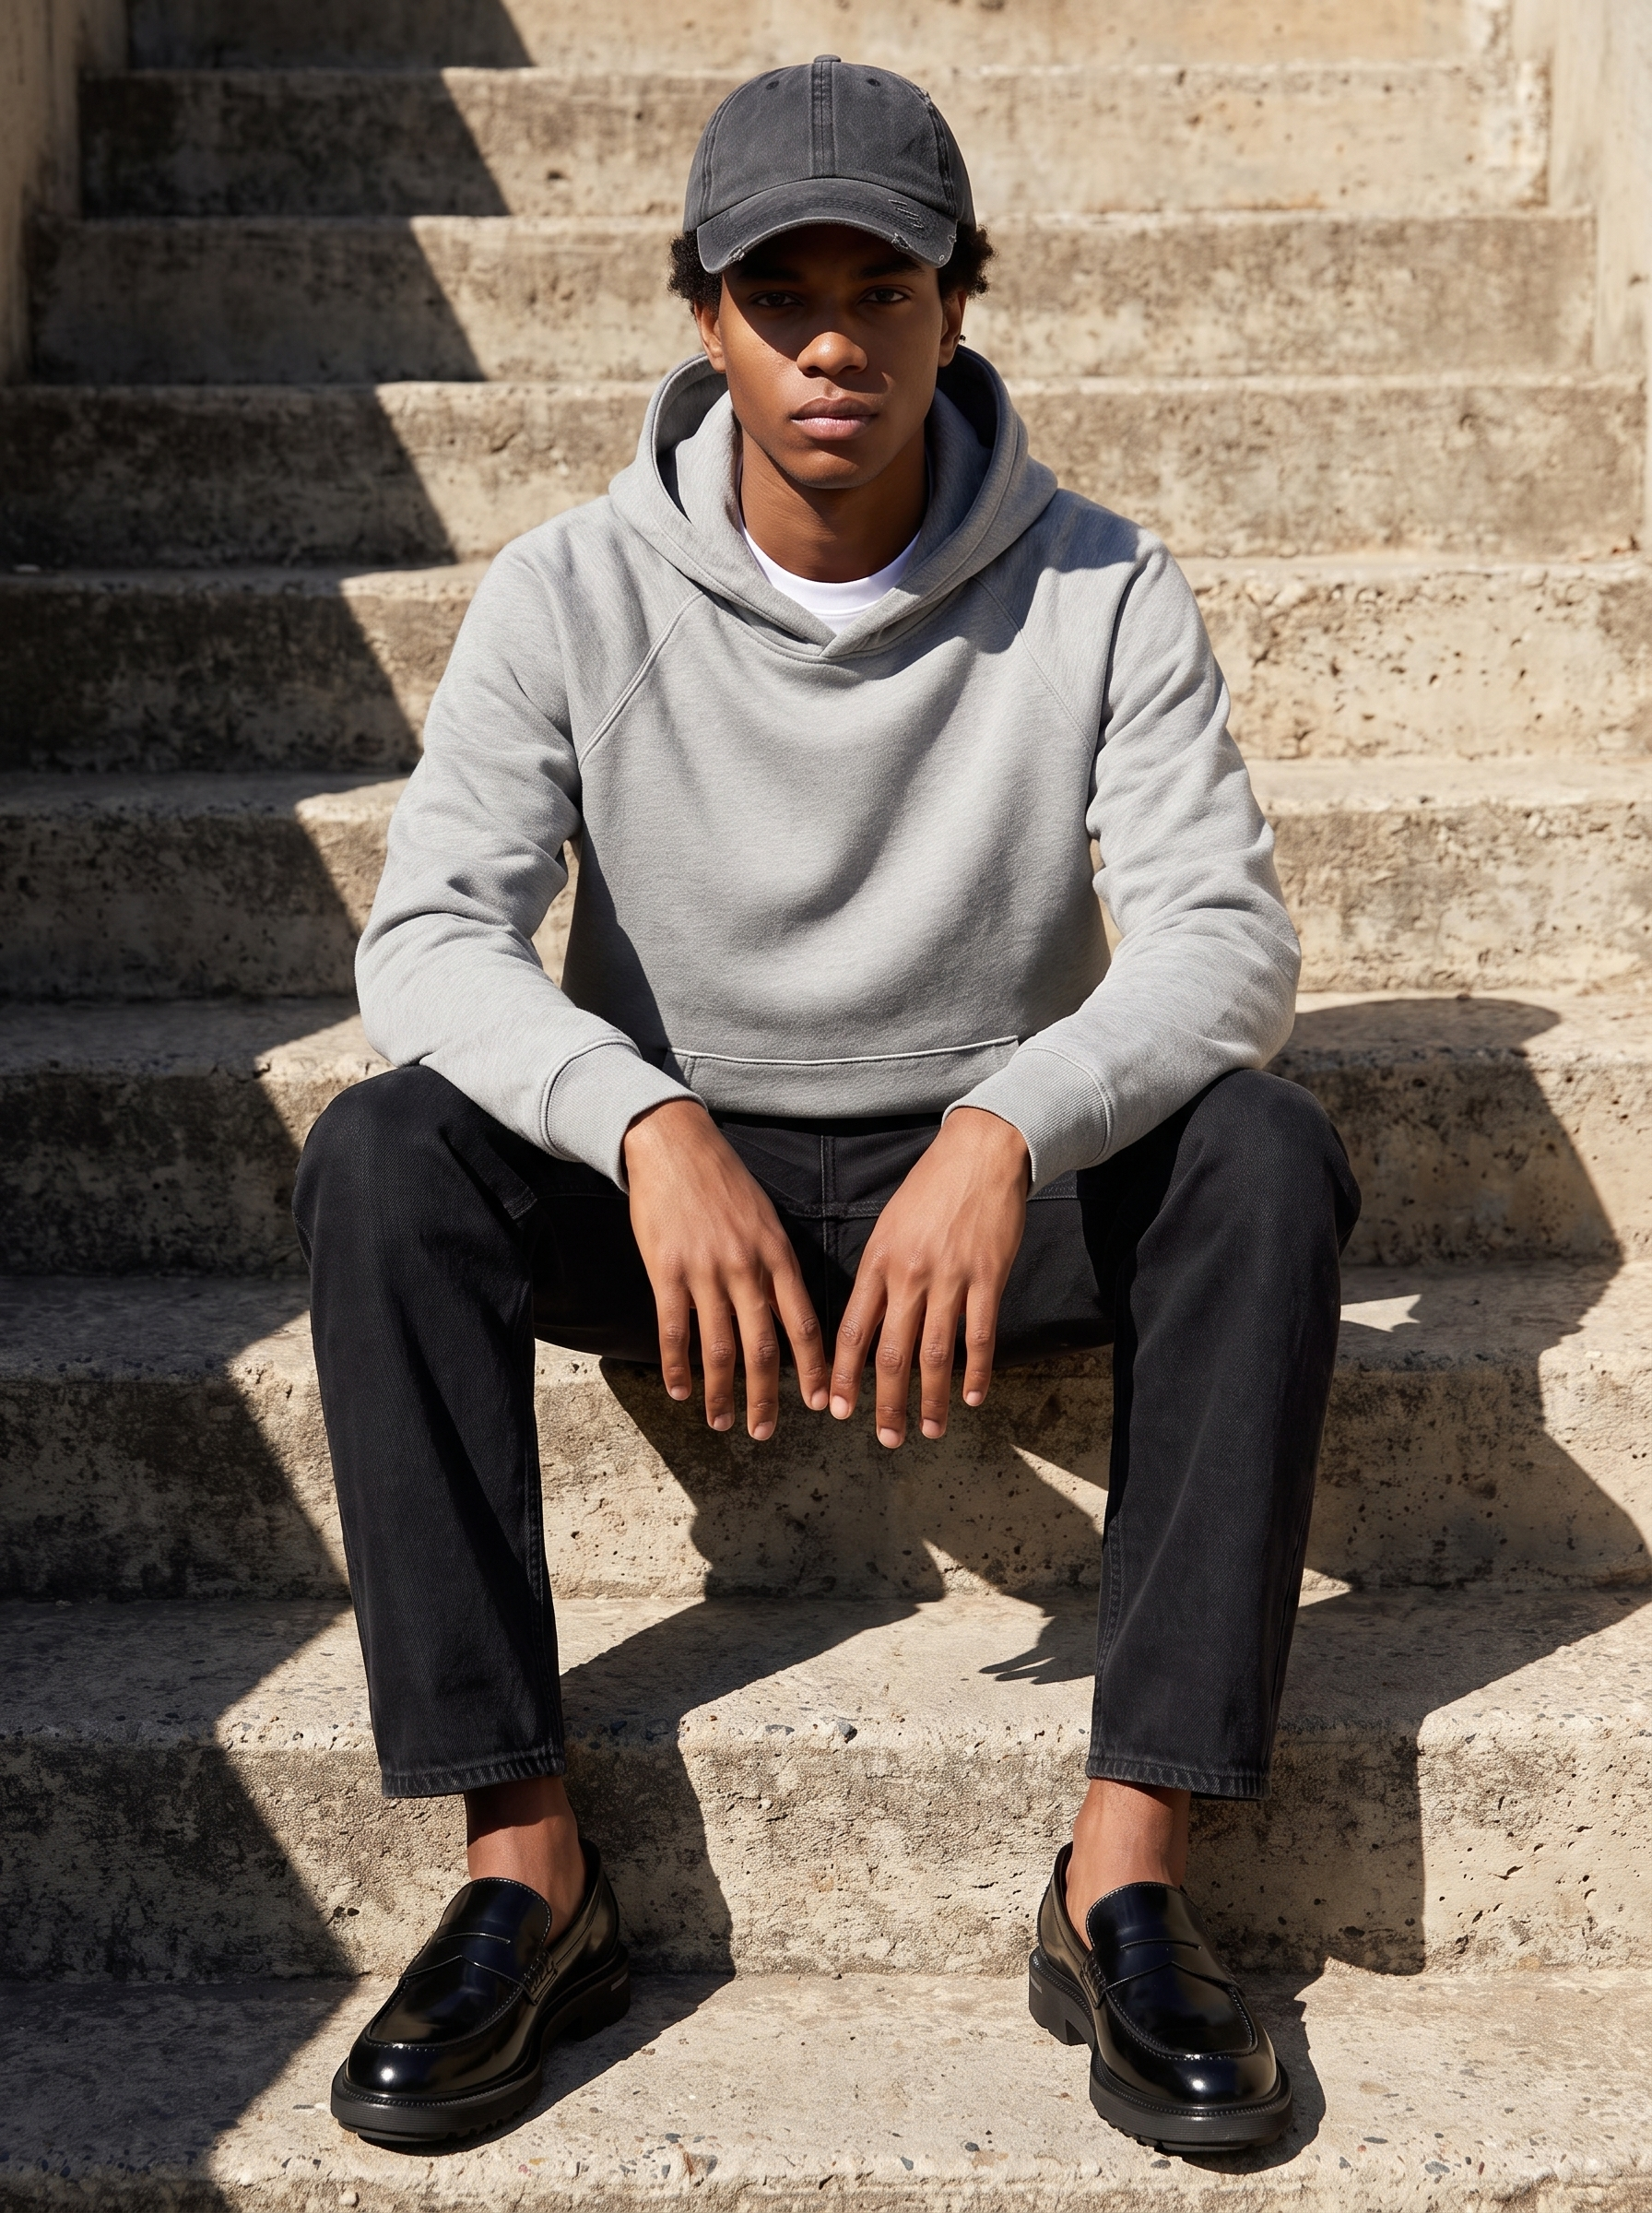
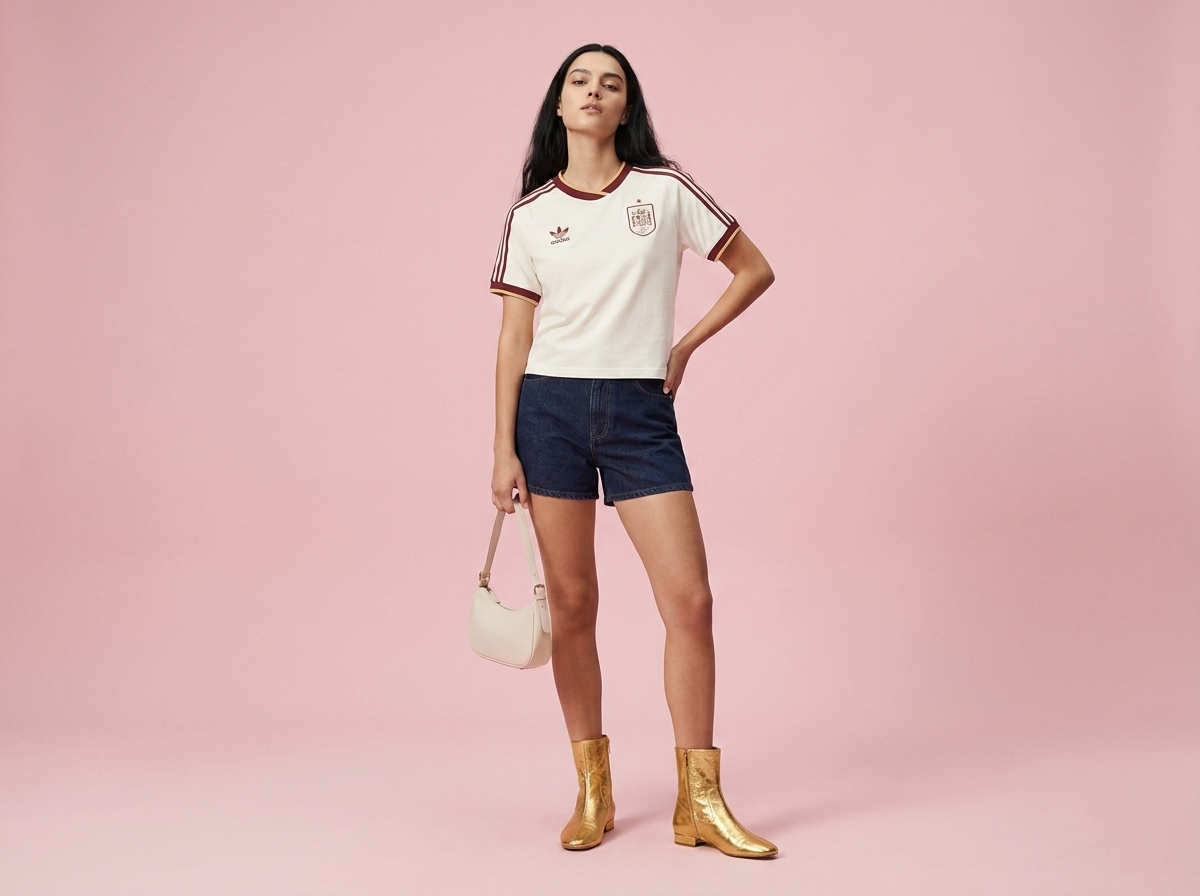
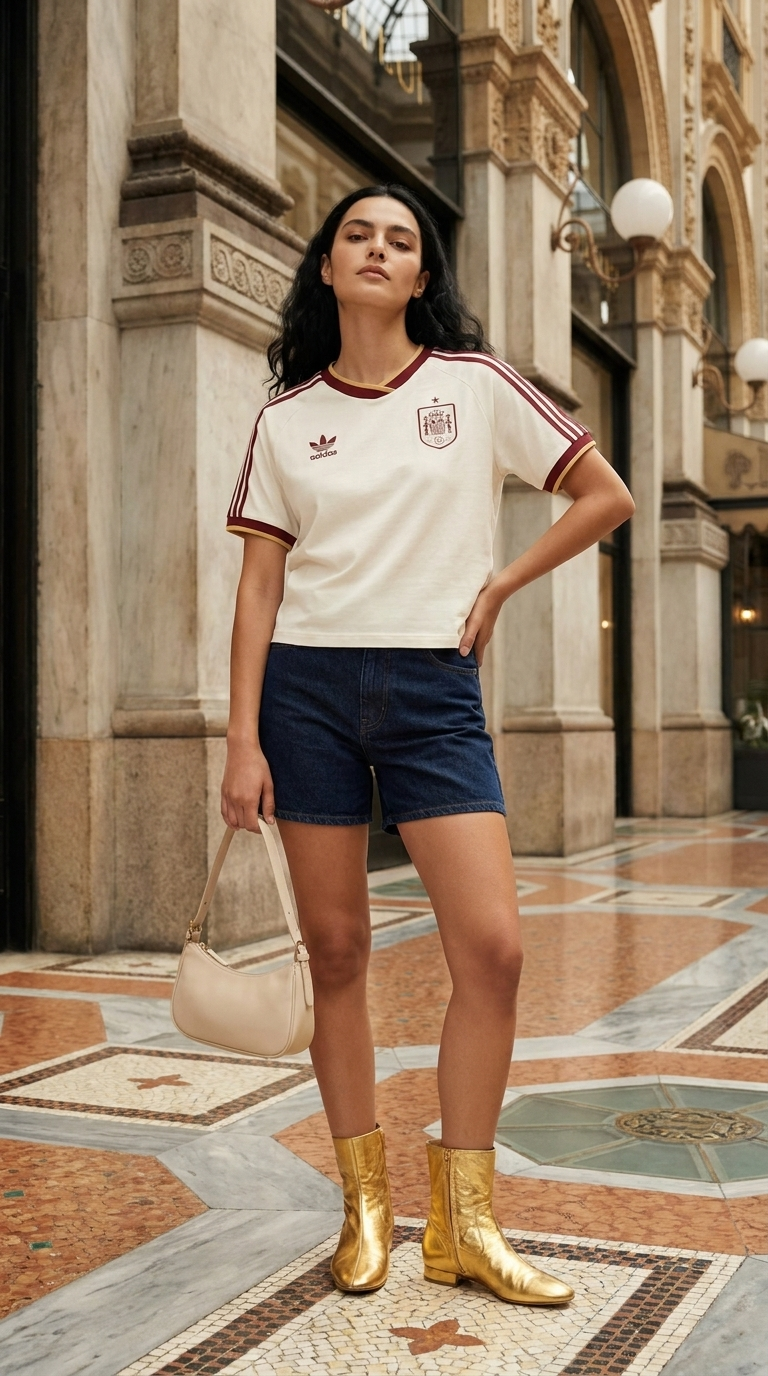
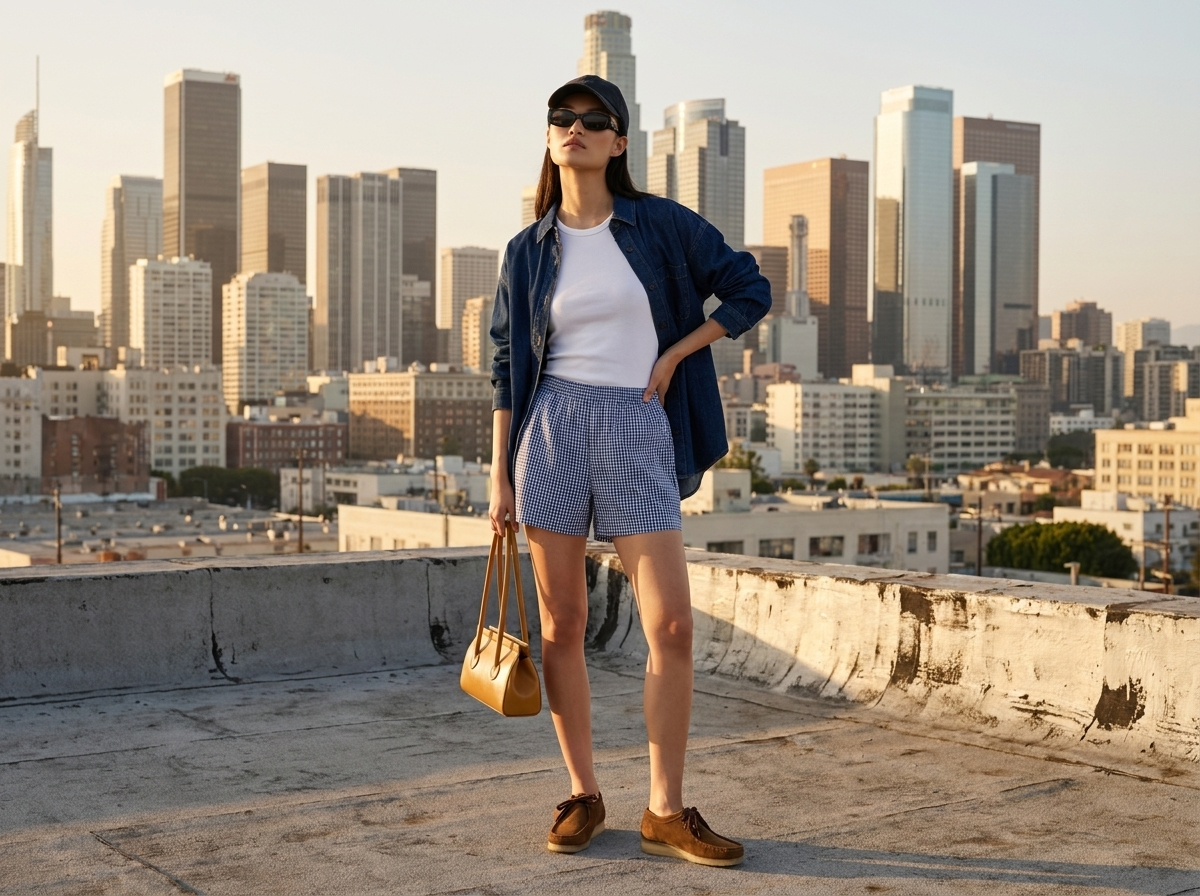
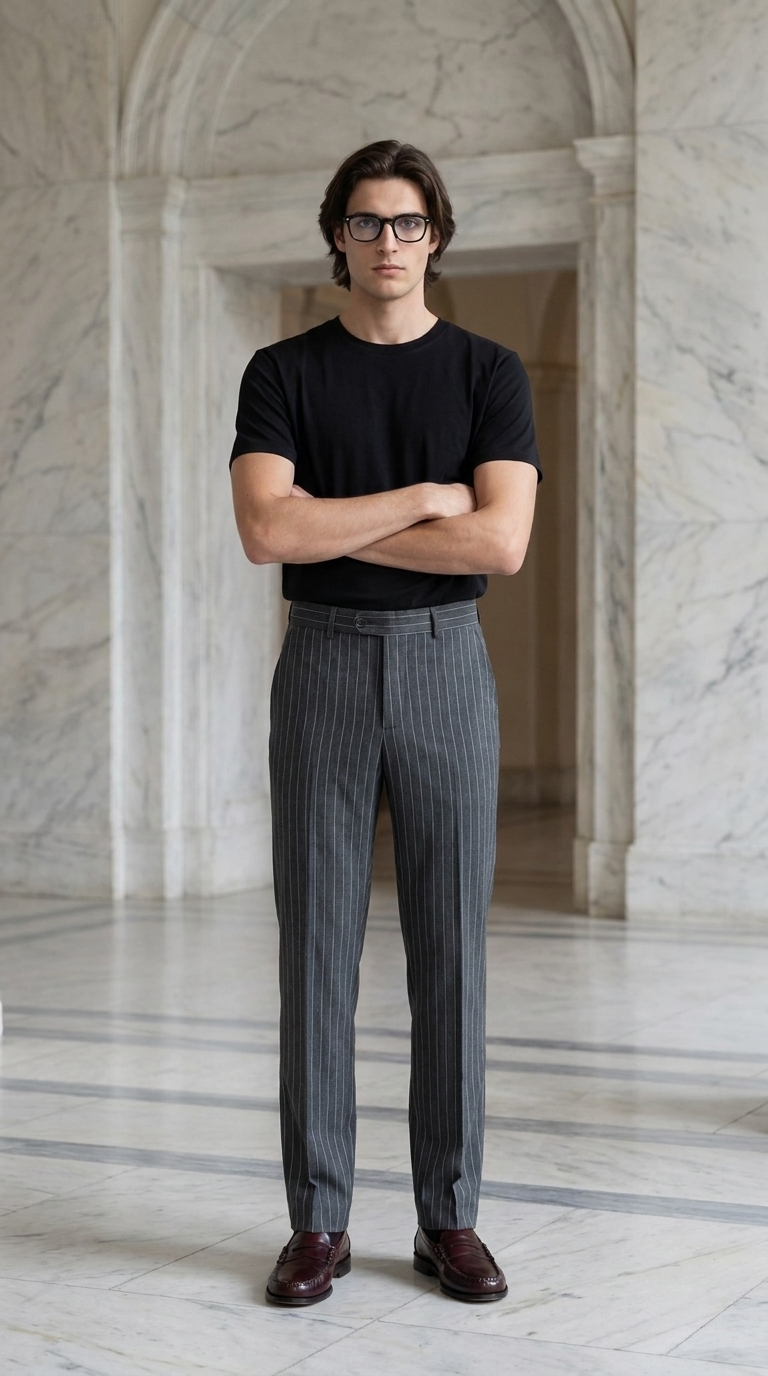
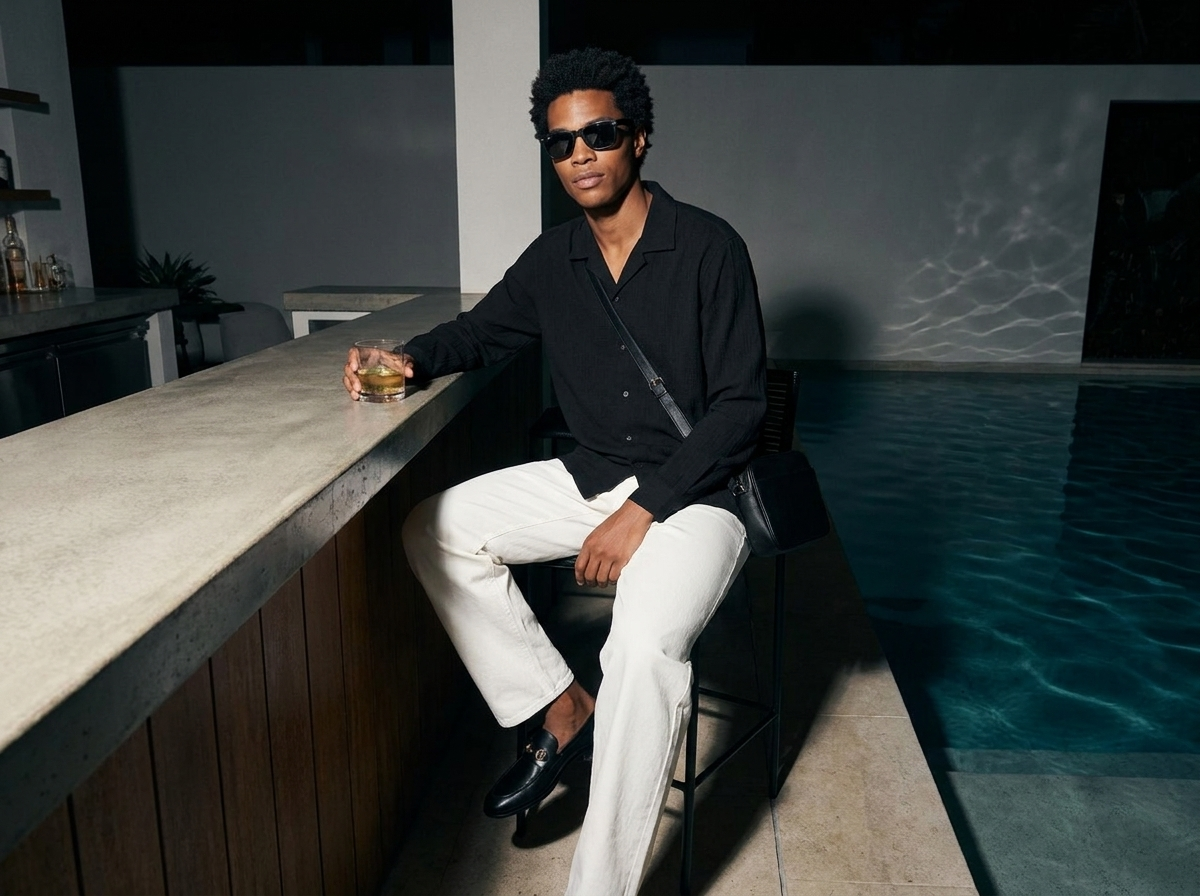
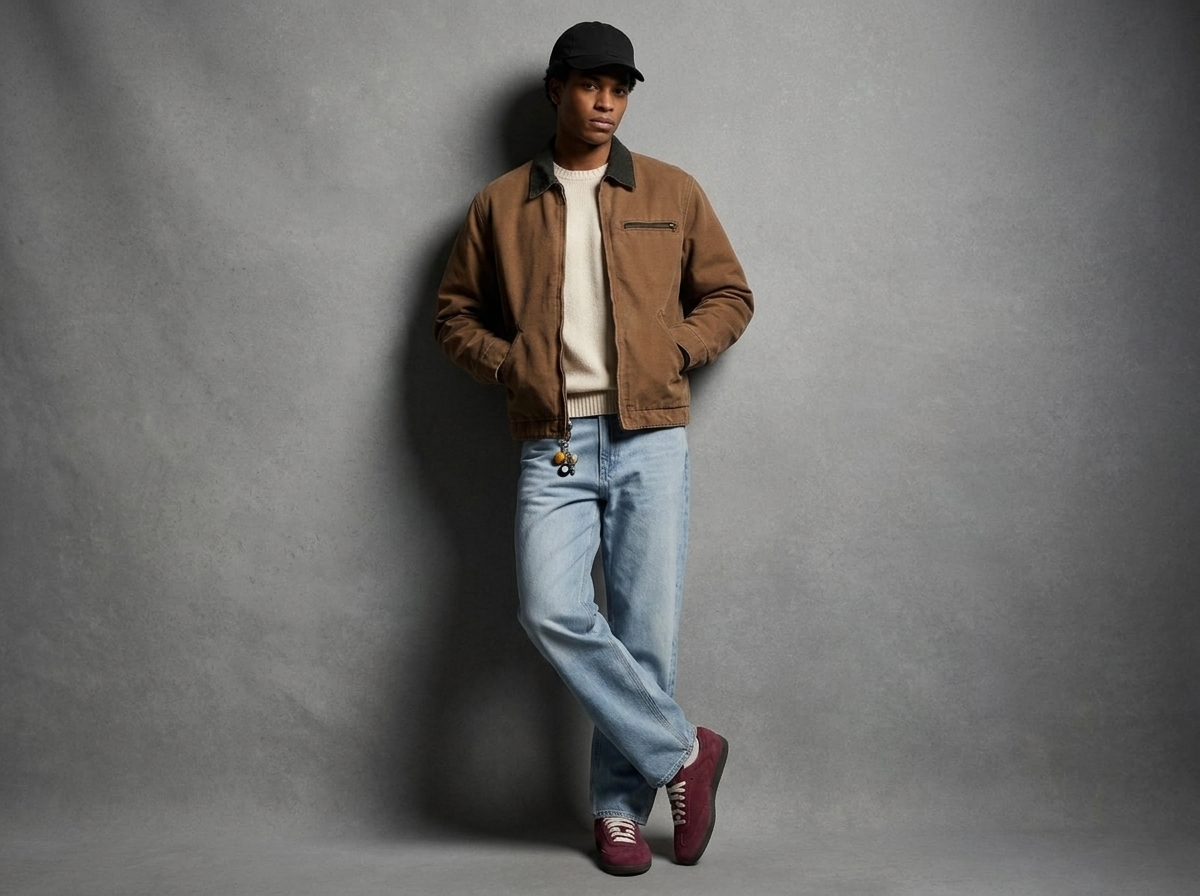
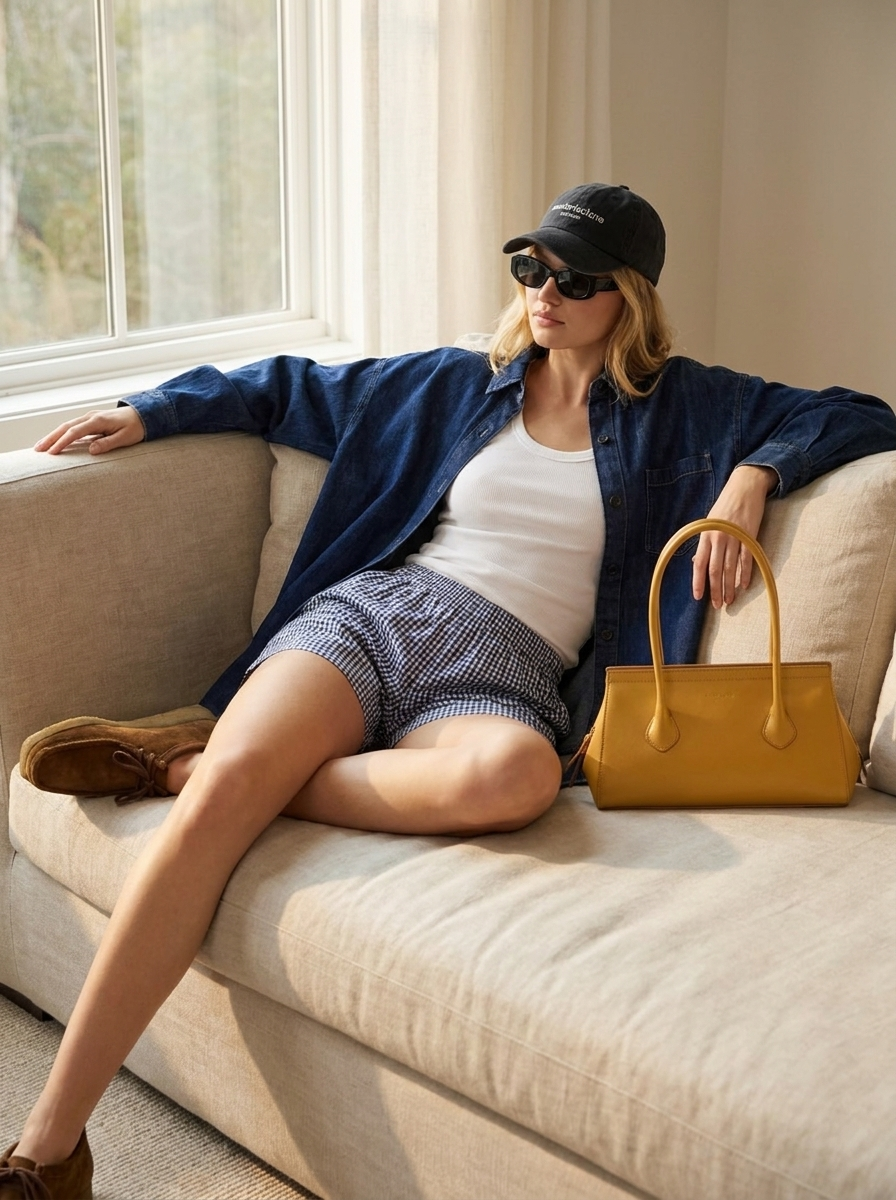
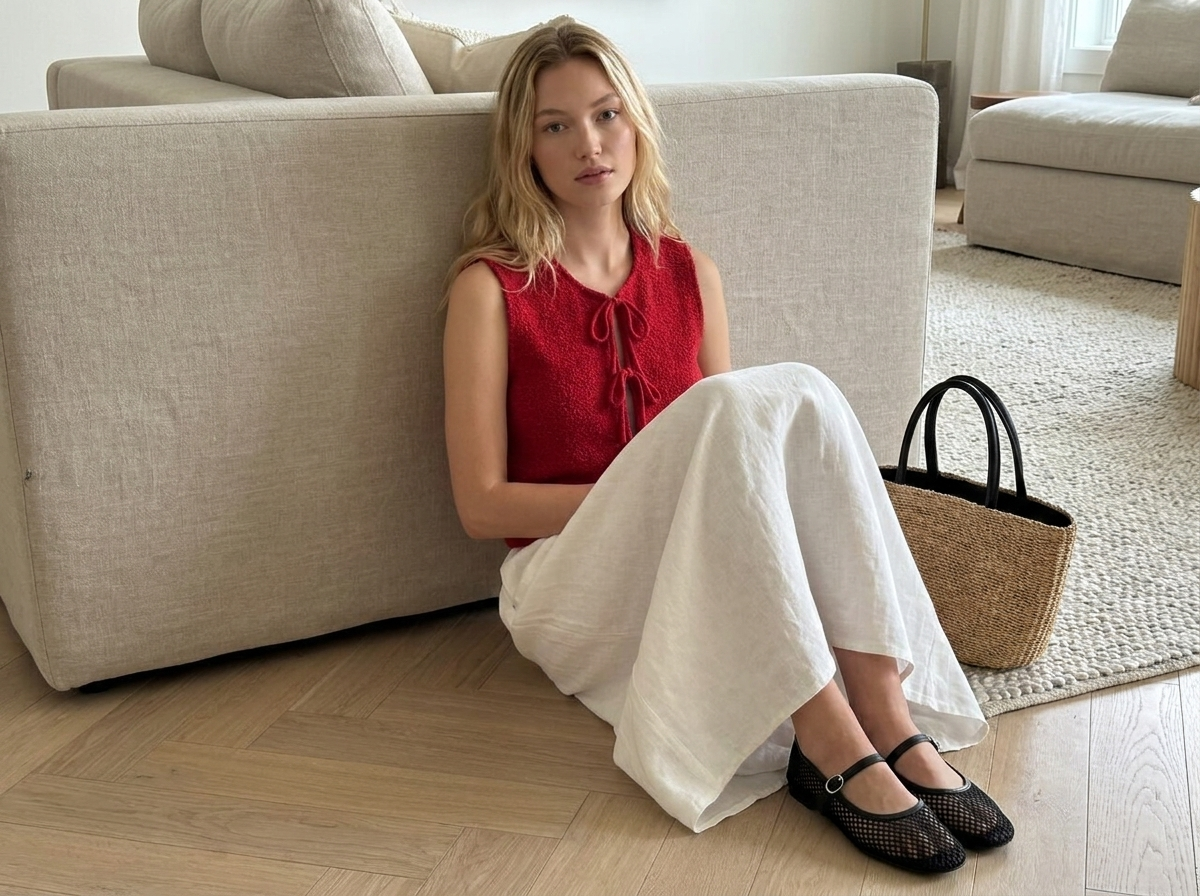
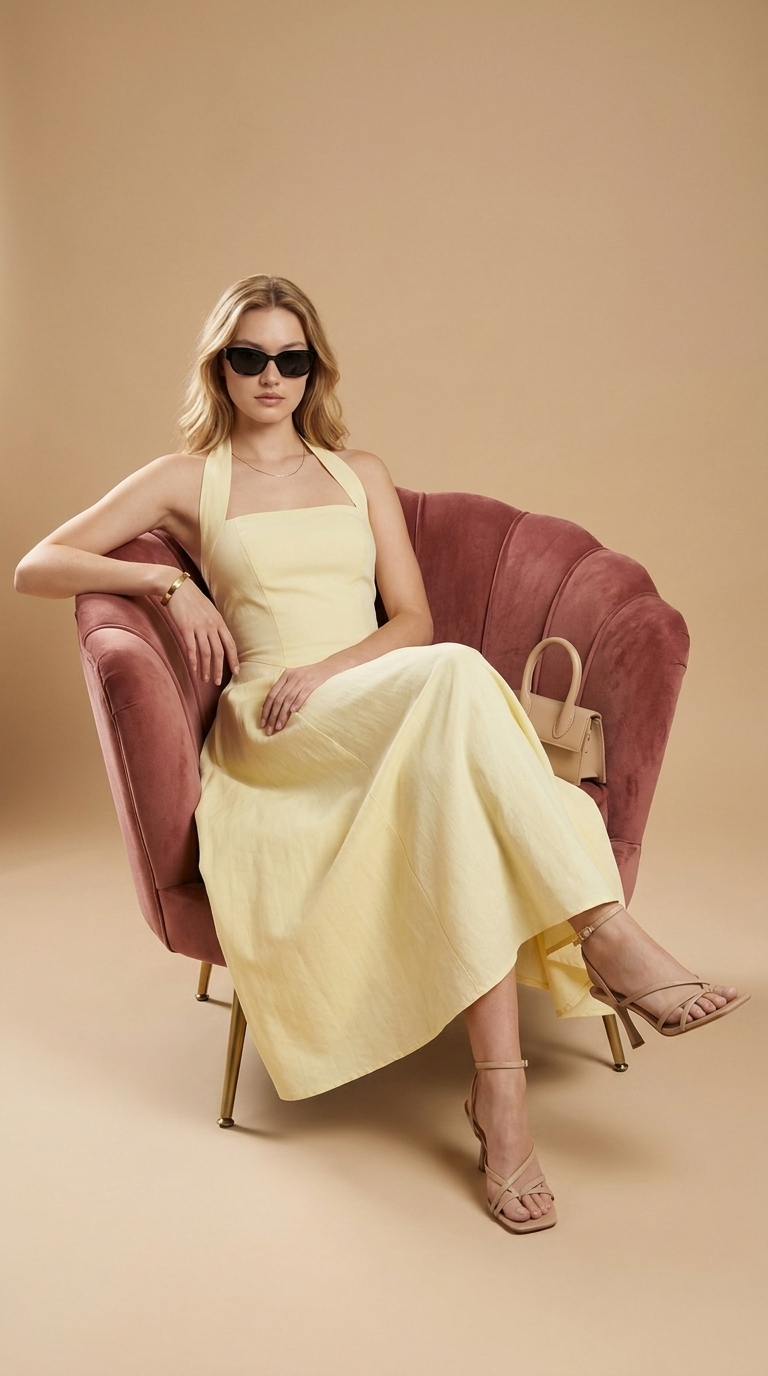
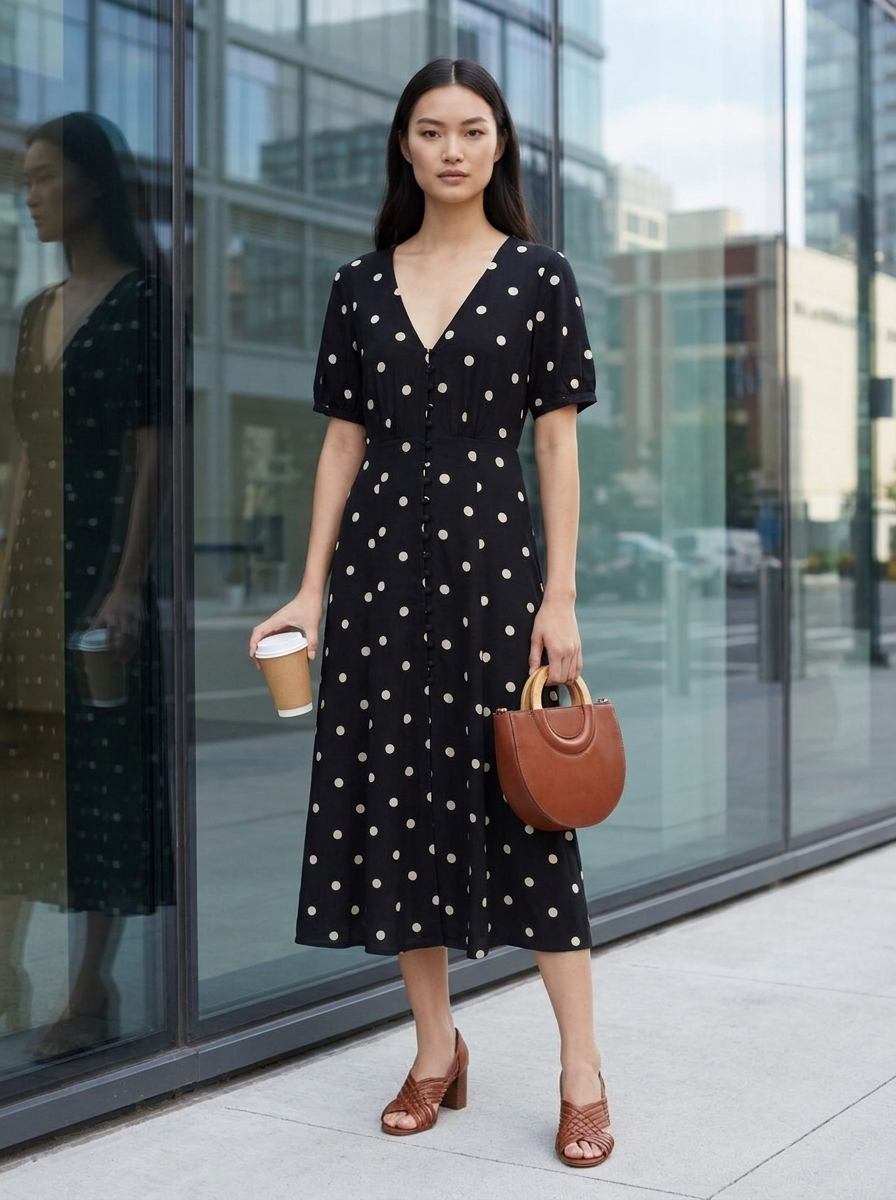
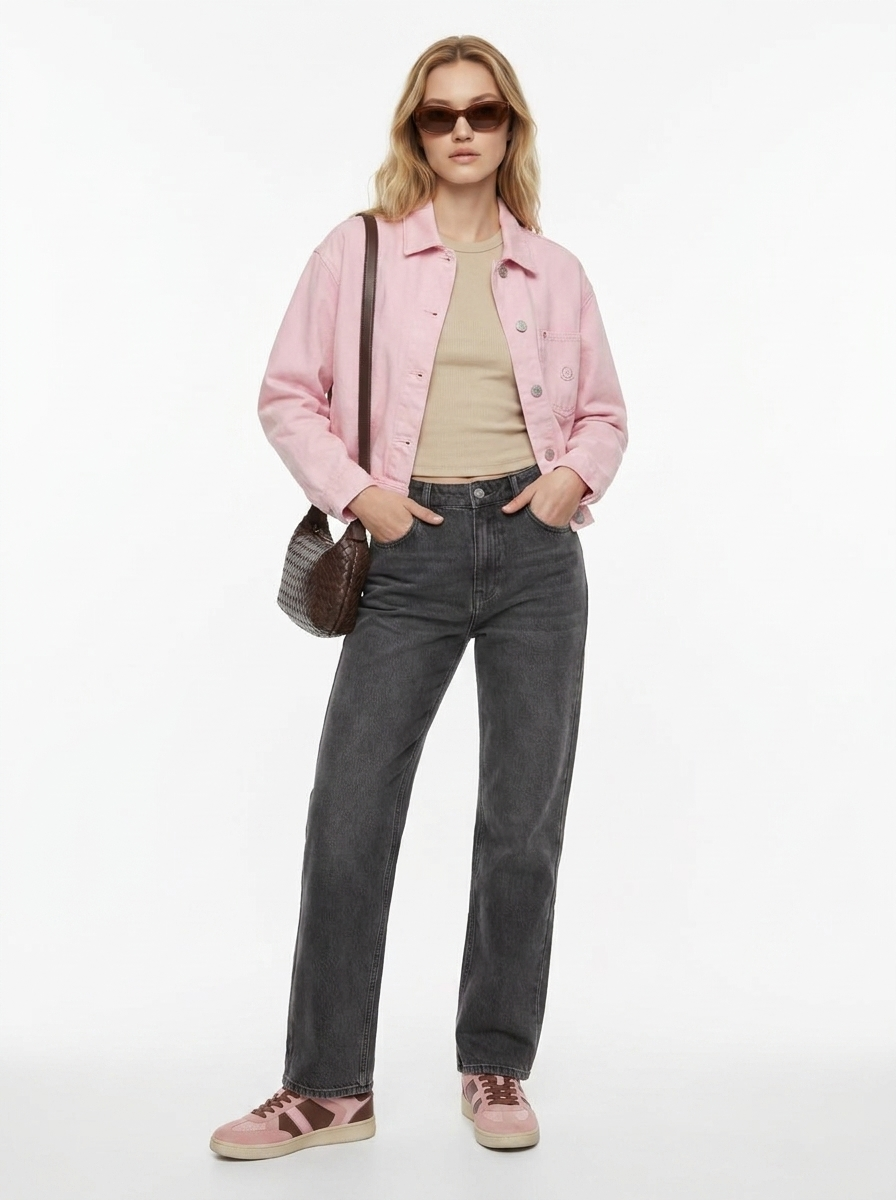
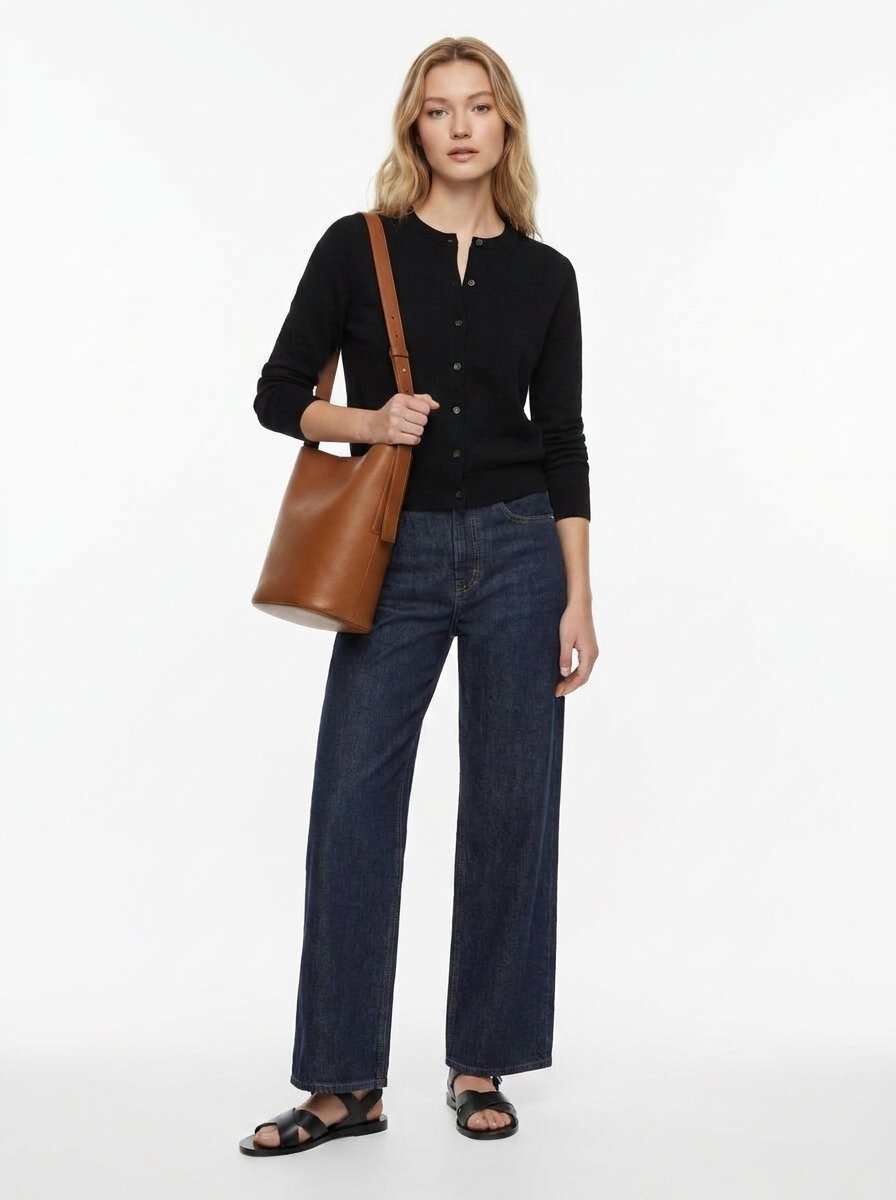
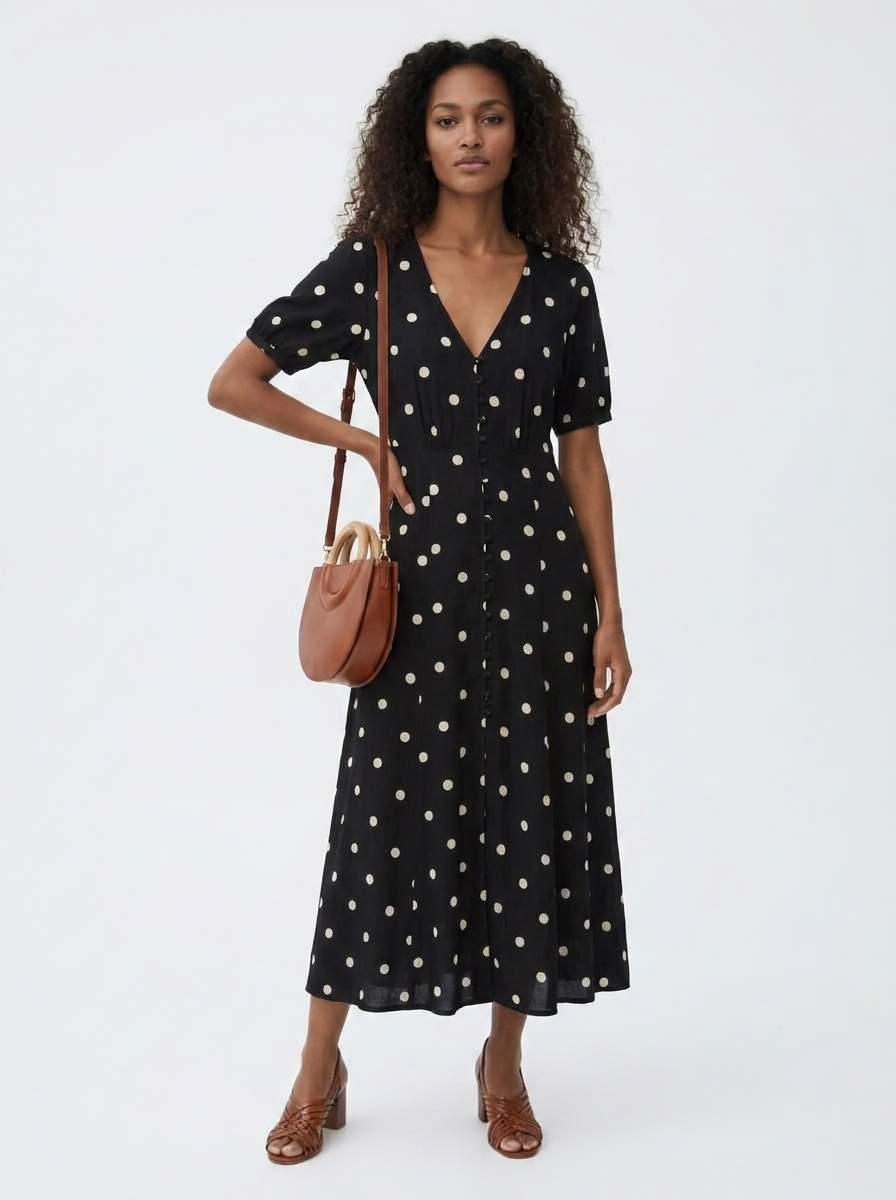
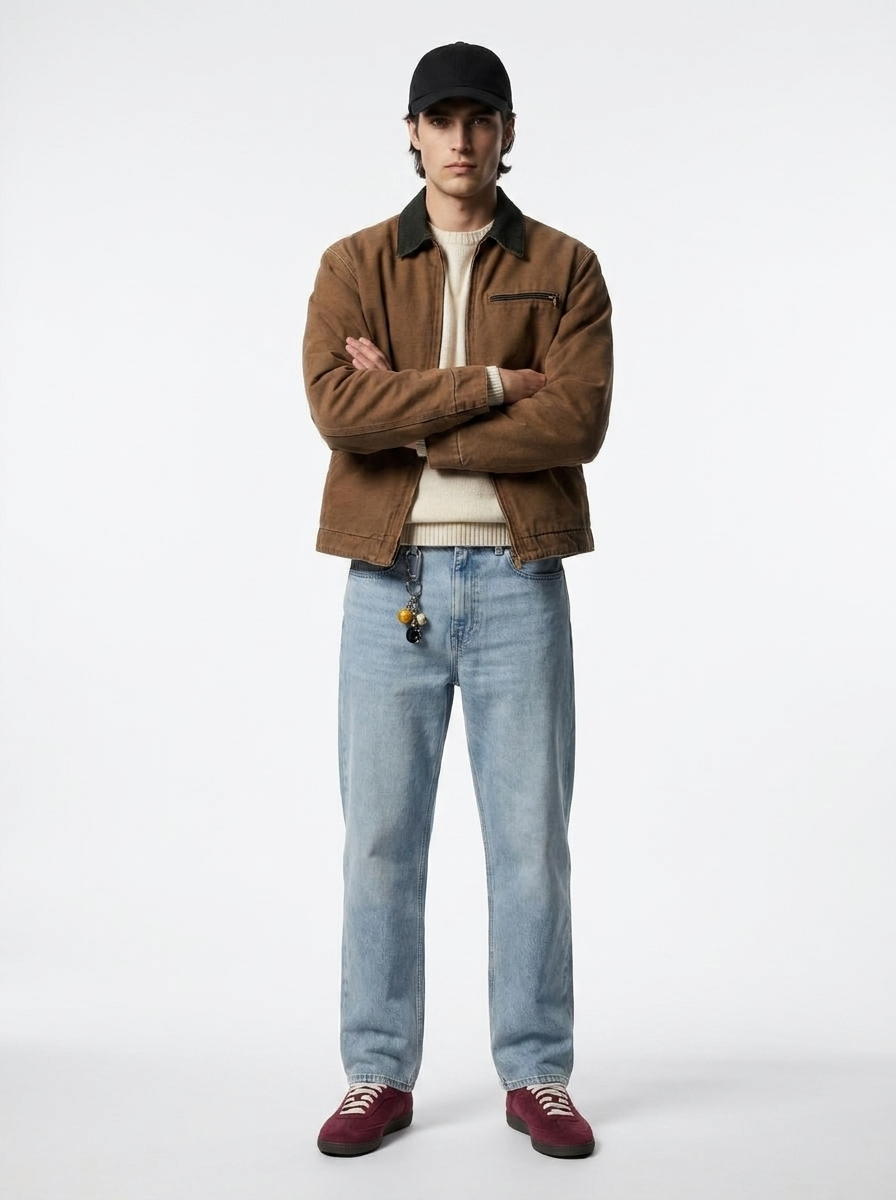
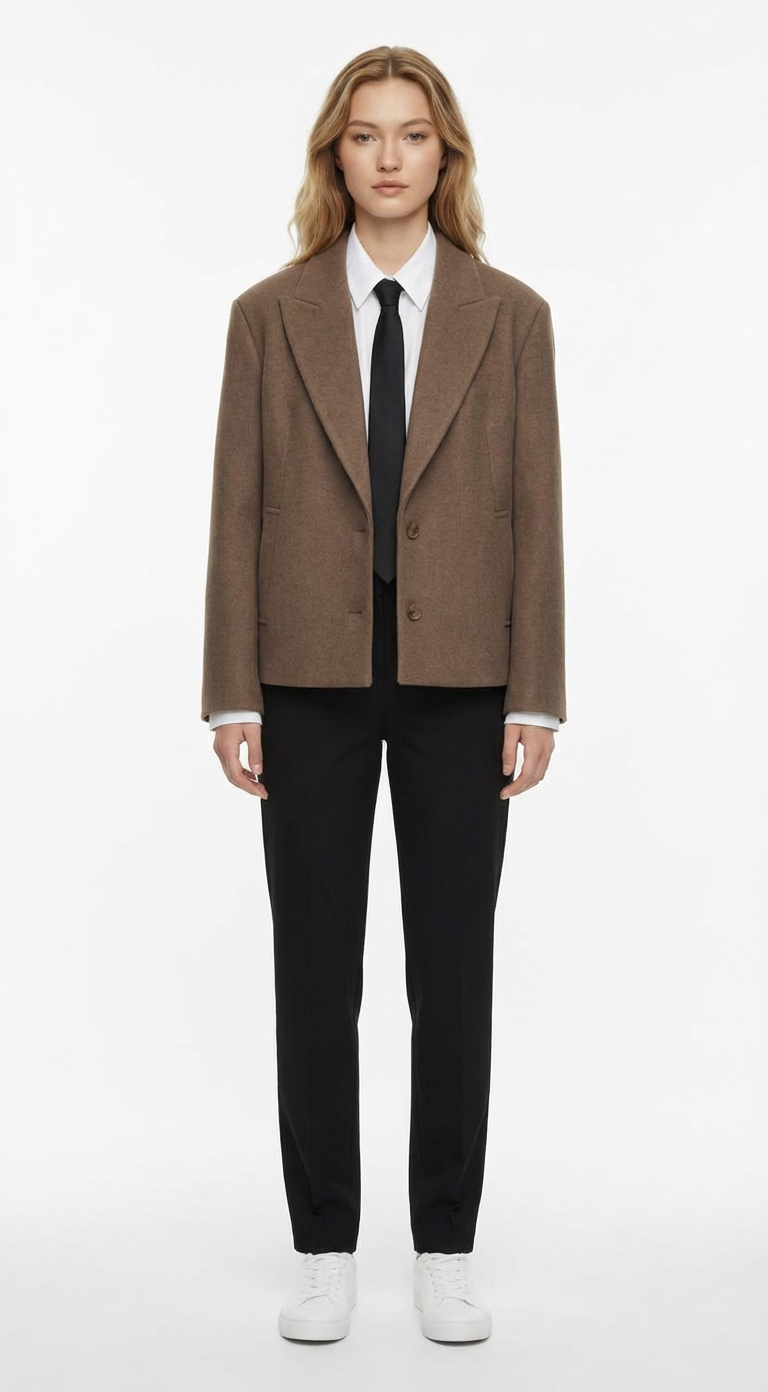
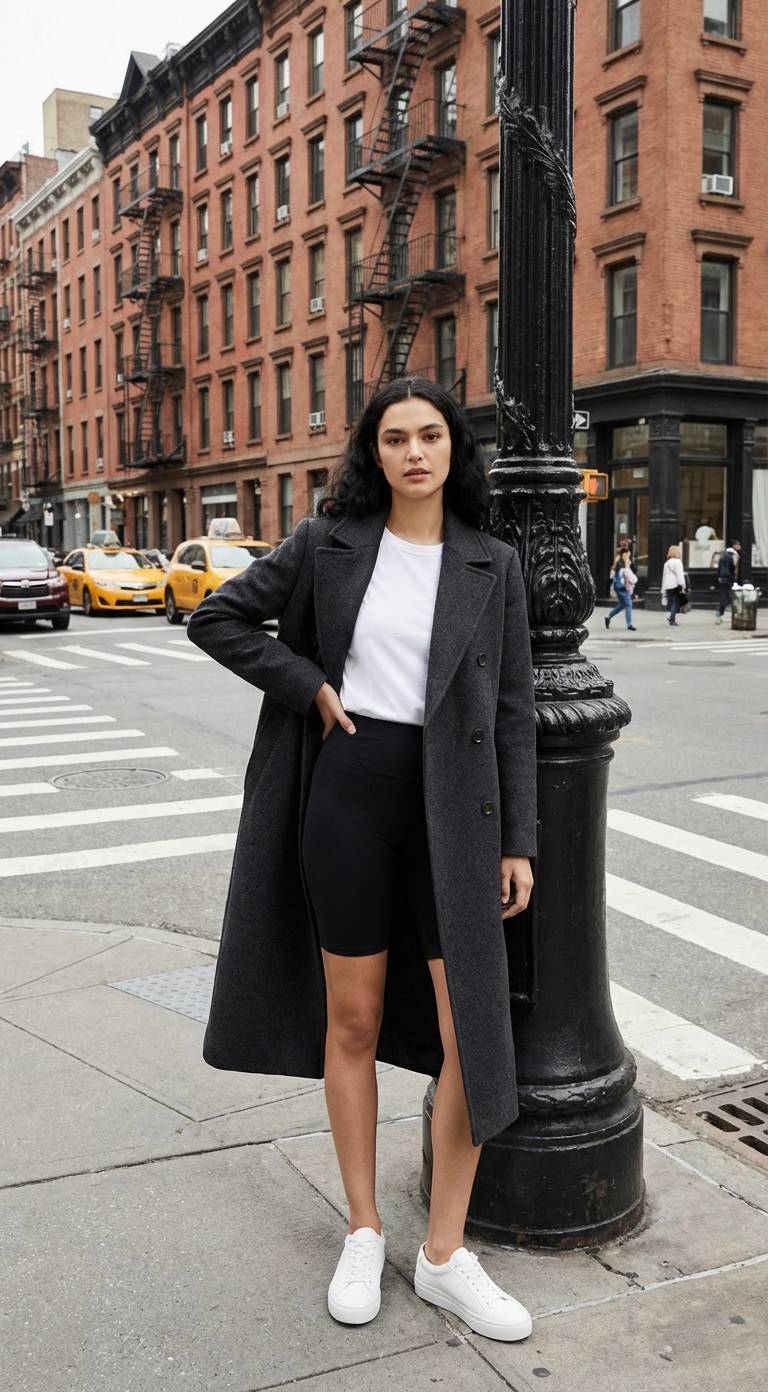
Each pair below started as one garment photo. No model, no set, no shoot day. The image on the right is what came back from a single run.
What Can You Try On?
You can style a whole outfit in one run. AI clothes try-on takes up to 5 pieces at a time, and you can mix categories freely.
Tops
Shirts, tees, blouses, knitwear. A flat lay on a plain background keeps prints and necklines sharp.
Bottoms & denim
Trousers, skirts, jeans. Lay them flat and straight so the cut and the leg shape survive.
Dresses
From slip dresses to gowns. Ghost-mannequin shots work best here, because they already show how the silhouette falls.
Outerwear
Coats, jackets, blazers. Shoot them closed or open, exactly as you want them worn in the result.
Shoes
Sneakers, heels, boots. Add them as their own image alongside the rest of the outfit.
Accessories
Bags, hats, jewelry. Drop them into the same run as the clothes and the AI styles the lot together.
AI Virtual Try-On for Wedding Dresses
One gown can carry a train, a veil, beading, lace appliqué and three different fabric weights at once, which makes bridalwear both the hardest category to photograph well and the most expensive to get wrong. Most bridal retailers also hold stock they cannot afford to sample, ship or put in front of a camera. AI try-on for wedding dresses puts every gown in the range on a model while the stock stays on the rail.
Mechanically a wedding dress is just another garment: upload the gown, pick a model, run. What changes is how much the source photo matters. Volume is the part the AI has to infer, so a gown shot hanging or on a mannequin beats one folded on a table by a wide margin. From those it can see where the silhouette breaks, how the skirt falls away from the waist, and how long the train really is.
Photograph the gown with its shape
Hang the dress or put it on a mannequin. That is how the AI reads the silhouette, the waistline and the true length of the train.
Add the veil and accessories separately
Upload the veil, the headpiece or the shoes as their own images in the same run, up to five pieces in total, and the AI styles the complete bridal look.
Choose the setting in the prompt
Describe the venue: "a sunlit chapel aisle", "a garden ceremony at golden hour". The gown stays exactly as uploaded while the scene changes around it.
Lace, beading and embroidery live or die on resolution. Run bridal assets on Nano Banana Pro at 2K or 4K so the detail holds up when a customer zooms in, then send the still to the AI fashion video generator for a short clip of the dress in motion.
What Are the AI Models?
The Model picker decides which engine renders your image. Try-On offers two, both from Google, and they differ in fidelity, speed and what a run costs.
Best quality
Nano Banana Pro
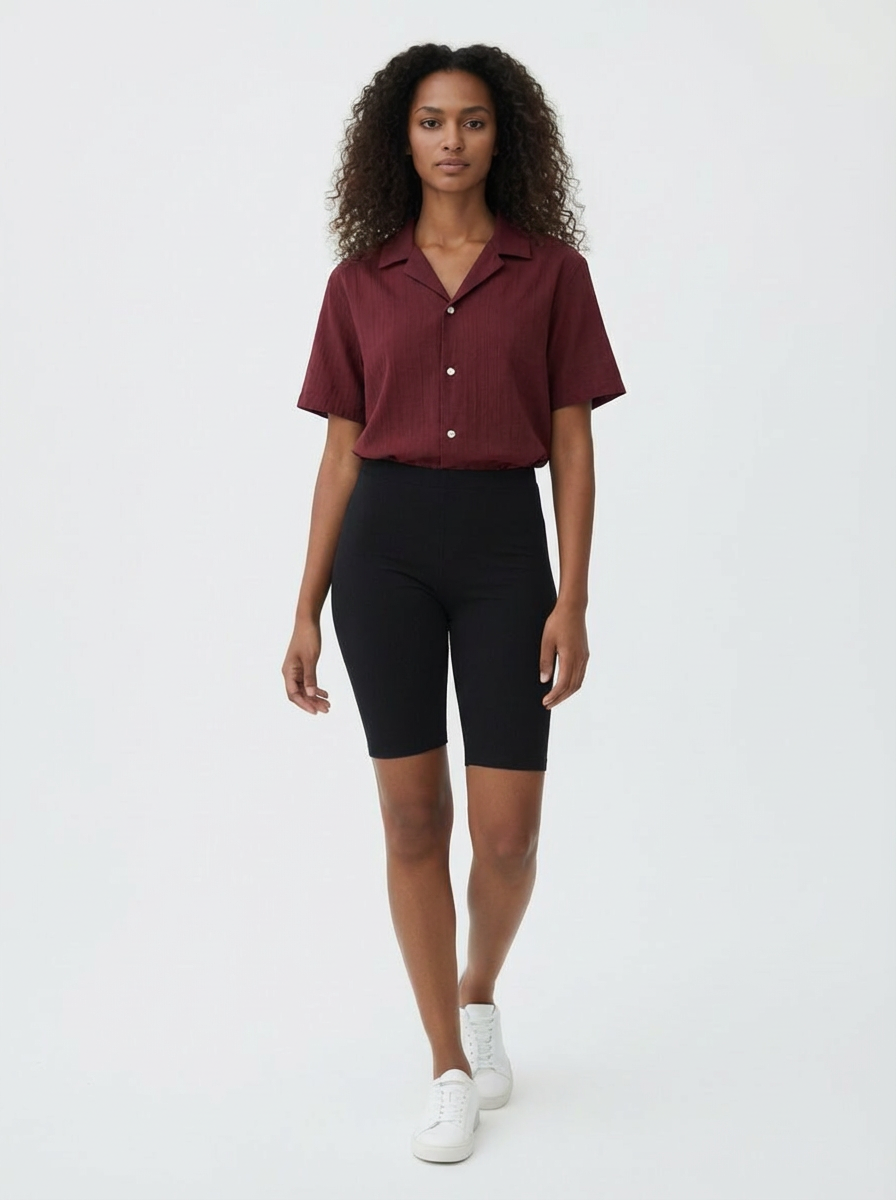
Google's flagship image model, and the only one here with a resolution picker: 1K, 2K or 4K. It holds fabric texture, stitching and print detail together better than the standard model. Use it for anything going onto a product page, an ad or a campaign.
 Fast & affordable
Nano Banana
Google's standard image model. Fewer credits per run, a quicker turnaround, slightly less fine detail. This is the one for trying combinations out before you commit credits to a final render.
The workflow most people settle on: draft on Nano Banana until the outfit and the scene are right, then re-run the winner on Nano Banana Pro at a higher resolution.
How Does AI Virtual Try-On Render Fabric Texture and Wrinkles Realistically?
A denim jacket comes back with stiff, structured creases. A silk slip comes back with soft ones that follow the body. The AI works that out from your garment photo alone, reading the weave and the weight, then rendering folds that suit the material on the pose you gave it. Ribbing, knit texture, stitching and print alignment get rebuilt at the new scale and angle, and the shadows the garment throws onto the body are matched to the light already in the model photo.
How much of that survives depends on your upload. A sharp, evenly lit garment shot gives the AI more texture to work from, which is why the same piece can come back flat from one source image and convincing from another.
- Shoot the garment in even light. Harsh shadows in your photo get read as part of the fabric.
- Run final assets on Nano Banana Pro at 2K or 4K when customers will zoom in on weave and stitching.
- For prints and logos, fill the frame with the garment so the pattern is resolved instead of guessed at.
Choosing an Aspect Ratio
The aspect ratio sets the shape of the finished image. Decide it before you run, because cropping afterwards cuts into the model.
Auto
Matches your model photo's original framing
1:1
Product cards and marketplace listings
4:5
Instagram feed posts and lookbooks
9:16
Stories, Reels, and TikTok
16:9
Website banners and hero sections
Picking a Resolution
Resolution sets the pixel size of the finished image. Higher resolutions cost more credits, so match the setting to where the image is going instead of always reaching for the maximum.
1K
Drafts, social posts, quick iteration. Sharp enough for most on-screen use.
2K
Product pages and ads, where customers zoom in on fabric and detail.
4K
Print, billboards and campaign hero shots that need every pixel.
How Do You Change the Background?
The Background field sets where the shot happens. It is optional, and leaving it alone keeps whatever setting your model photo already had. Pick one of the 28 built-in backgrounds and the AI rebuilds the scene around the model while the garment stays exactly as you uploaded it.
Studio backdrops
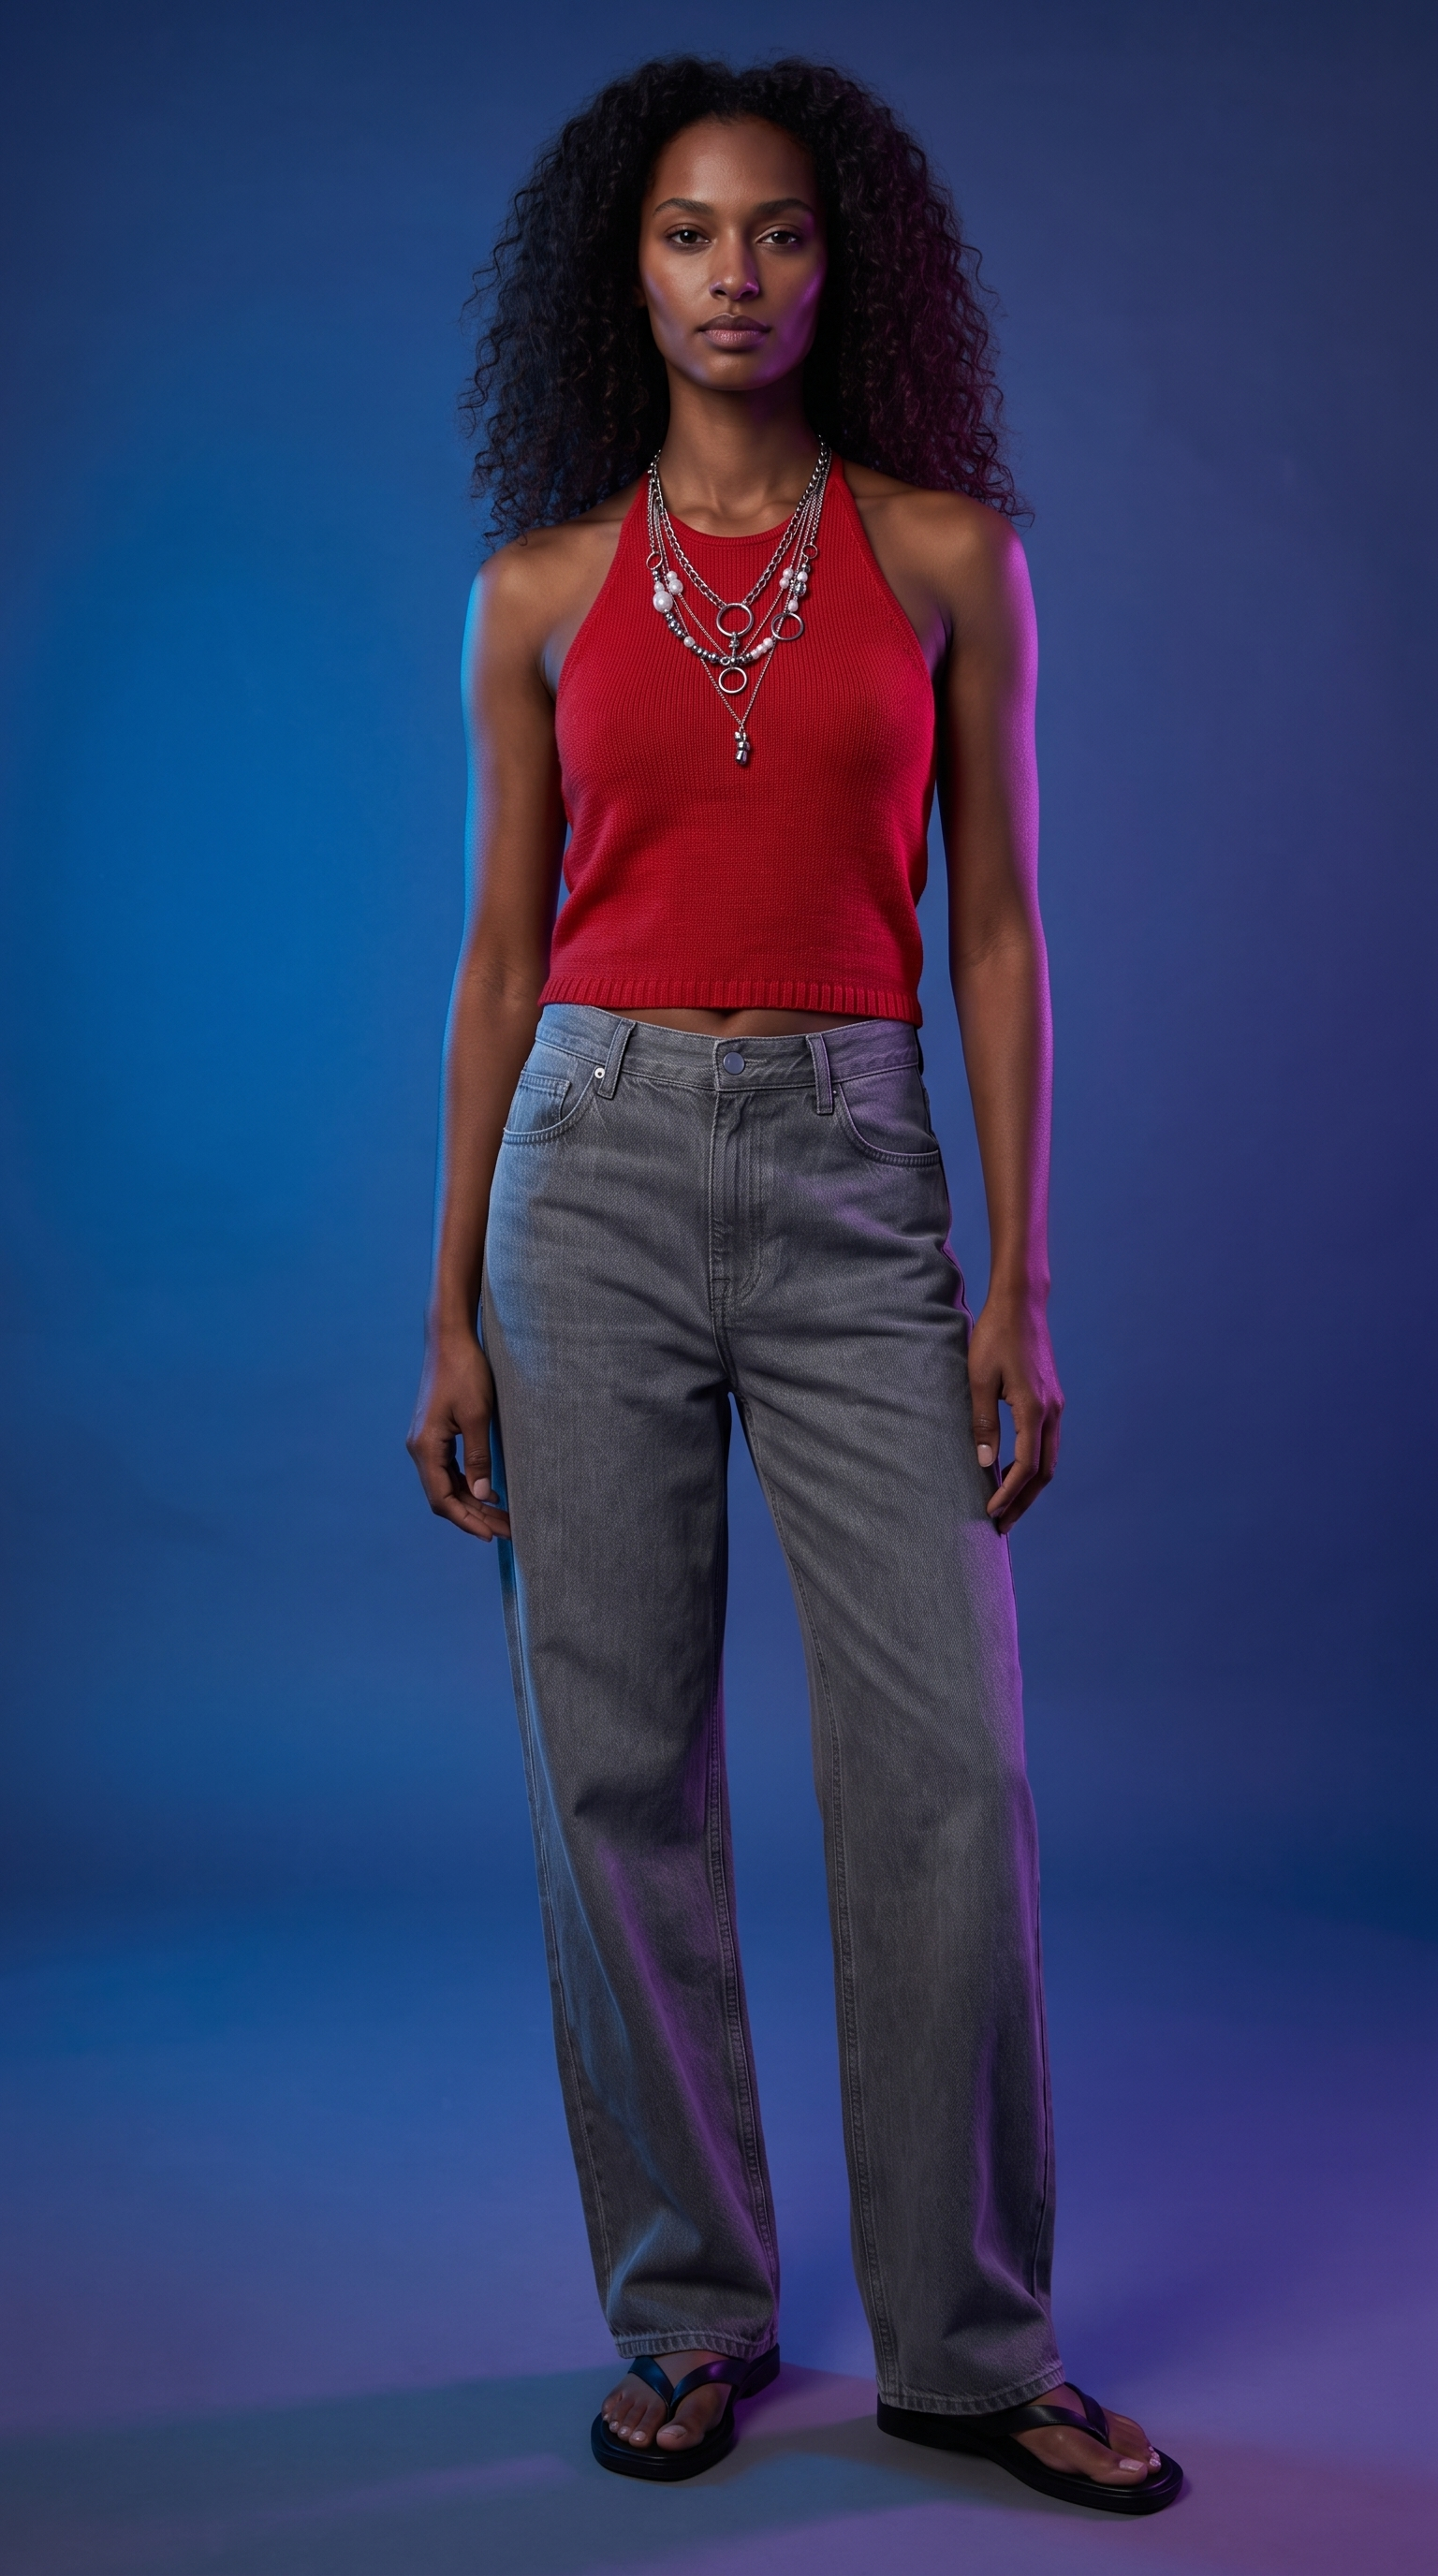
Seamless White, Warm Sand, Pastel, Editorial Grey and Colored Gel. The safe choice for product pages and listing grids, where a clean sweep keeps every SKU looking shot on the same day.
Architecture and interiors
Terracotta Wall, Gallery, Arched Corridor, Brutalist, Concrete Steps, Glass Facade, Marble Hall and Desert Modernism. Hard light and strong lines, which suit tailoring and outerwear.
Outdoor and resort
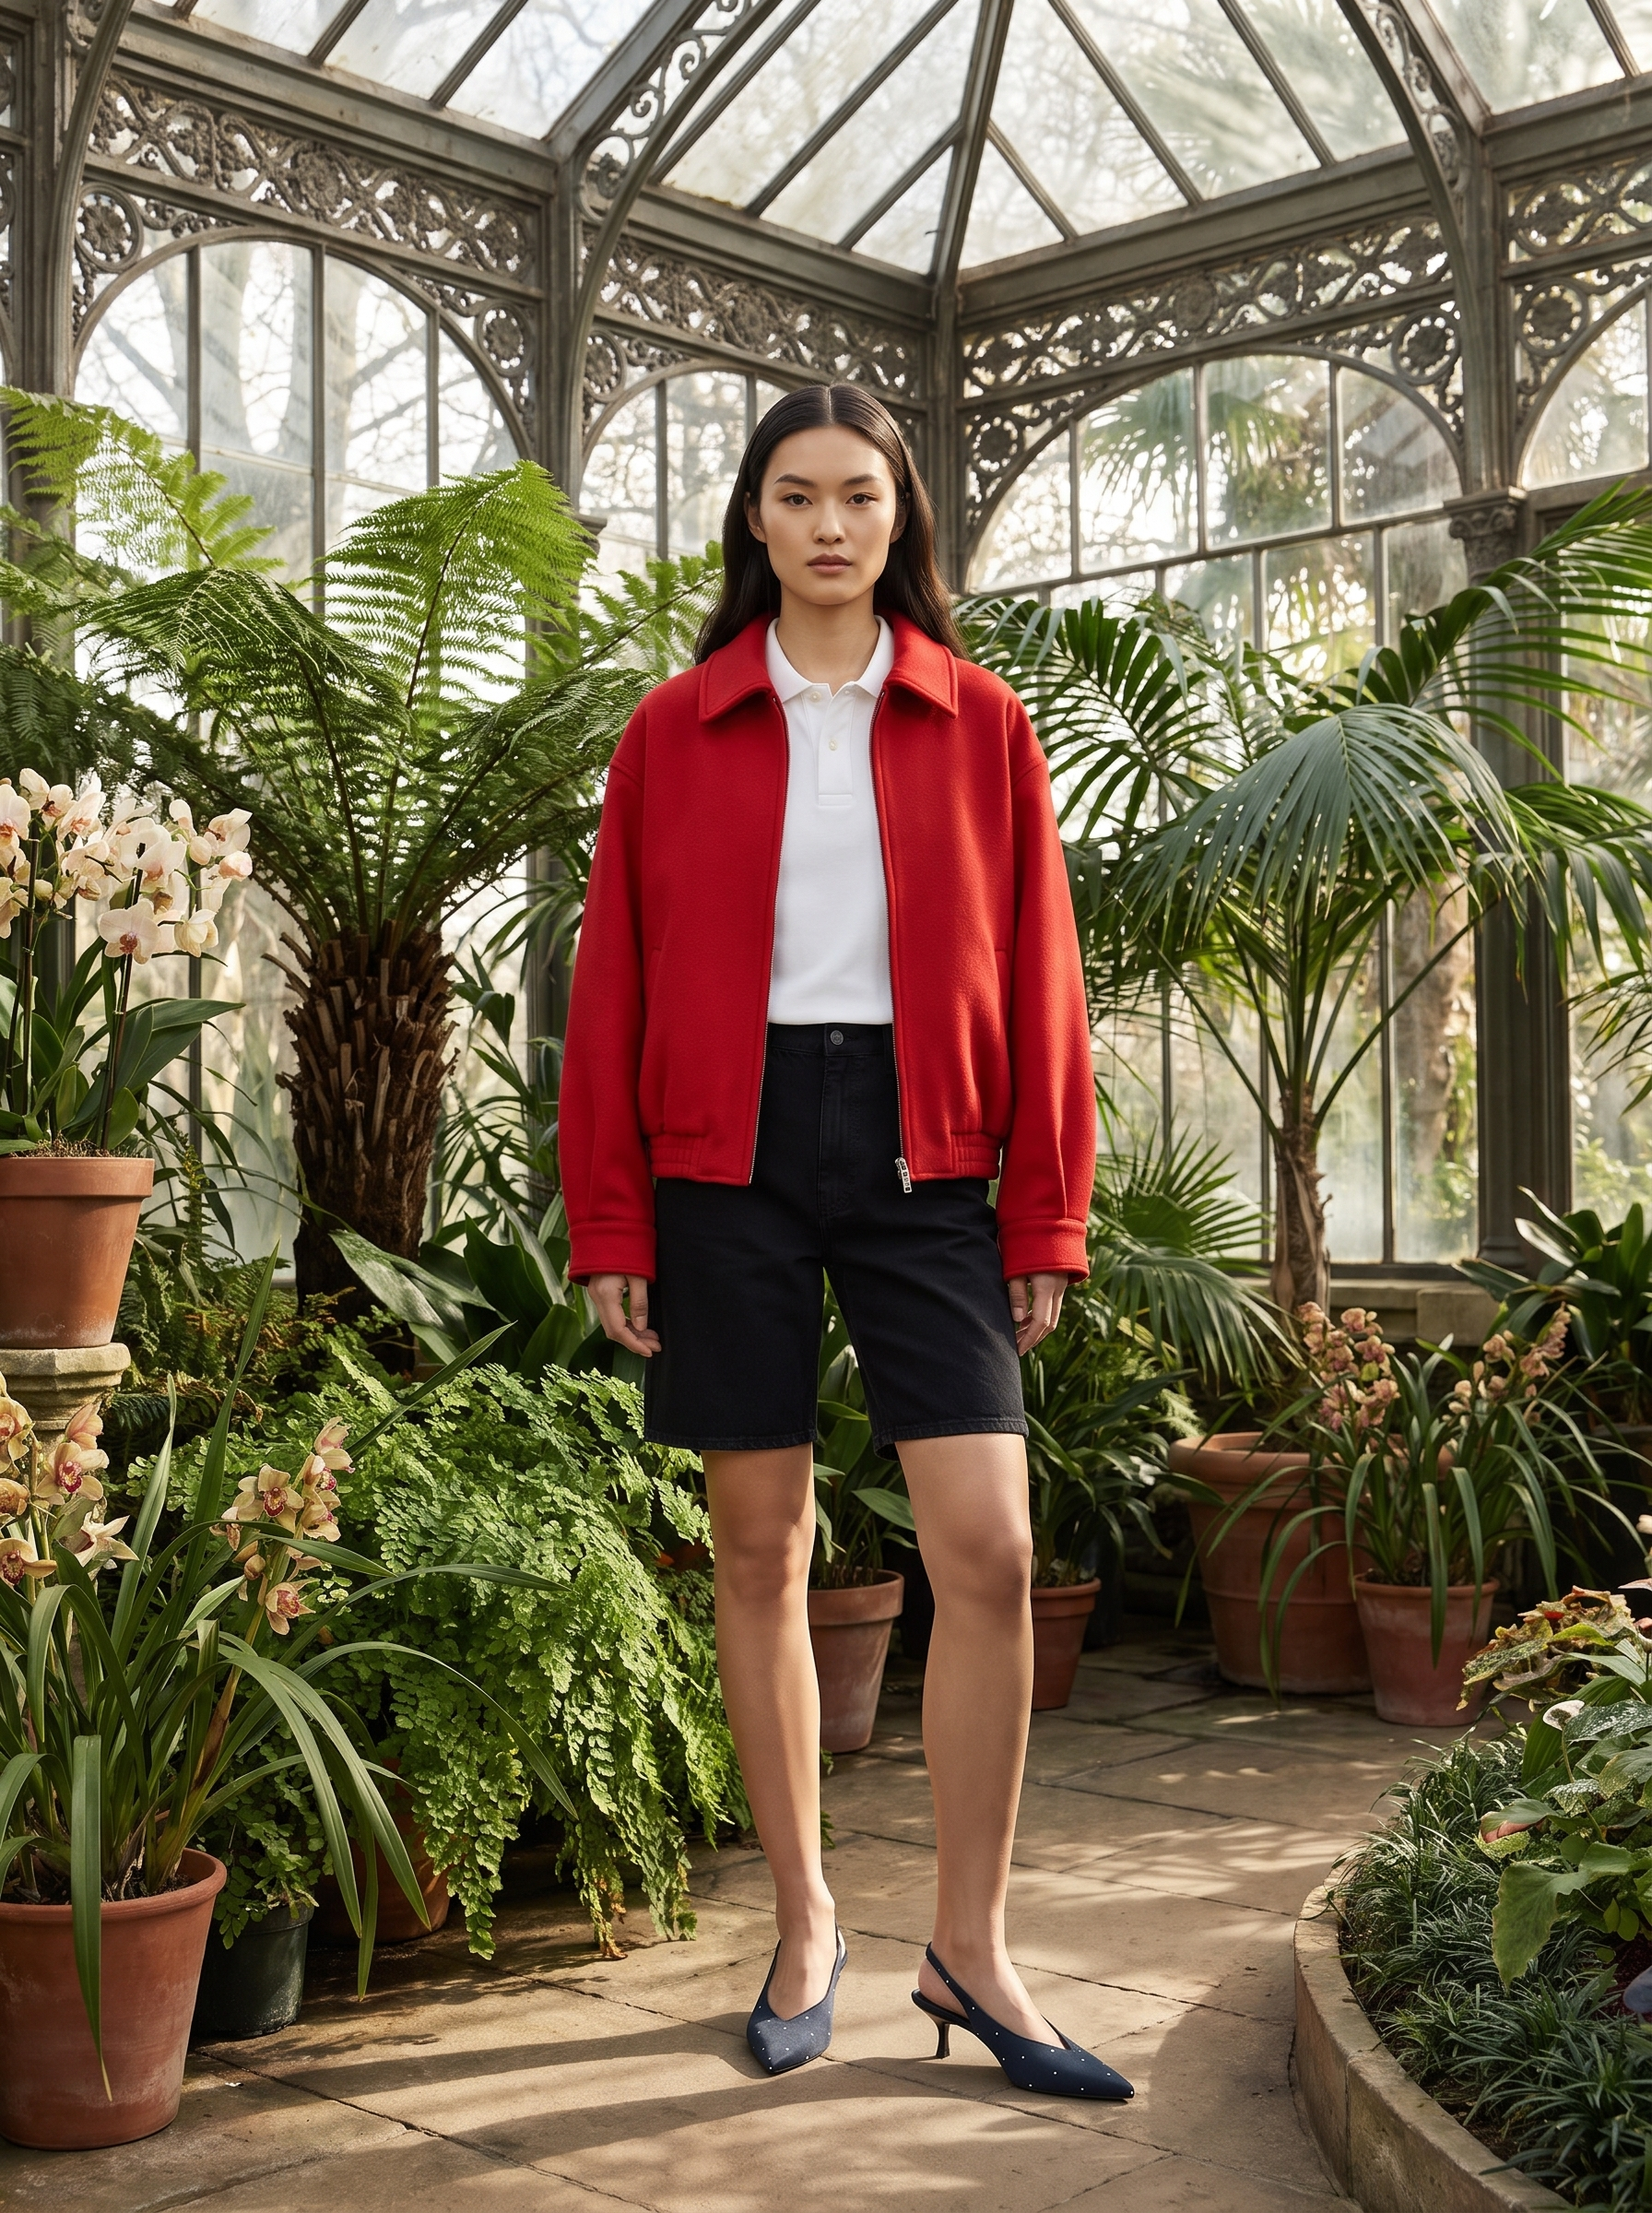
Poolside, Palm Garden, Citrus Grove, Greenhouse, Boardwalk, Midday Beach, Marina and Santorini. Warm daylight for swimwear, linen and anything selling into a summer season.
City
Industrial Alley, Subway Platform, Rooftop City, London Townhouse, Paris Street, Milan Arcade and New York Streets. Street-fashion context for campaign imagery and social.
The picker shows a thumbnail of every background, so you can see the light before you spend credits. For a setting that is not in the list, leave the field empty and describe the location in the prompt instead.
Writing Prompts
The prompt is optional. Leave it empty, with no background picked, and the model wears your garments in whatever setting the model photo already had. Write one when you want to direct the scene: the location, the light, the pose, the photographic style.
The prompt steers everything around the garment. Your clothing stays faithful to what you uploaded, so use the field to describe the world you want it photographed in.
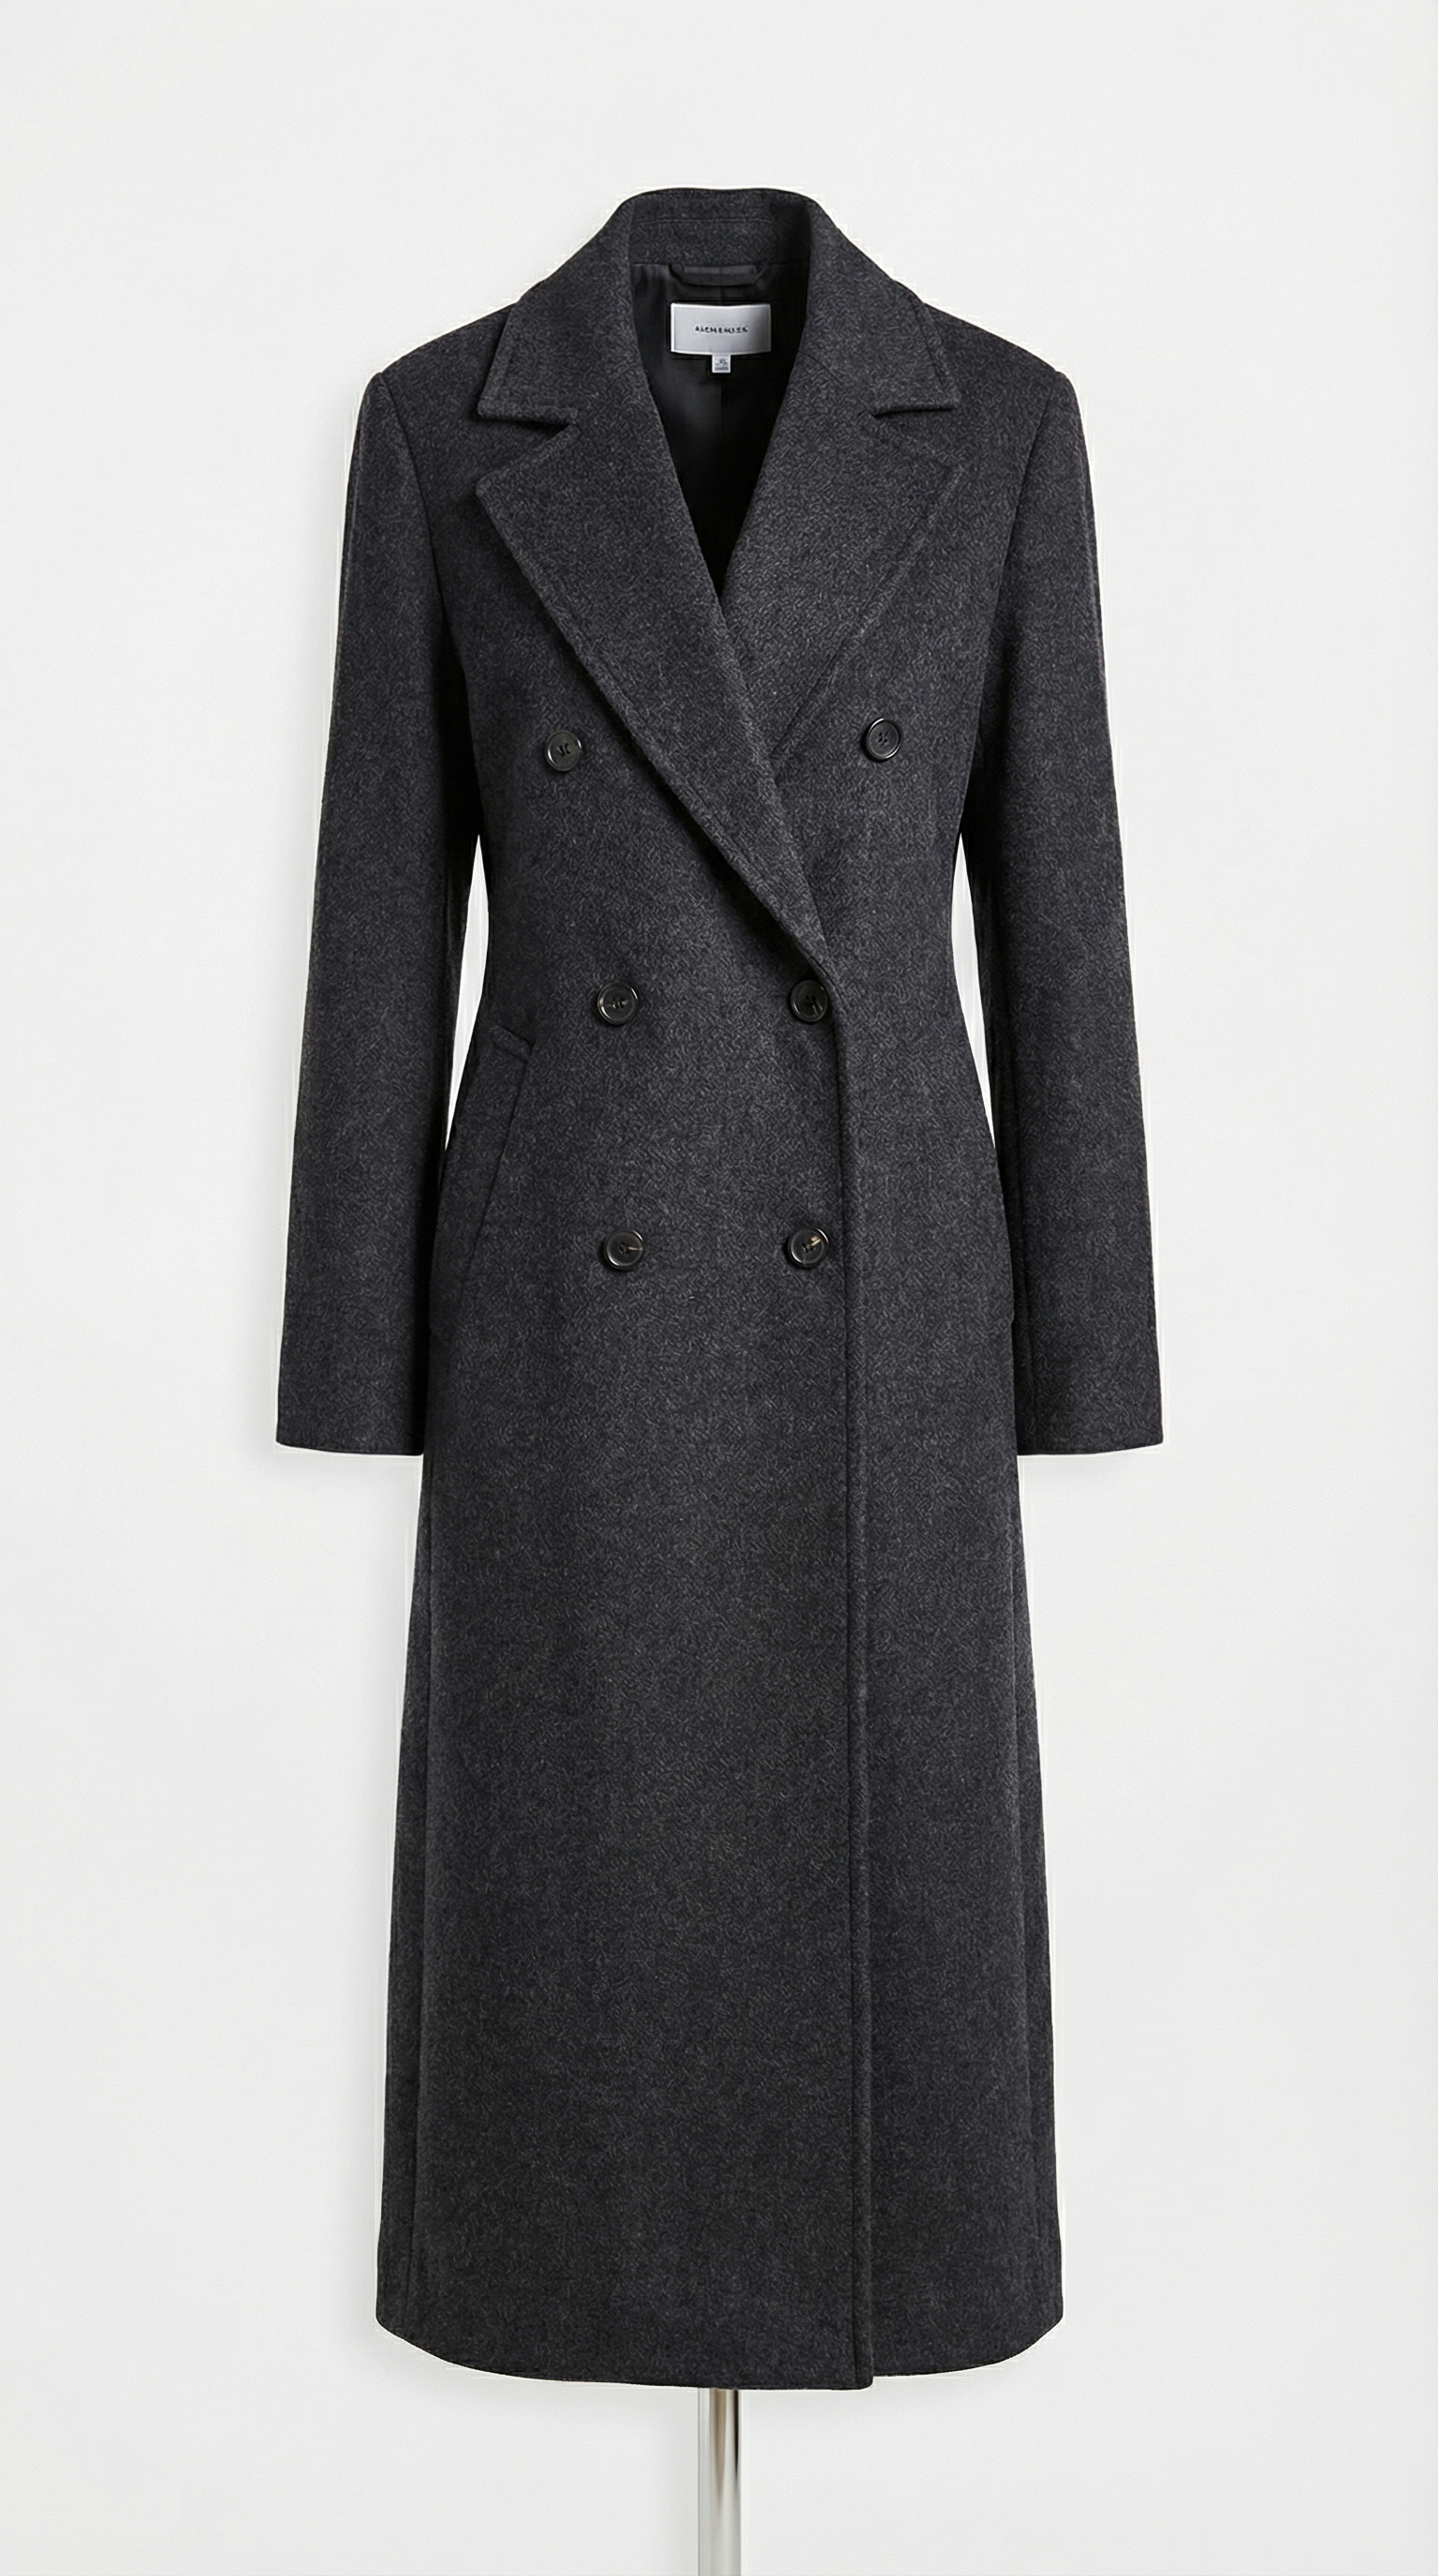
"Dress the model with the dark charcoal double-breasted wool coat from the reference image. She is standing on a New York street corner beside a black street lamp, urban city background, cinematic street fashion photography, natural daylight, realistic fabric texture."
- Name the garment you uploaded so the AI anchors on it: "the uploaded brown blazer".
- Describe the scene: location, background, time of day.
- Set the light: "natural daylight", "soft studio lighting", "golden hour".
- Add a style: "editorial fashion photography", "e-commerce catalog shot".
Common Mistakes to Avoid
When a result disappoints, the input images are almost always the reason. Here are the four patterns we see most often, with the fix for each.
Use a cropped or group photo as the model
Headshots, waist-up crops and group photos leave the AI guessing about who is wearing the garment and how it should sit.
Use a full-body photo of one person
One person, visible head to toe, facing the camera. That gives the AI a whole silhouette to fit the garment against.
Upload blurry or cluttered garment shots
Low-resolution photos, busy backgrounds and folded garments hide the detail the AI needs, and the texture and cut go missing with it.
Use sharp images on a clean background
A well-lit flat lay or ghost-mannequin shot on a plain background carries the fabric, the print and the stitching through to the result.
- Want a different background? Pick one from the Background field, or describe it in the prompt when the list has nothing close. Touch neither and the model photo's own setting is kept.
- Garment details looking soft? Re-run with Nano Banana Pro at 2K or higher.
- Layering several garments? Add each piece as a separate image instead of one combined photo.
Can Virtual Try-On Be Used for Batch Product Images?
Yes, once you know how a run is counted. One run makes one image from up to five garment photos, and the AI styles those into a single outfit on a single model. One run, one outfit.
Covering a catalog is therefore a matter of queueing. There is no spreadsheet import, but you can keep 7 generations processing at the same time, and each result appears in History the moment it lands, so you can set the next products up while the earlier ones render. Thirty product and model combinations move through in batches of seven.
What to Do With Your Results
A try-on image is usually a starting point. Everything in your History can go straight into the other studios.
- Image Upscale scales your result up to 4K for print and campaign use.
- Background Changer swaps the scene without re-running the try-on.
- Reframe extends the image to a new aspect ratio for banners and stories.
- Image Generation Studio restages the scene, changes the pose, or turns the result into new campaign visuals.
- Video Studio animates your on-model image into a short fashion video.
- UGC Try-On Video turns a product and a model into a ready-to-post UGC-style clip.
Flat Lay, Ghost Mannequin, On-Model: What's the Difference?
Flat lay
A garment photographed from above on a flat surface. The simplest input there is, and a phone photo on a clean background is enough.
Ghost mannequin
A garment shot on a mannequin that gets removed in post, leaving the 3D shape behind. A strong input, since it already shows how the piece holds its form.
On-model photo
A garment worn by a person. It is what the studio produces, and it also works as an input when you restyle an existing product photo.
Frequently Asked Questions
Ready to see your products on a model?
Sign up free and run your first virtual try-on in under a minute.
Get Started