How to Turn a Product Photo into a Video with AI (Step-by-Step Guide)
10 min readImage-to-video AI turns the product photos you already have into short videos for product pages, Reels, TikTok and ads, without filming. This guide covers how to pick the right photo, write motion prompts that work and choose the length and format for each channel.
What you'll find in this article
- Can AI turn a product photo into a video?
- What kind of product videos can you make from a photo?
- How do you turn a product photo into a video, step by step?
- How do you choose the right photo for image to video AI?
- How do you write a motion prompt that works?
- How long should a product video be, and which format?
- Which image to video AI model should you use?
- What are the common mistakes, and how do you fix them?
- Frequently asked questions
To turn a product photo into a video, upload the photo to an image to video AI tool as the first frame, write one line describing the motion, choose the length and format, and run it. Photo to video AI keeps your product, outfit and scene from the photo and adds movement, such as a slow camera push-in or a model turning, in a short clip.
Key takeaways
- Image-to-video AI uses your product photo as the first frame and generates motion from a short text prompt.
- The first frame decides the outfit, person and location, so the prompt should describe motion, not a new scene.
- A good motion prompt says what moves, how the camera moves, how fast, and what must not change.
- Pick the final aspect ratio before you generate, because a finished video is not resized afterwards.
- Short loops of 2-5 seconds suit product pages, 6-10 seconds suits ads and Reels, and 10-30 seconds suits campaign storytelling.
Can AI turn a product photo into a video?
Yes, AI can turn a product photo into a video: image-to-video AI uses the photo as the first frame and generates motion from a short text prompt. The video starts from exactly your photo, so the product, the model and the setting look the way you shot them. The AI adds what happens next, such as a camera move, fabric in motion or a model turning.
A typical result is a short, smooth clip of a few seconds. A handbag rotates slowly under soft light, a dress sways as the model walks, or the camera glides in on a jacket's details. These clips are used on product pages, in Instagram Reels and TikTok, in paid social ads and in campaign films.
The method works with any clear photo you already have, whether a packshot, a flat lay or an on-model image. Searches for "pic to video AI" and "picture to video AI" describe the same process.
What kind of product videos can you make from a photo?
From a single photo you can make product loops, social clips, ad variations, campaign clips and transitions between two images.
Product loops for product pages
A product loop is a 2-5 second clip with one subtle movement, such as a slow push-in or a gentle rotation. Loops sit next to product photos in the gallery and show material and shape better than a still.
Reels and TikTok clips
Vertical clips of 6-10 seconds work for Reels, TikTok and Stories. Start with movement from the first second, such as a model walking toward the camera. For creator-style clips where a person tries on and talks about a product, an AI UGC try-on video generator is built for that format.
Ad creatives with motion variations
One product photo can produce several ad variations by changing only the motion prompt. A slow push-in, an orbit and a fabric close-up give you different creatives to test from the same image.
Campaign clips
Clips of 10-30 seconds suit storytelling, walk-throughs and mini campaign films. To plan the stills that feed those clips, see our guide on how to create a fashion campaign with AI.
Start-to-end frame transitions
With a start frame and an end frame, the AI animates the transition between two images. Use it for an outfit reveal, a pose change or a move from a flat lay to an on-model shot.
How do you turn a product photo into a video, step by step?
Turning a product photo into a video takes six steps, from choosing the frame to downloading the clip. The steps below follow the Fash Studio Create Videos flow, and most AI image to video generator tools work in a similar order.
- Choose a strong first frame. Pick a sharp photo that already shows the product, person and setting you want in the video. The whole clip grows from this one image.
- Upload it as the first frame. Any photo can be the first frame: a product shot, an on-model image or a previous generation. If the model supports end frames, you can add a second image for the clip to land on.
- Write a one-line motion prompt. Describe what moves, how the camera moves and the pacing. Turn on Enhance if you want the AI to expand a short line into a fuller motion brief.
- Choose the model, length, aspect ratio and resolution. Match the length and ratio to the channel, using the table further down. Draft at 480p while you refine the motion, then render the final at 720p for social or 1080p for product pages and ads.
- Run. The Run button shows the exact credit price before you press it, and the cost depends on the model, resolution and duration. Most runs finish in under a minute.
- Review and download. Watch the clip for product accuracy and smooth motion, then download it from History. If the motion is wrong, adjust the prompt and run again.
How do you choose the right photo for image to video AI?
The right photo for image to video AI is a sharp, well-composed frame that already shows the final outfit, person and location, with room around the product to move. The AI keeps your frame, so the photo sets the ceiling for the video.
- Sharp and well lit. Blur, noise and harsh shadows do not disappear in motion. They get more visible as the frame moves.
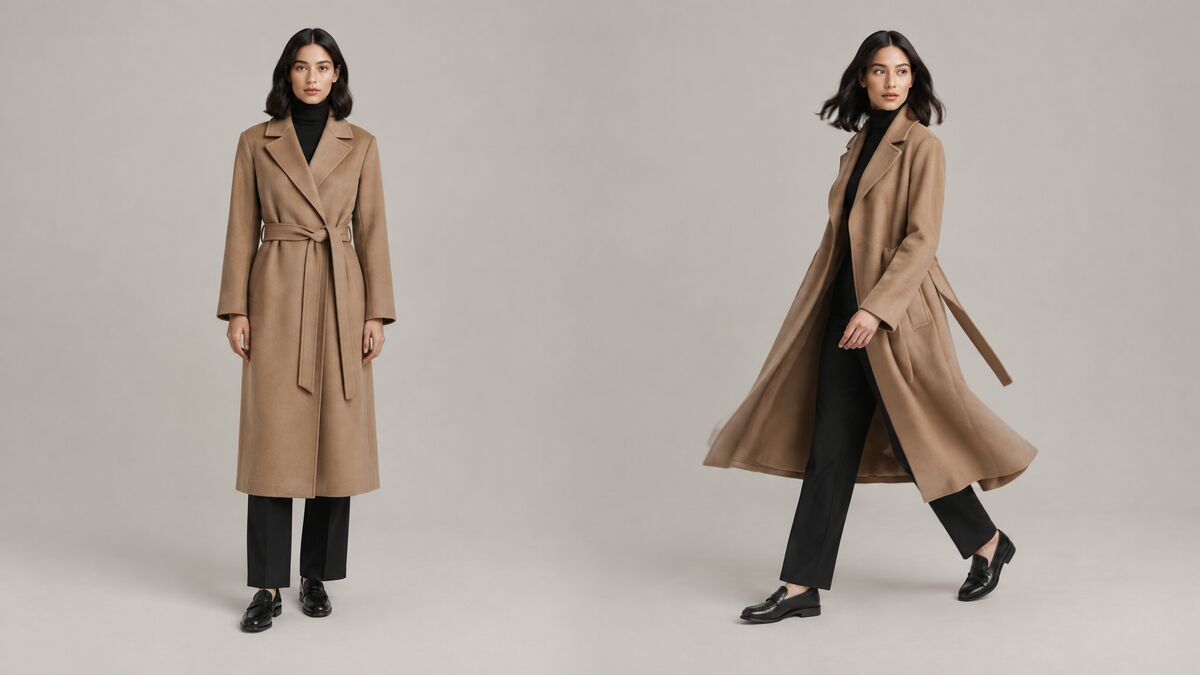
- Room to move. Leave space around the product or model. A camera push-in, a turn or a swinging coat needs empty space in the frame. If your photo is cropped too tightly, an AI image extender can widen the canvas before you animate.
- The right scene already in place. Image-to-video keeps the outfit, the person and the location from your photo. Asking the prompt for a different scene fights the input and tends to produce warping.
- A clean composition. Clutter, stray objects and awkward crops are amplified once the frame starts moving.
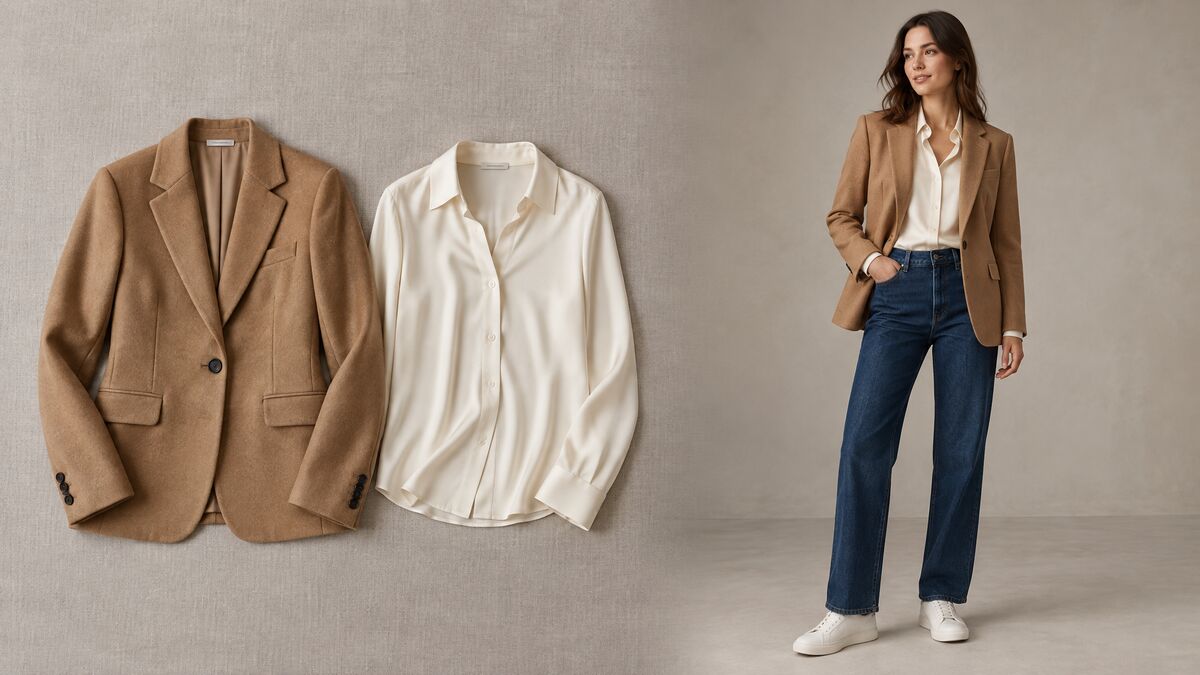
If you only have a flat lay or ghost-mannequin photo but want a model in the video, create an on-model first frame with AI virtual try-on and animate that. Use only model photos you have the rights and the person's consent to use.
How do you write a motion prompt that works?
A motion prompt works when it answers four questions: what moves and how, how the camera moves, how fast, and what must not change. The first frame already fixes the subject and scene, so the prompt only carries the movement.
- What moves, and how? Name the subject and the action, such as "the model turns slowly" or "the fabric ripples."
- How does the camera move? Static, slow push-in, pull-back, orbit or a slow pan.
- What is the pacing? Slow and calm for luxury products, quicker for energetic social clips.
- What must not change? State that the product, the face or the background stays the same.
Example prompts for fashion and product shots:
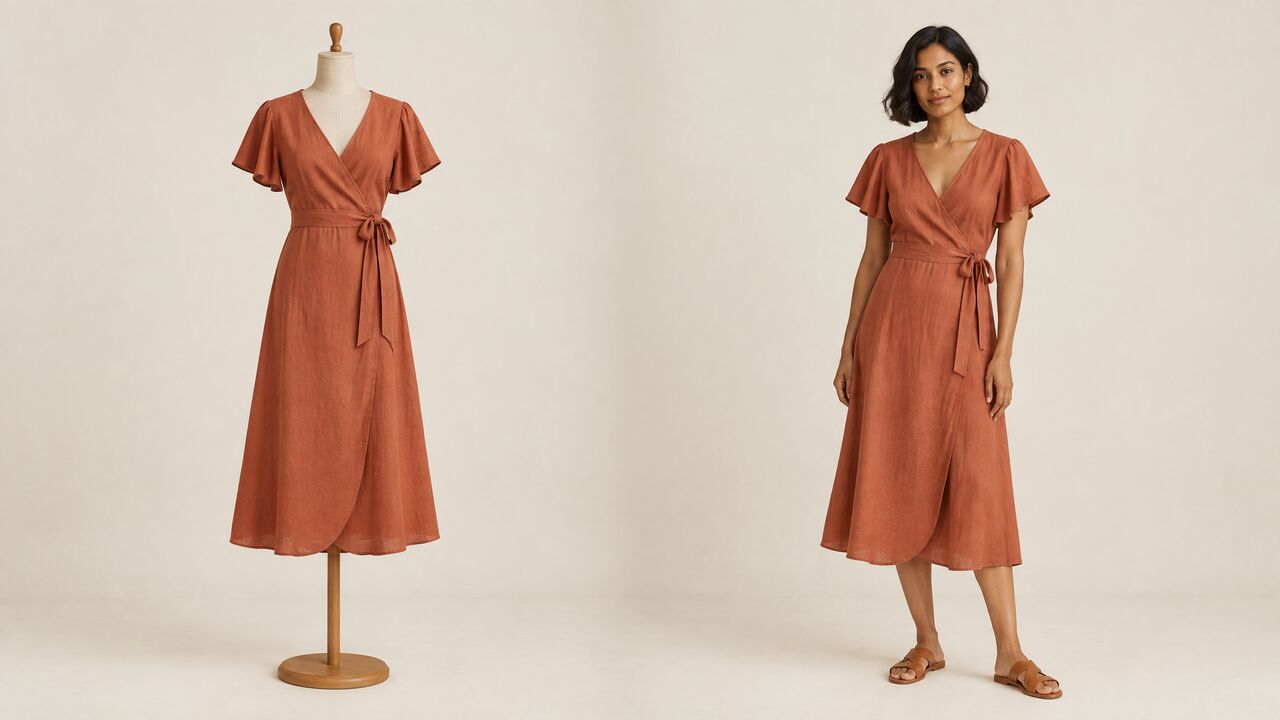
The model turns slowly to show the back of the jacket, then turns back to face the camera. Static camera. The jacket stays unchanged.Slow push-in on the handbag, ending close on the gold clasp. The bag and background stay still.A light breeze moves the hem and sleeves of the linen dress. The model stands still. Static camera, calm pacing.The camera orbits slowly around the sneaker on the plinth. Soft light moves across the leather. Smooth, steady motion.The model walks toward the camera with a relaxed stride. Slow pull-back. The outfit and the street stay unchanged.Close-up of the knit sweater; the camera glides slowly across the texture from left to right. No other movement.
Keep the prompt to one or two sentences and one main action. If you are unsure how to phrase it, the Enhance option expands a short prompt into a fuller motion brief. To copy an exact movement from a reference video instead of describing it, use Kling motion control.
How long should a product video be, and which format?
A product video should be 2-5 seconds for loops, 6-10 seconds for ads and Reels, and 10-30 seconds for storytelling. The aspect ratio should match the channel. Use this table as a starting point:
| Channel | Recommended length | Aspect ratio | Resolution |
|---|---|---|---|
| Product page | 2-5 s loop or 6-10 s clip | 16:9 | 1080p |
| Instagram Reels / TikTok | 6-10 s | 9:16 | 720p |
| Paid social ads | 6-10 s | 9:16 for vertical placements, 1:1 for feed posts | 1080p |
| Marketplace tile | 2-5 s loop | 1:1 | 1080p |
| Website hero | 10-30 s | 16:9 | 1080p |
For catalog and lookbook formats, 3:4 is another option, and Auto takes the shape from your first frame. Draft at 480p while you test the motion, then render the final at the resolution in the table.
Choose the final aspect ratio before you generate. Nothing resizes after generation, and cropping a finished video cuts away part of the motion.
Which image to video AI model should you use?
Choose the image to video AI model by the job: realism, length, audio or speed. Fash Studio offers 23 video models, and a few cover most product video decisions:
- Kling for physics-driven realism and the most precise motion control. Kling always renders at 1080p, which suits product pages and ads.
- Seedance for cinematic clips, multilingual lip-sync and the widest format range. Seedance 2.5 reaches 30 seconds for campaign storytelling.
- Google VEO 3.1 for a polished clip with generated audio. It always produces 8 seconds.
- Minimax Hailuo 2.3 Pro for the quickest route to a crisp clip: an image or a prompt in, a 6-second 1080p video out. It has no ratio picker and follows the shape of your first frame.
- Gemini Omni Flash for fast clips with audio in 3-10 second durations. It renders at 720p, so it fits social drafts better than product pages.
Thirteen of the 23 models can generate audio, which adds sound to the clip. Voice cloning is not available, so a specific brand voice has to be added in an editor afterwards.
What are the common mistakes, and how do you fix them?
Most weak AI photo to video results come from the input or the prompt, not the model. These five mistakes cover most failed runs:
- Describing a completely new scene. The prompt asks for a beach when the photo shows a studio, and the video warps between the two. Fix: change the scene in the photo first, then describe only the motion.
- A weak first frame. A blurry, cluttered or tightly cropped photo gets worse in motion. Fix: start from a sharp, clean frame with space around the subject.
- Static results. A vague prompt such as "make it move" produces little motion. Fix: name an explicit action and a camera move, such as "slow push-in while the fabric moves in a breeze."
- Glitching or distortion. Hands, faces or product edges warp during the clip. Fix: try a Kling model for more realistic physics, or shorten the duration.
- The wrong aspect ratio for the channel. A 16:9 clip shows up small with black bars in a vertical feed. Fix: choose the channel's ratio before generating, since nothing resizes afterwards.
The quickest way to learn image-to-video is to test one of your own photos. Upload a product photo to Fash Studio's AI product video generator and turn it into your first video.
Frequently asked questions
Do I need video editing skills to turn a photo into a video?
No. With an AI photo to video generator, you upload the photo as the first frame, write one line describing the motion, choose a model and run it. There is no timeline, keyframing or editing software involved.
How long does it take to create a video from a product photo?
In Fash Studio, most runs finish in under a minute. Longer clips and higher resolutions cost more credits, and the Run button shows the exact price before you press it.
Can I add sound or voiceover to an AI product video?
You can add sound on video models that generate audio, which in Fash Studio is 13 of the 23 models. Voice cloning is not available, so the AI cannot speak in a specific brand voice. For that, generate the clip and add your own voiceover in an editor.
Which aspect ratio should I use for Reels and TikTok?
Use 9:16 for Reels, TikTok, Stories and vertical ads. Choose it before generating, because a finished video is not resized afterwards. If a model has no ratio picker, it follows the shape of your first frame, so start from a vertical photo.
Can I use an on-model photo instead of a product shot?
Yes, any clear photo can be the first frame, including an on-model image or a previous generation. An on-model photo lets you animate the model walking, turning or posing in the outfit. Use only photos of people you have the rights and their consent to use.
Do I own the videos I generate?
Fash Studio states that every generated video is fully yours to use on product pages, social media and ads. Uploads are encrypted and are never shared, sold or used for training.
Create your first realistic fashion image in minutes.
Join thousands of brands turning product photos into model imagery, videos, and campaigns.
Get started →