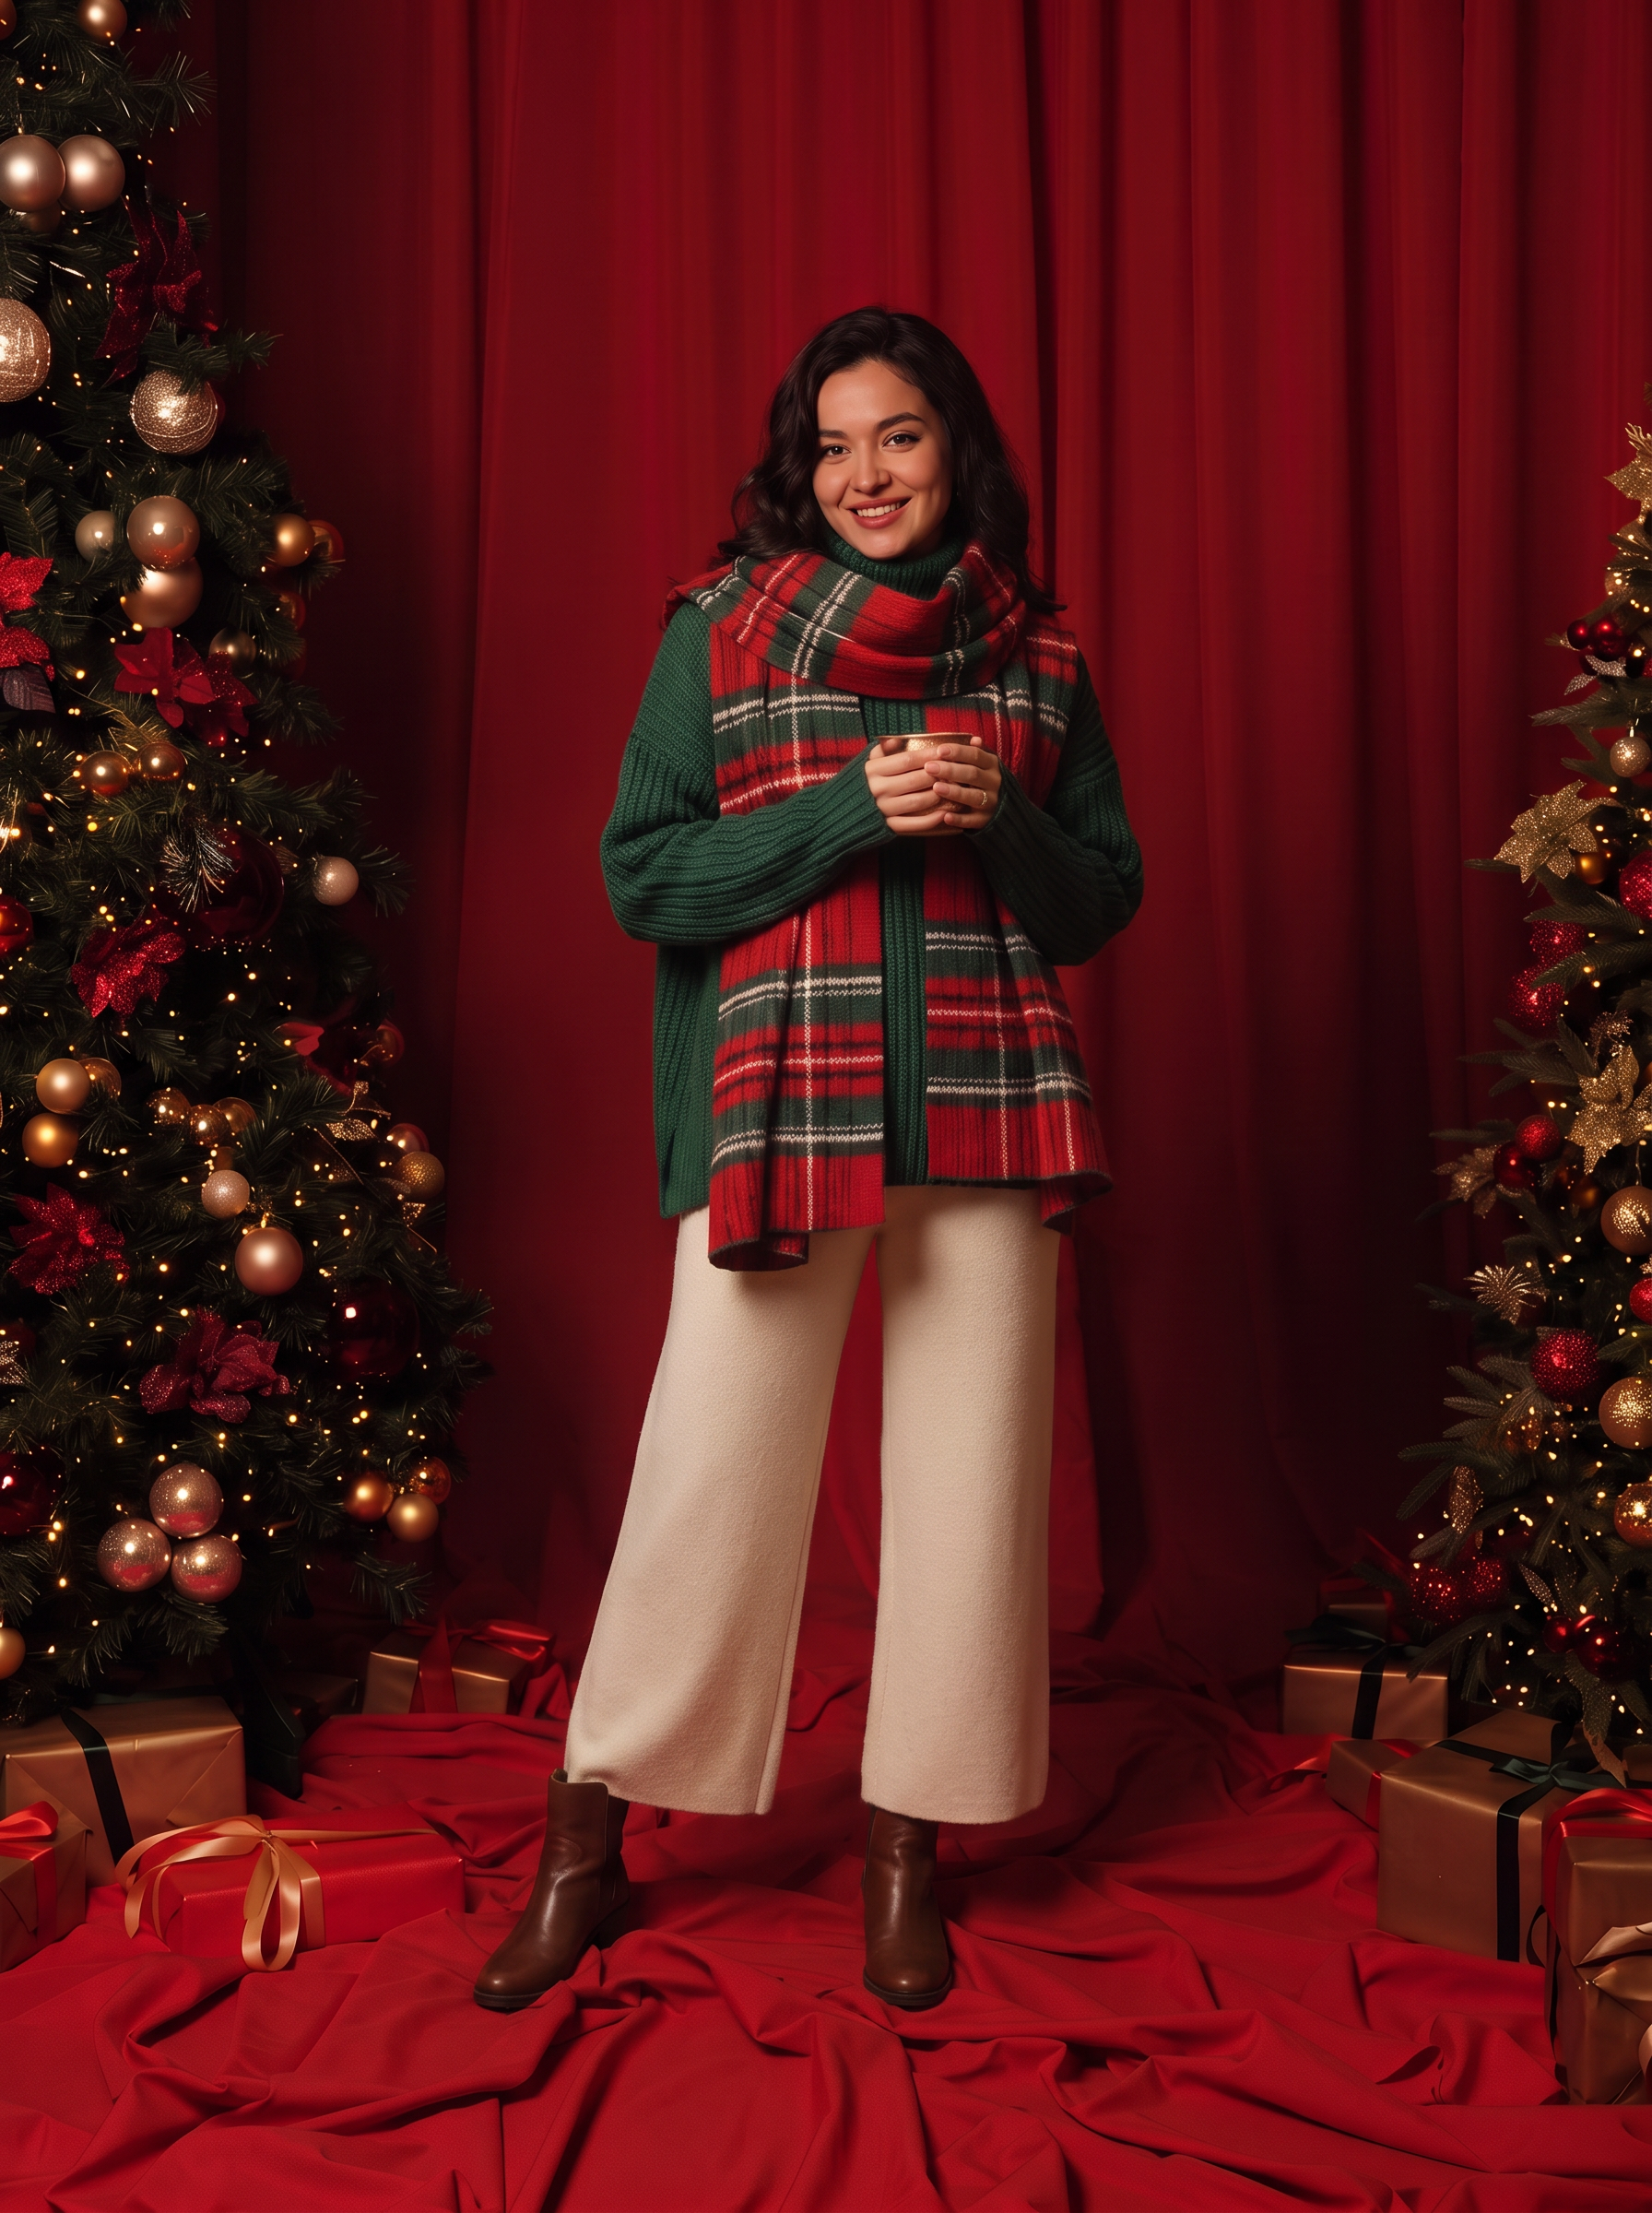
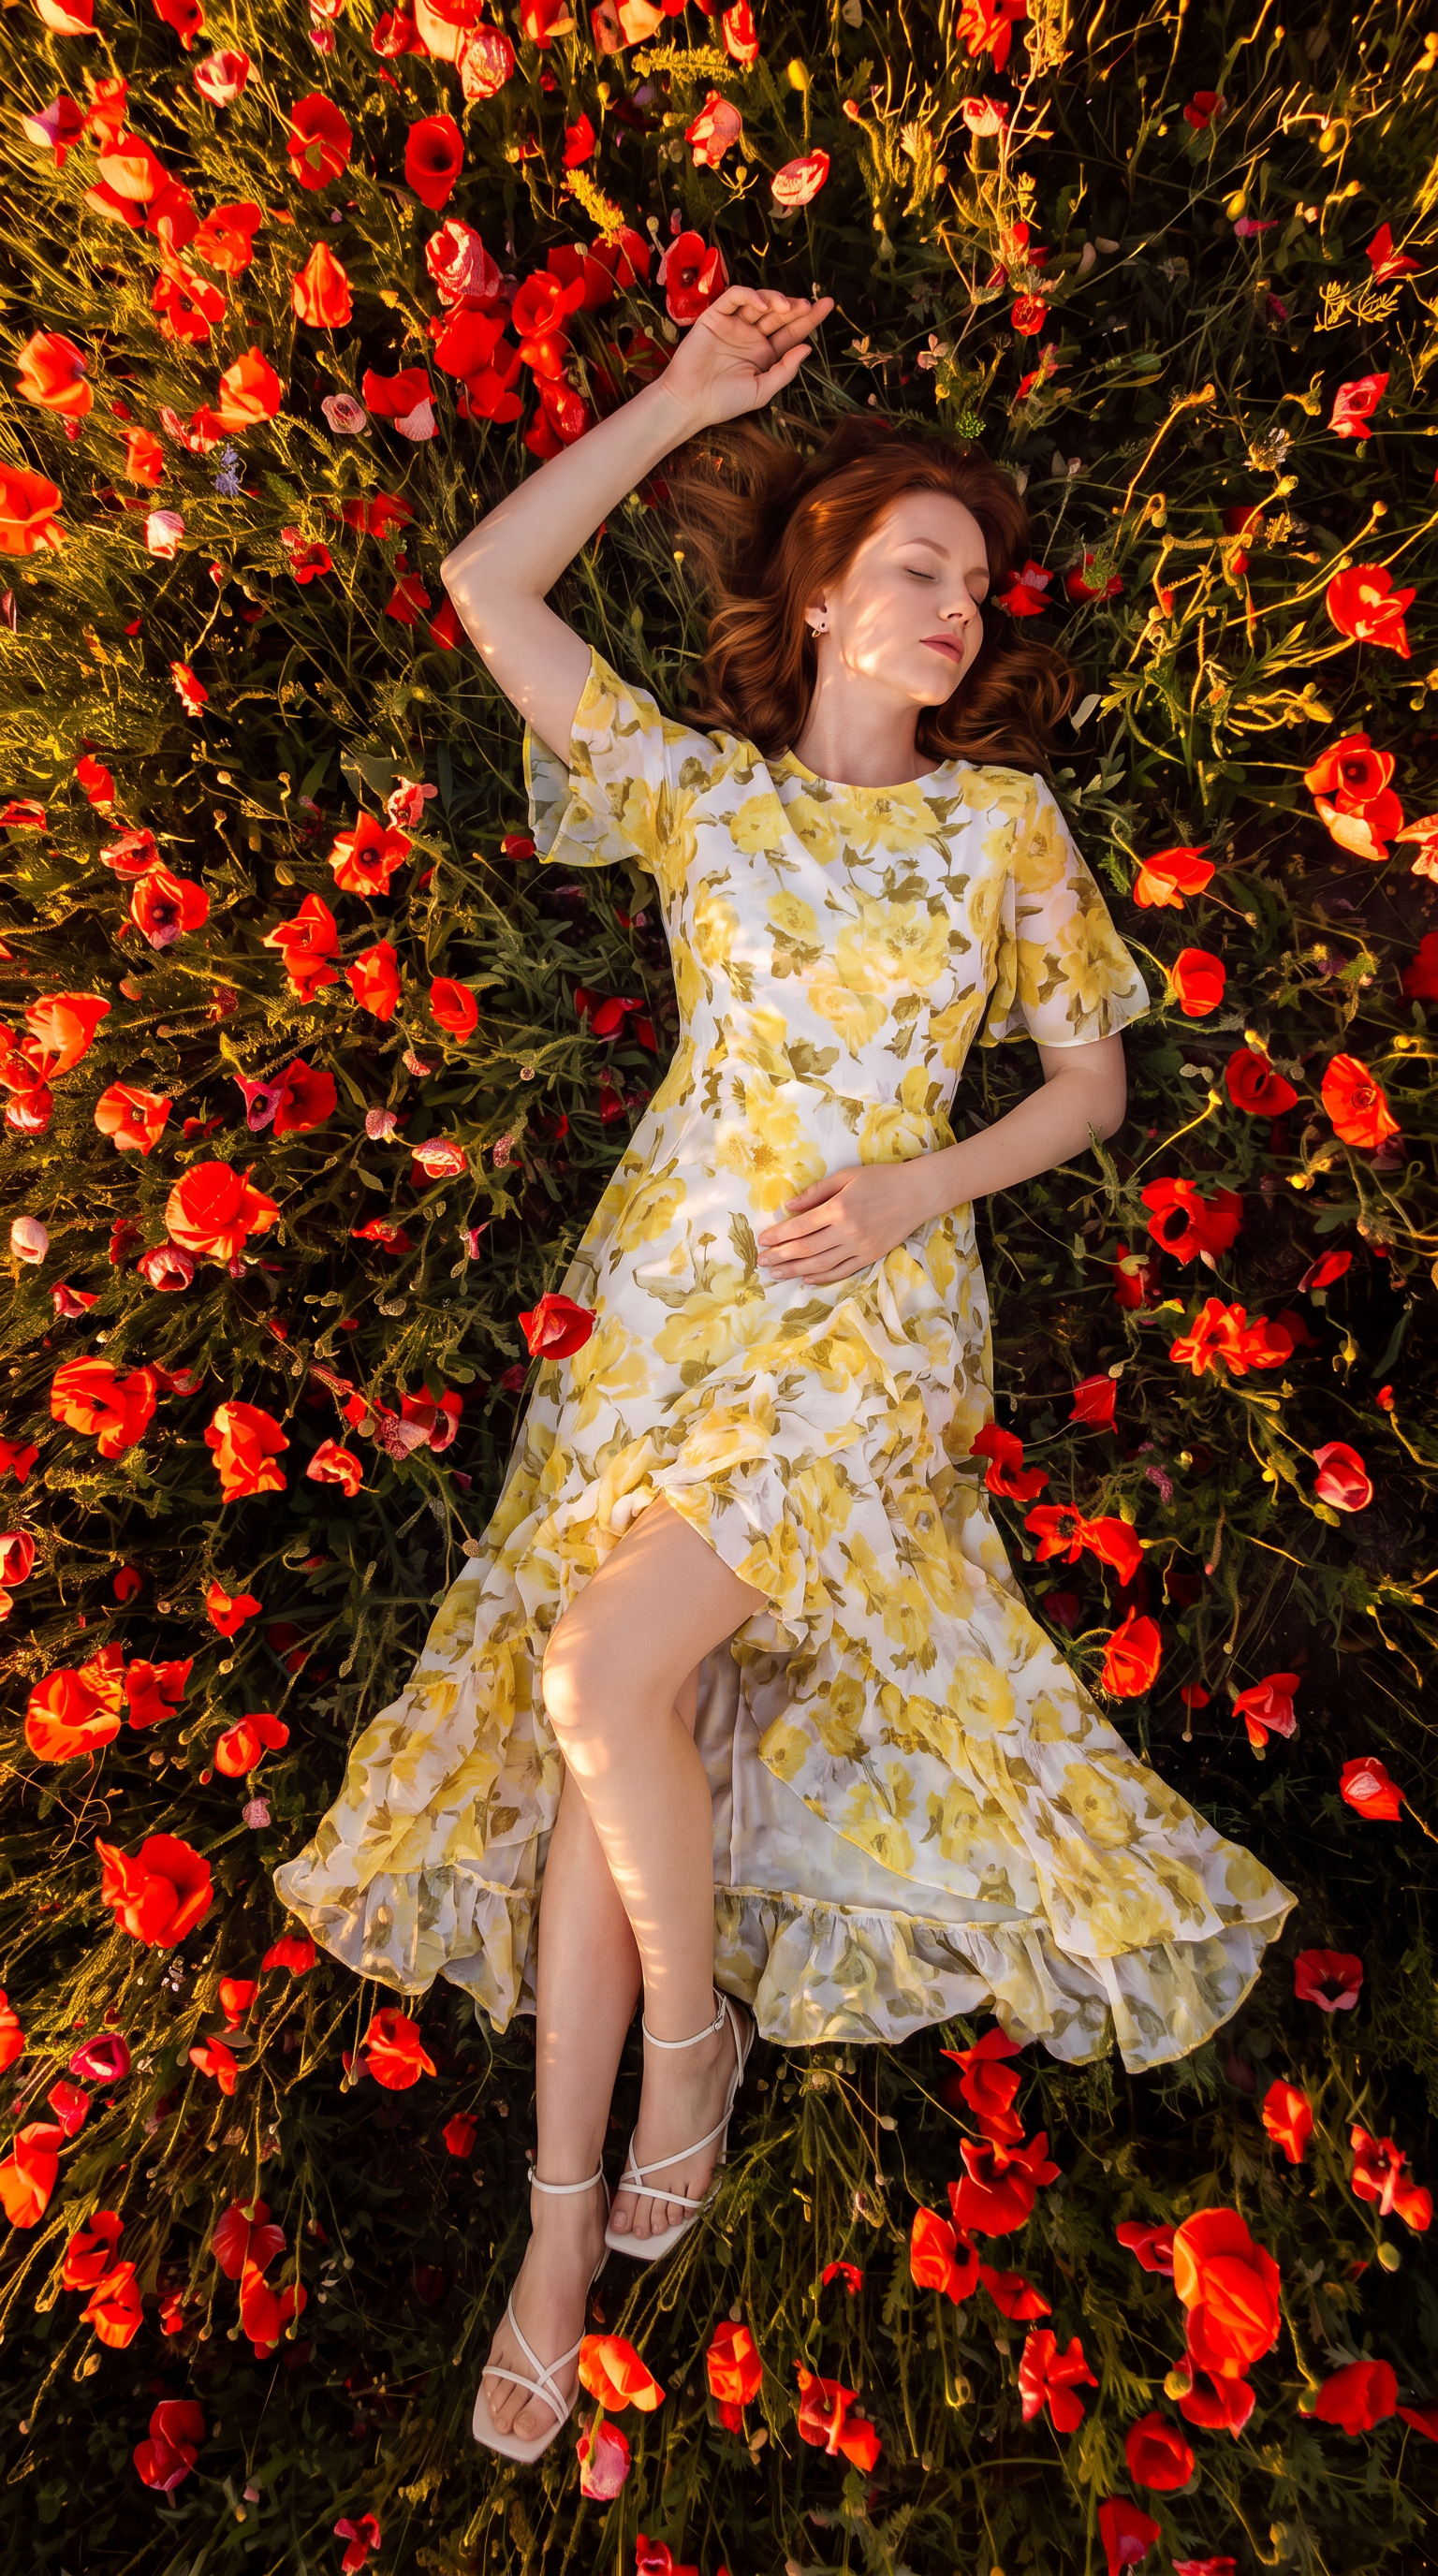
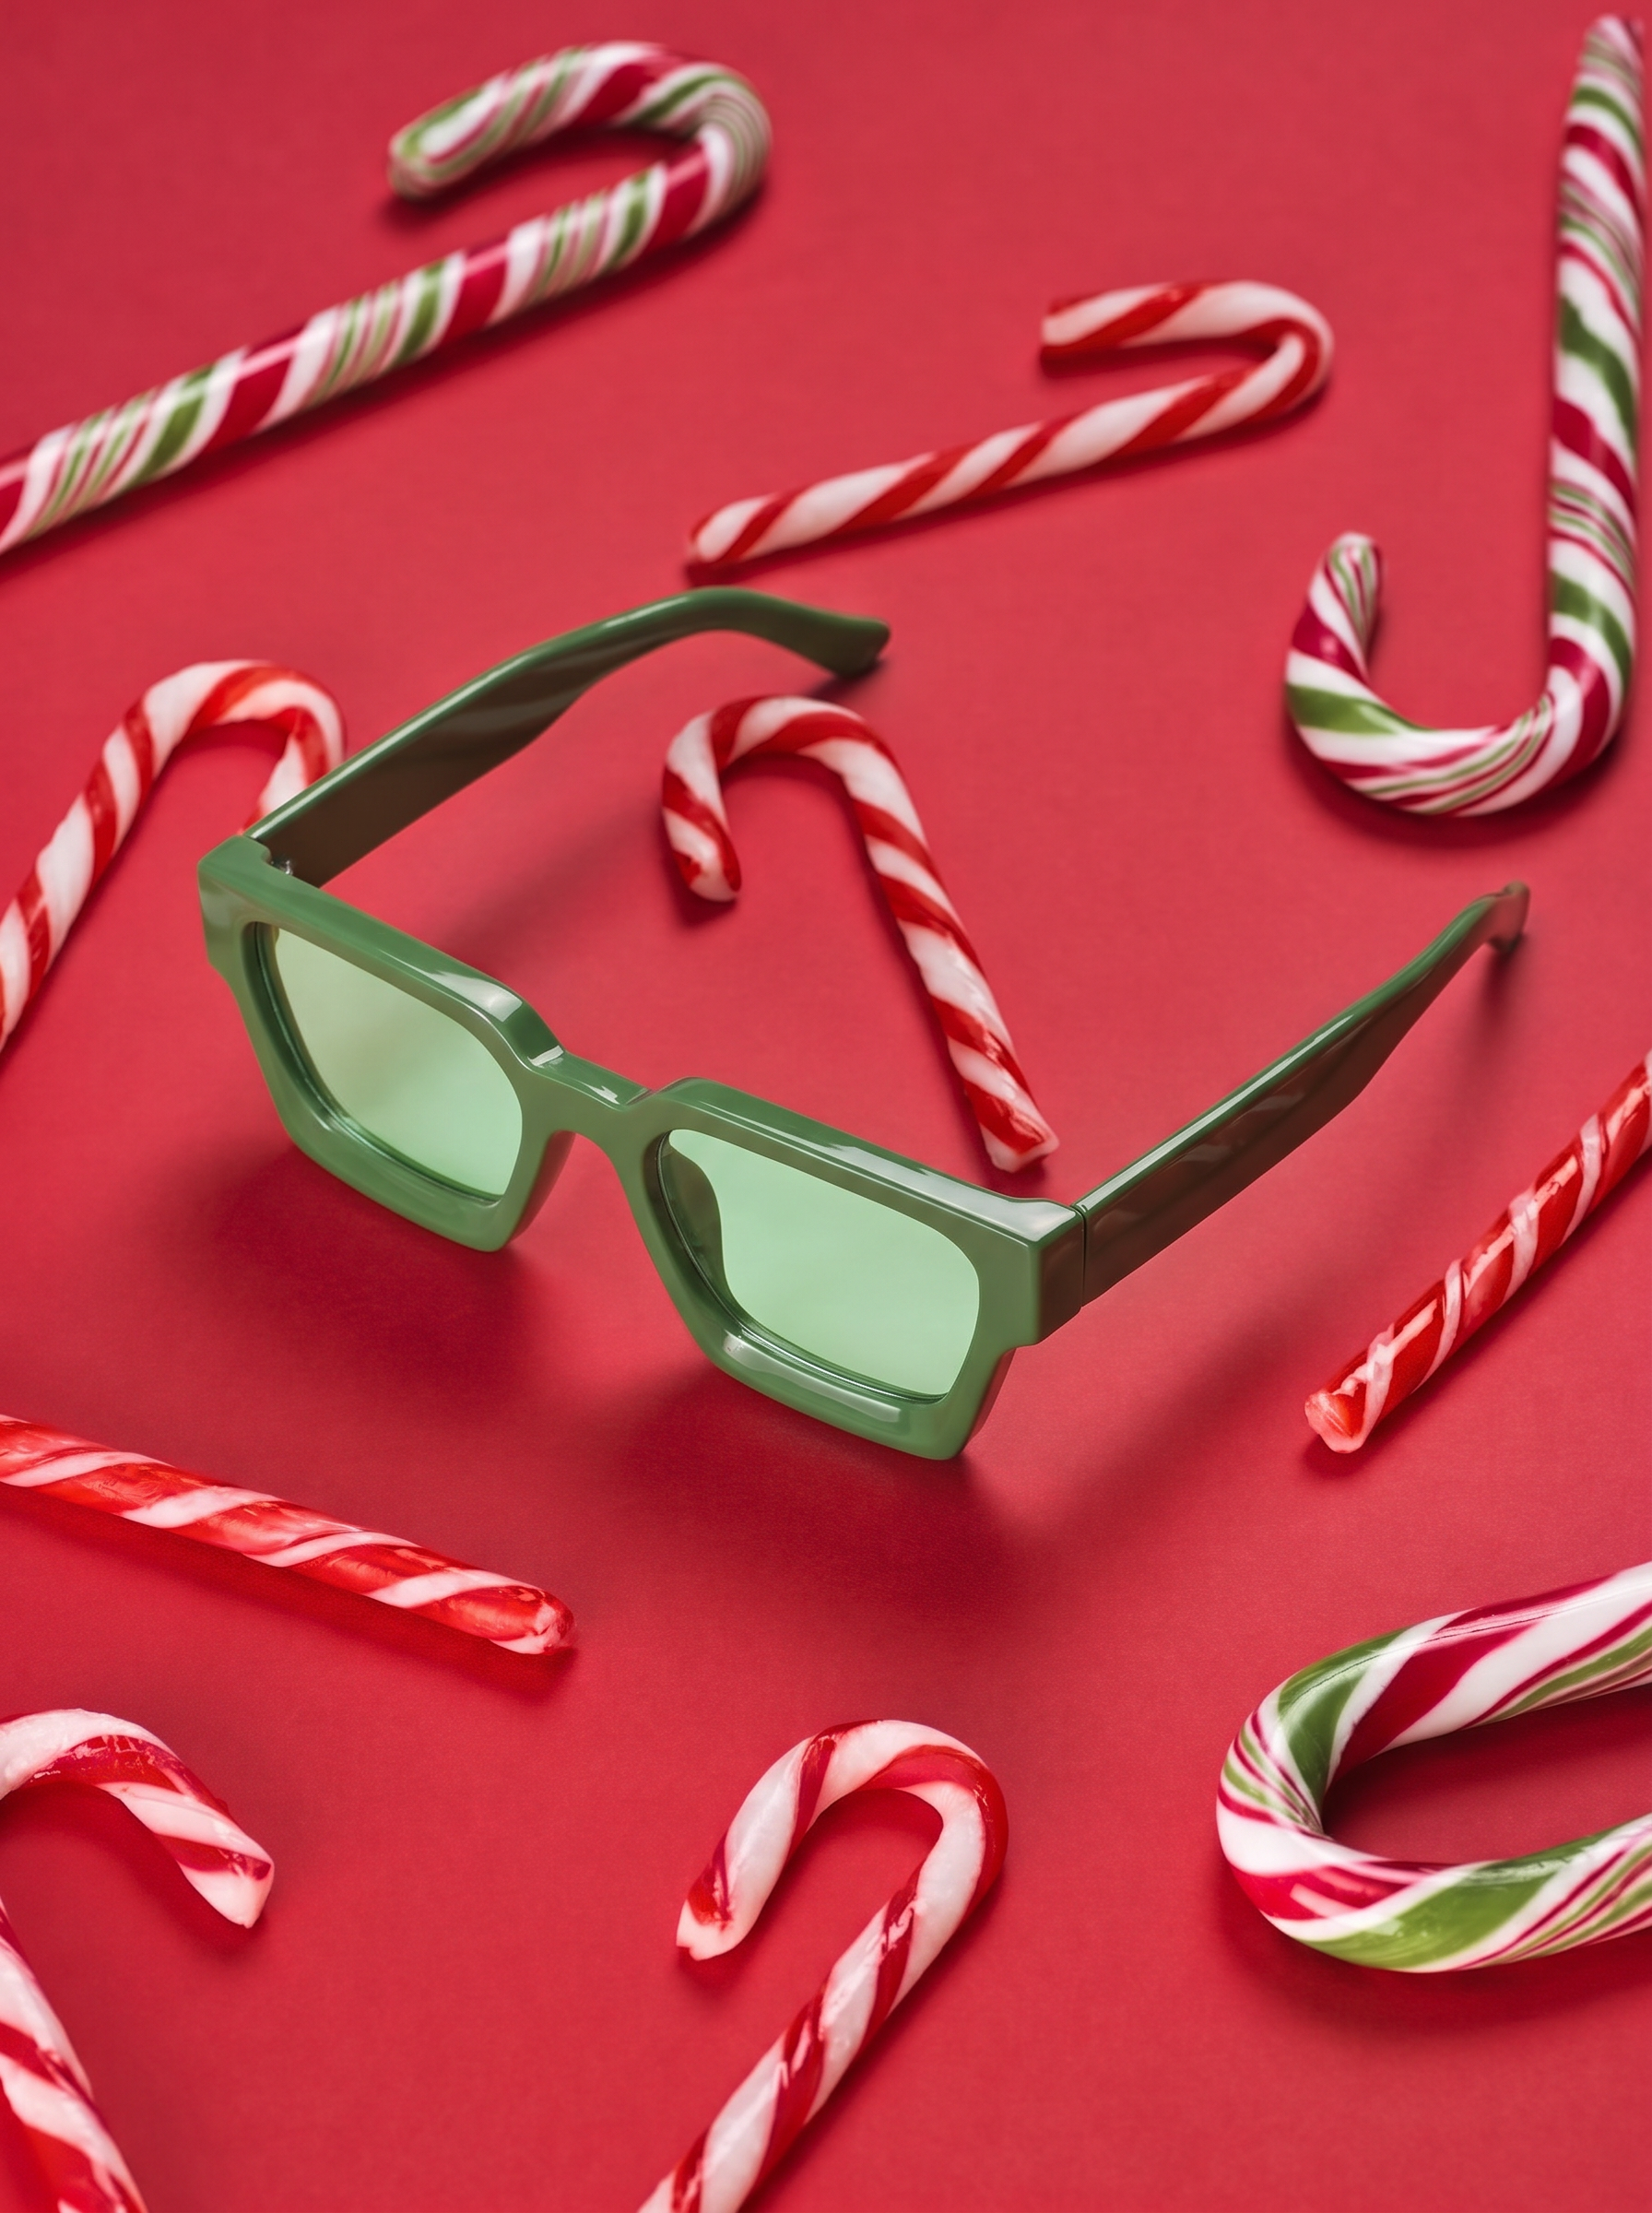
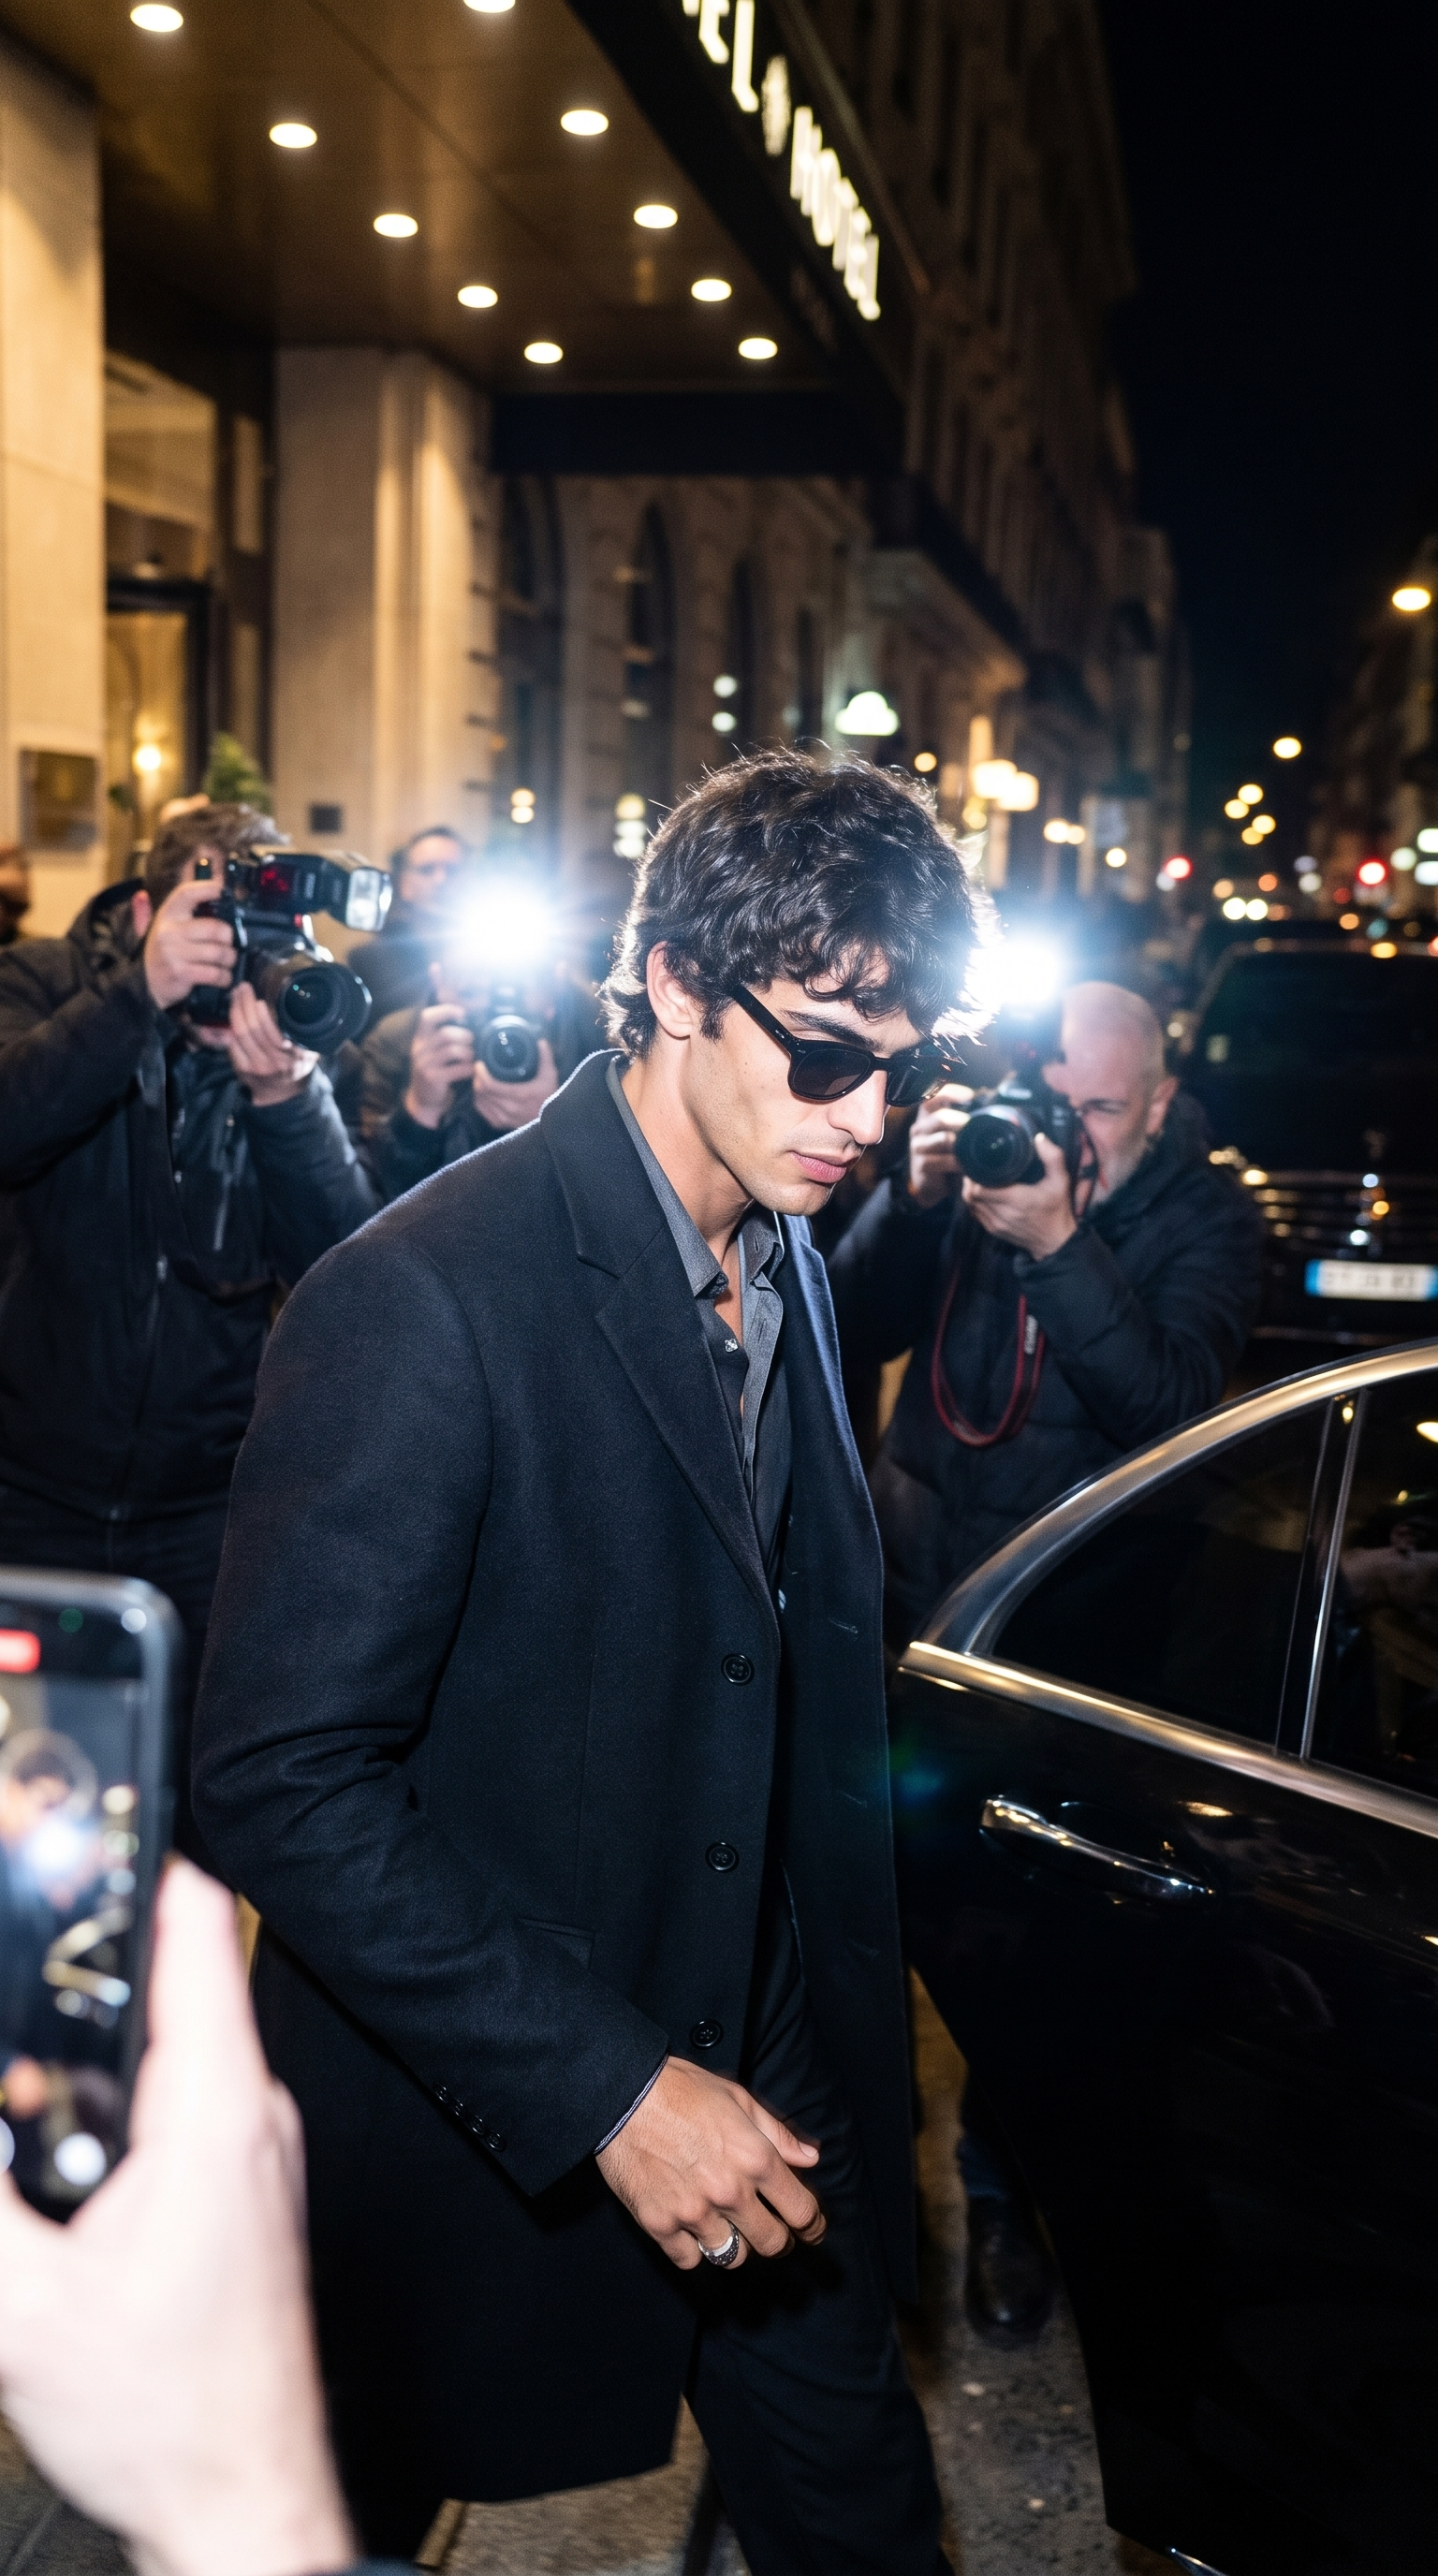
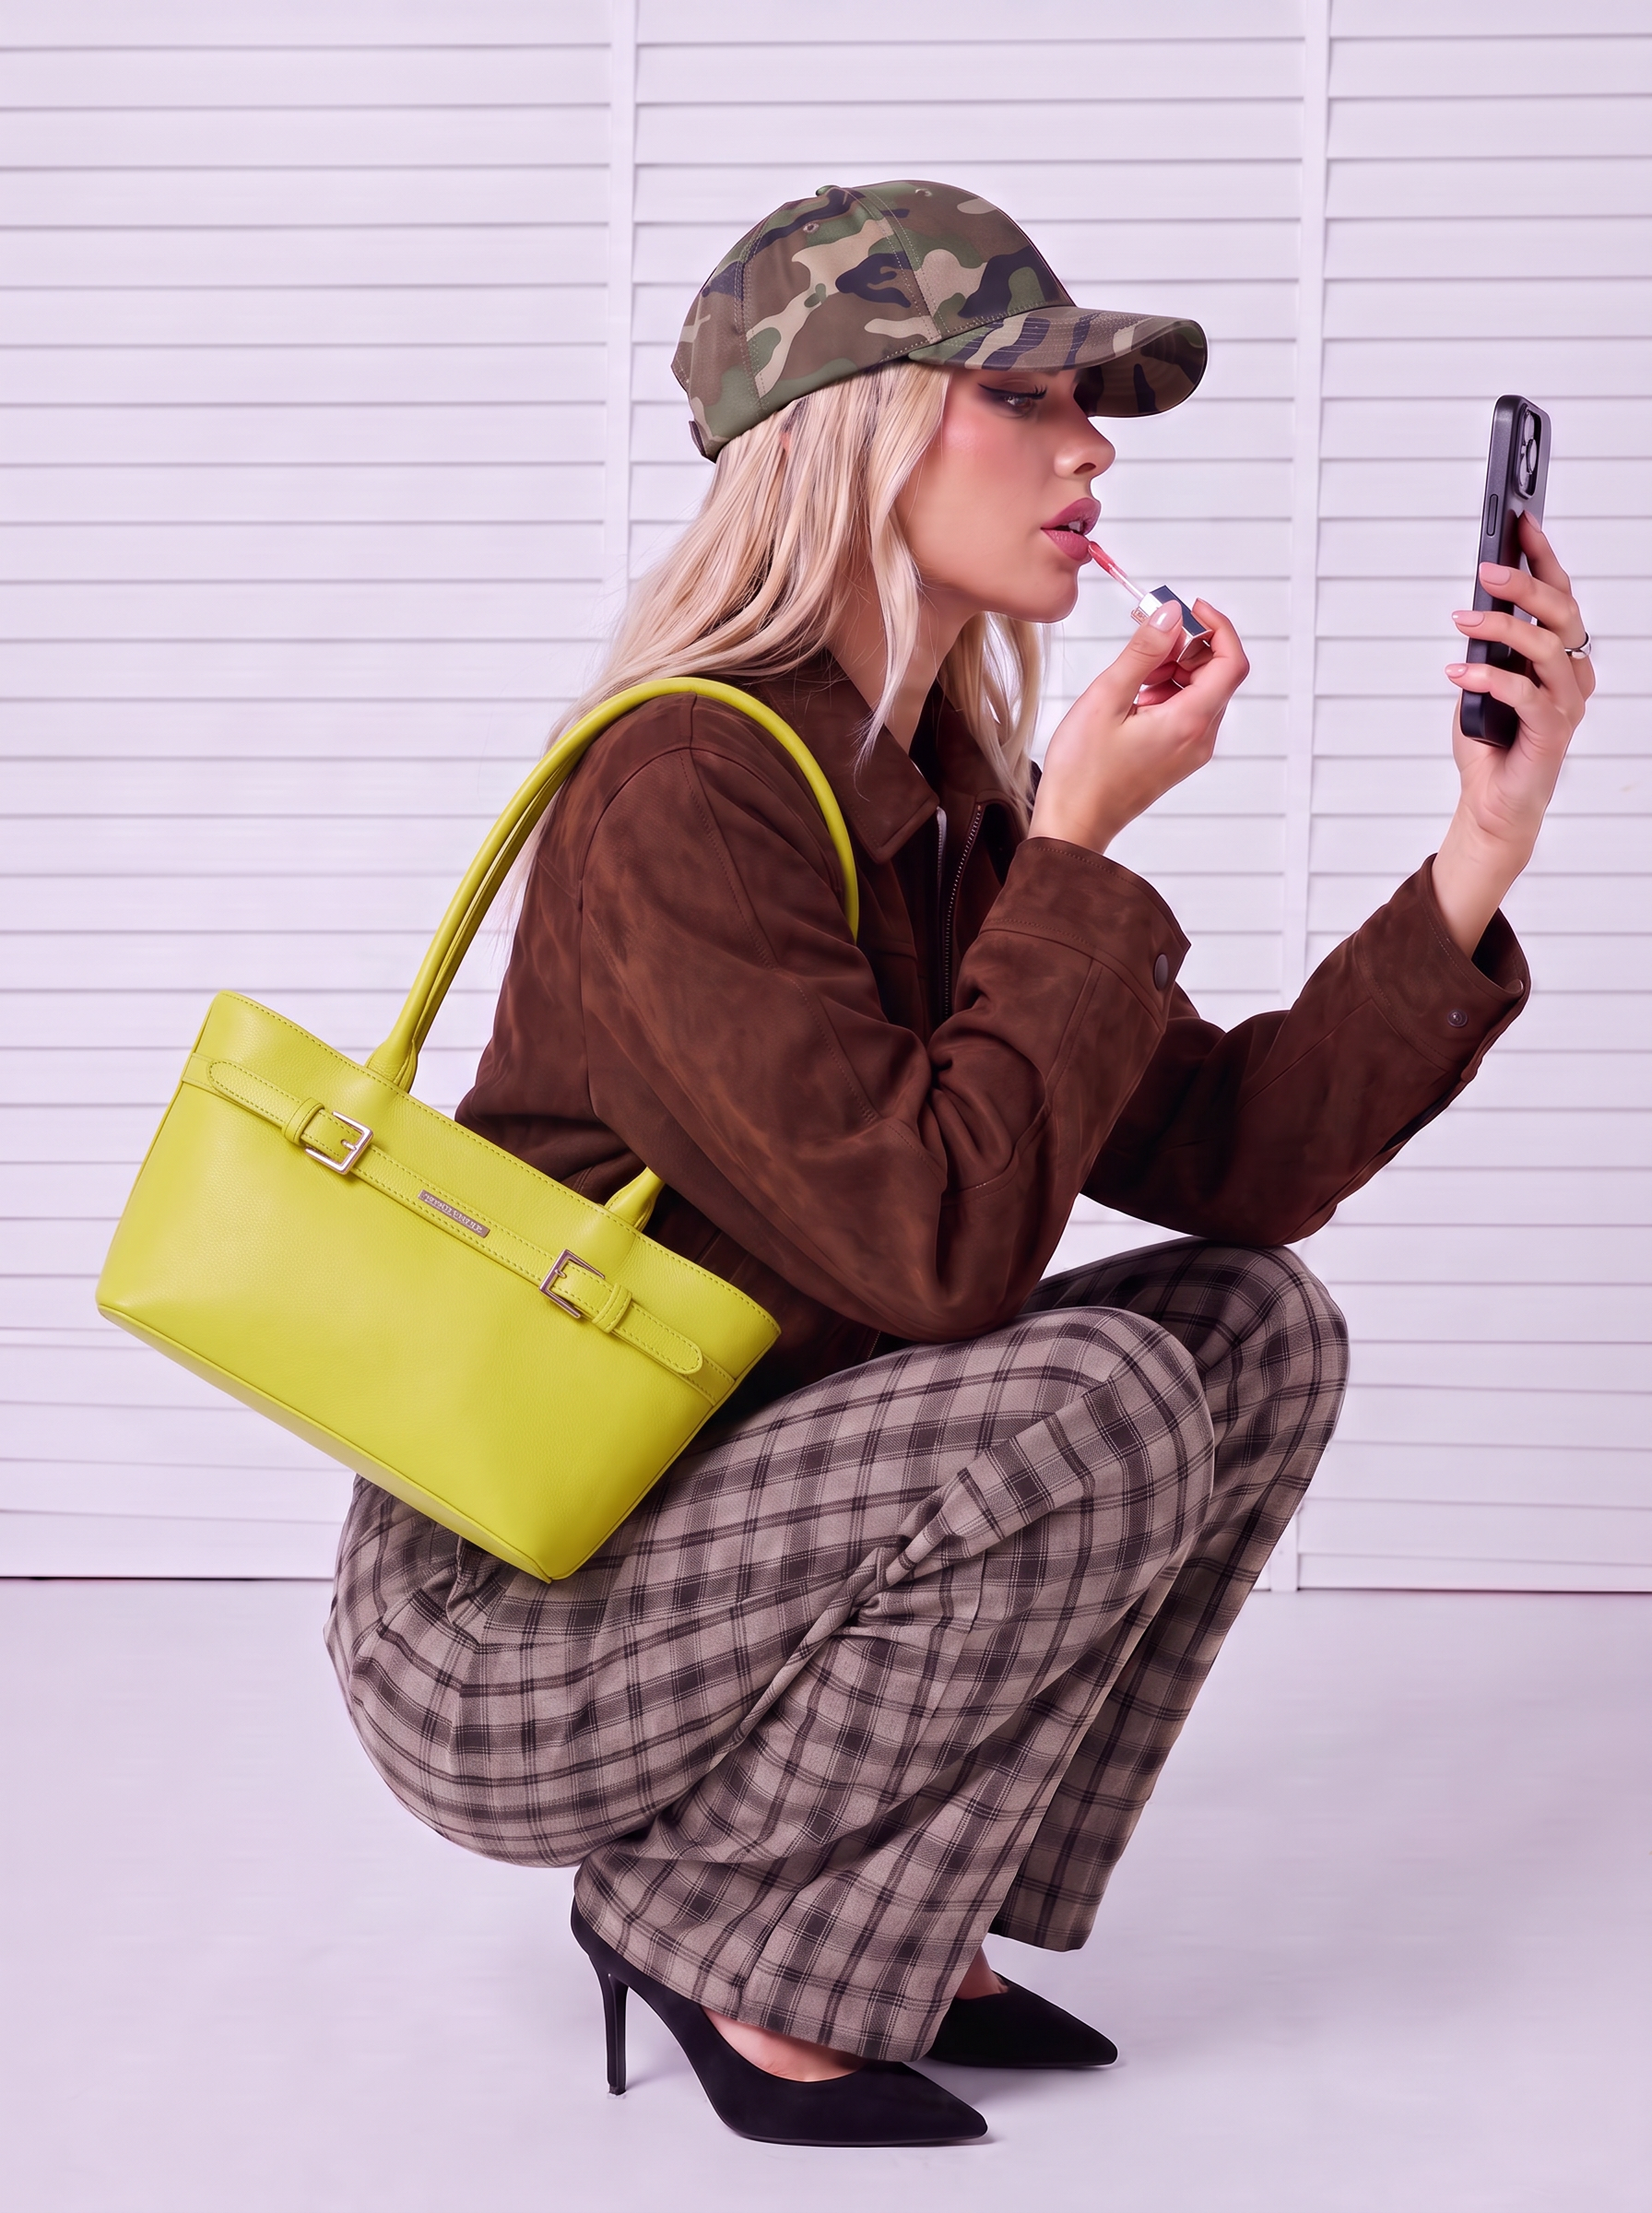
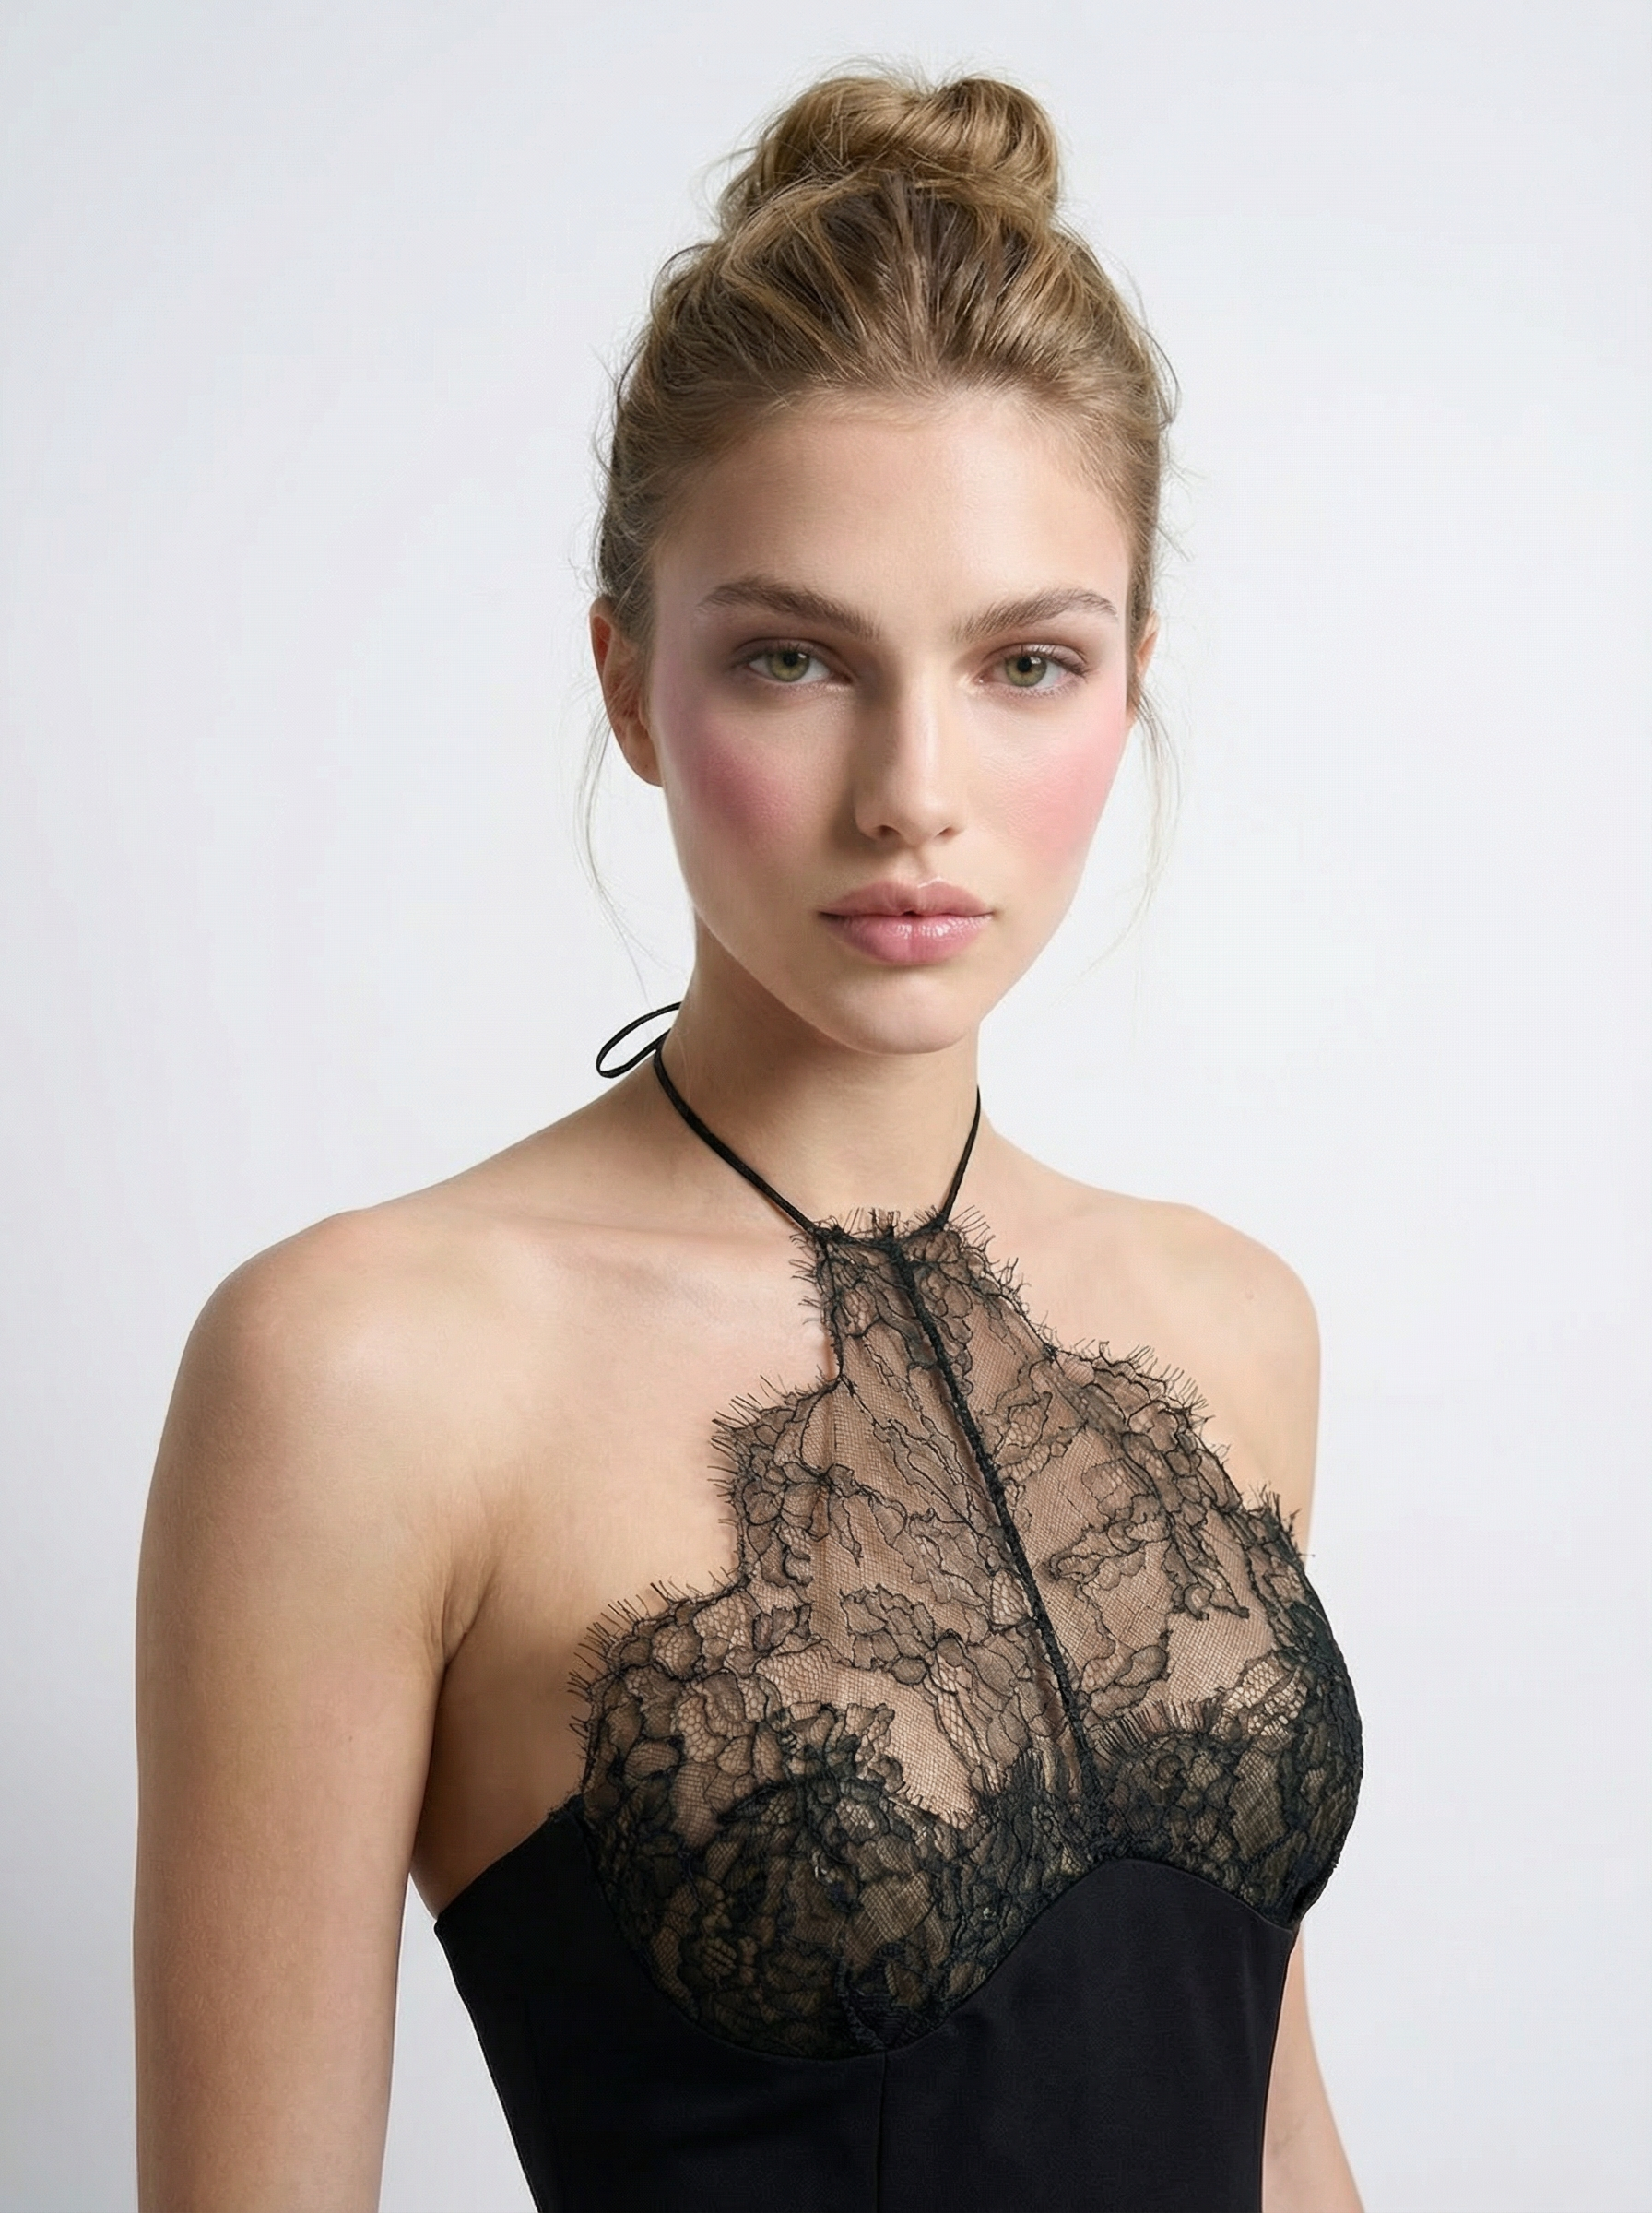
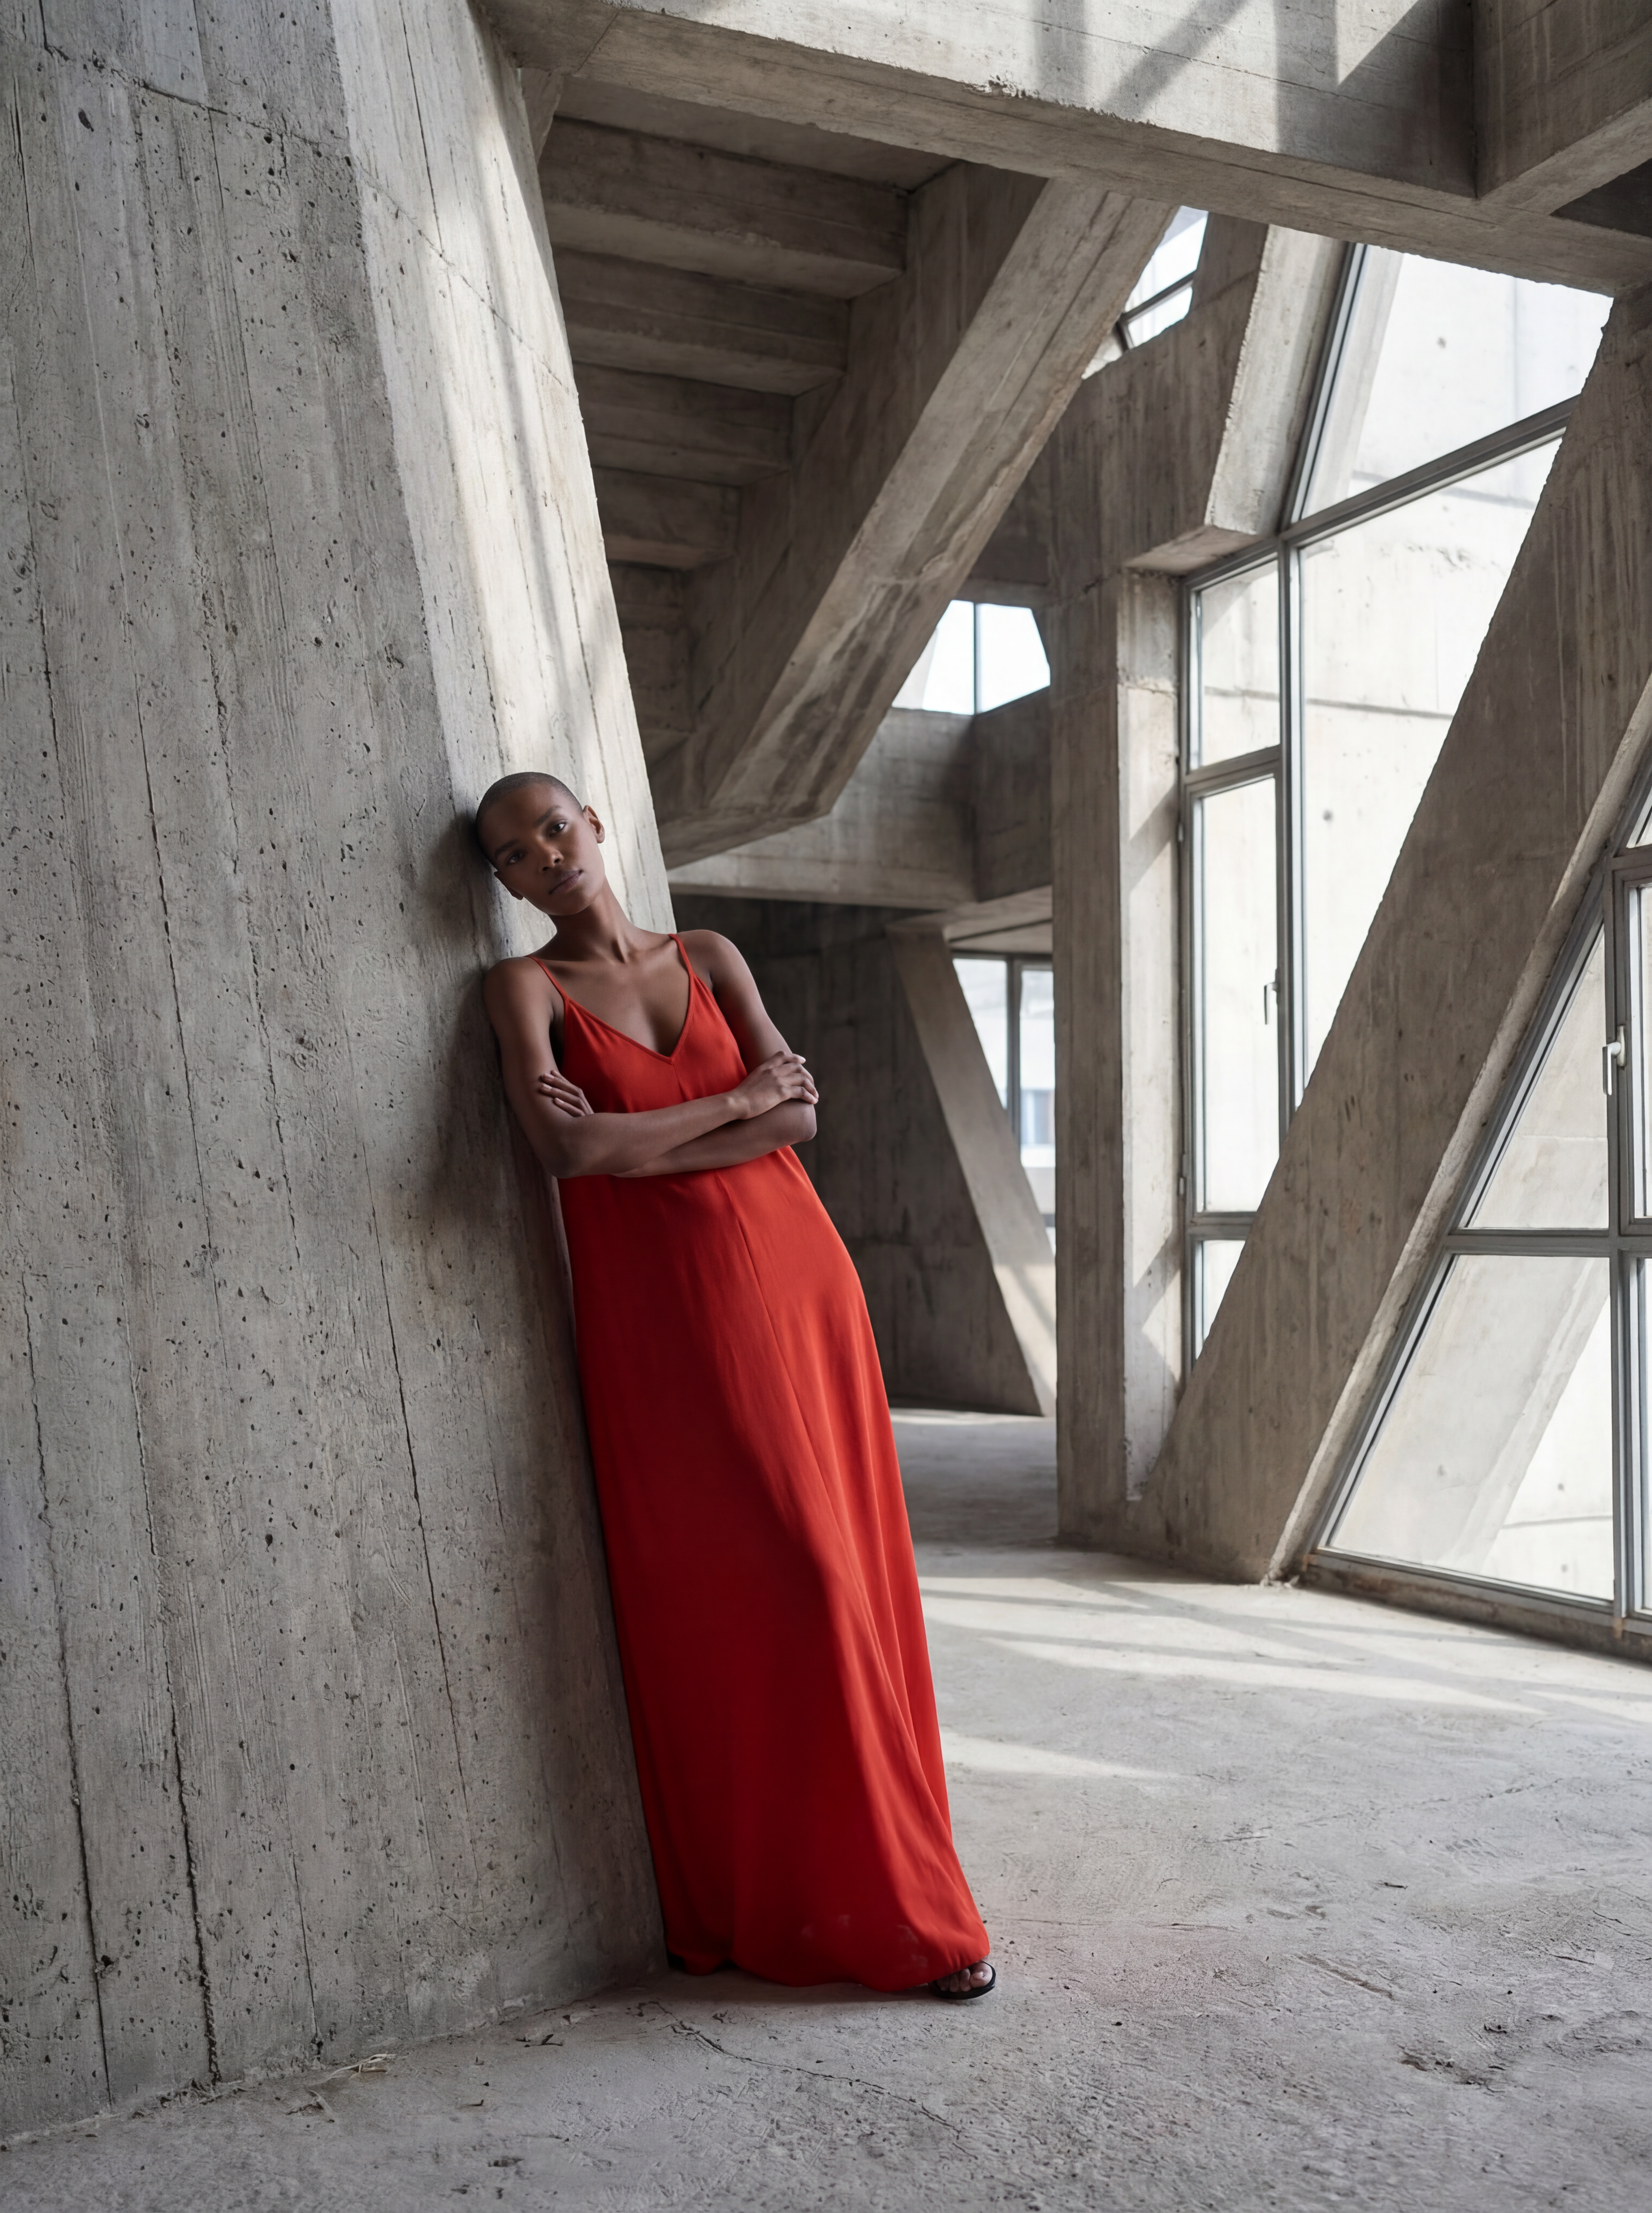
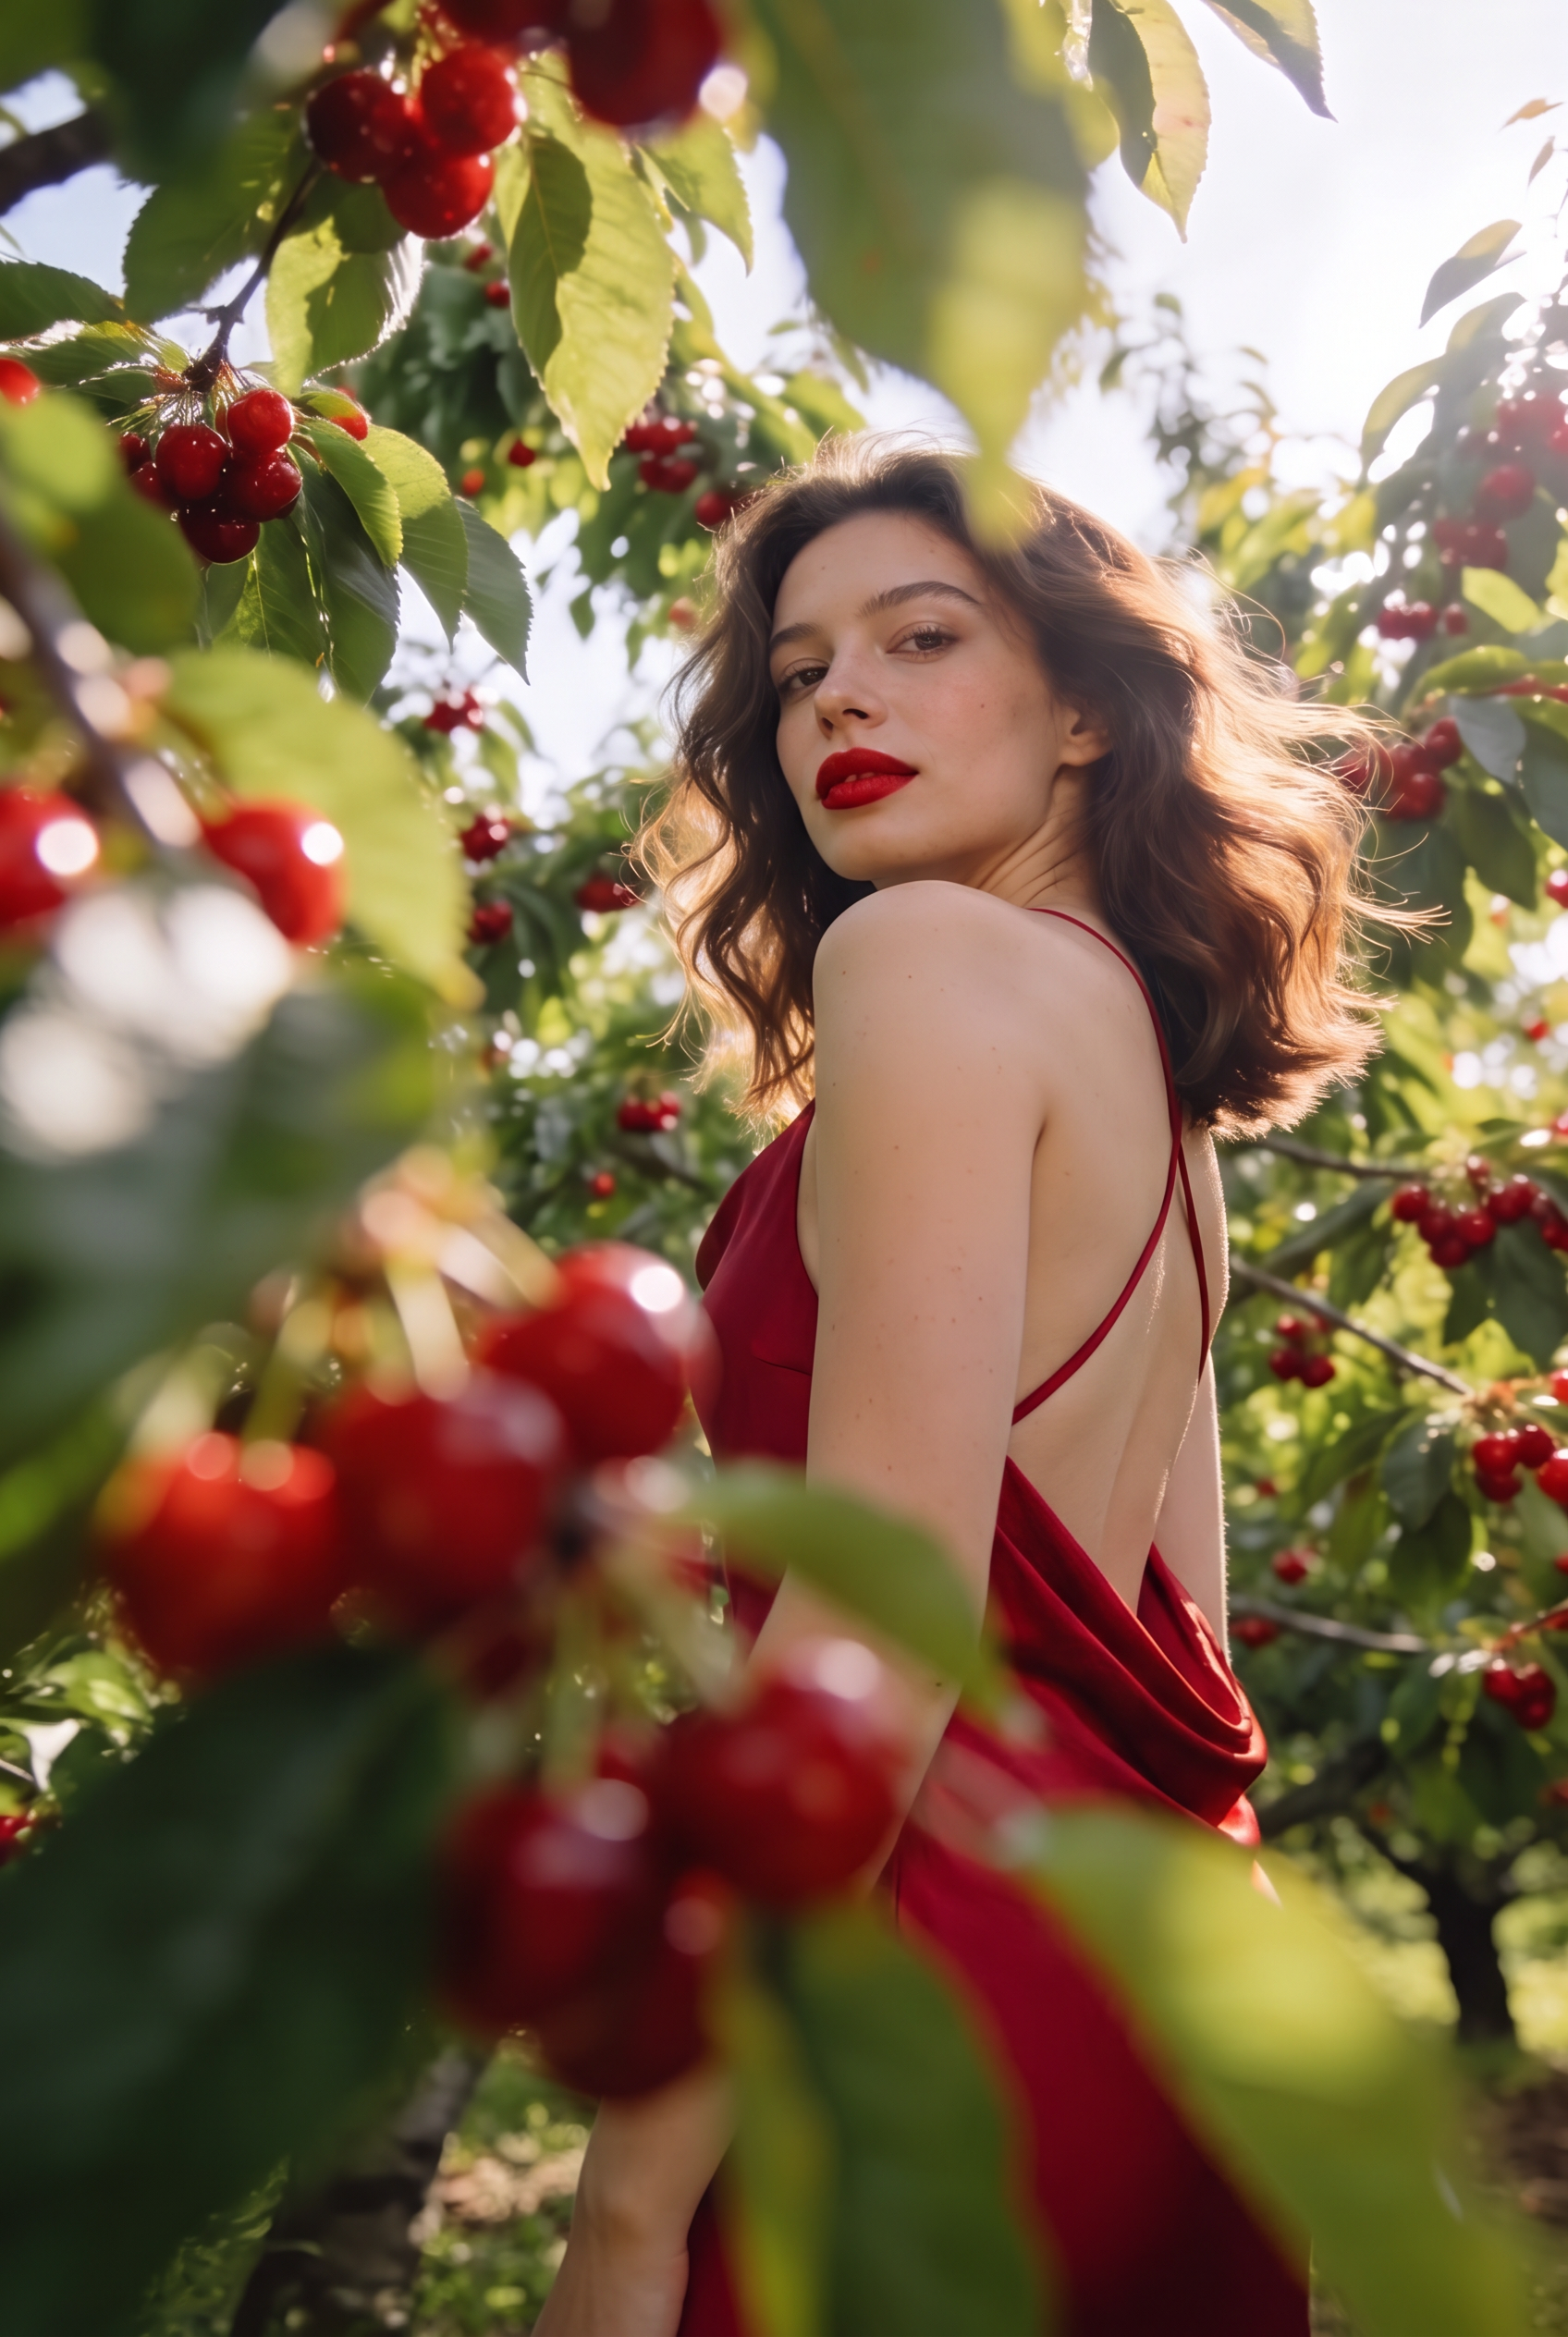
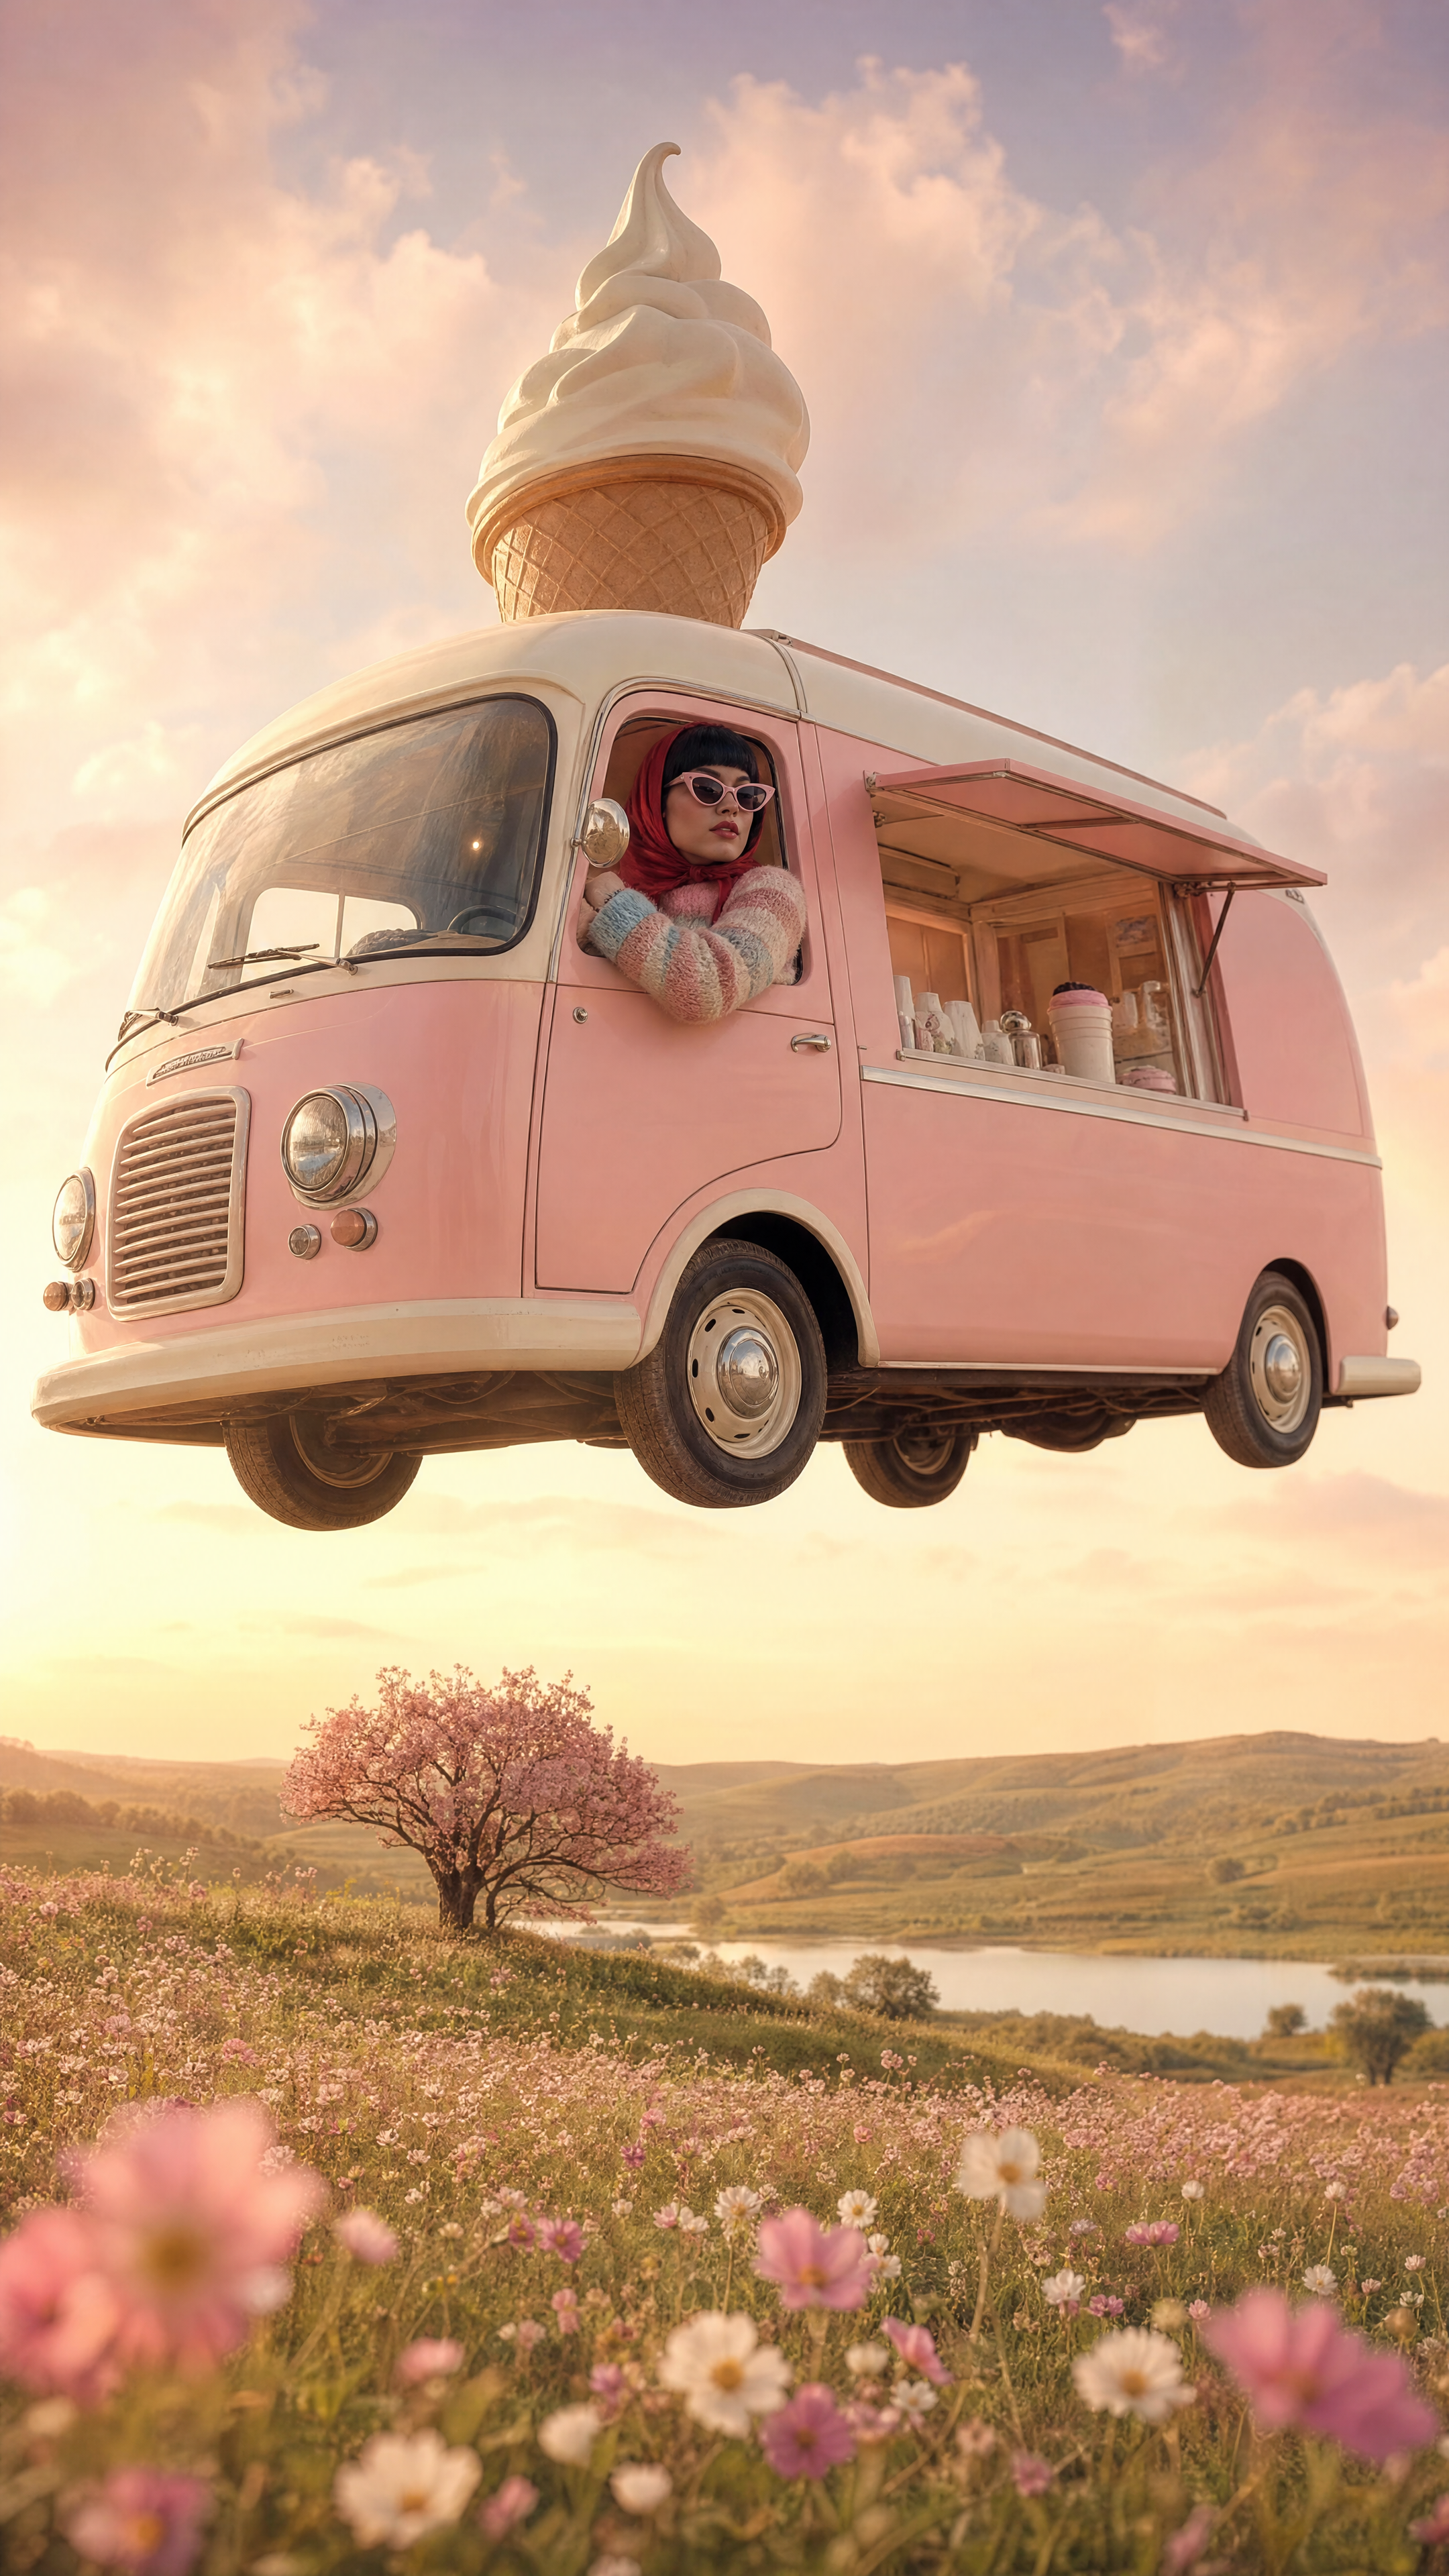
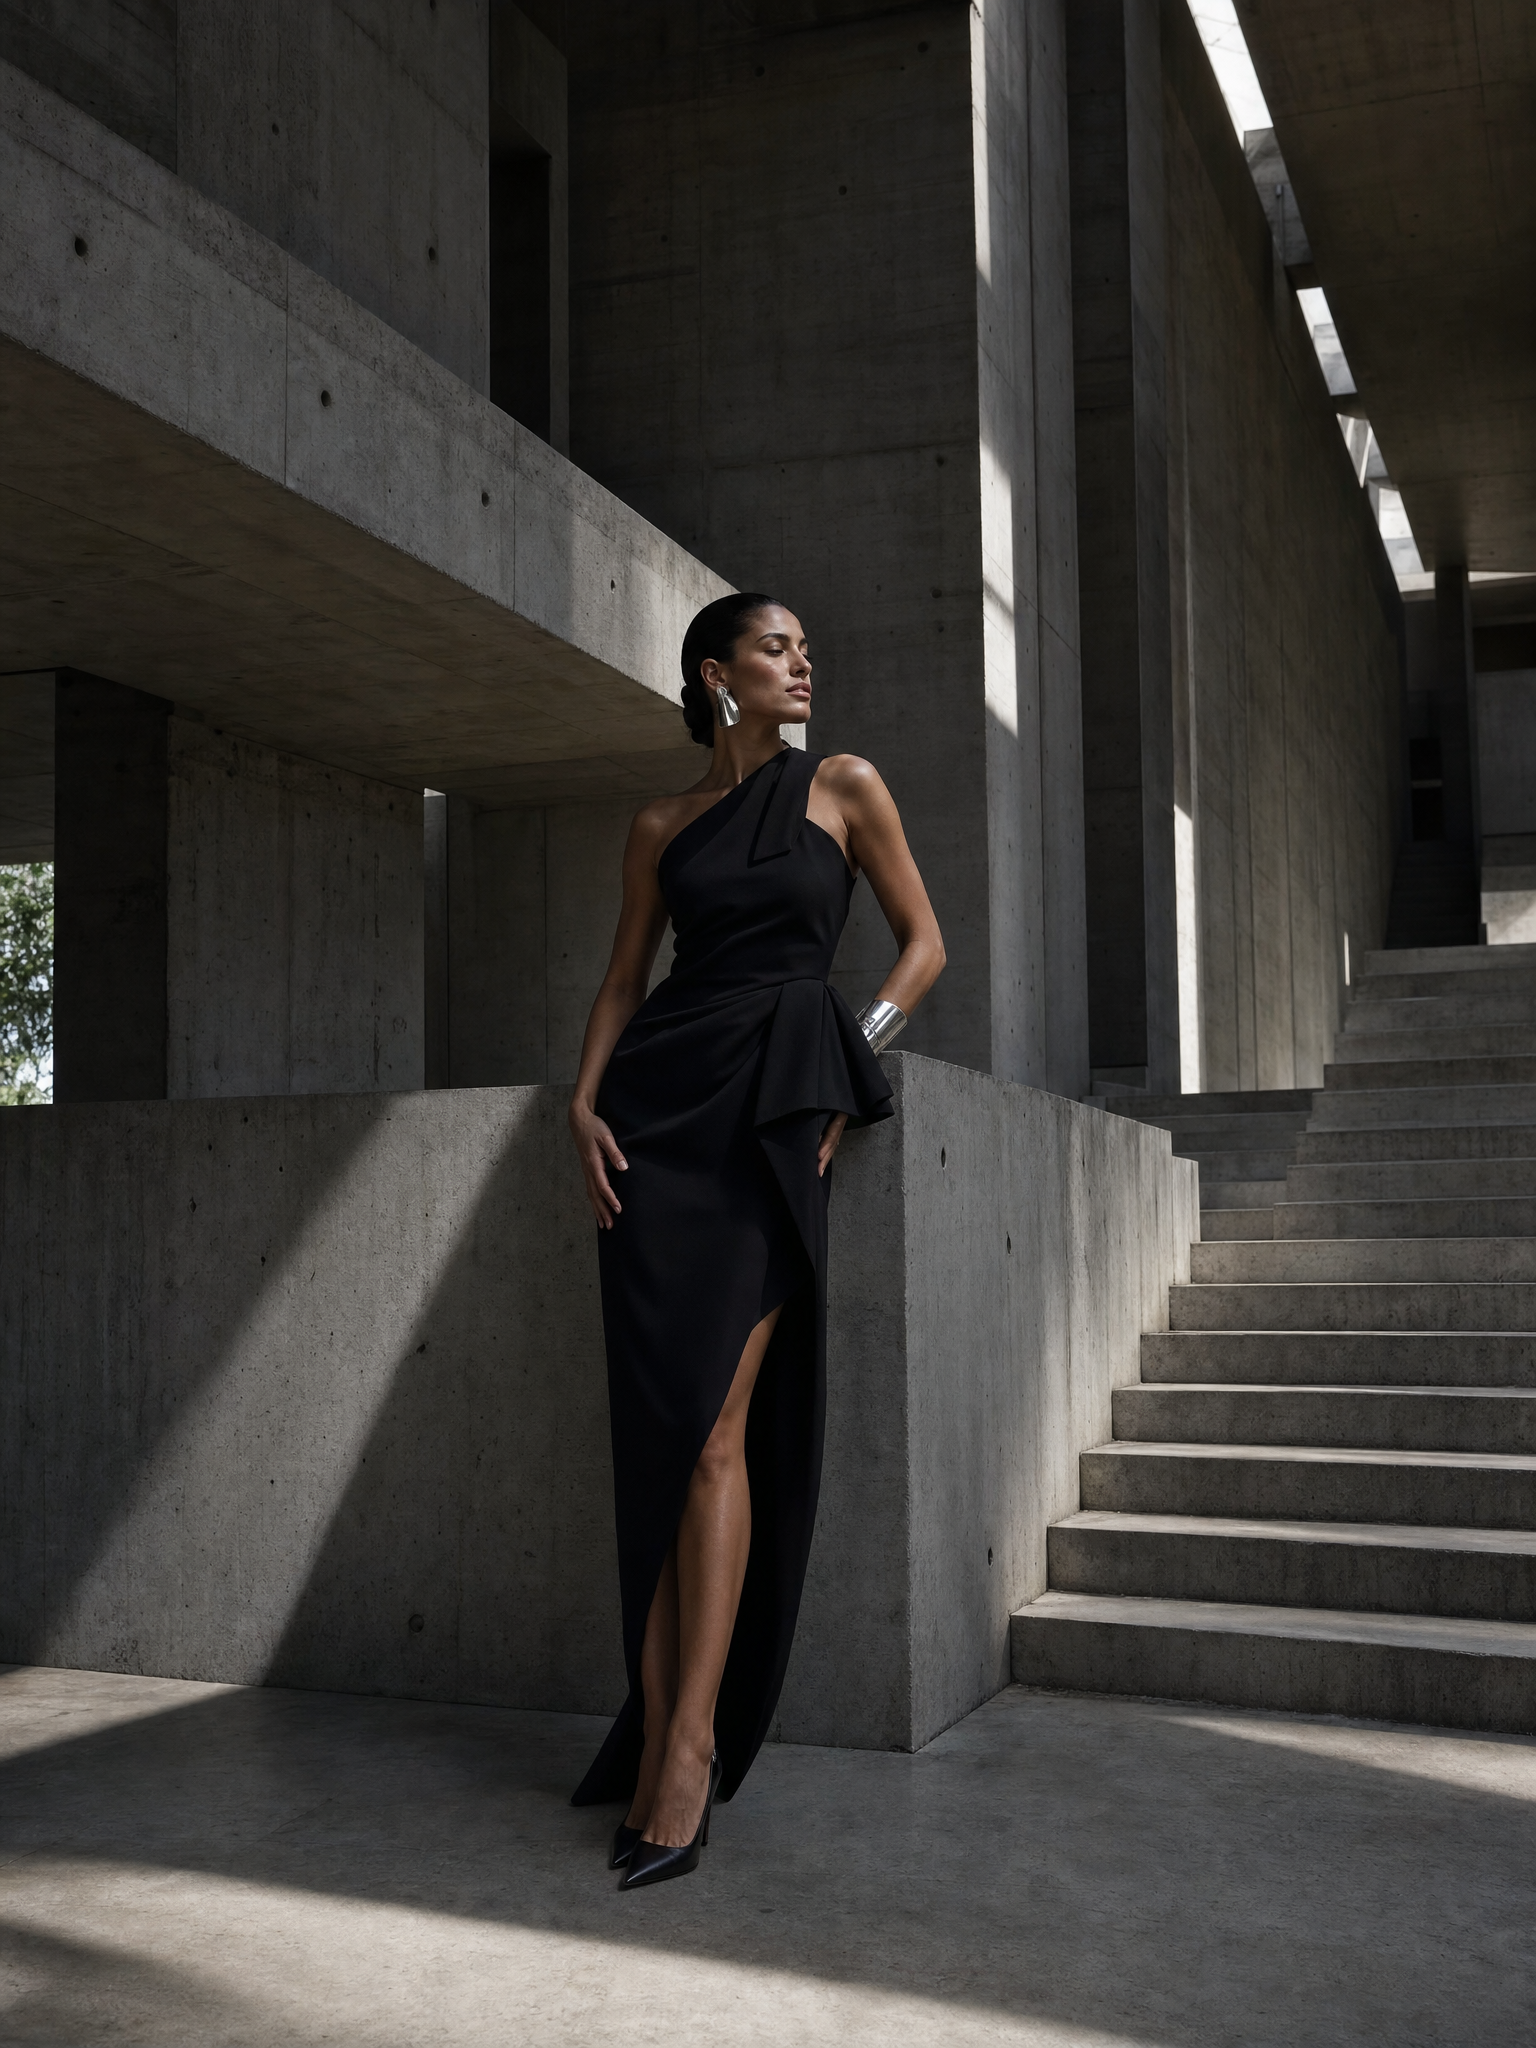
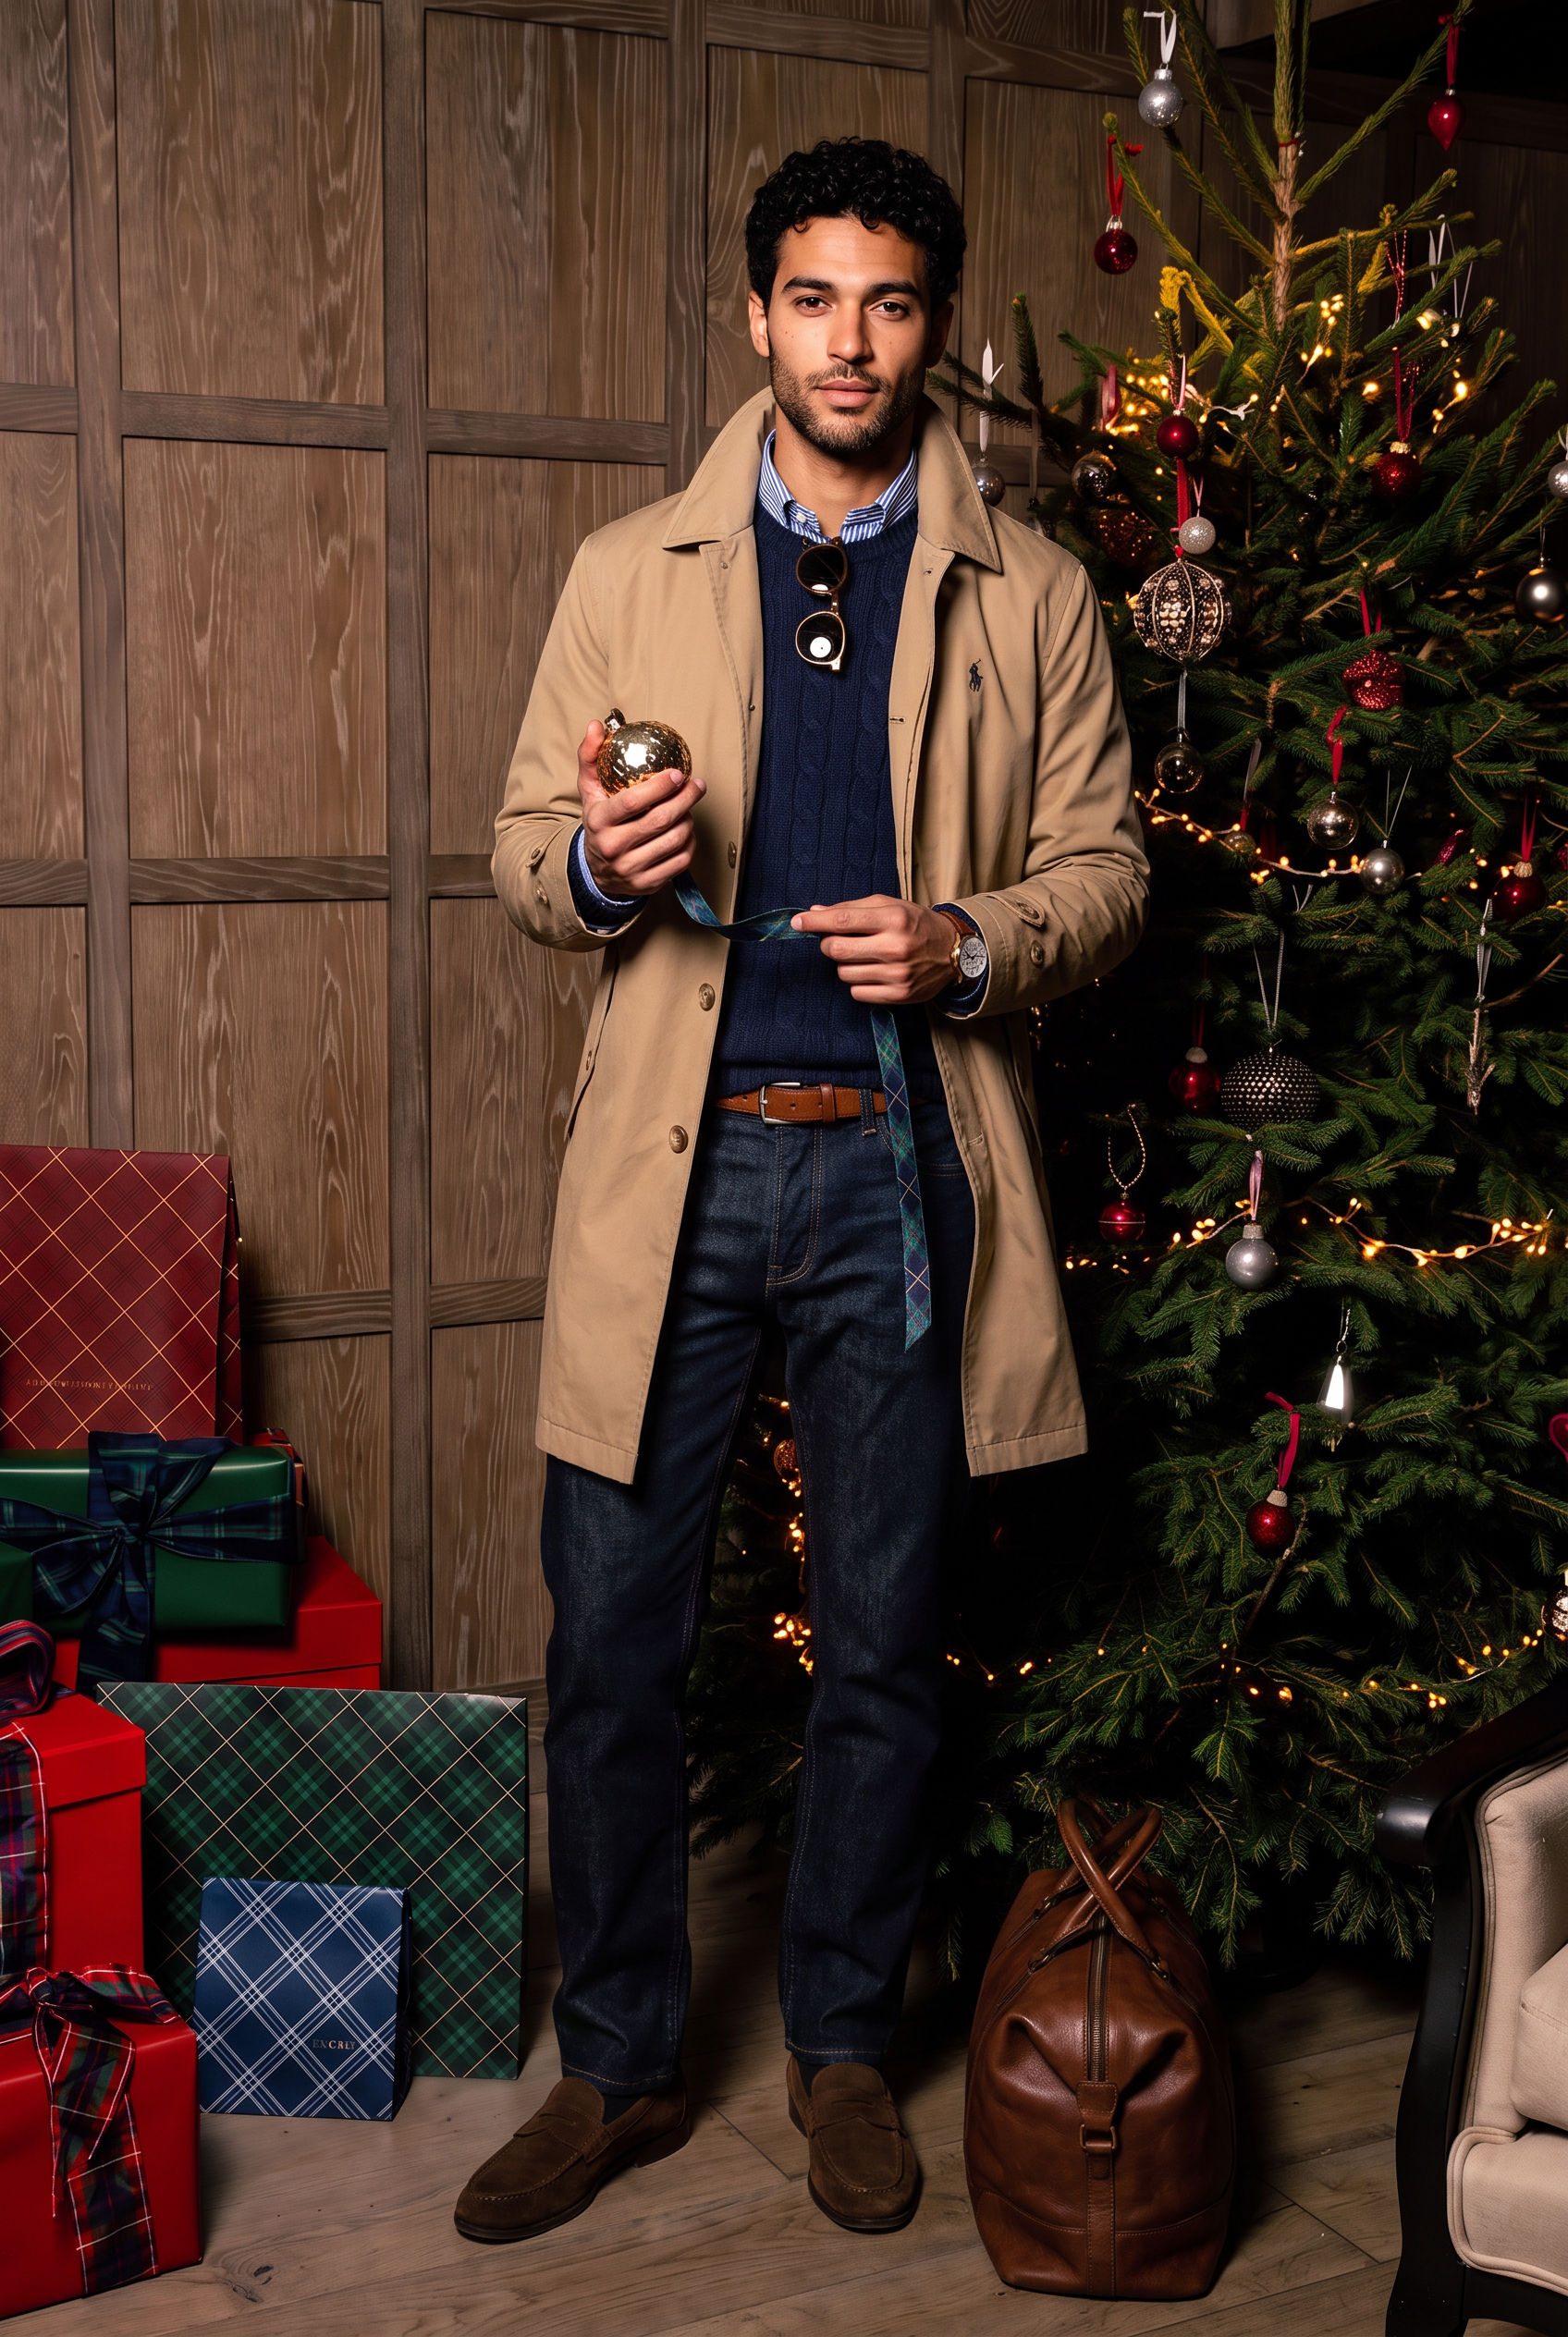
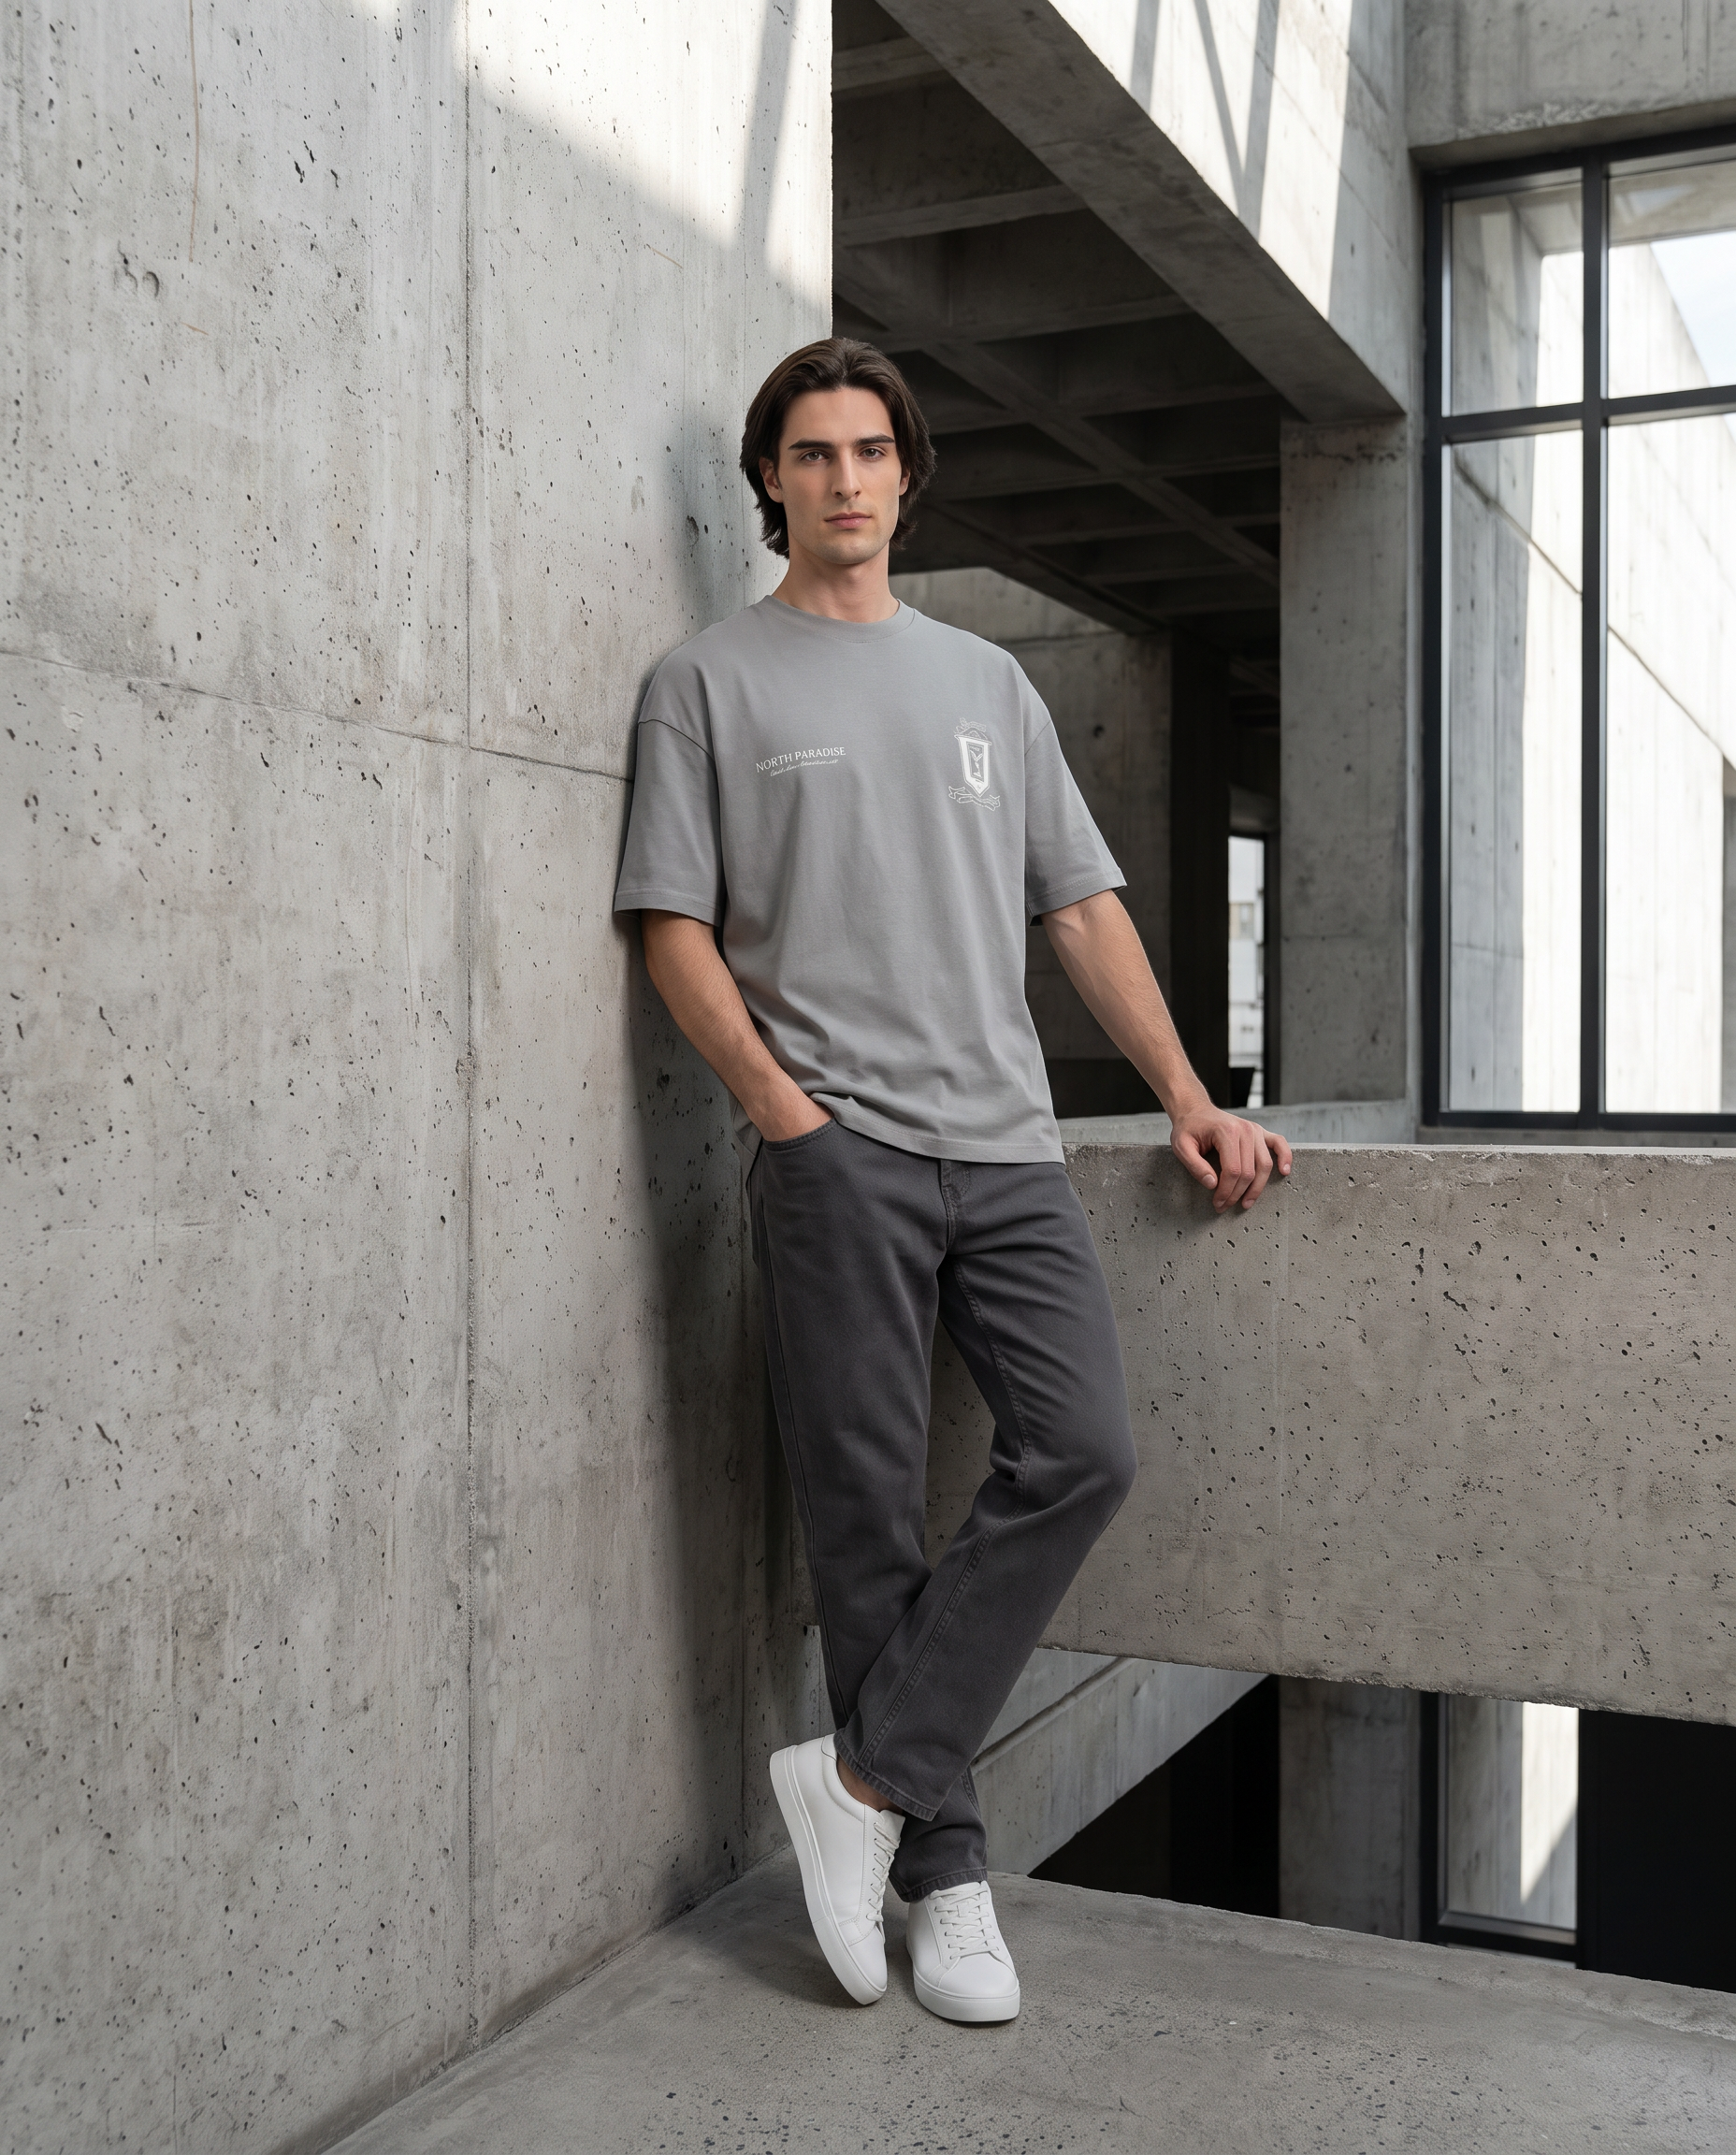
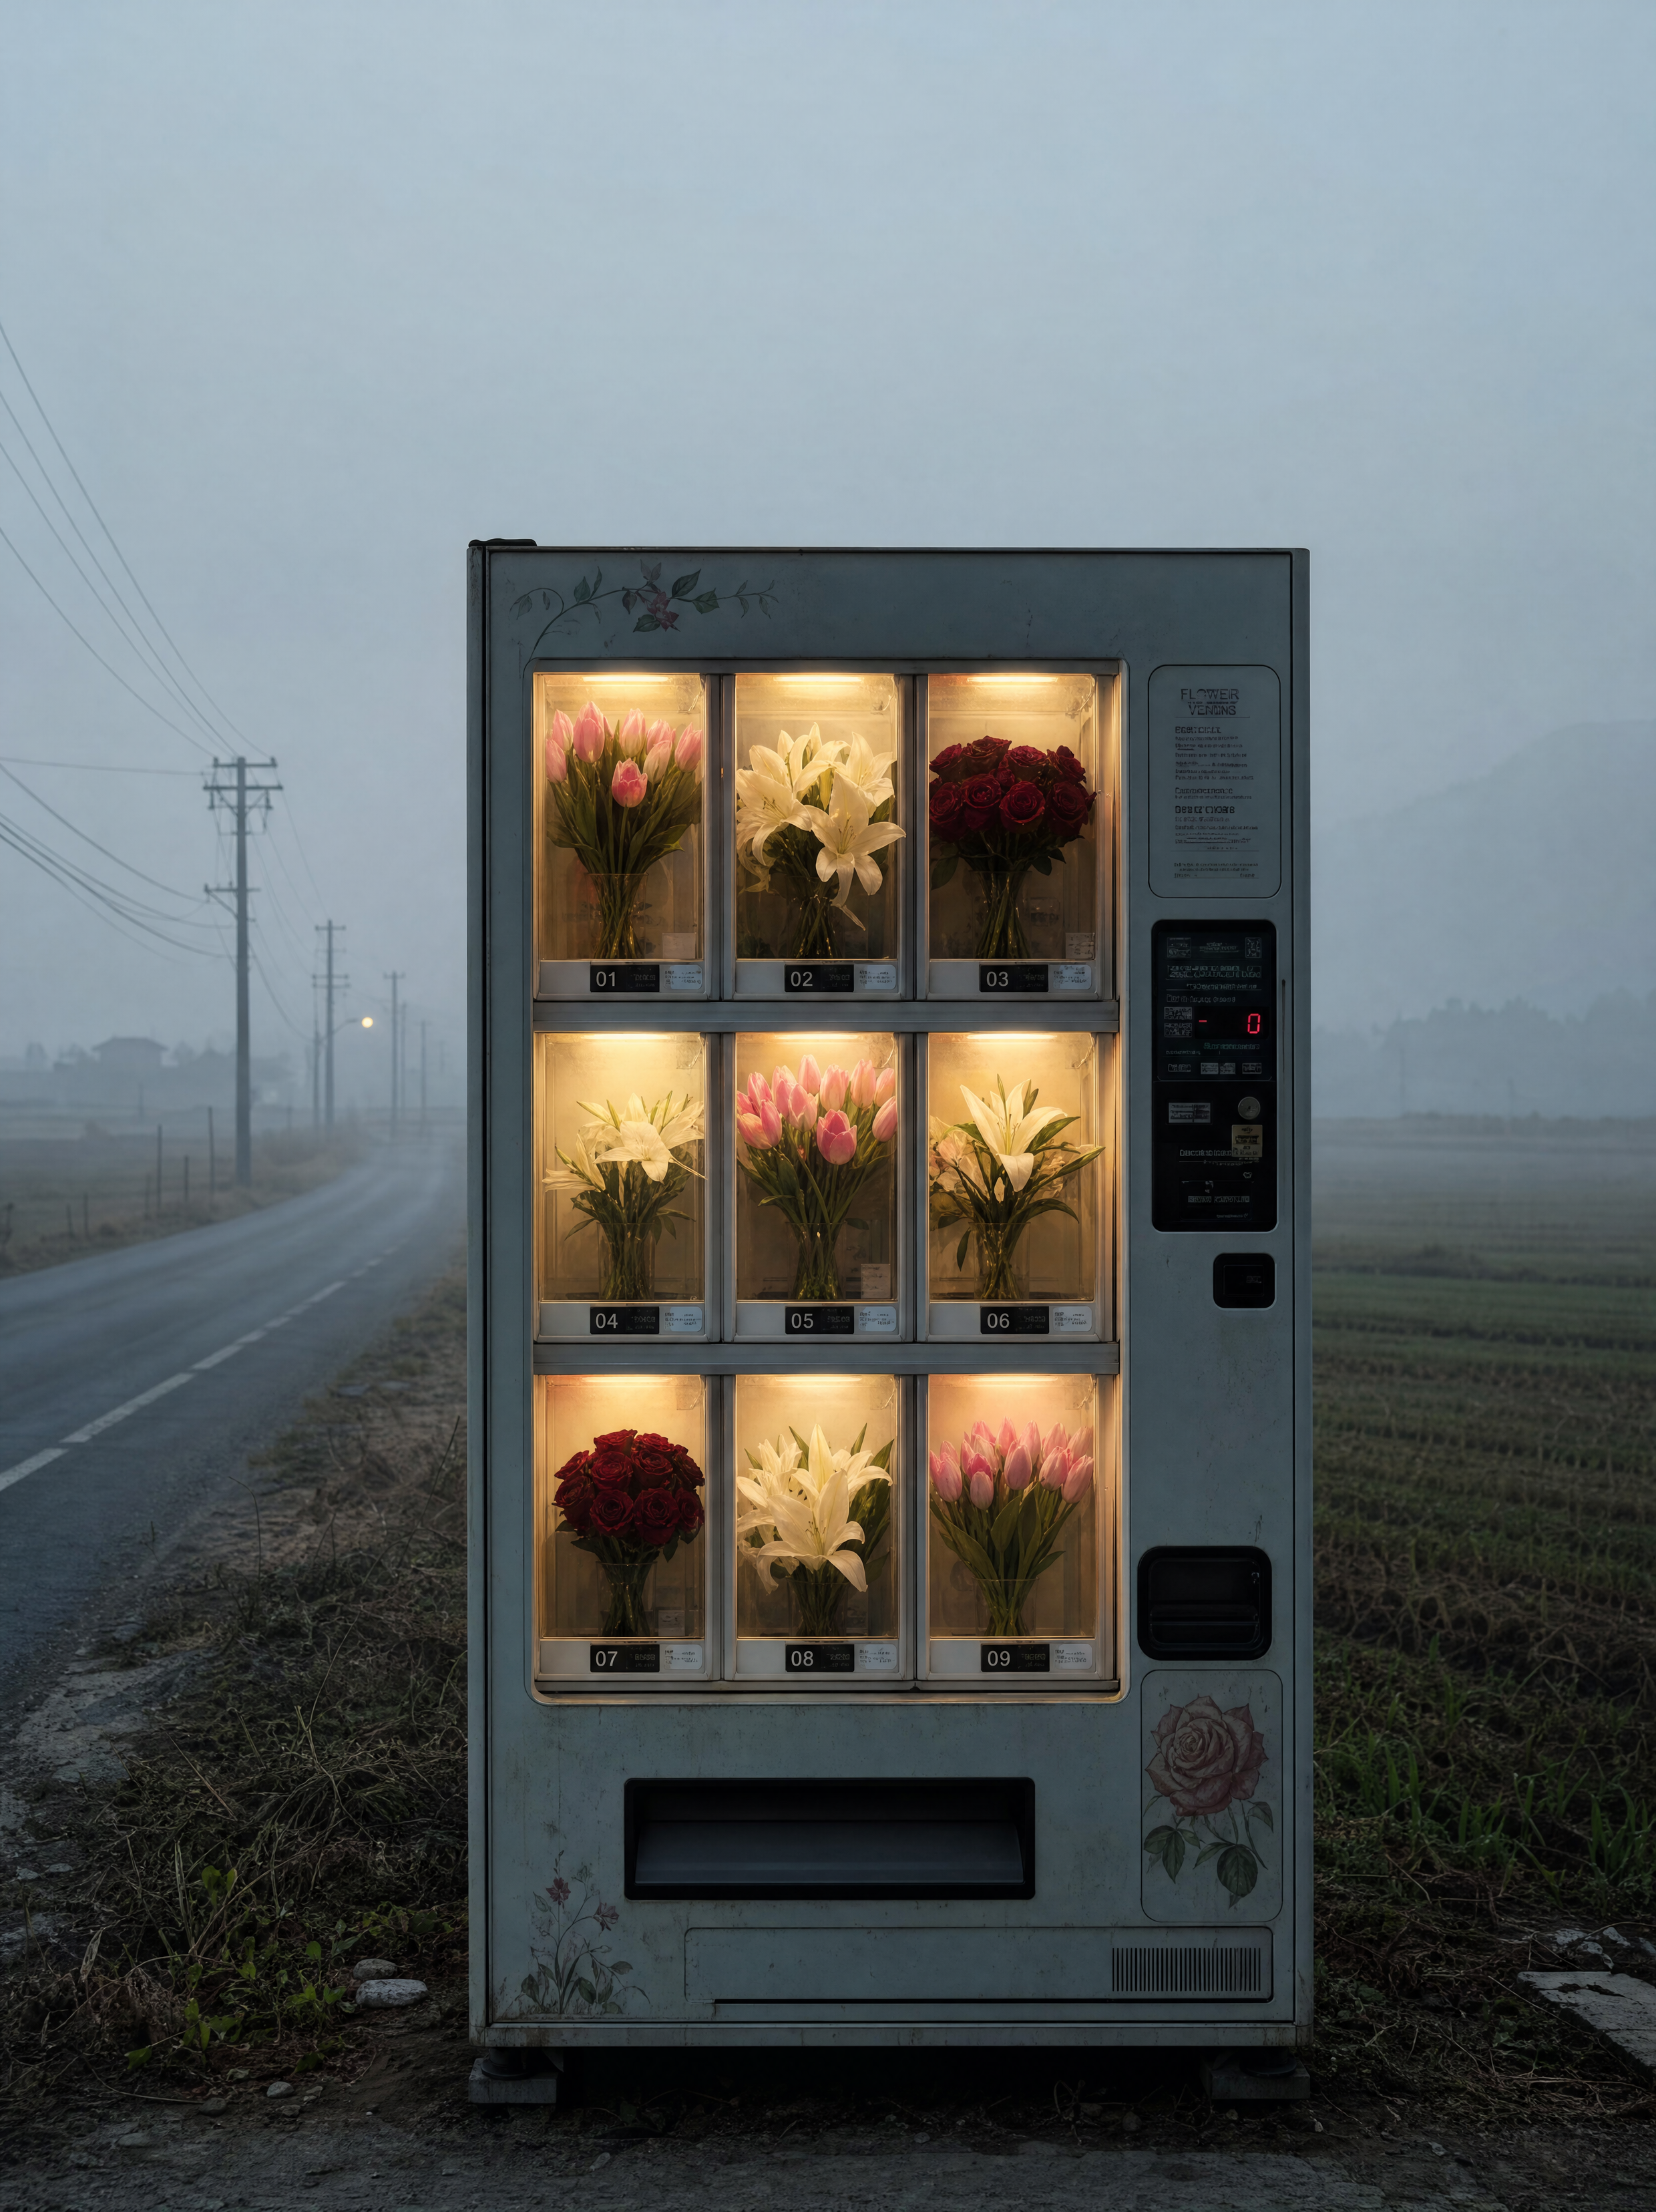
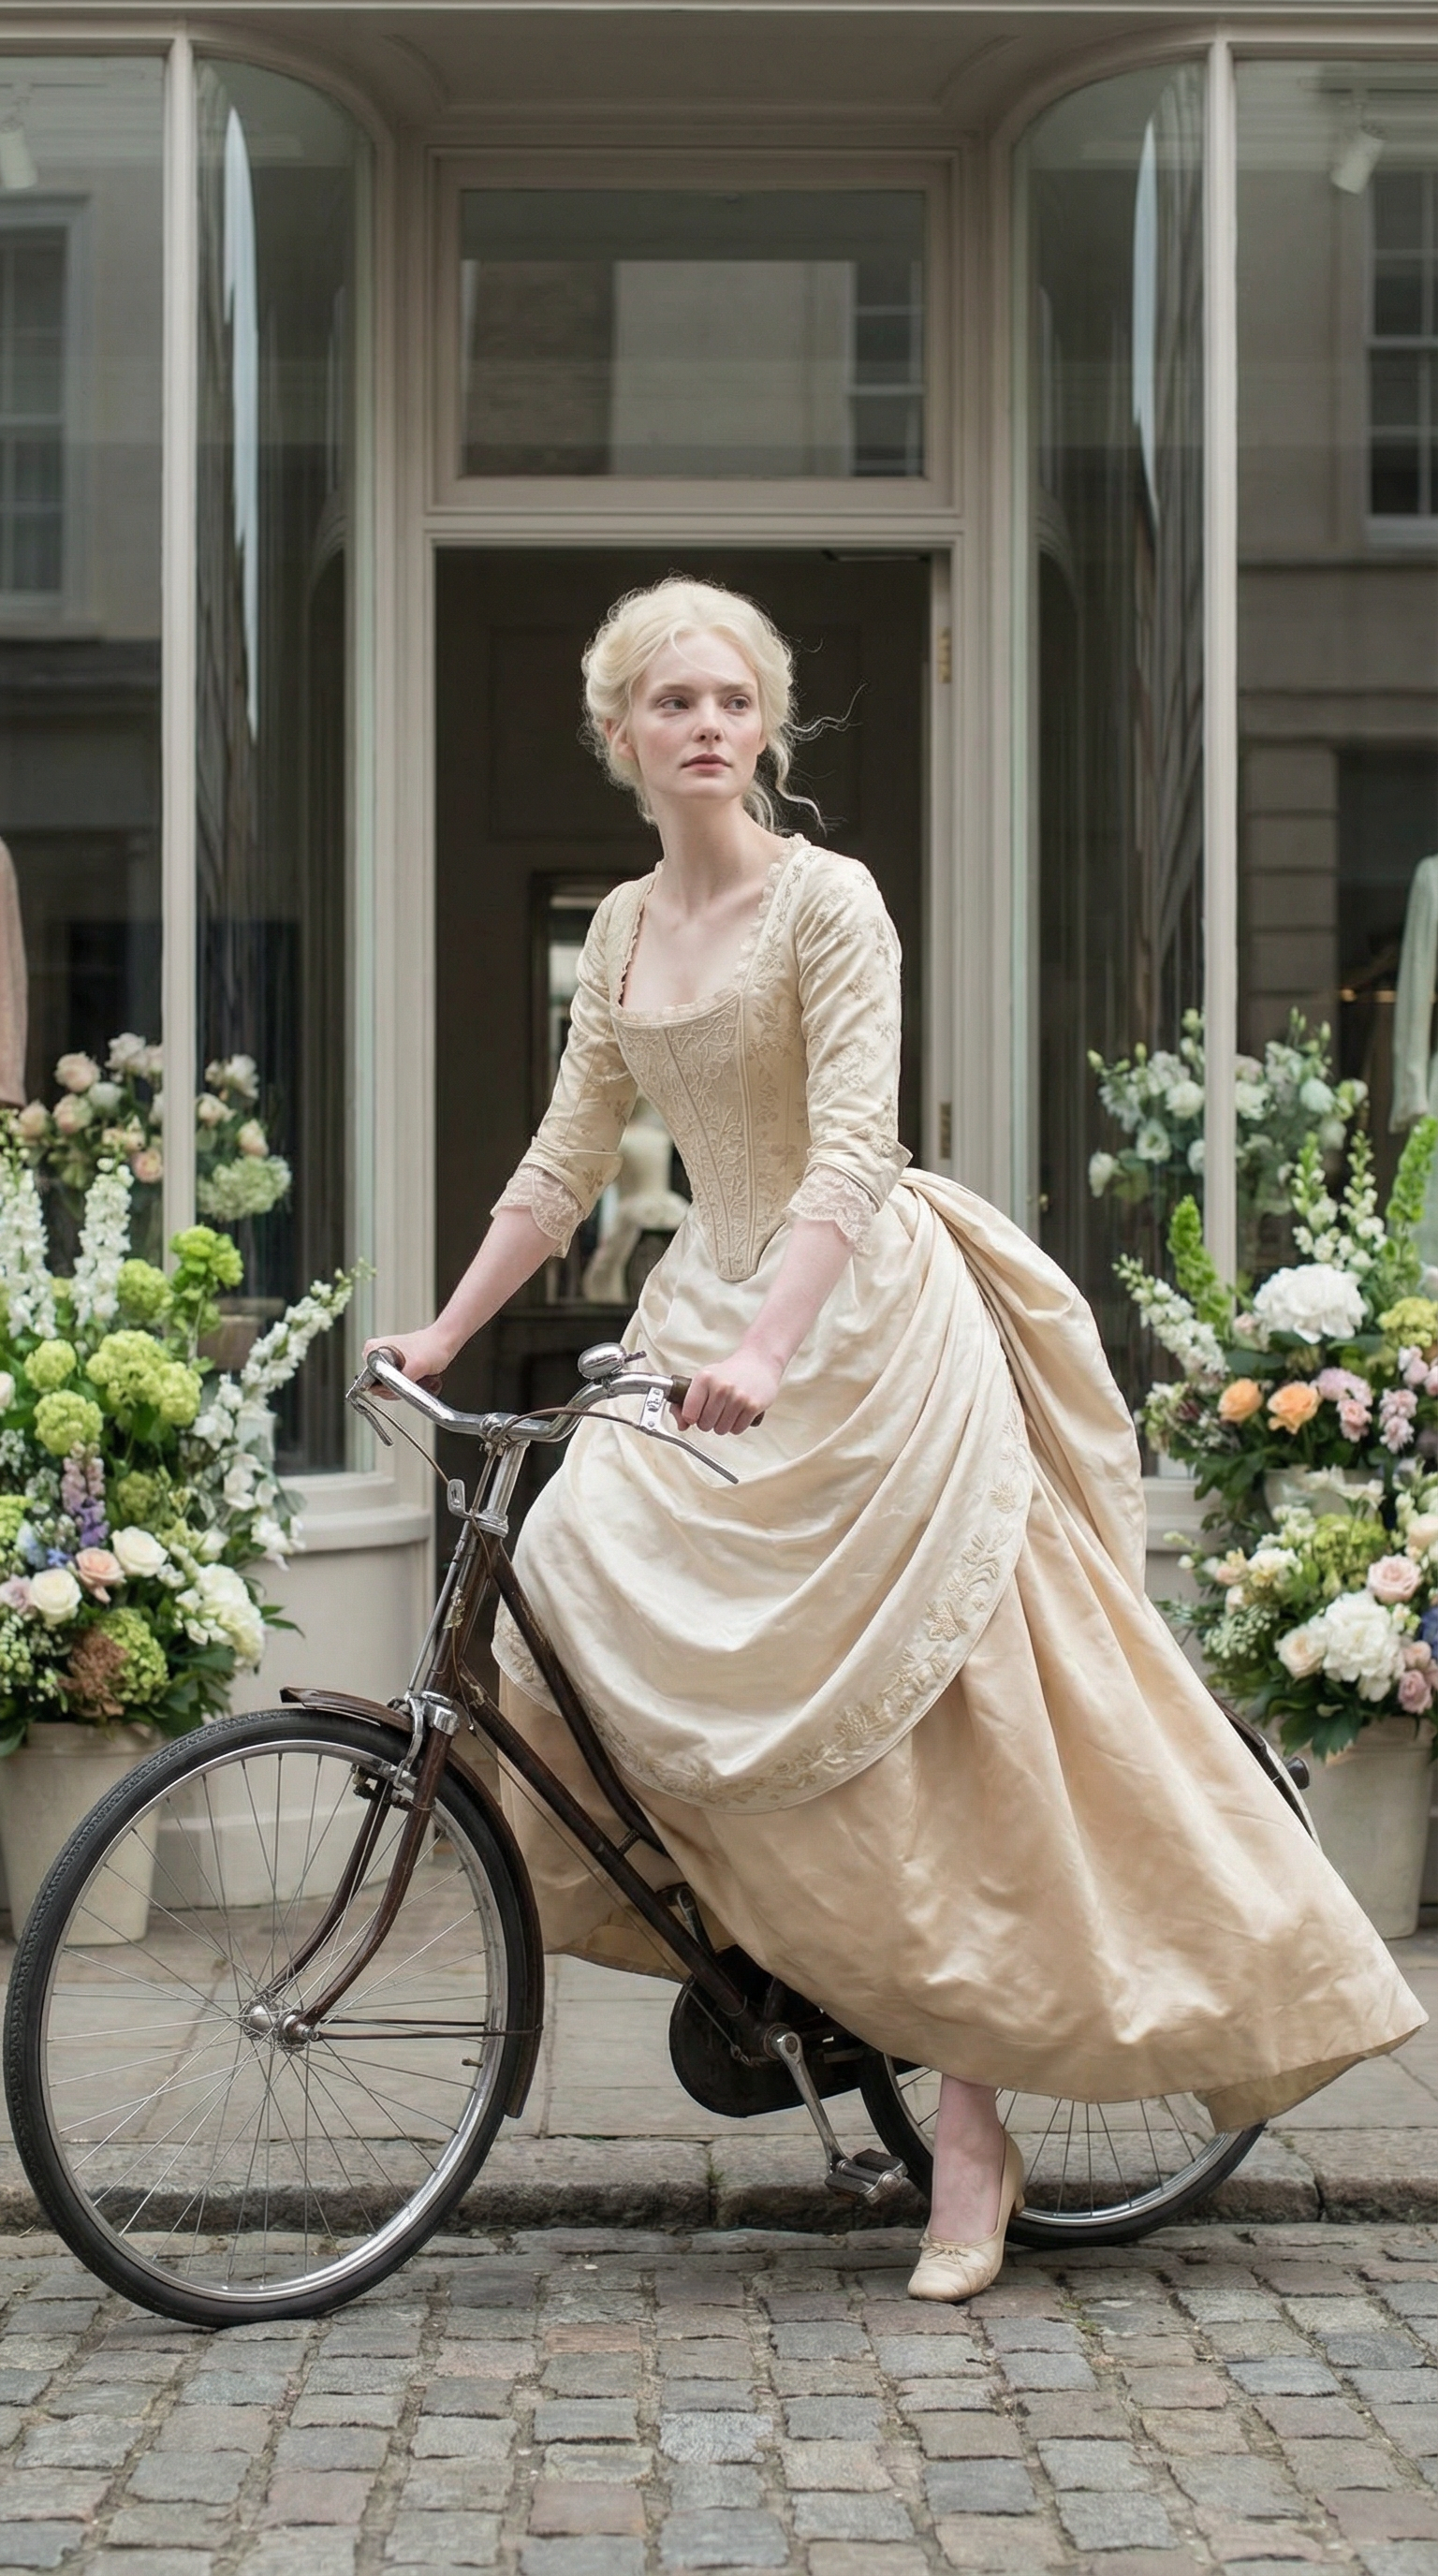
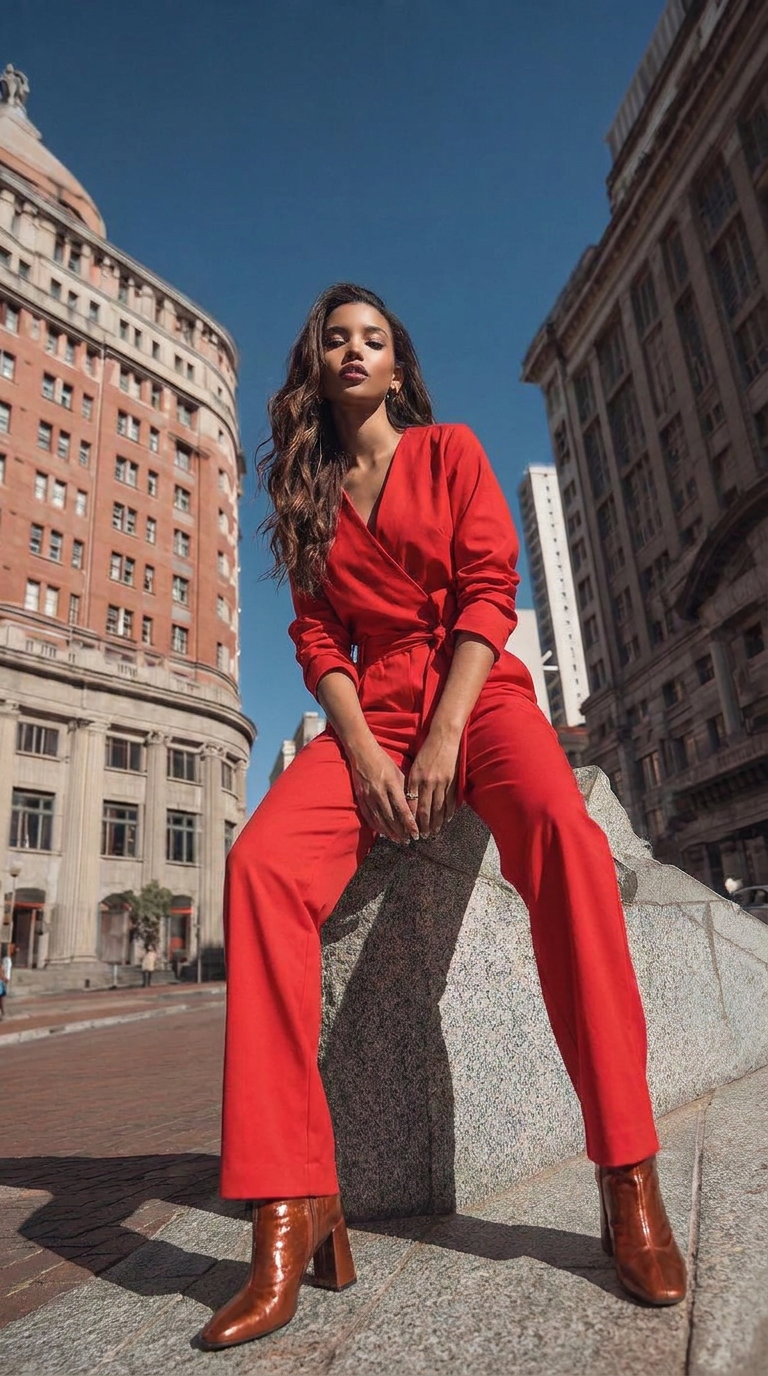
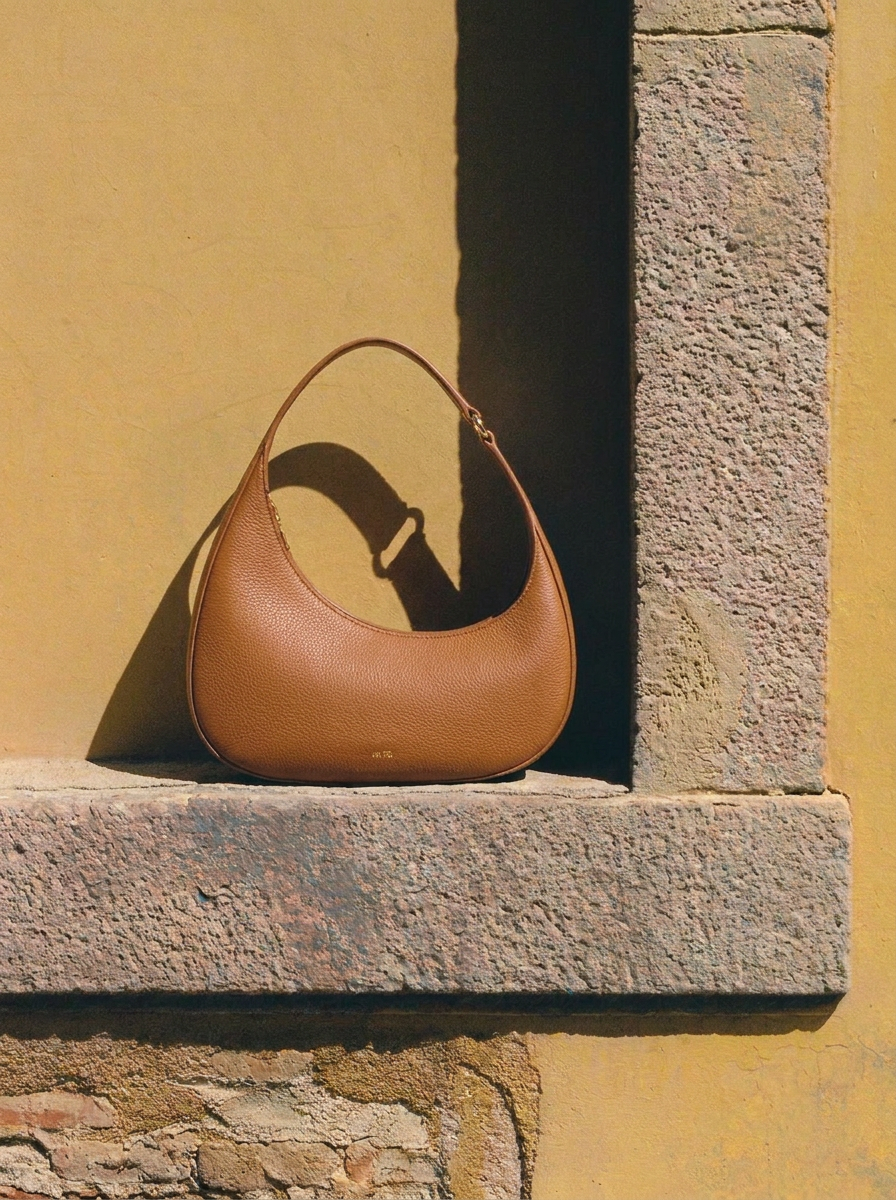
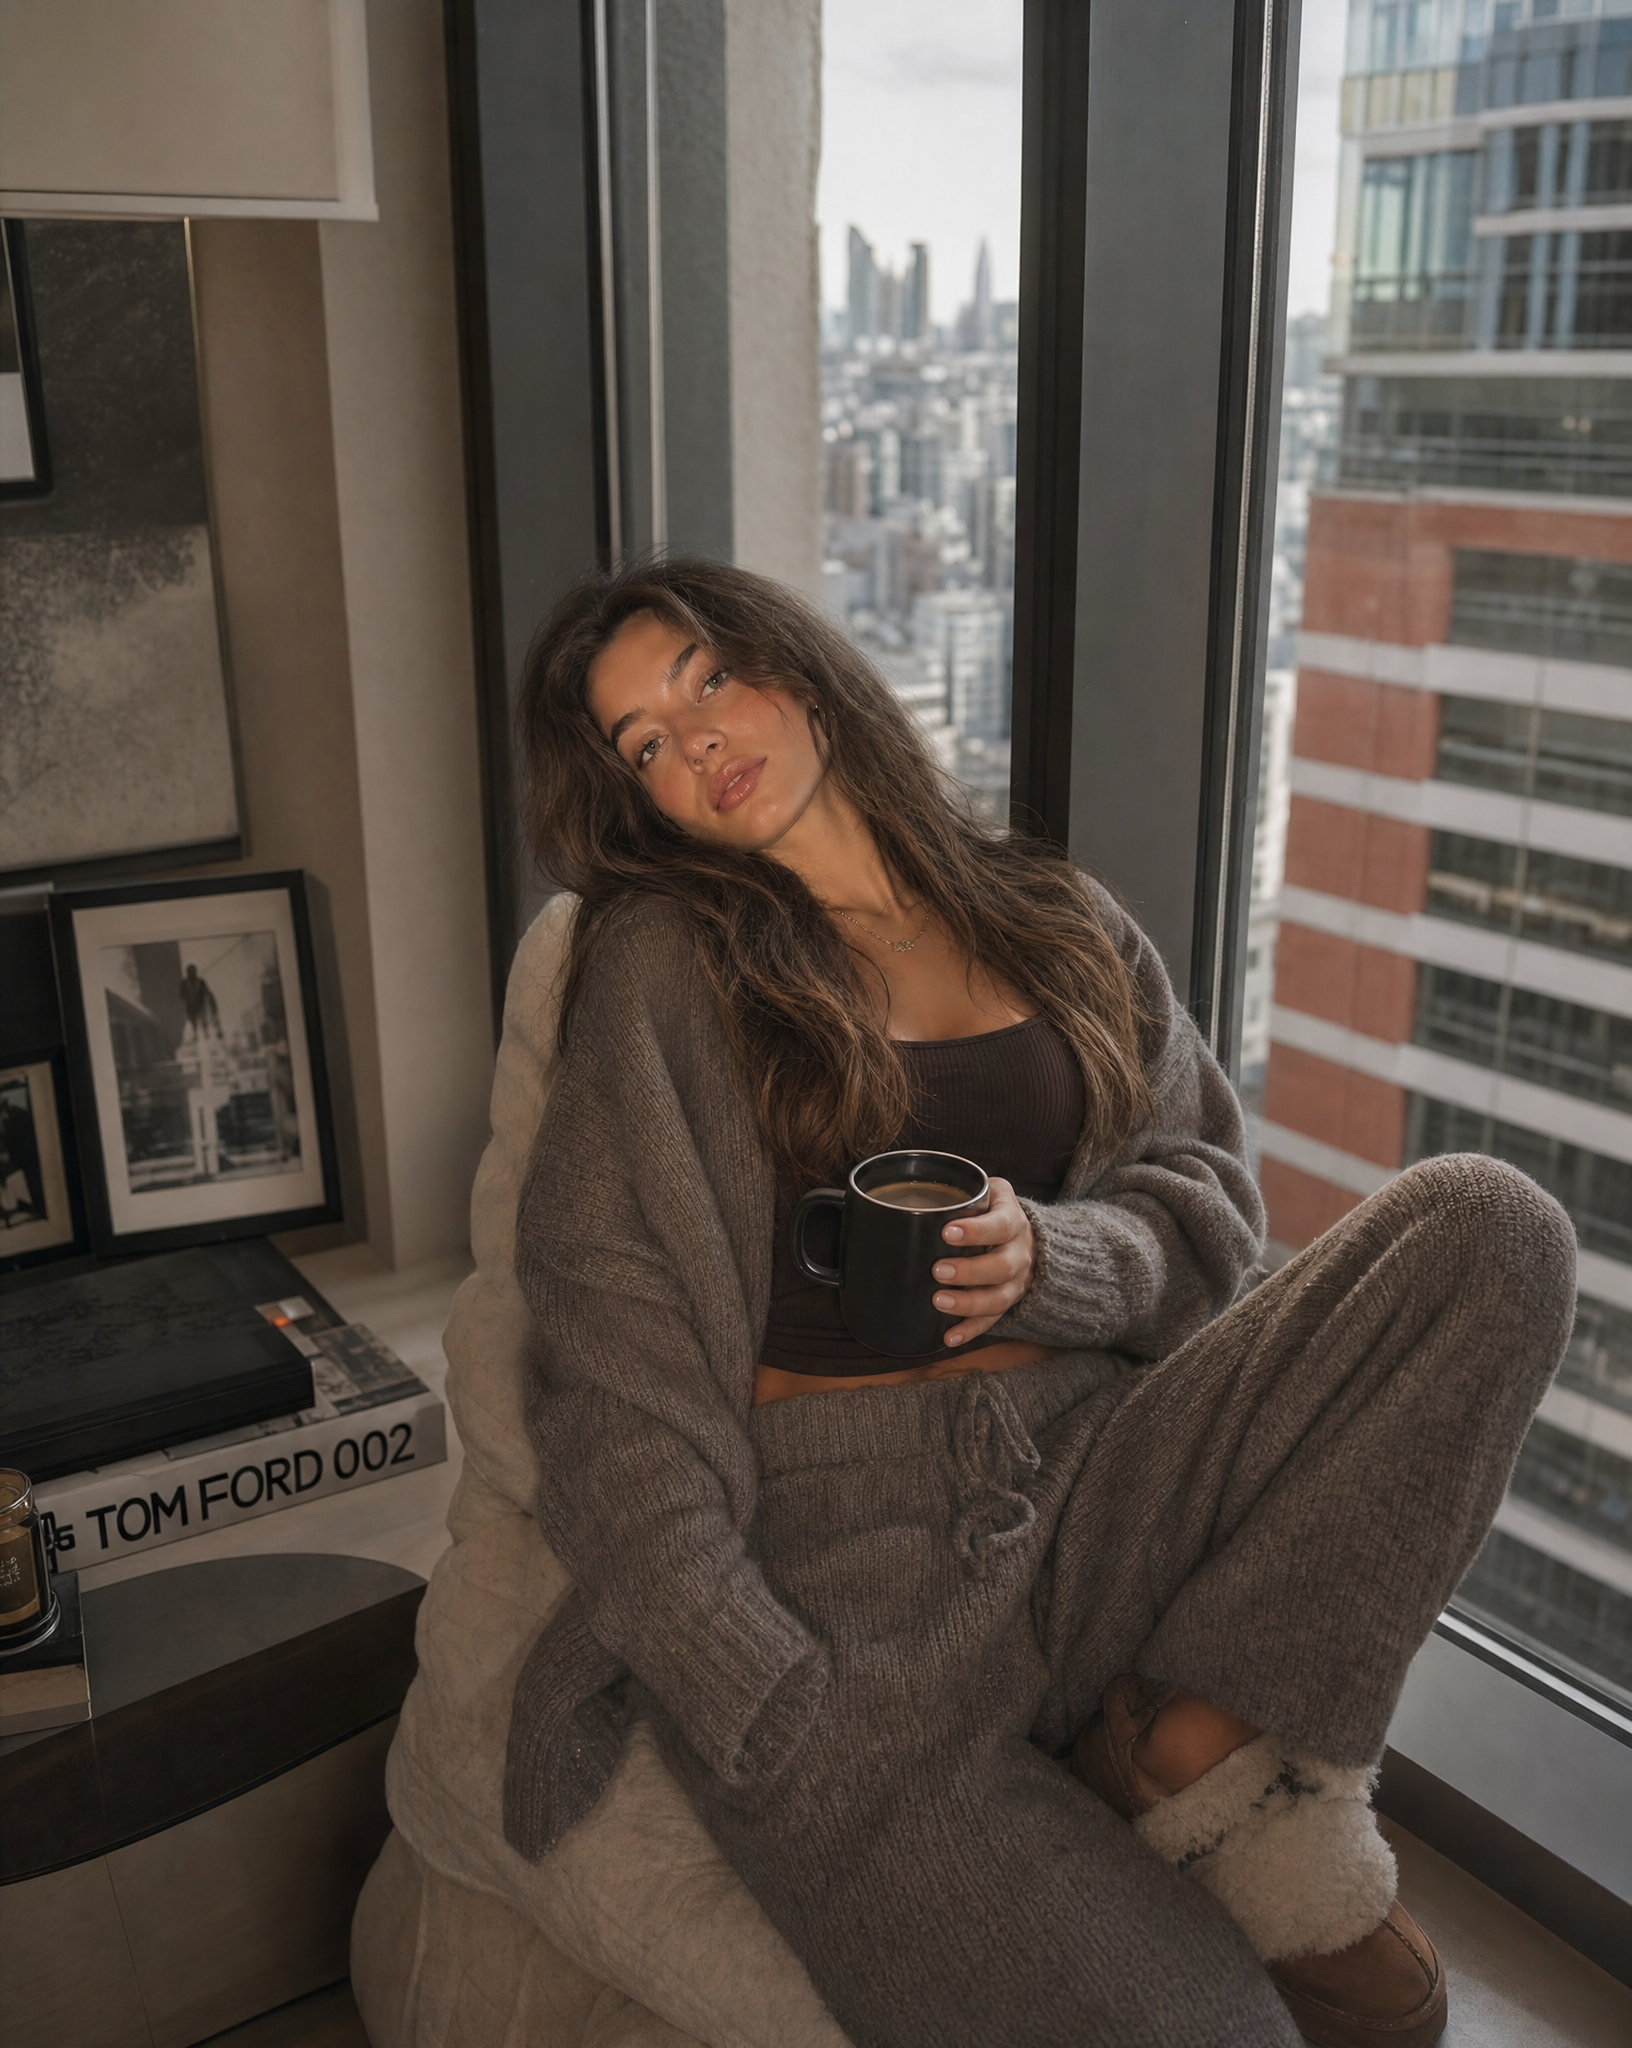
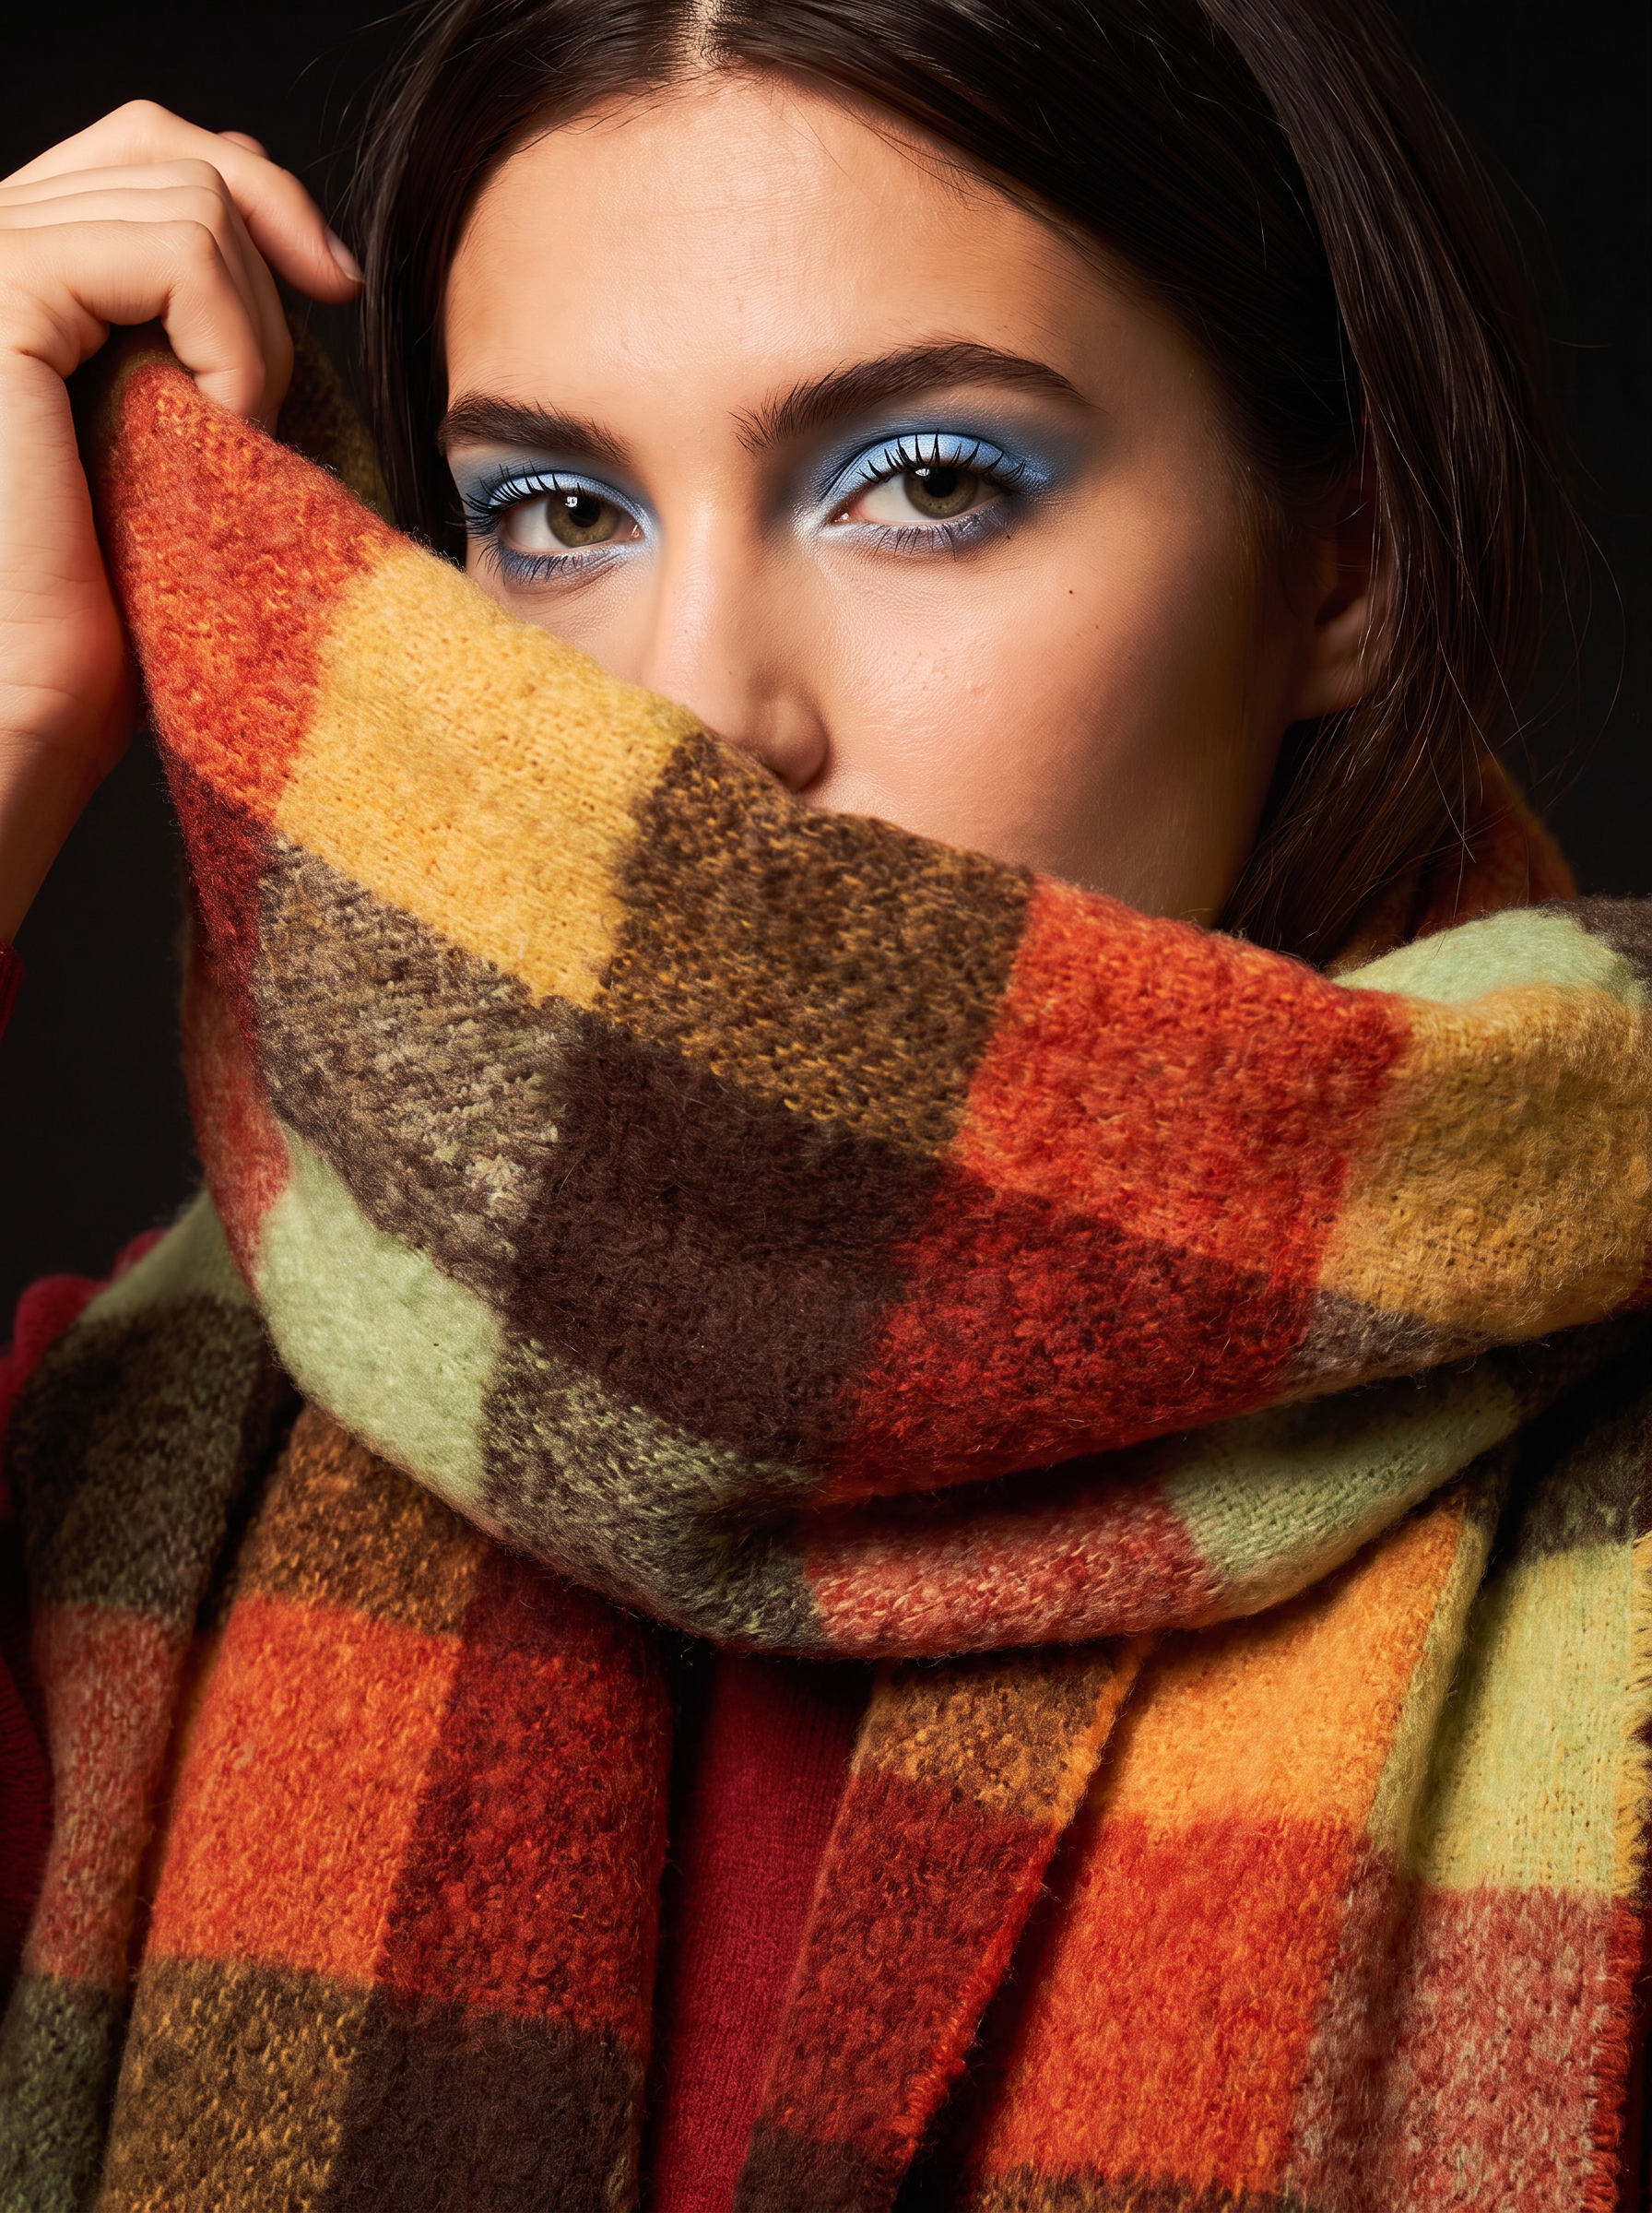
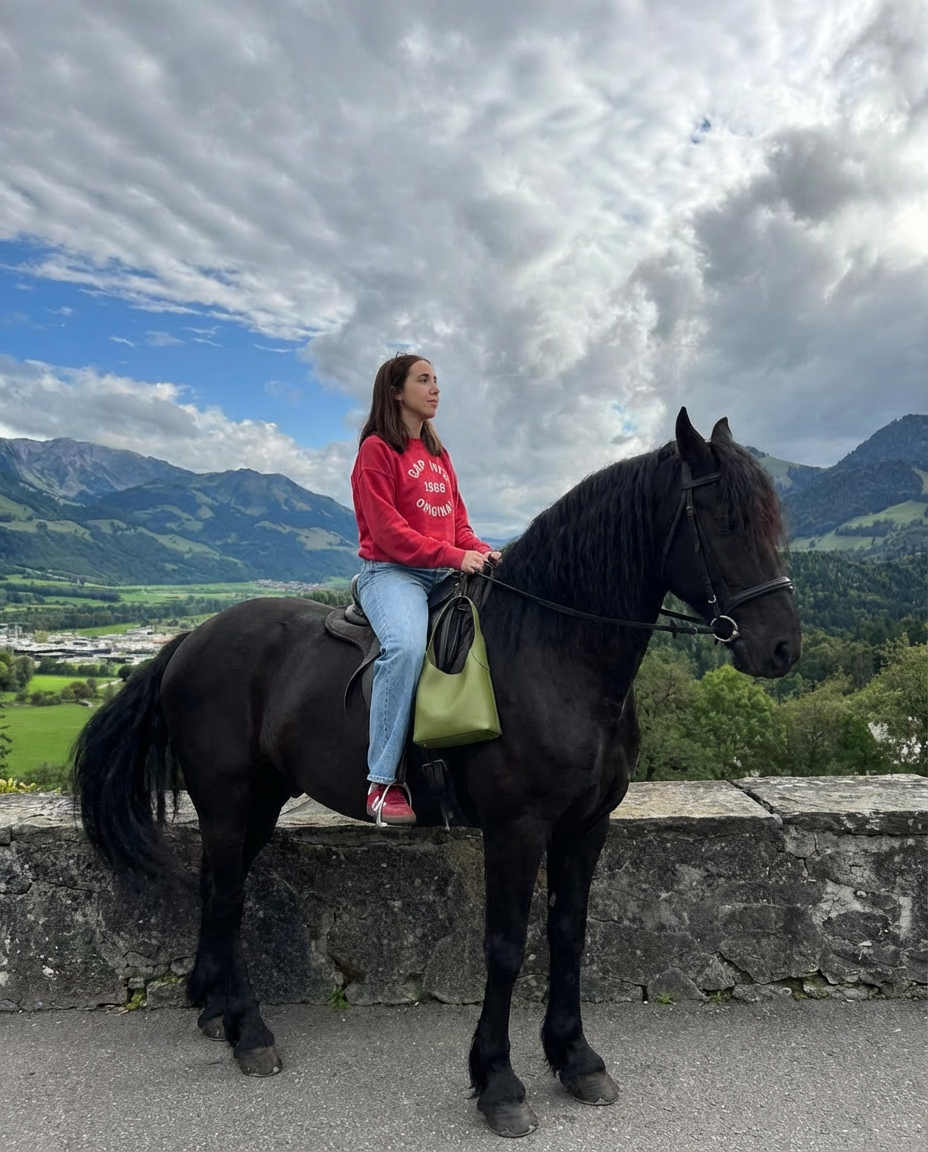
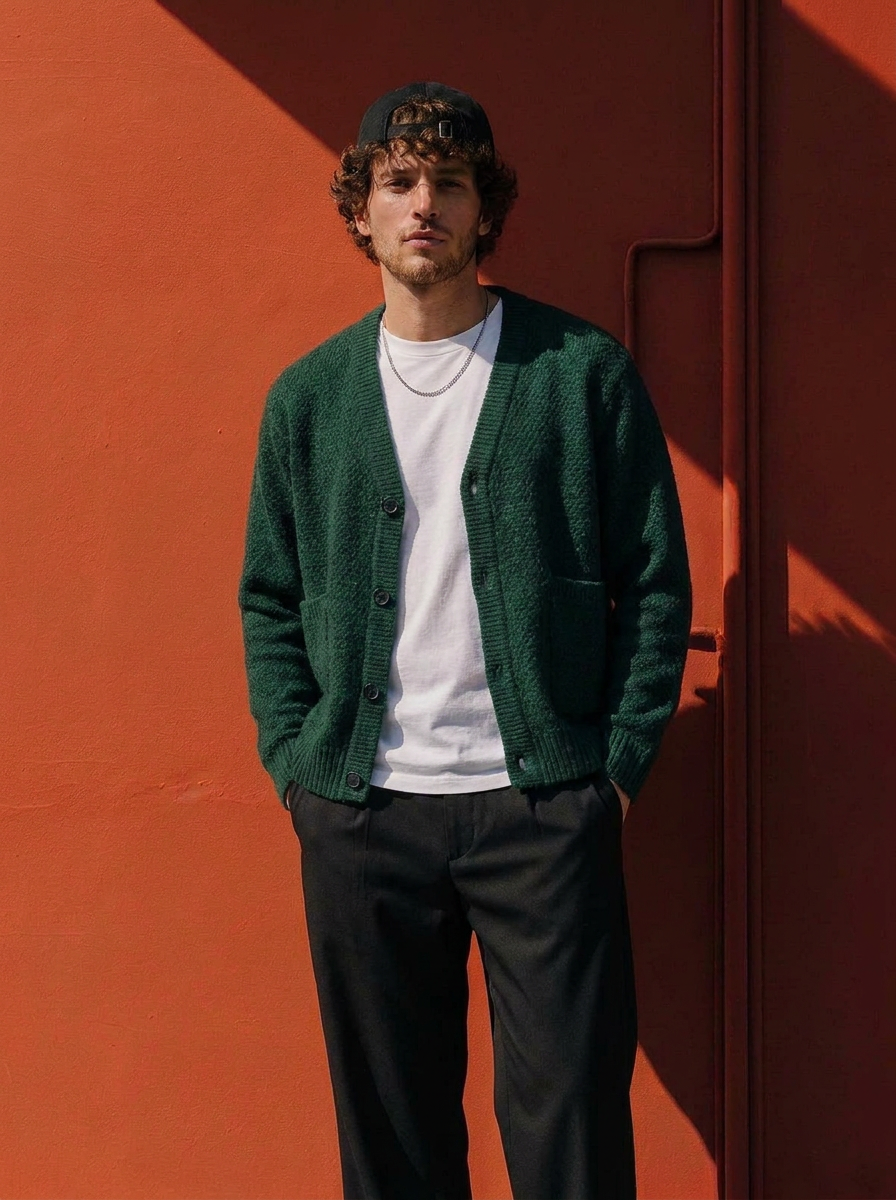
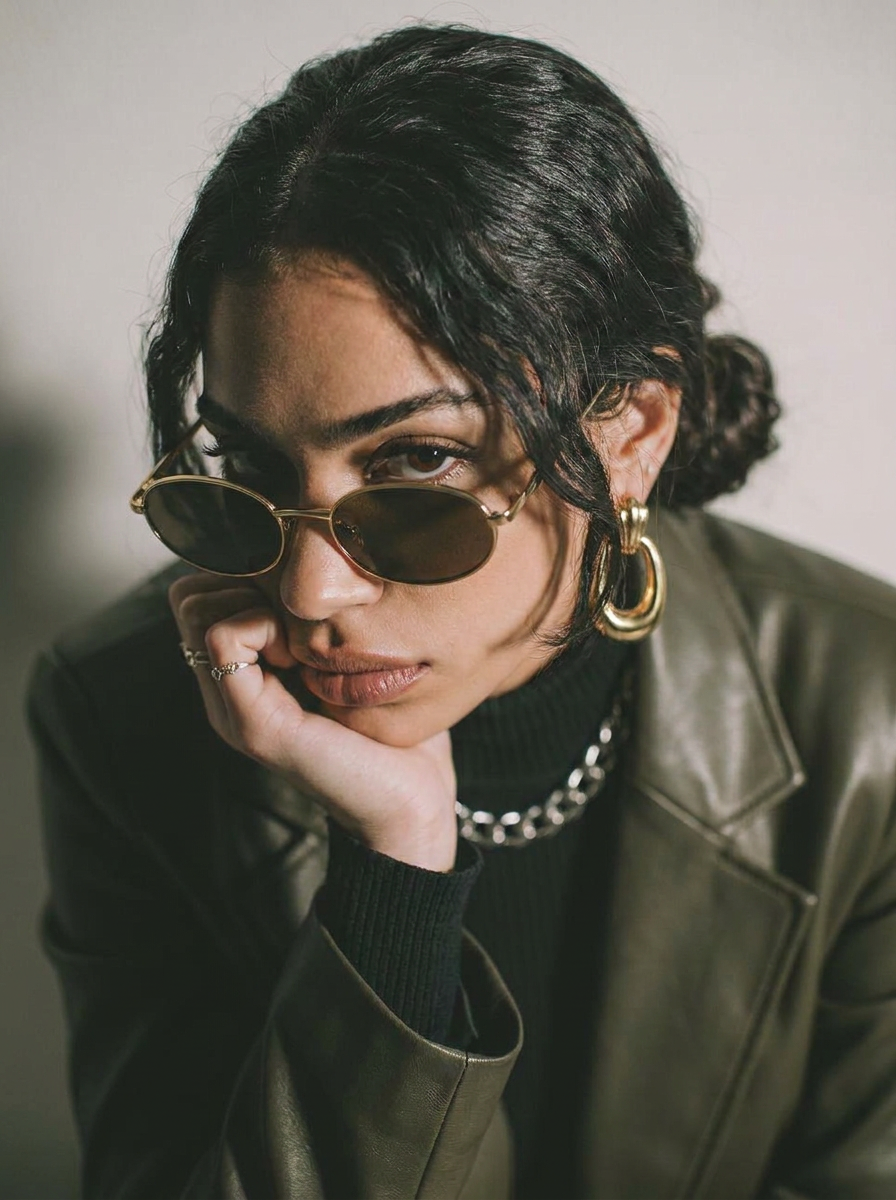
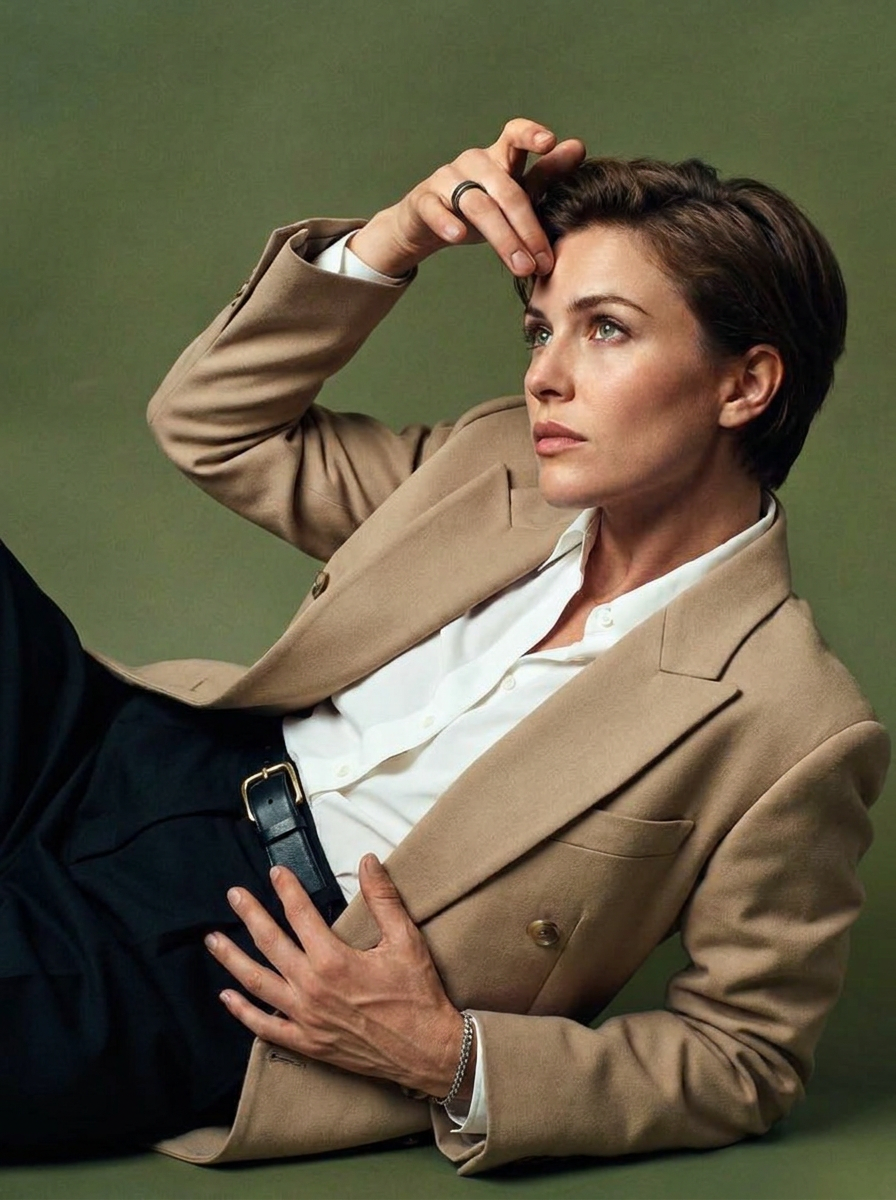
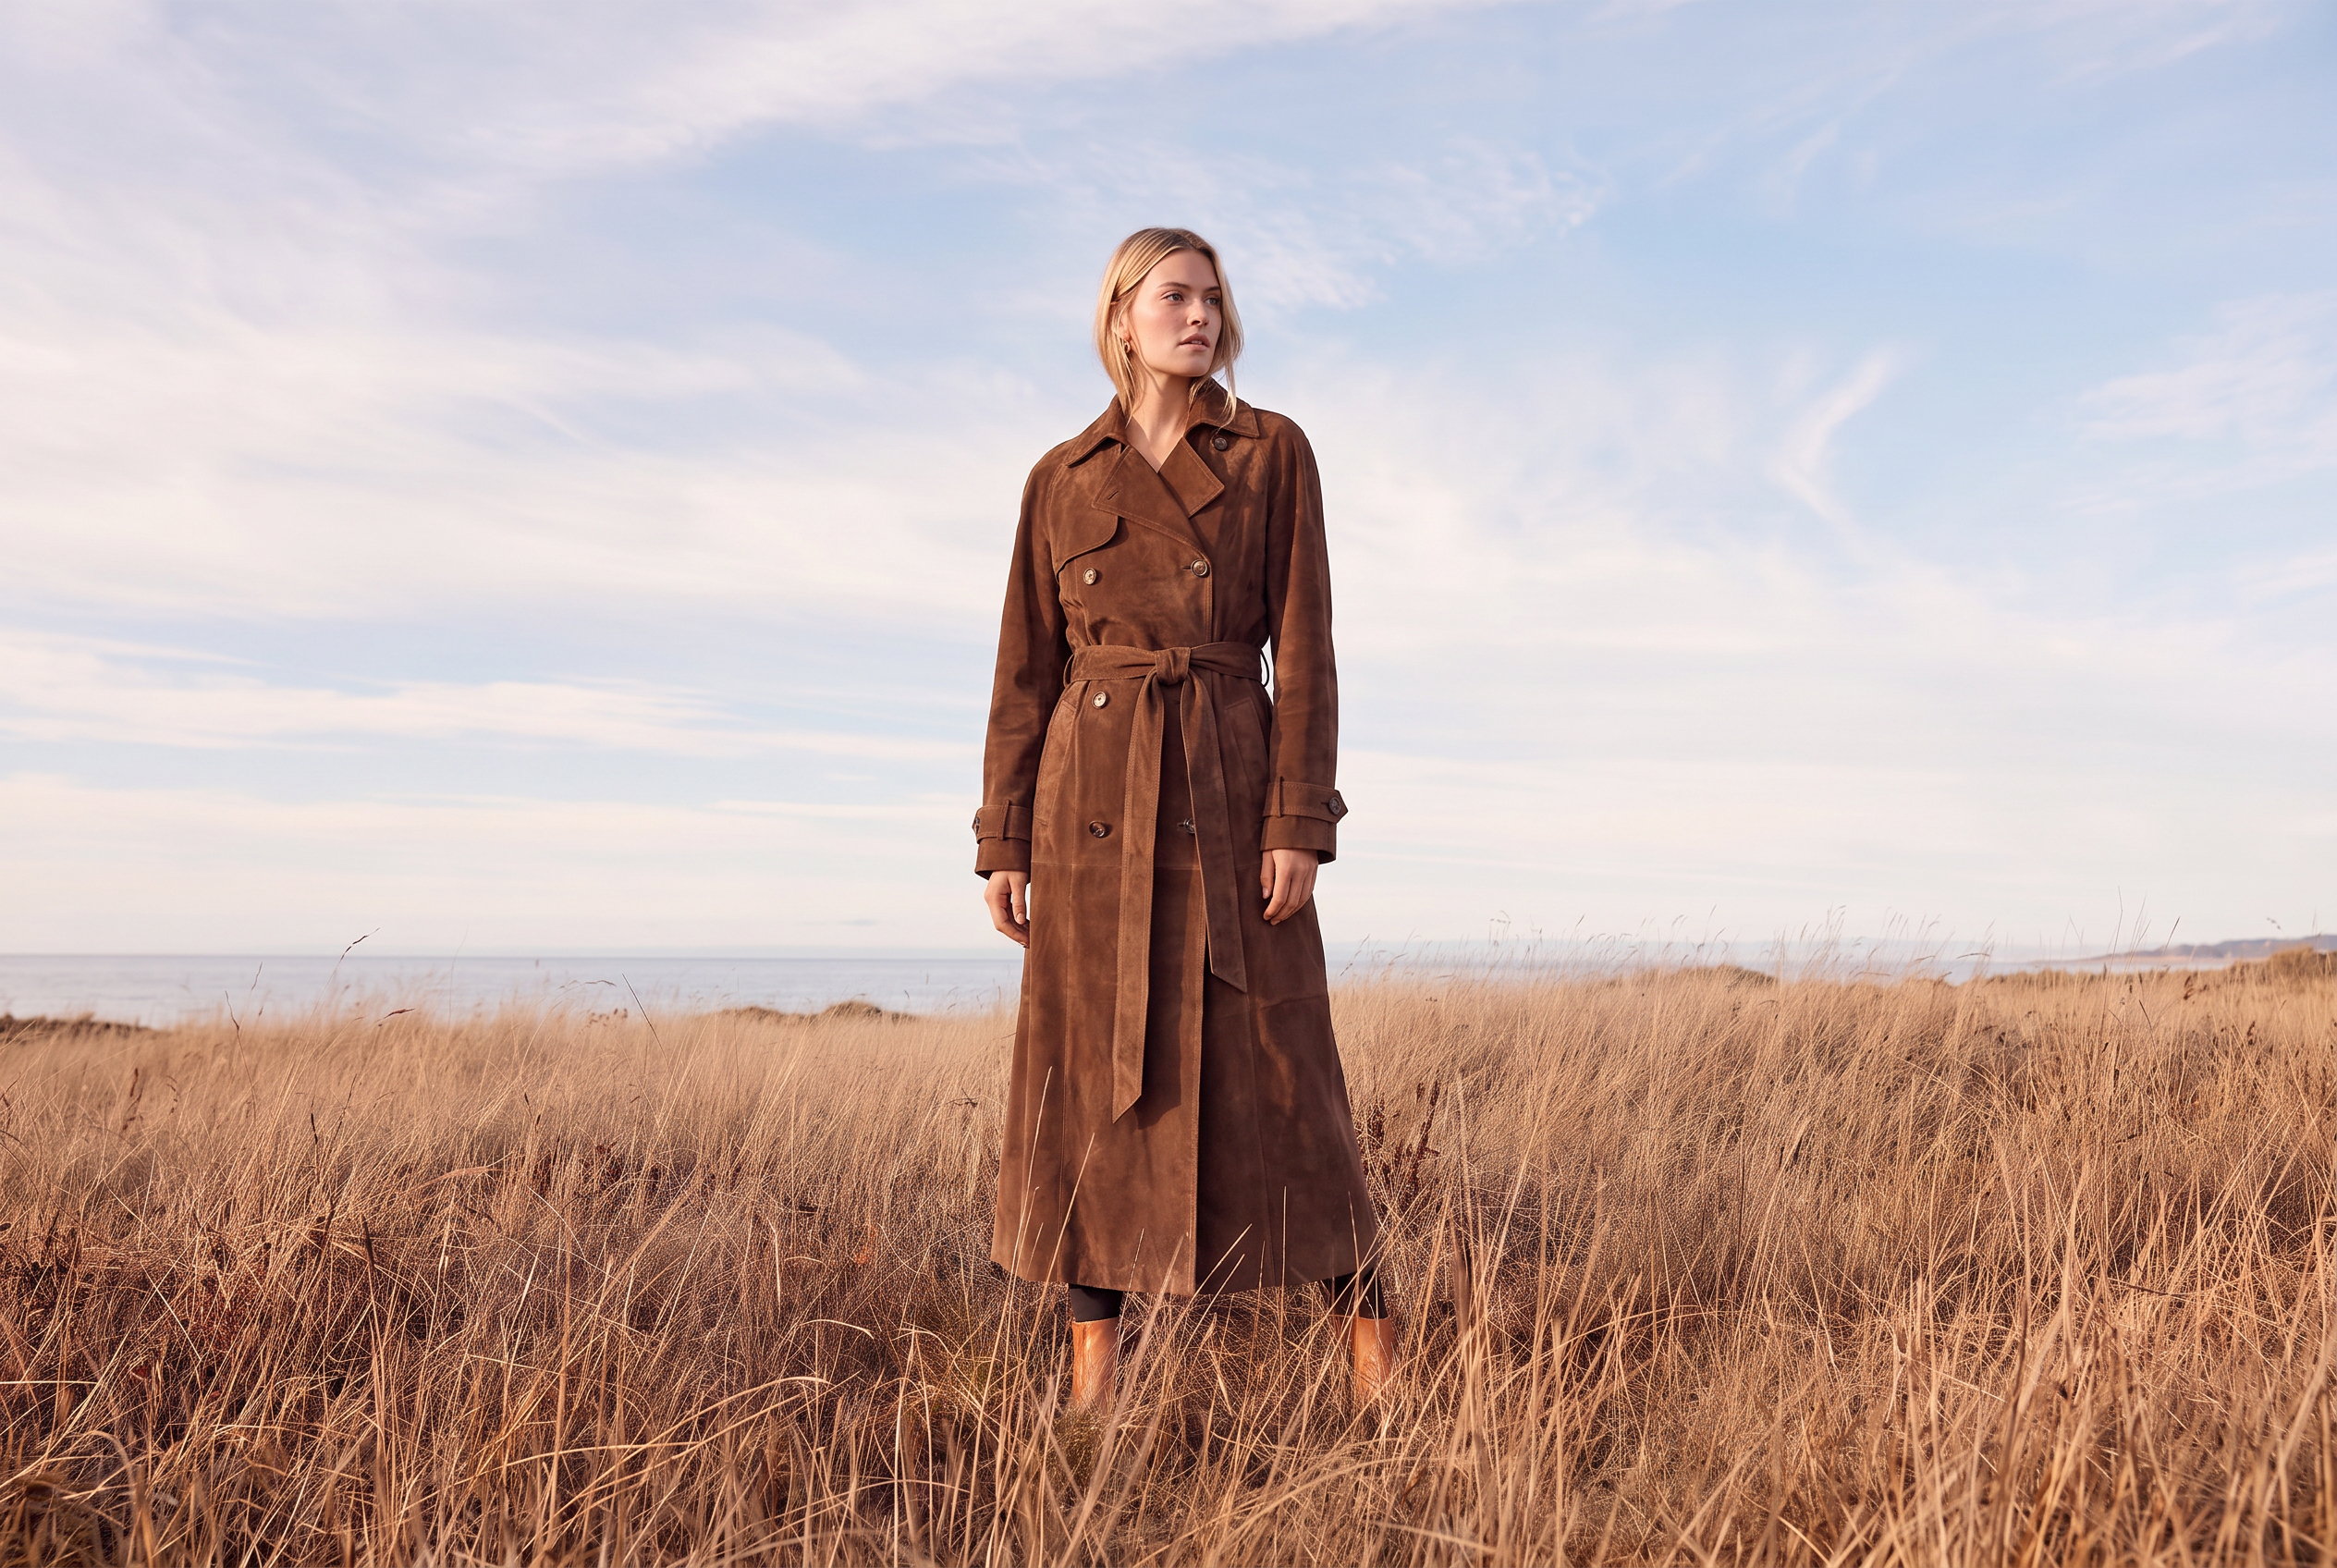
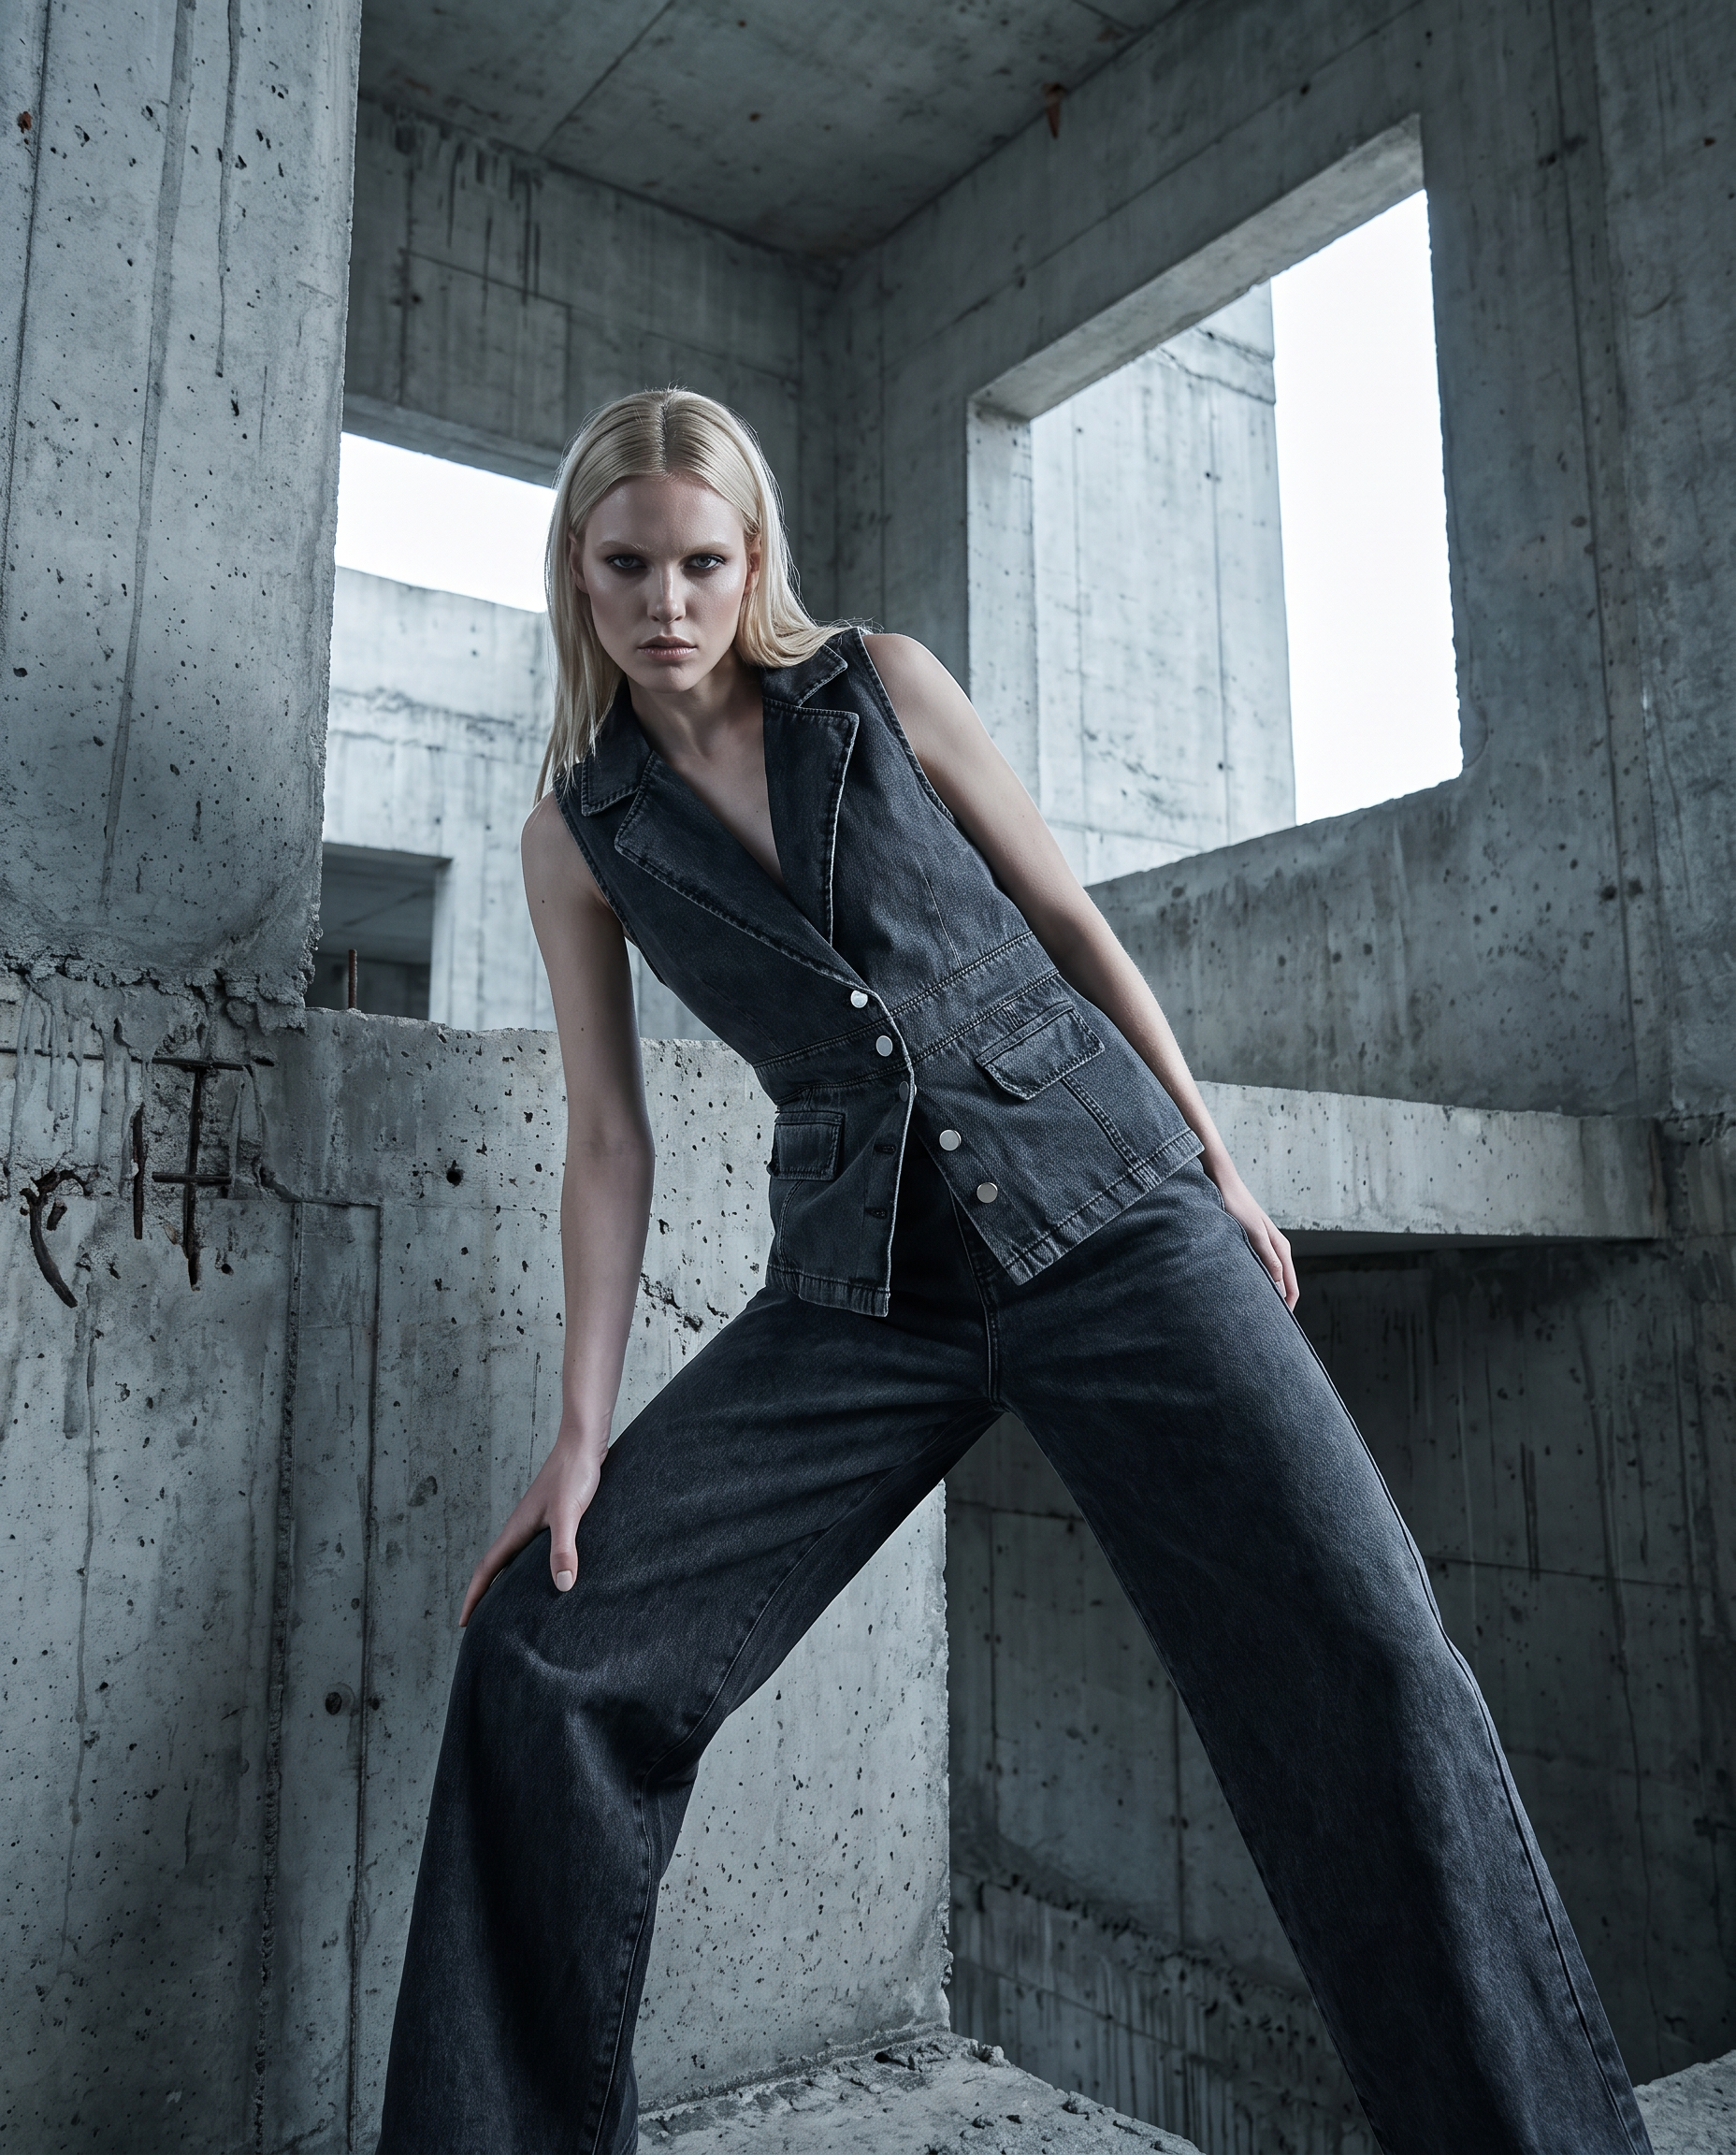
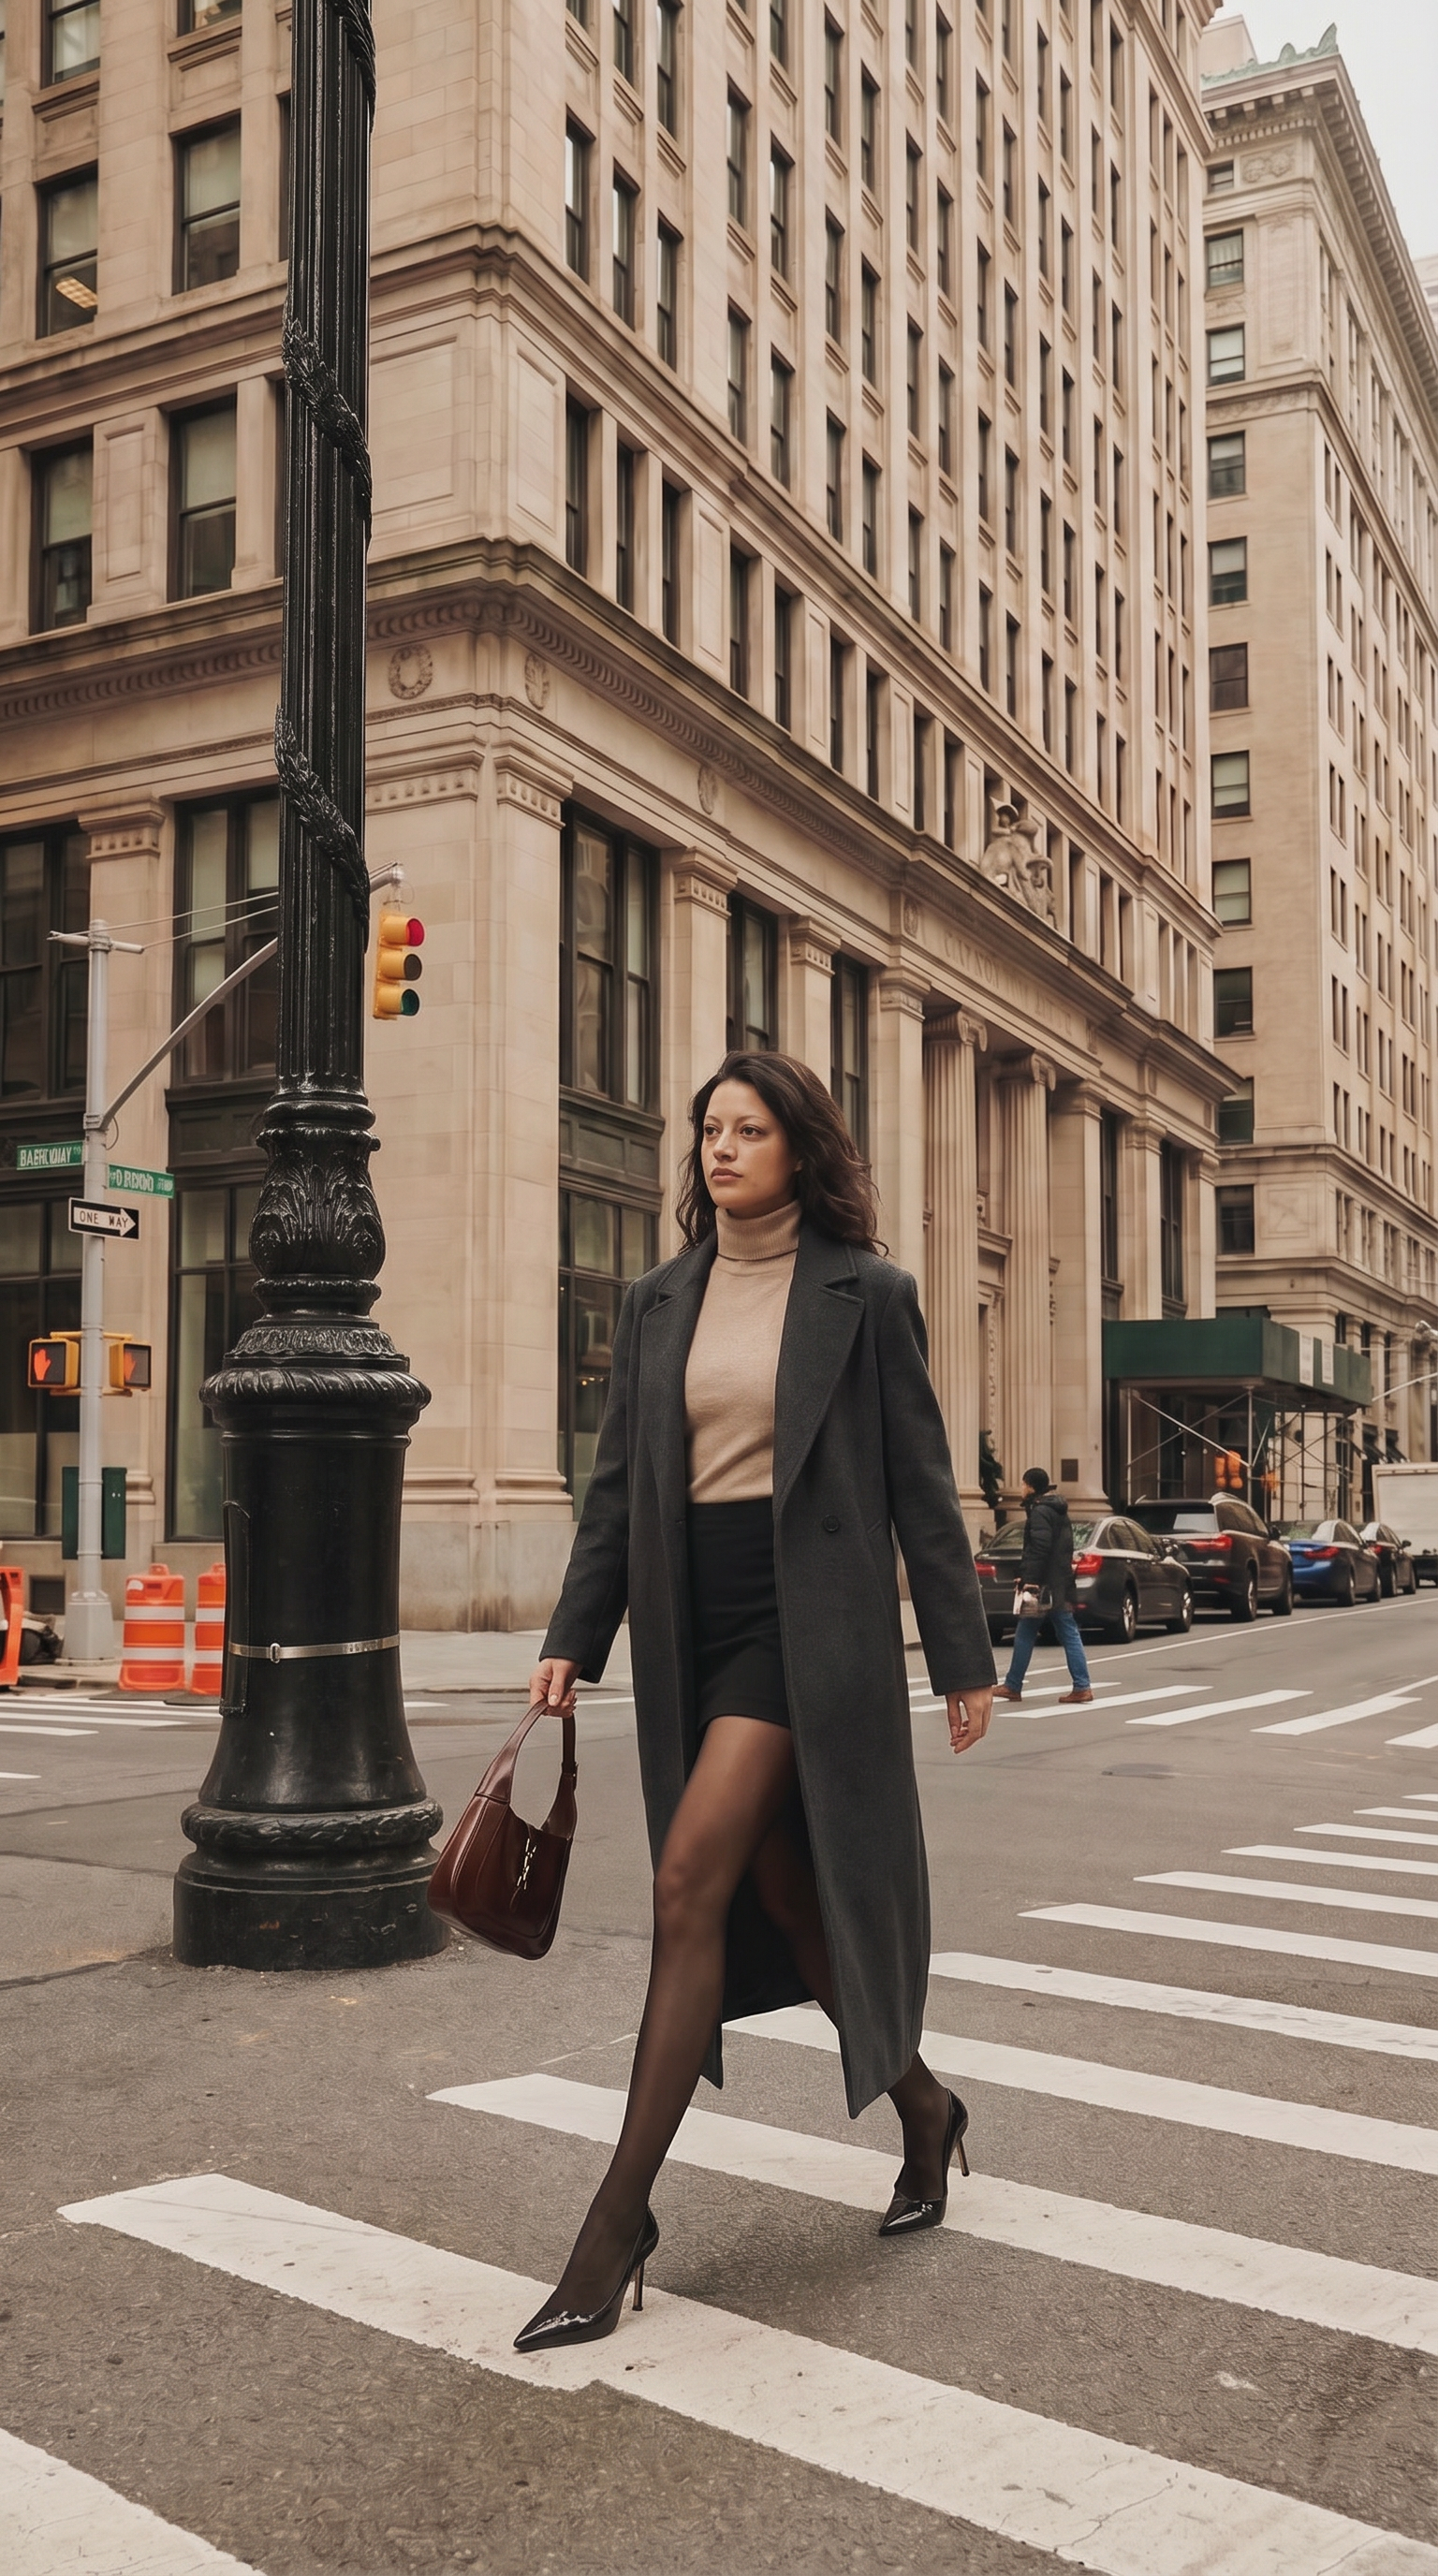
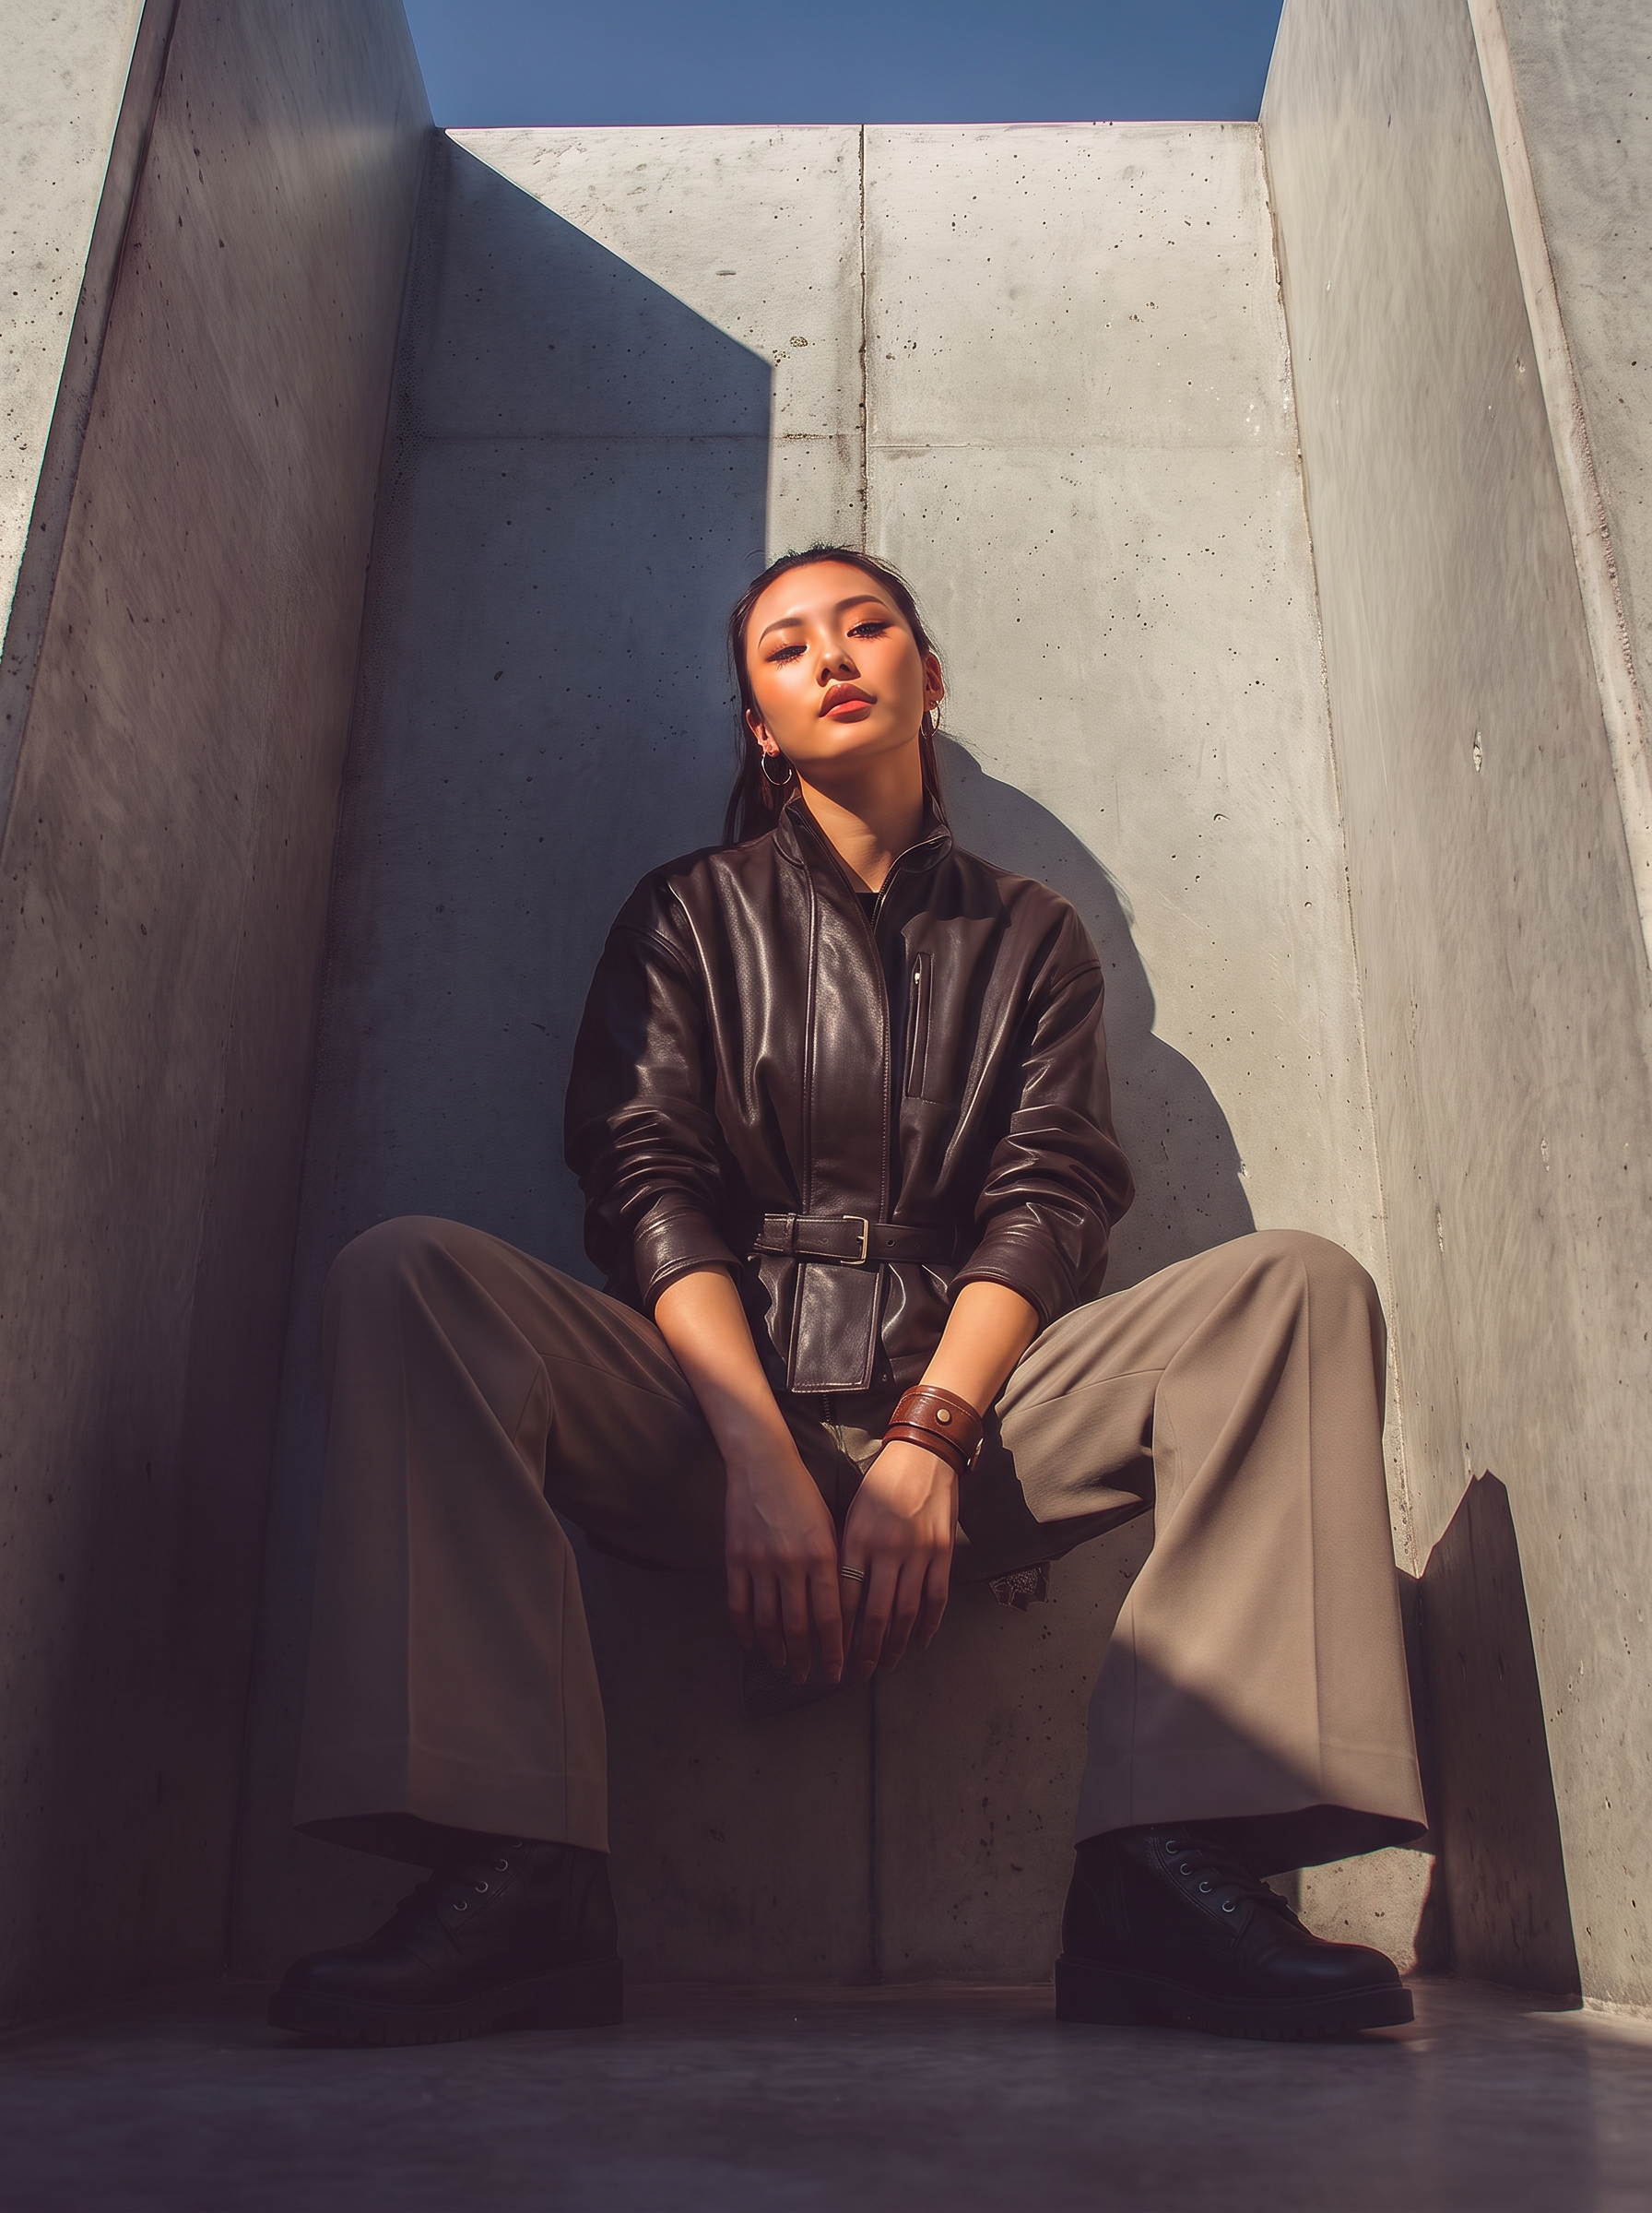

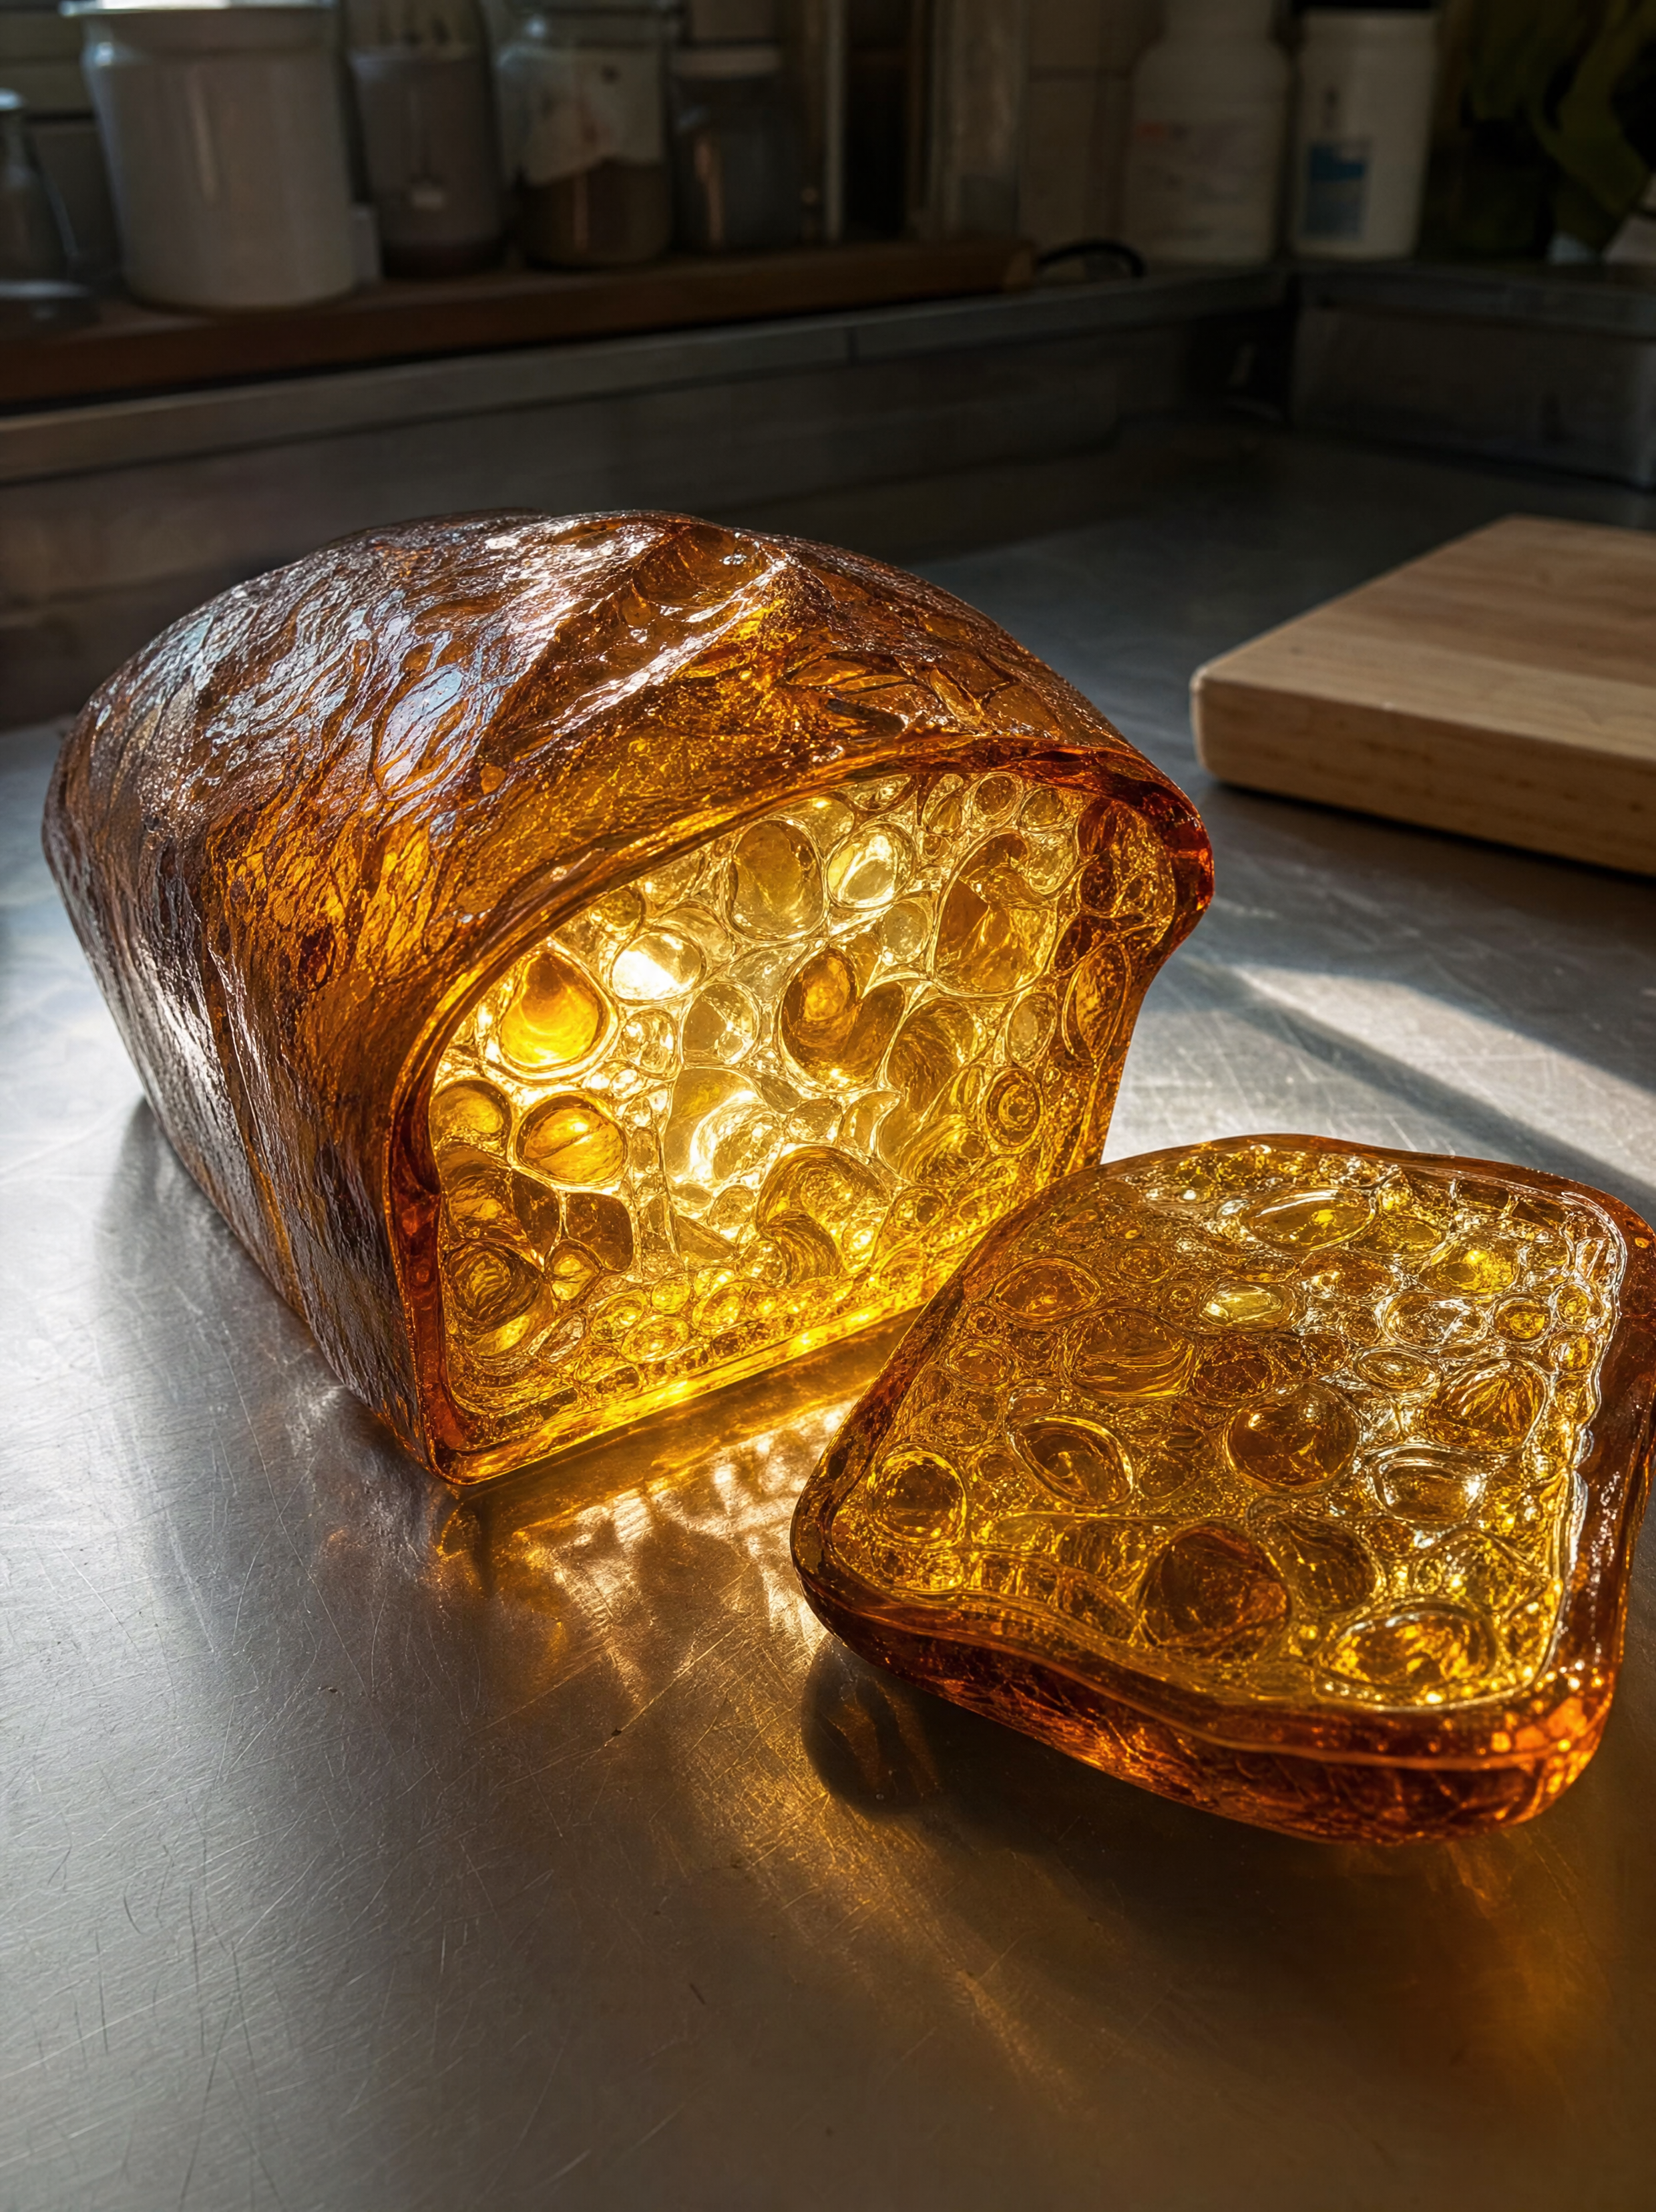
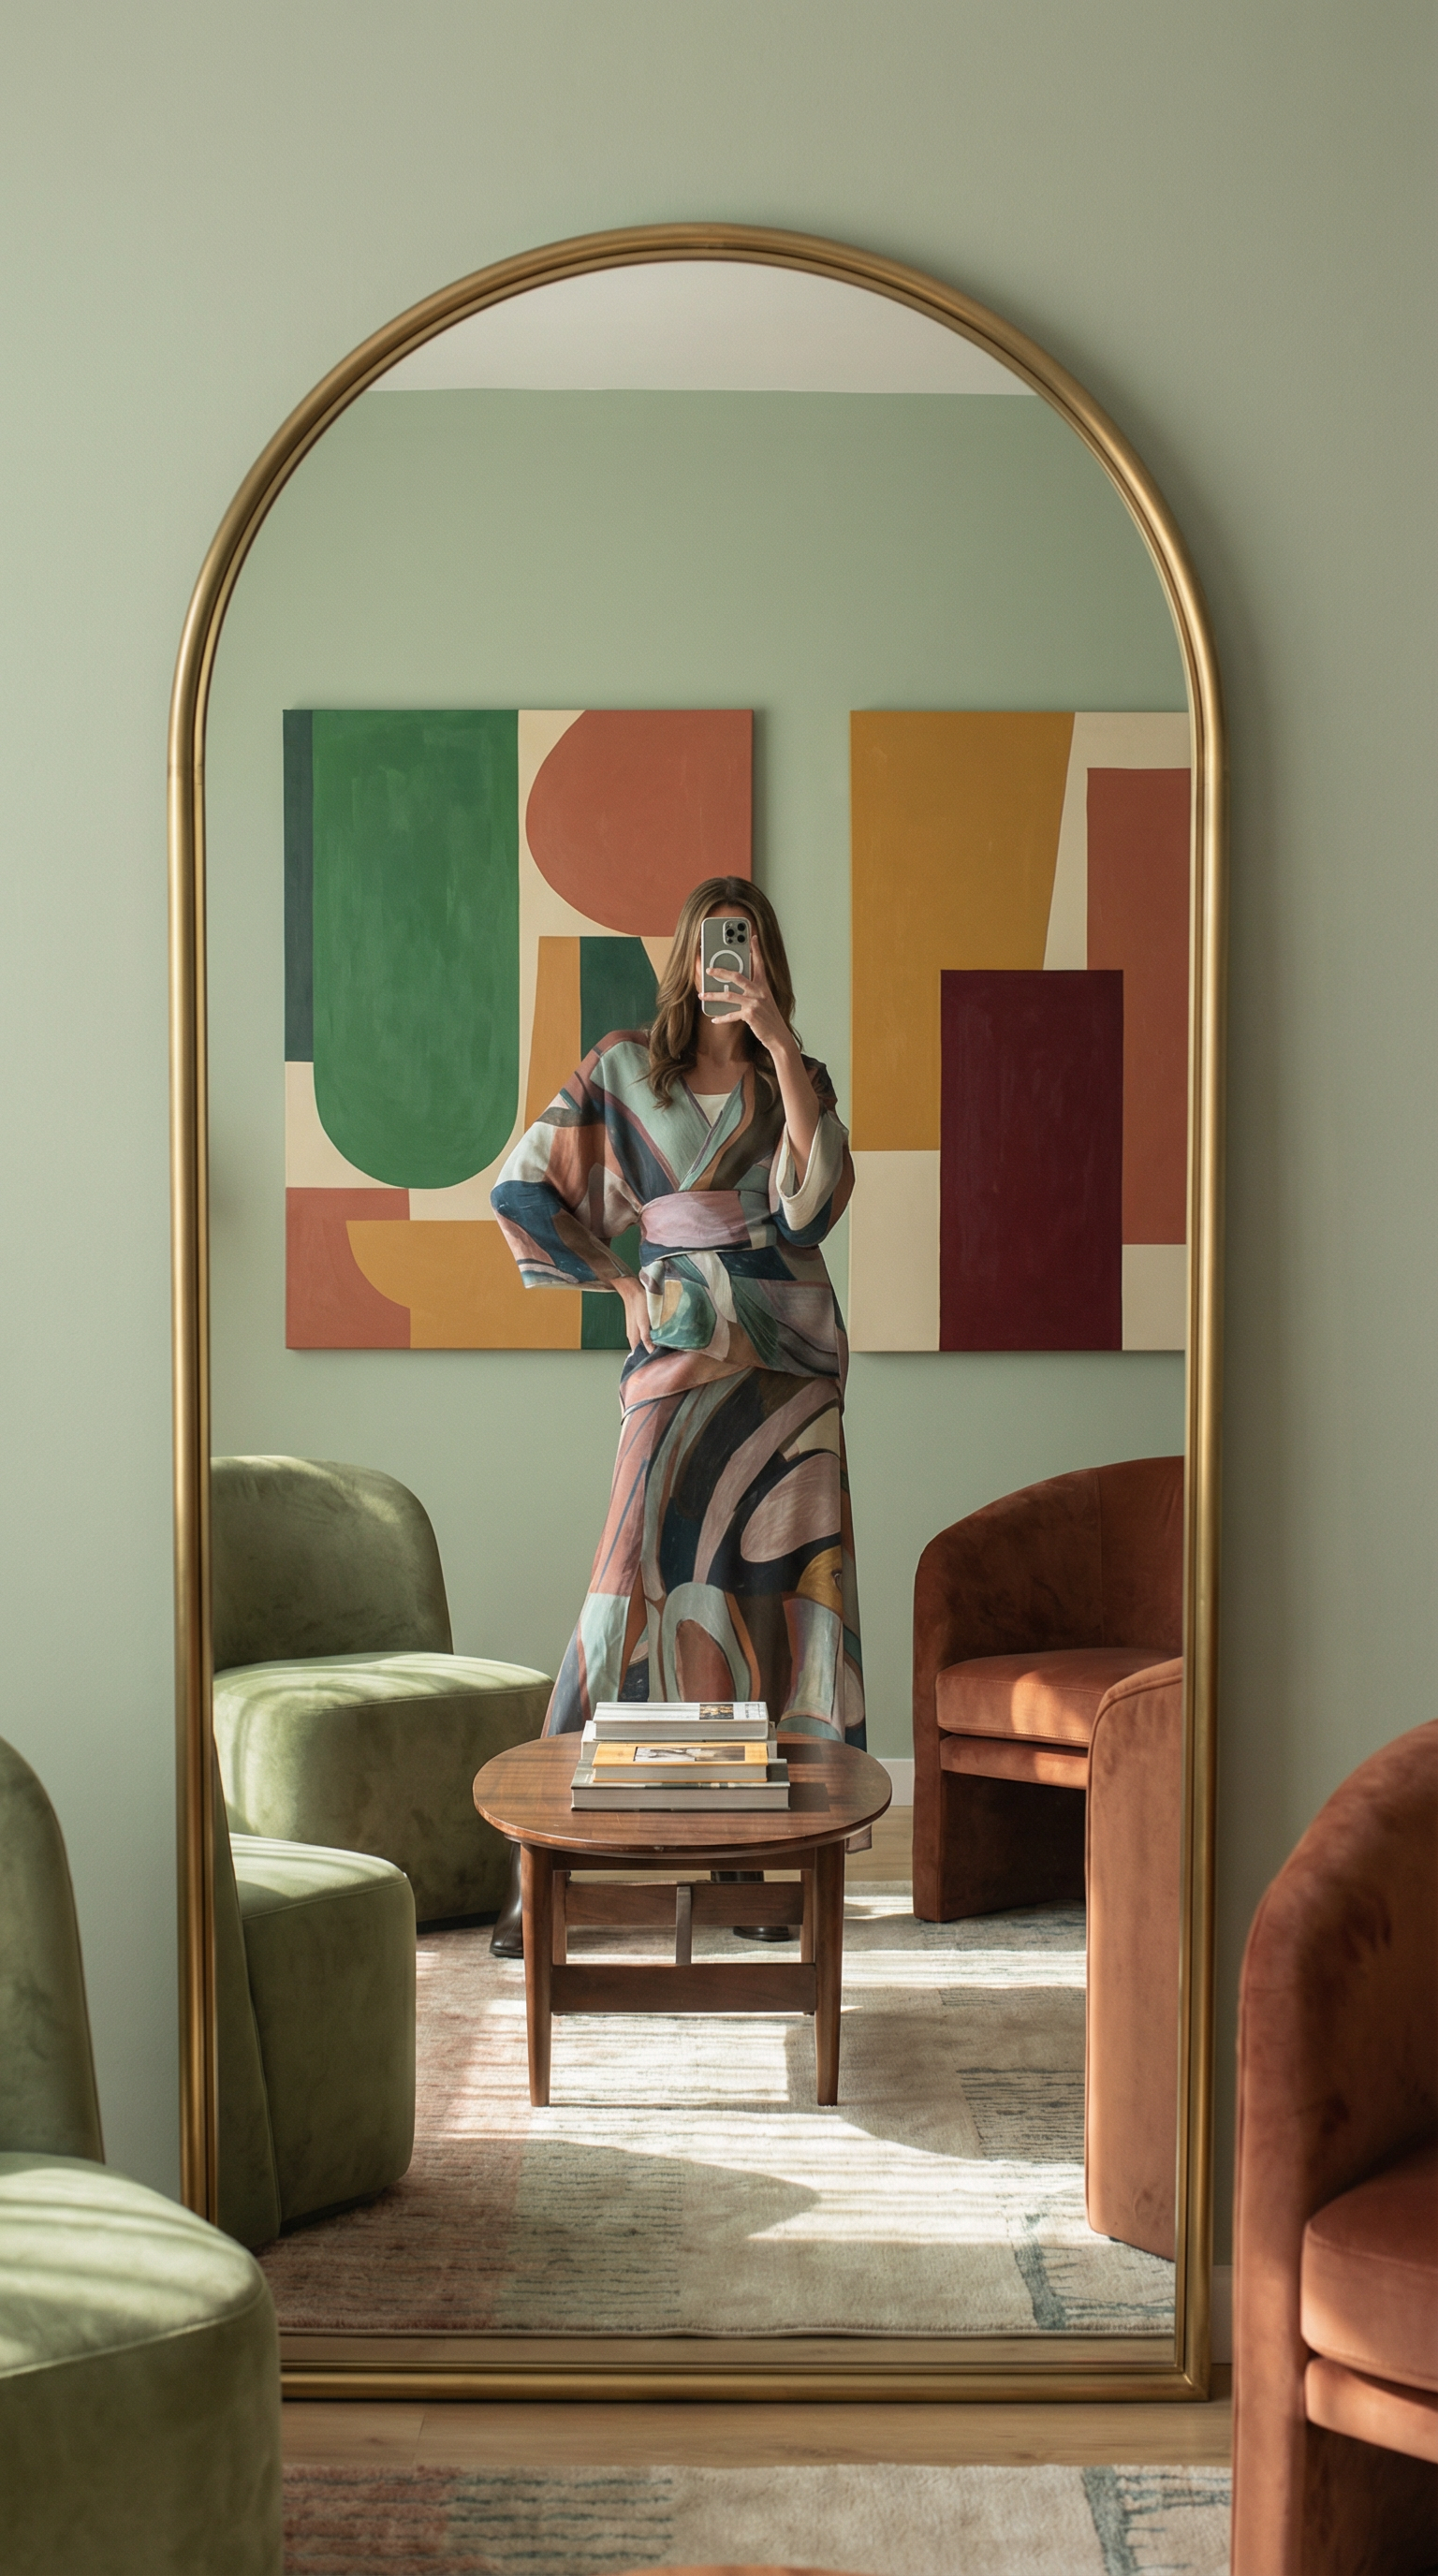
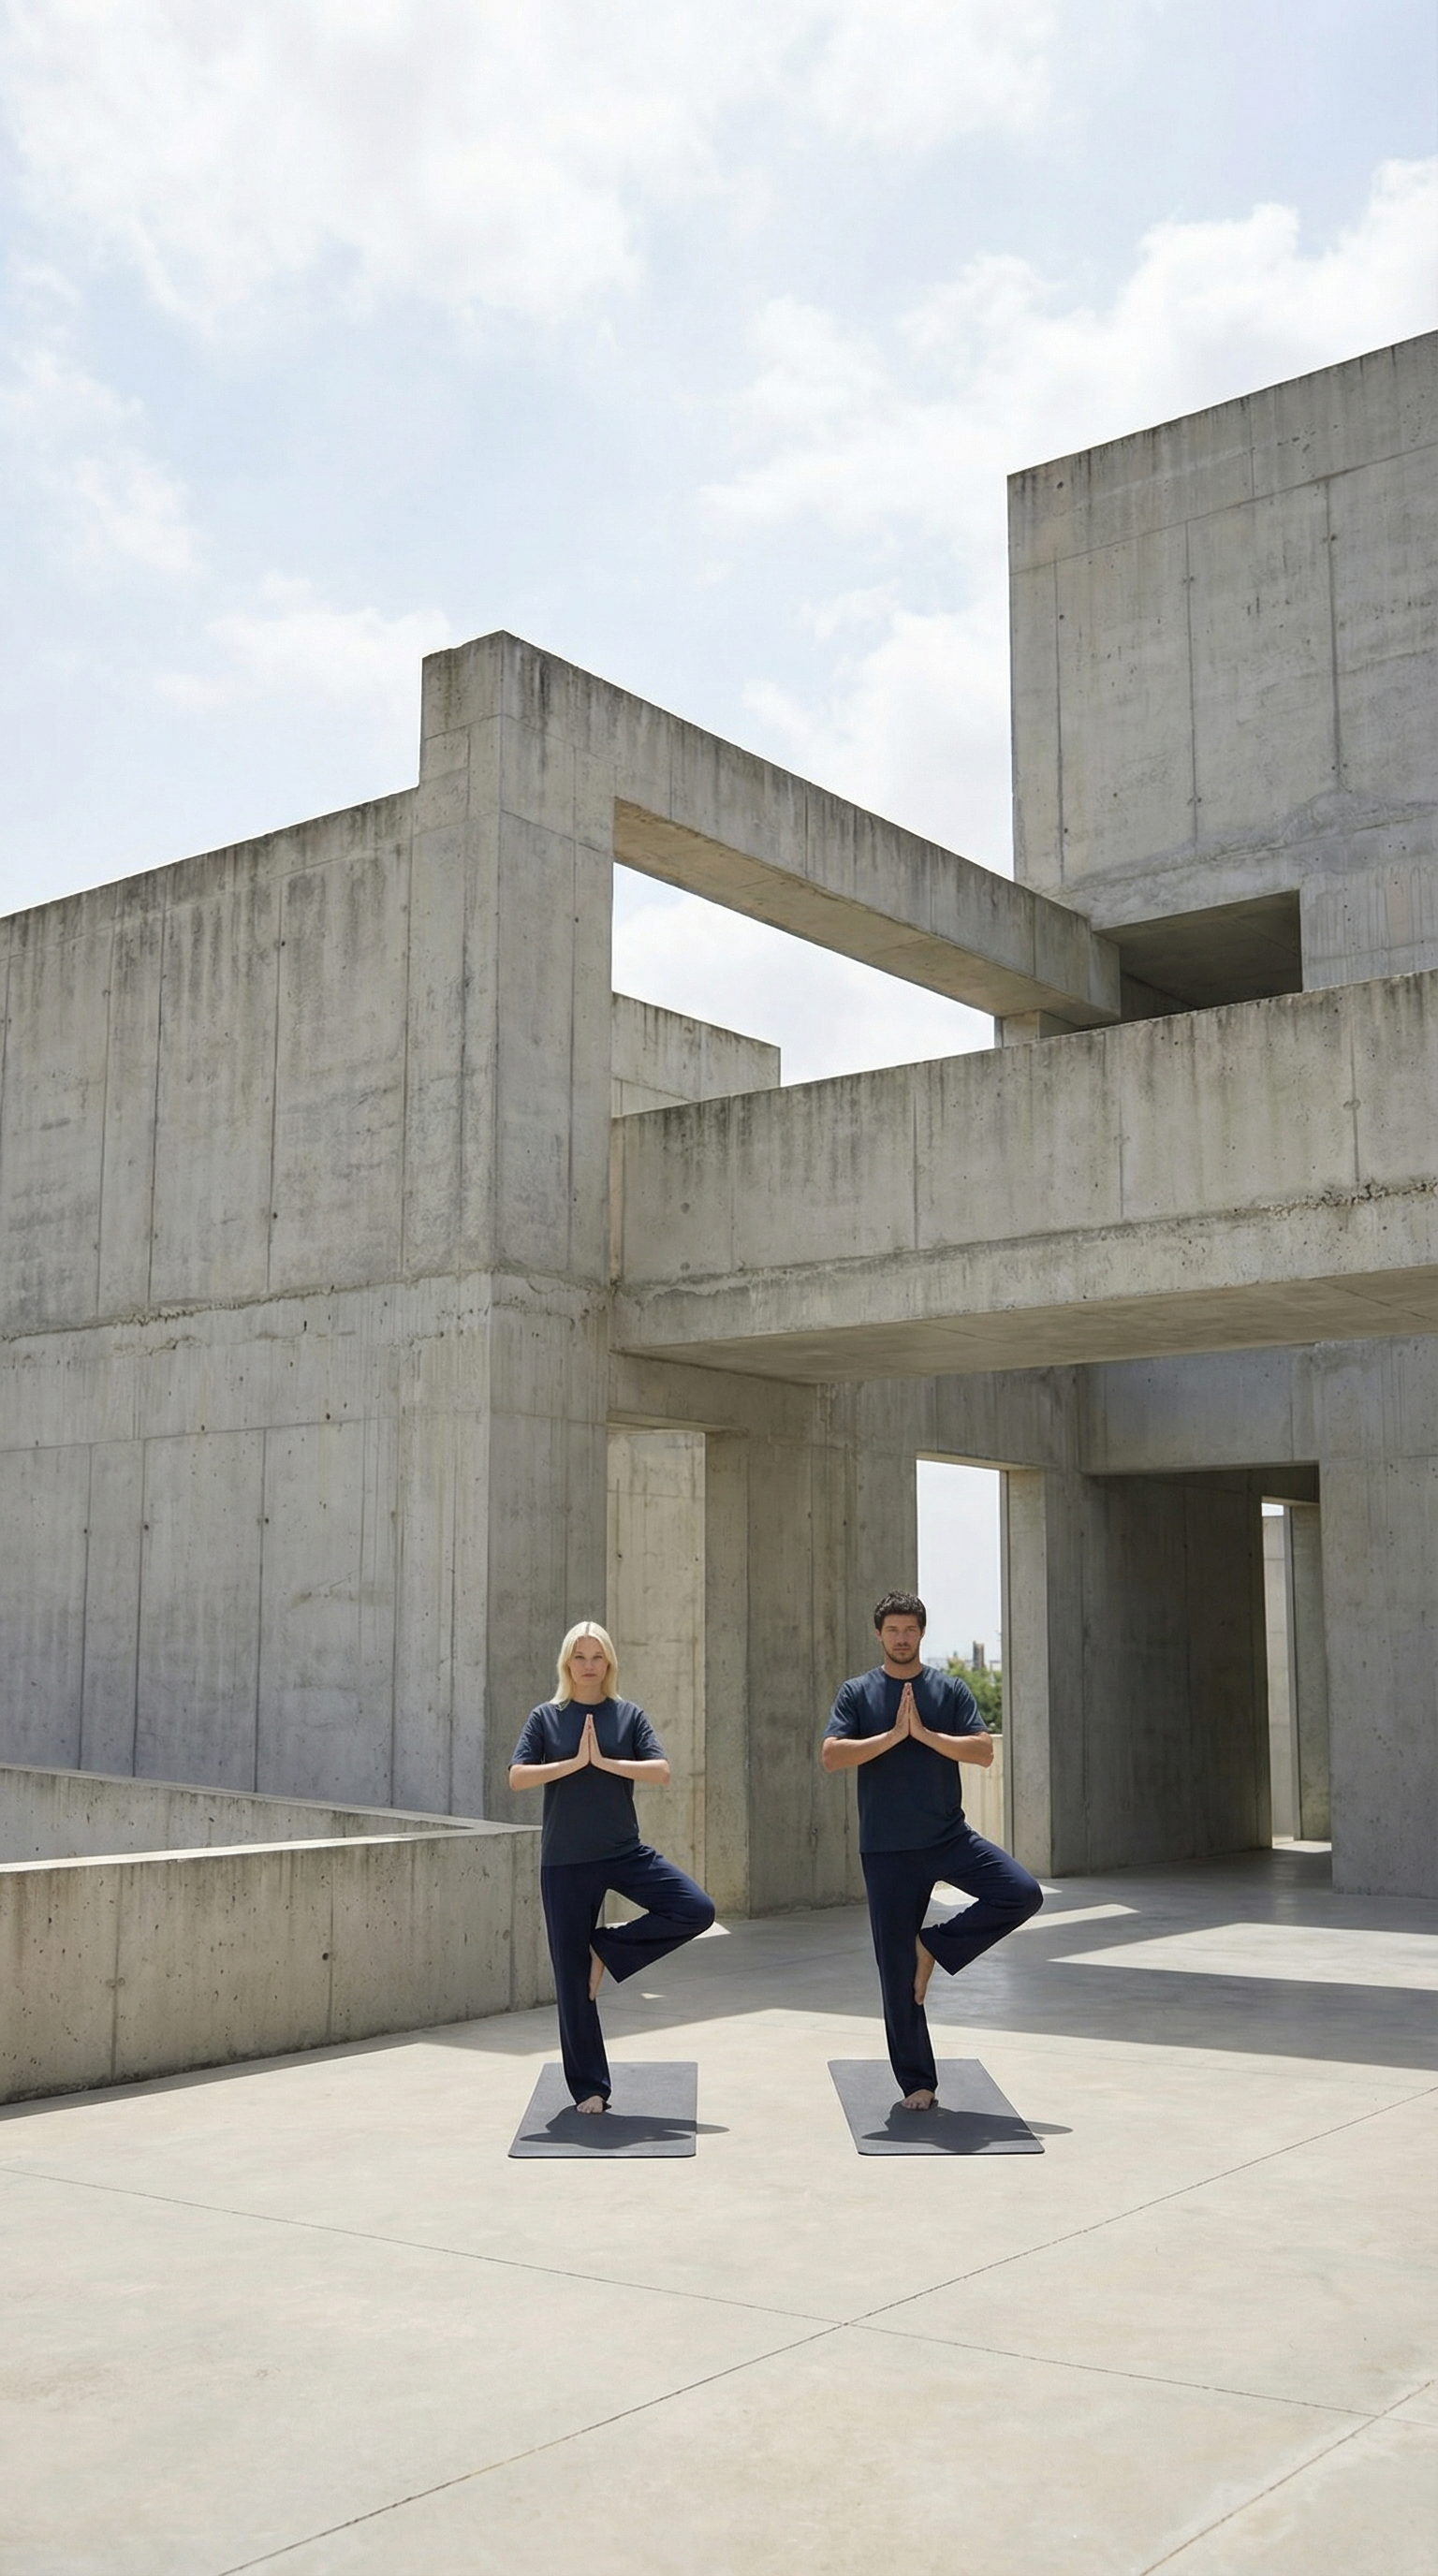
AI Fashion Image Generator for Ecommerce Brands
Describe what you want and the AI builds it, or upload a photo and tell it what to change. No photoshoot needed, no studio, no camera crew. What follows covers both workflows, what each setting does, and how to write a prompt that lands close to what you pictured.
Why Do Brands Generate Images Instead of Shooting Them?
Good imagery used to require a budget: a studio, a crew, and a fresh production for every single visual. AI product photography for ecommerce changes that arithmetic. A visual stops being a project you schedule and becomes something you make while you are still thinking about it.
No studio dependency
Every new visual used to mean a studio booking, a lighting setup and a production team to coordinate. Now it is a prompt and a few credits.
One photo, endless variations
One product photo becomes dozens of images in different scenes, poses and moods. That is enough variation to test what actually converts instead of guessing at it.
Any setting, any season
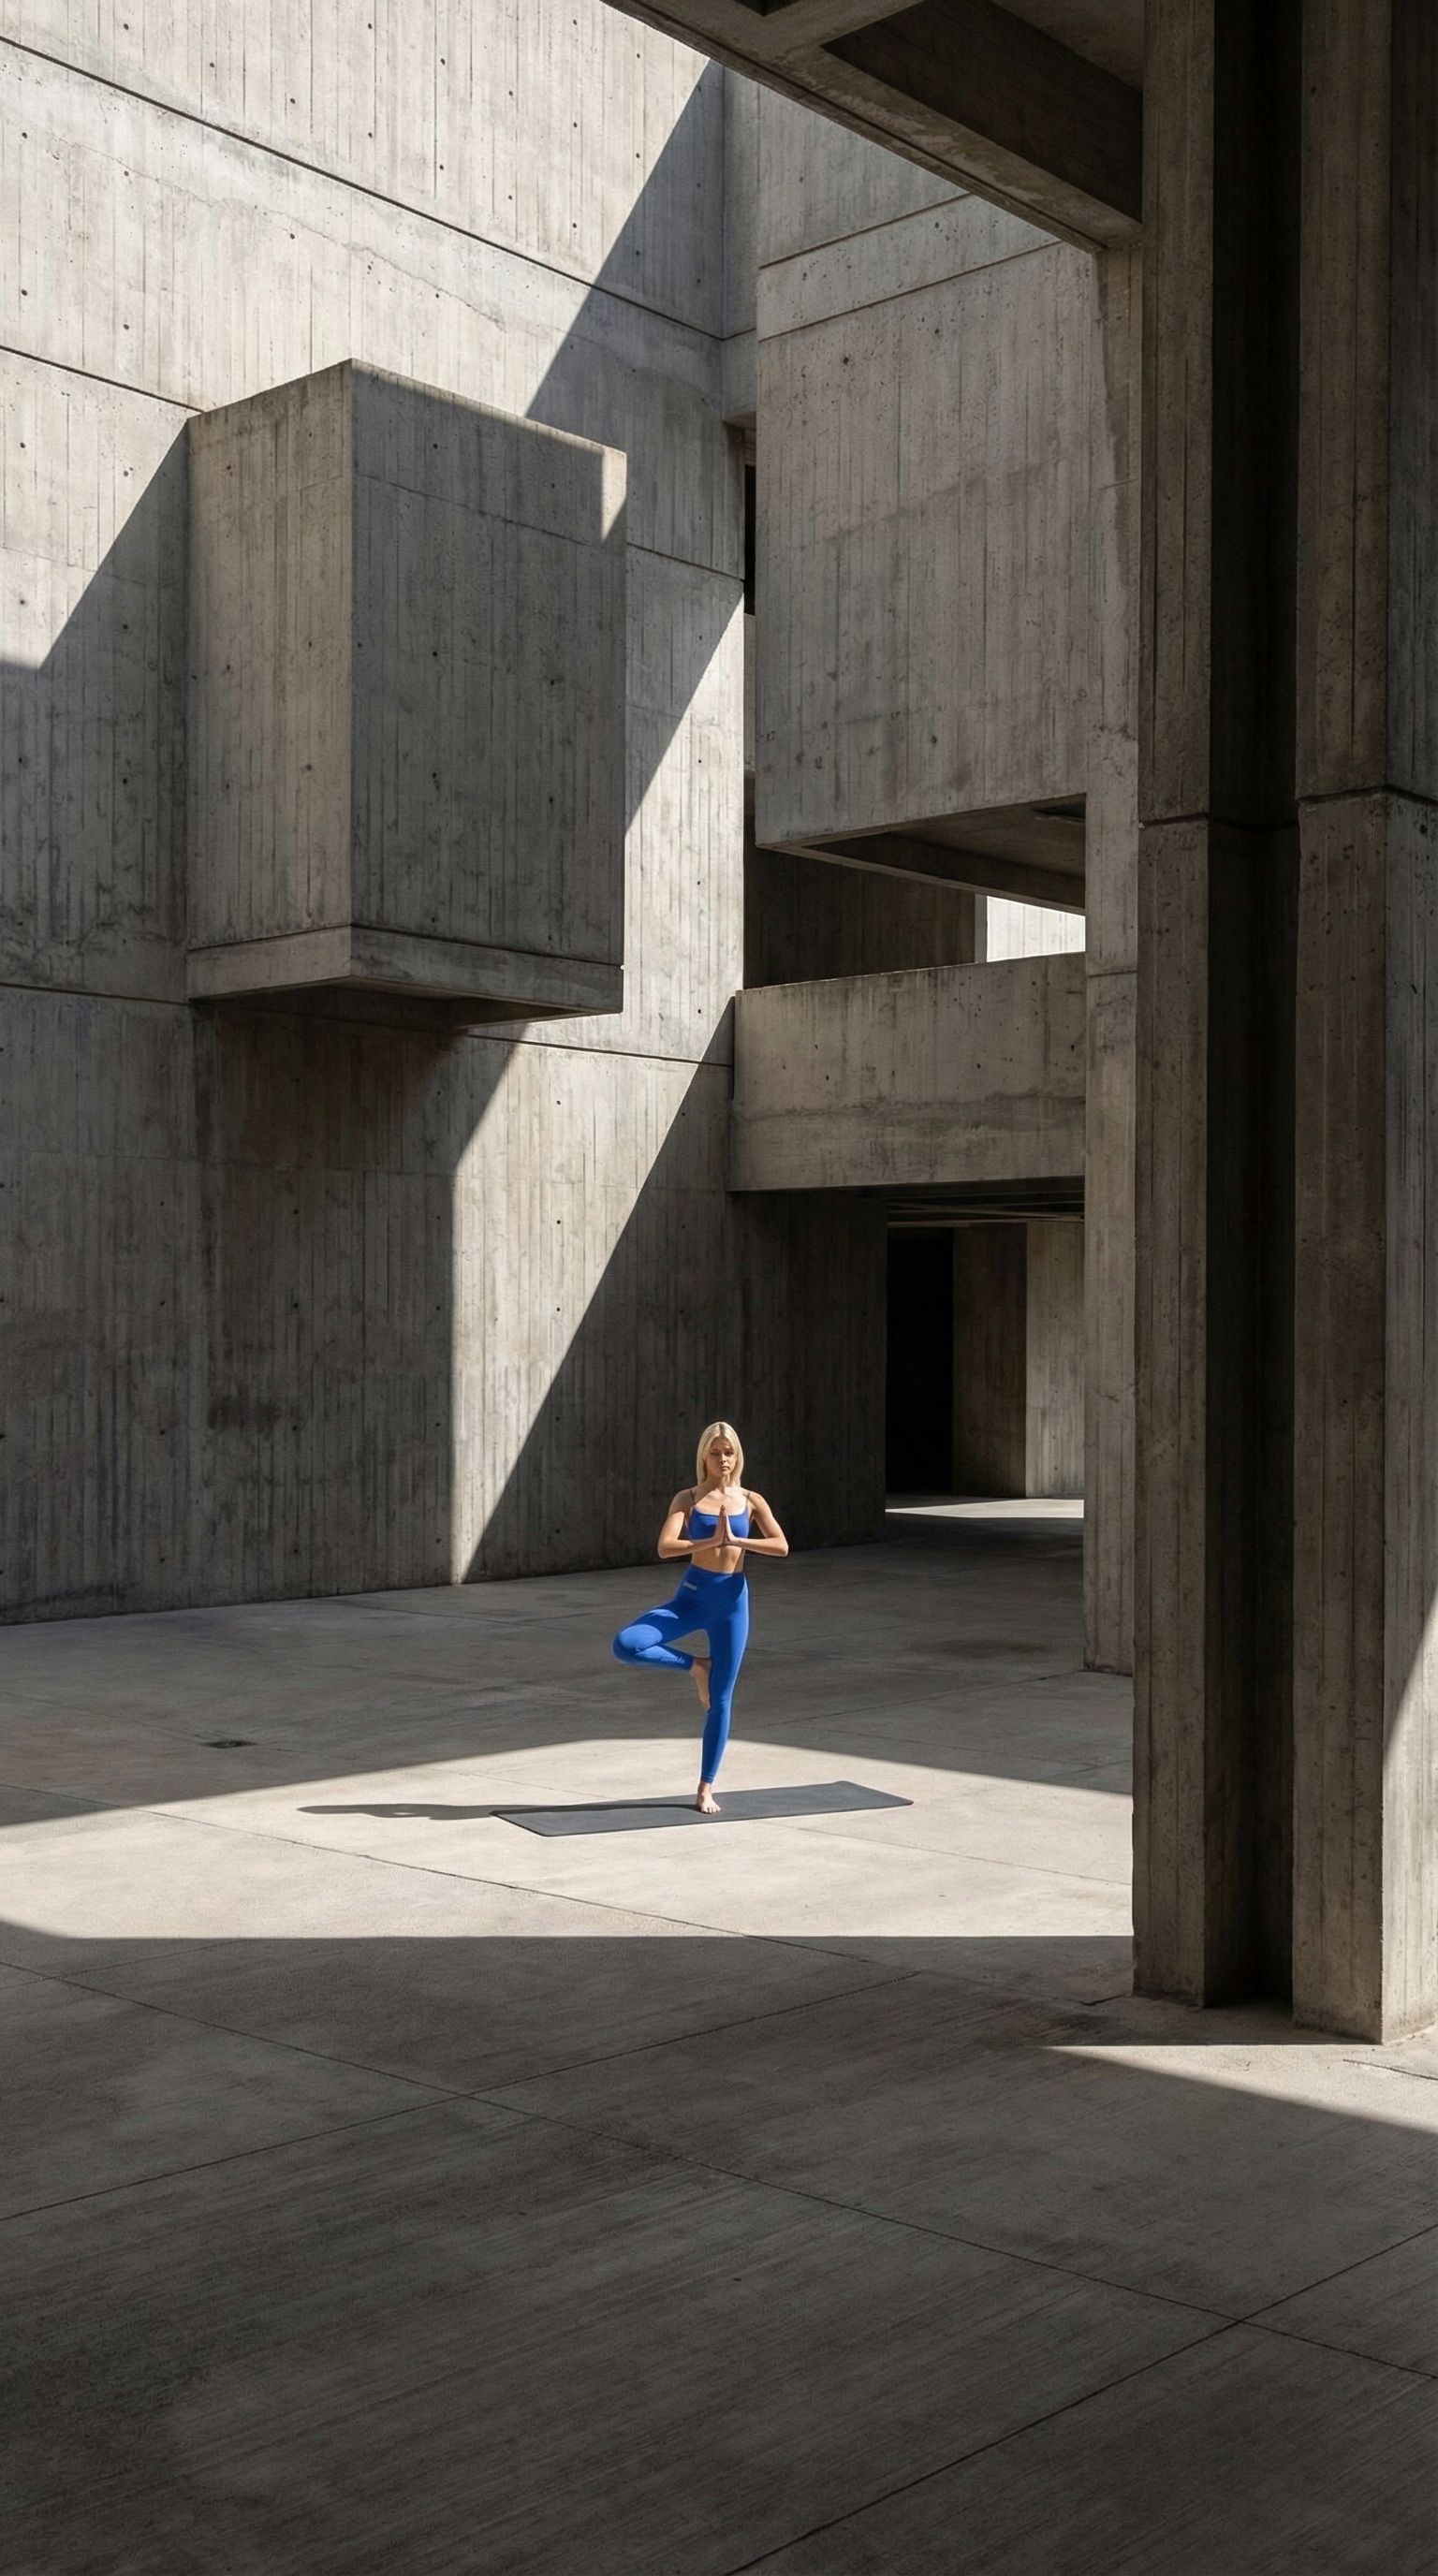
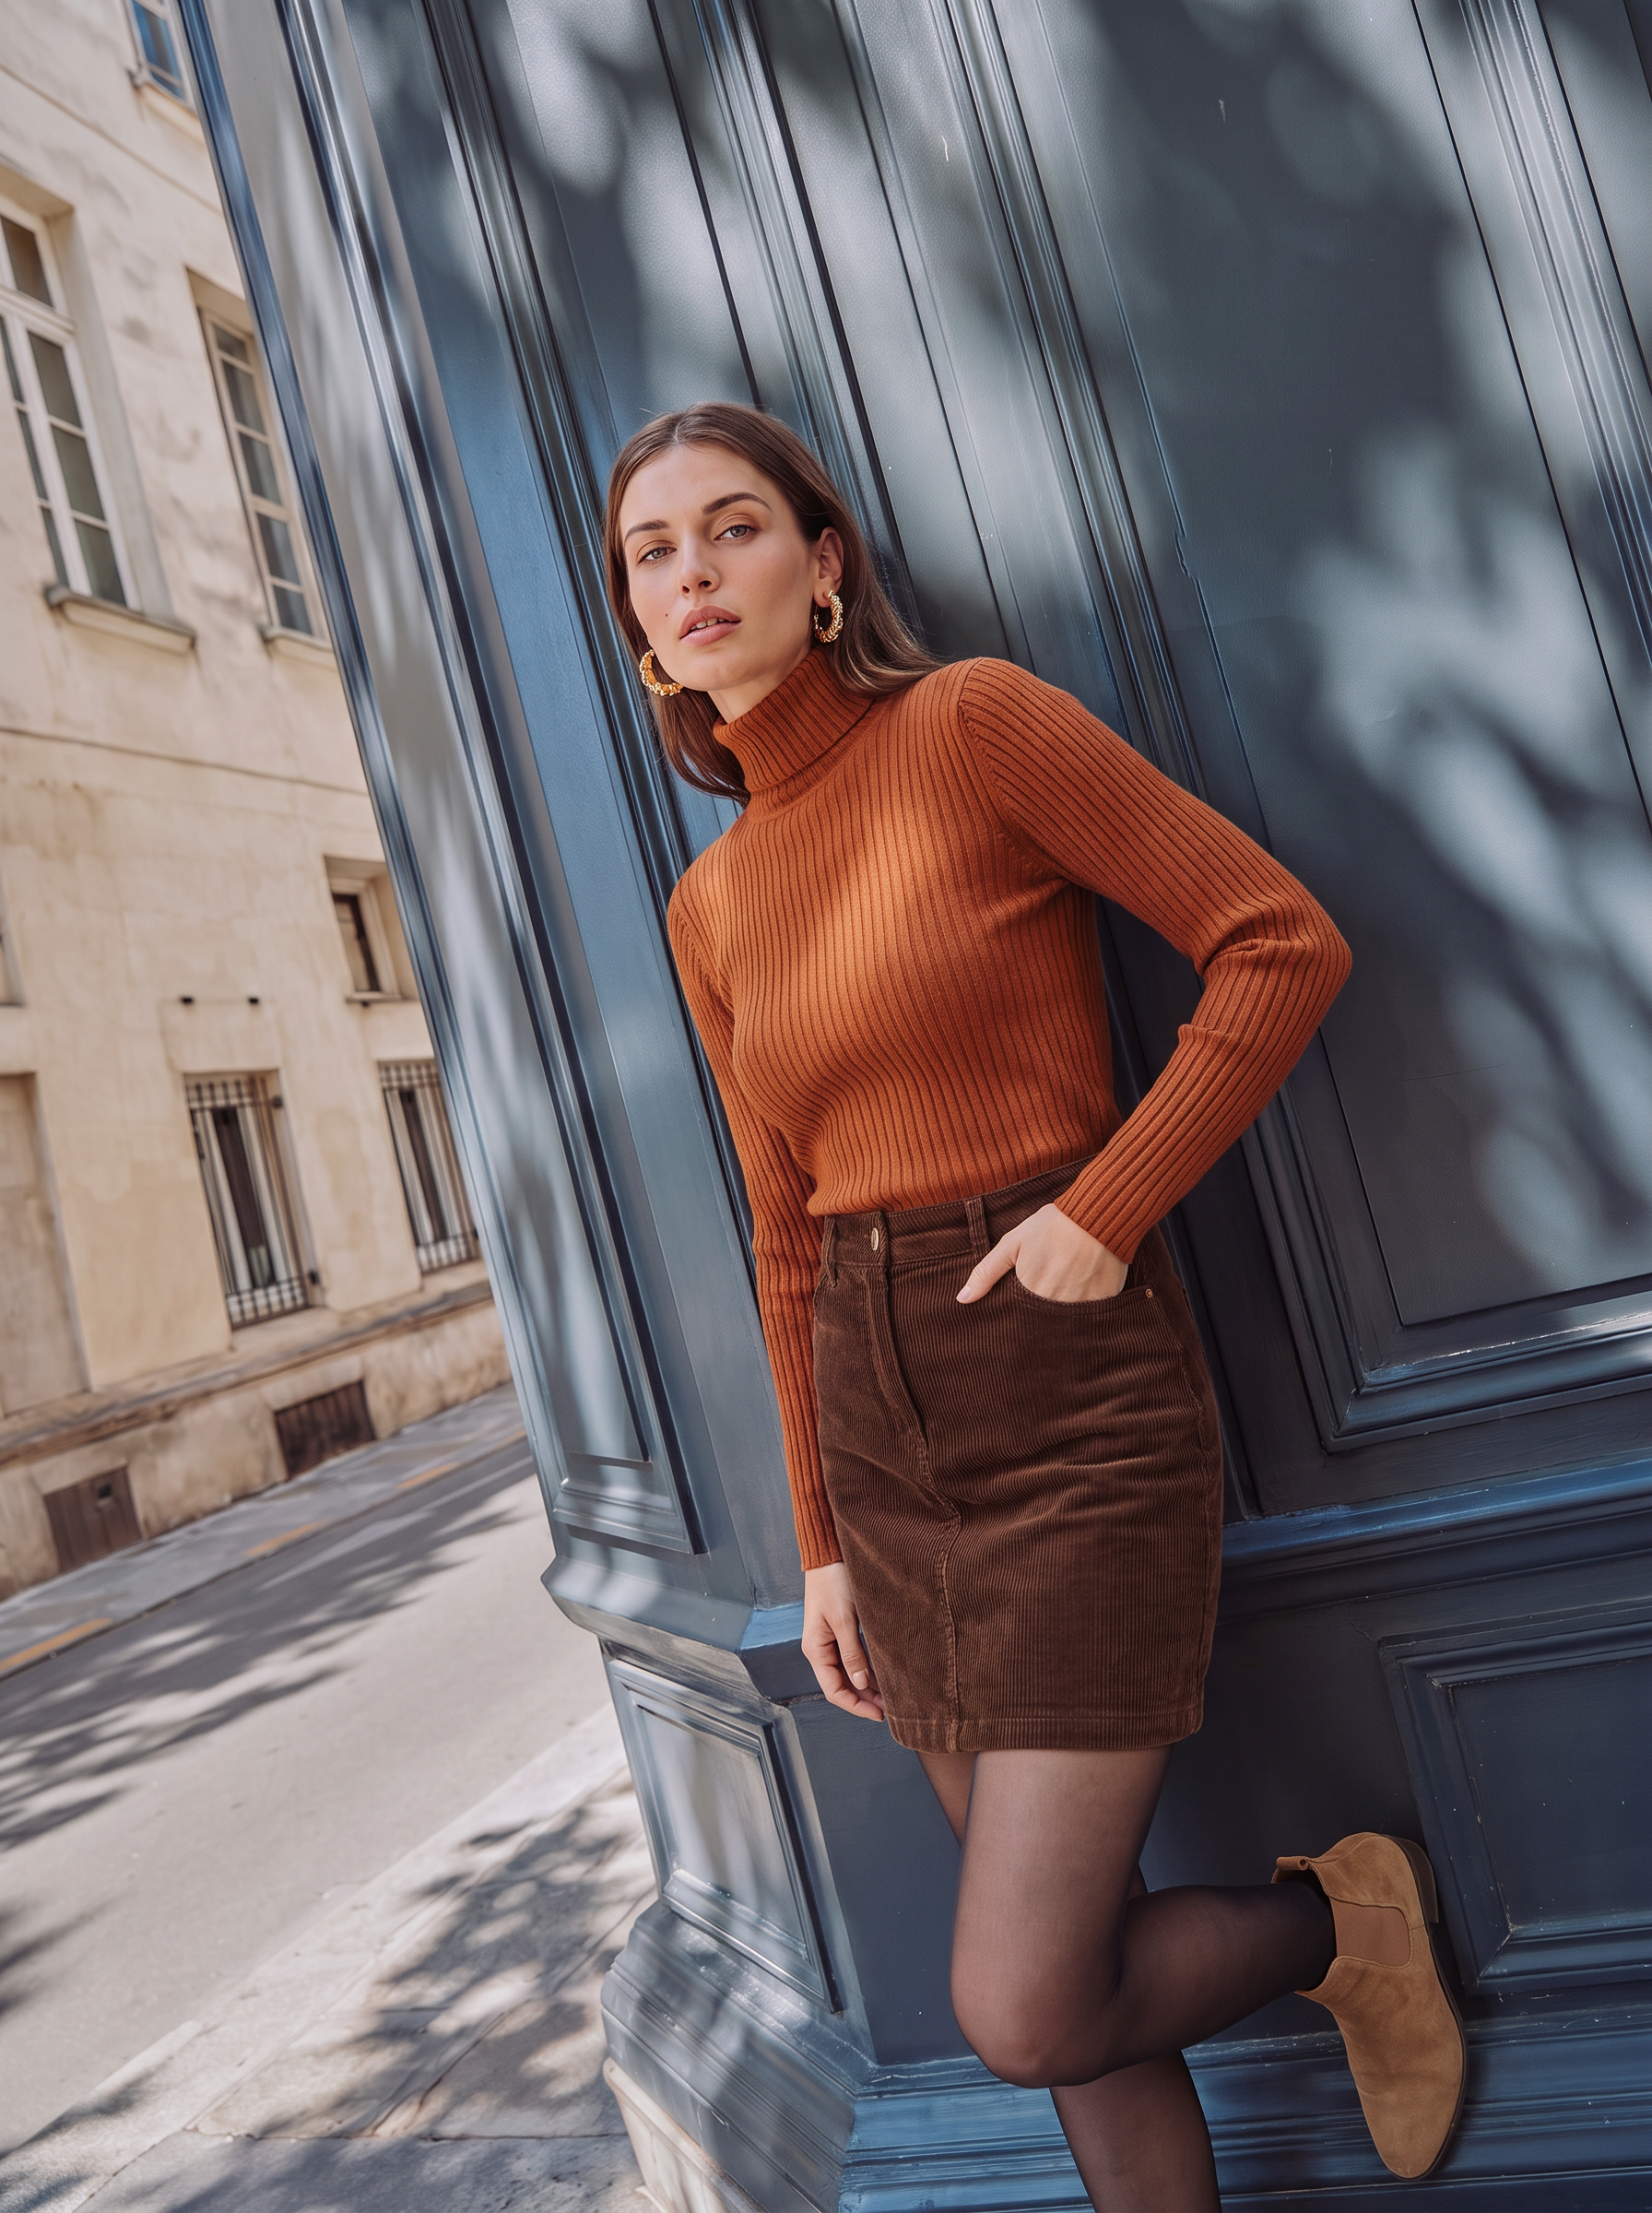
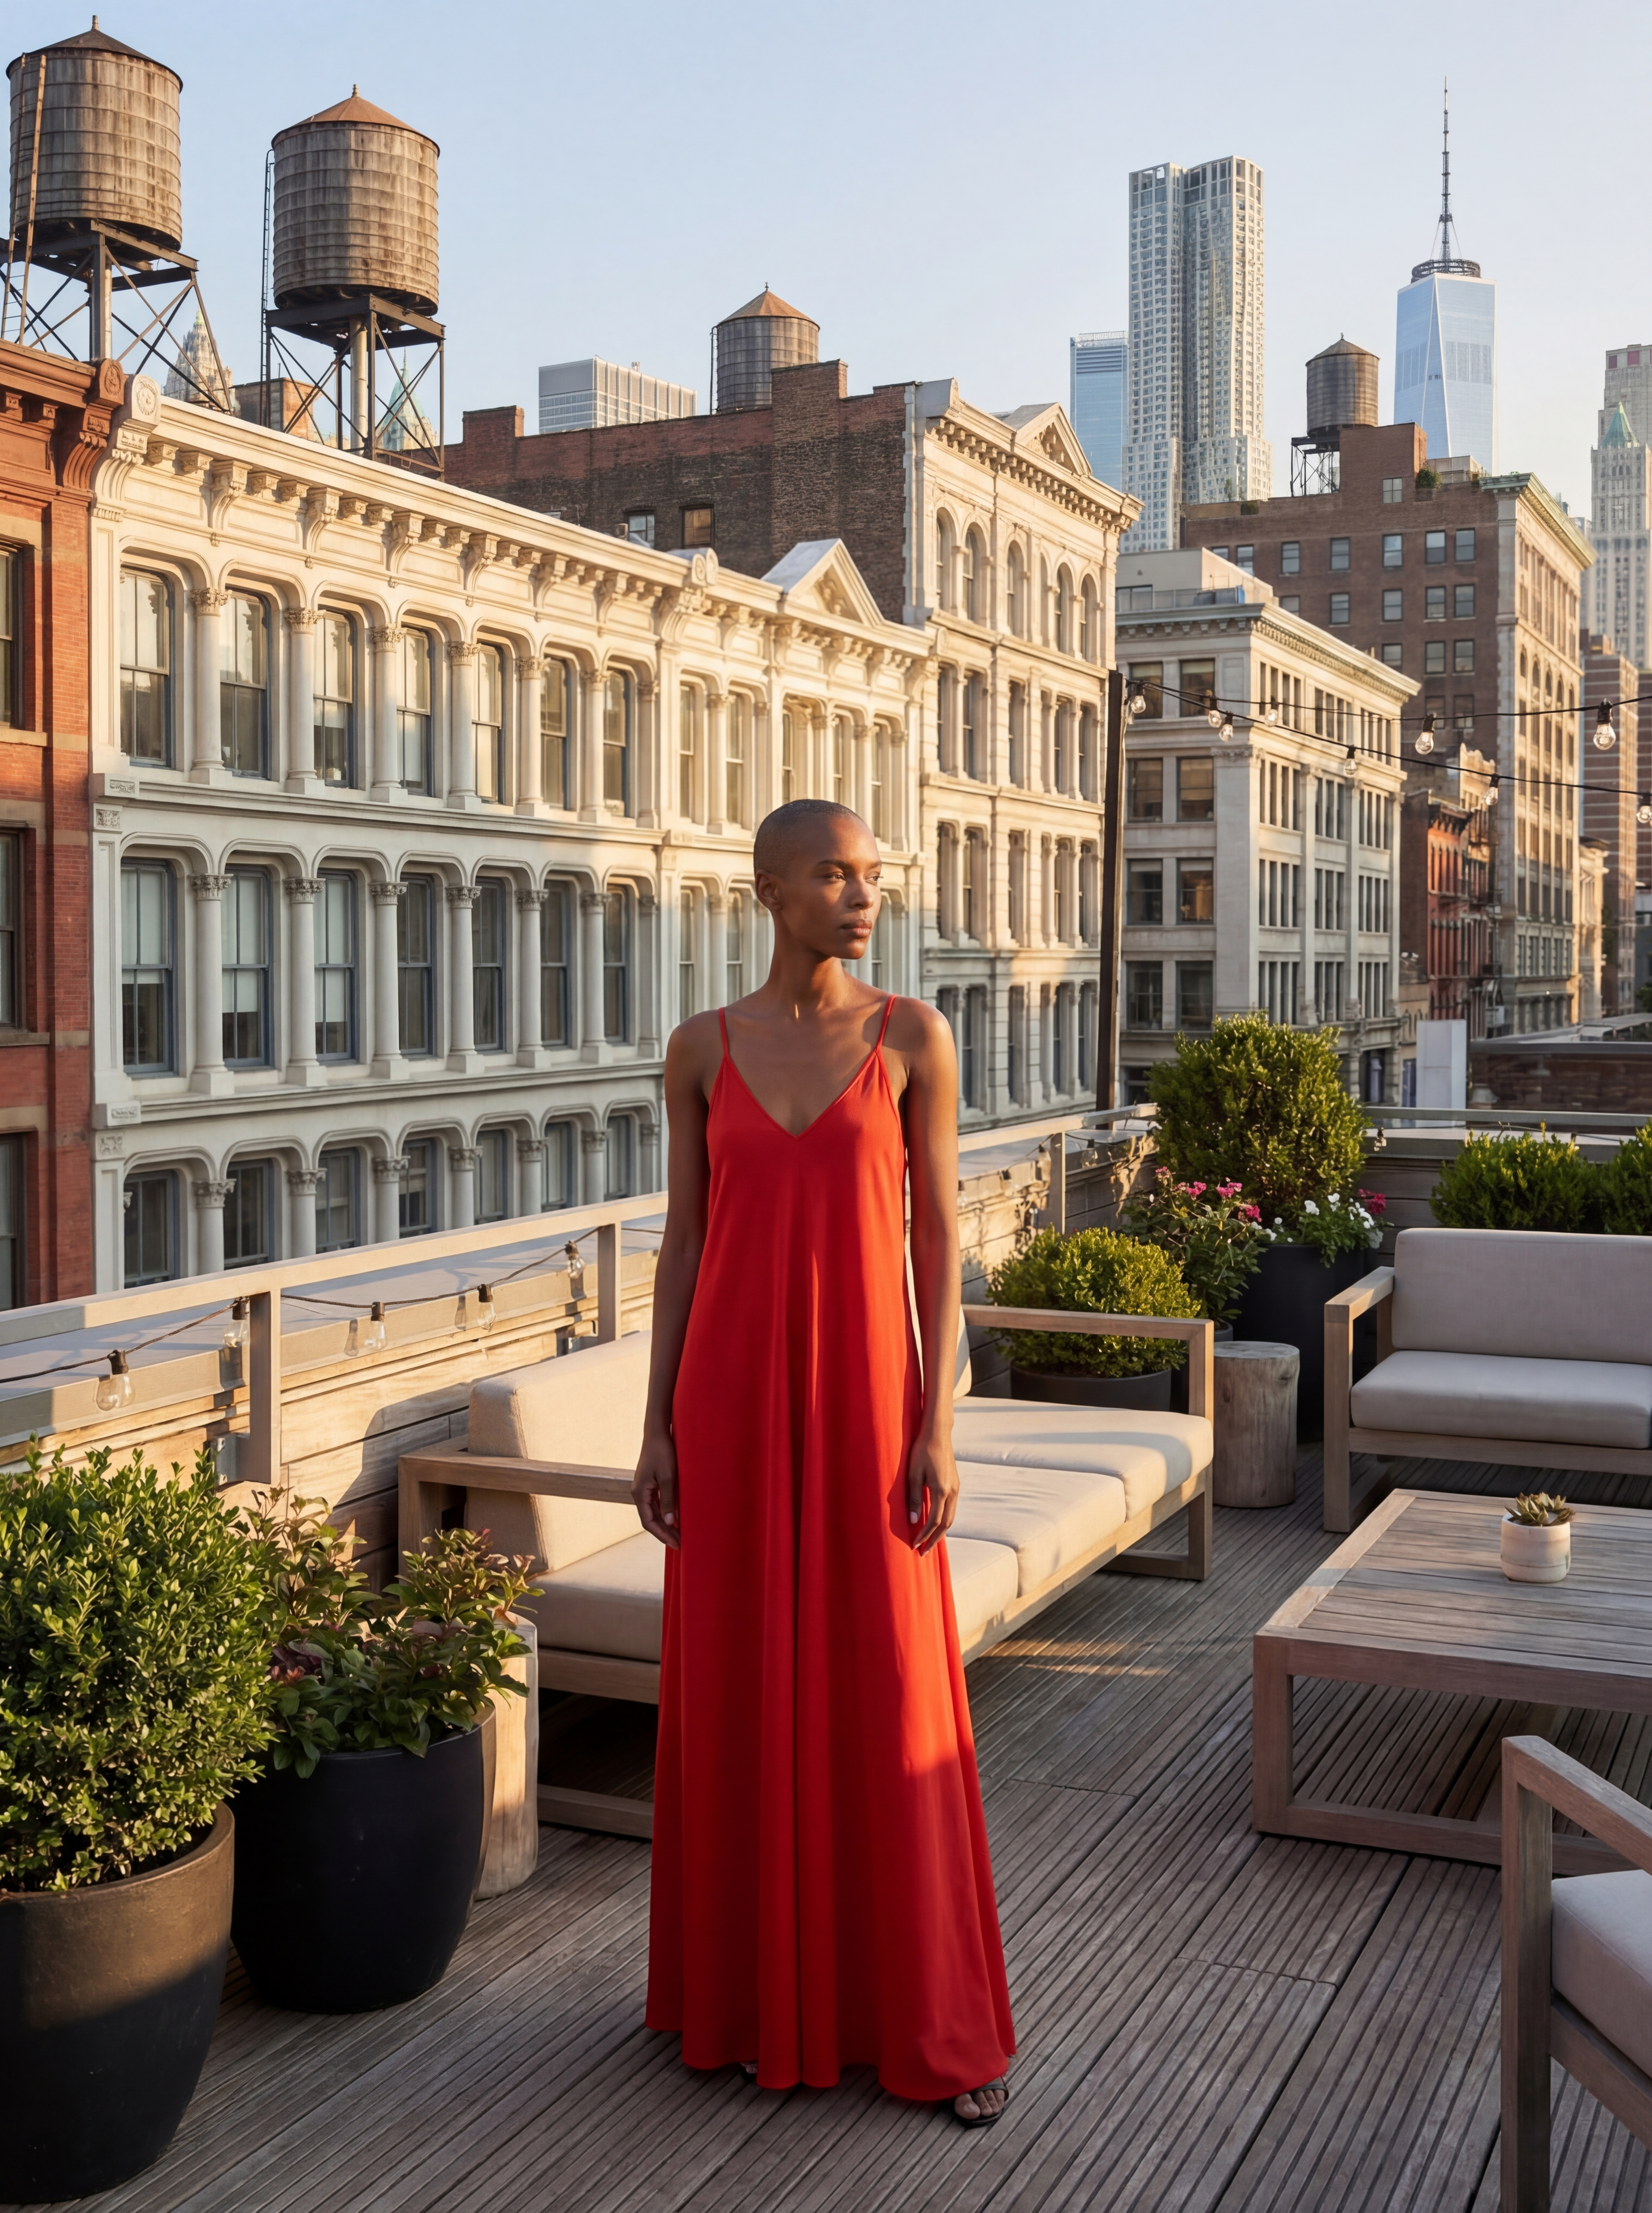
A beach in winter, a Parisian street, a rooftop at golden hour. You describe the location instead of scouting it, which takes travel and weather out of the schedule.
Consistent across your catalog
Reuse the same lighting and aesthetic across every product and every market. The look holds as the catalog grows, which is hard to guarantee across separate shoot days.
When Do Fashion Brands Use AI Image Generation?
Brands reach for an AI fashion photoshoot generator in three situations more than any others. All of them involve a lot of imagery, needed on a date that a shoot calendar cannot meet.
Launching a new collection?
A drop lands and thirty products need imagery before the collection page can go live. When you generate fashion images in-house, the launch date stops depending on a studio slot and someone else's calendar.
Producing a lookbook?
A lookbook needs one consistent visual world across twenty or thirty images. Write the lighting and the setting once, then change the garment, and the world holds together in a way separate shoot days rarely manage.
Filling out a catalog?
Every SKU can carry lifestyle imagery, including the long tail that never justified a shoot. This is where an ecommerce AI image generator earns its keep: each run makes one image and you can keep 7 processing at once, so a catalog becomes a queue you work through.
How Does AI Image Generation Work?
You create fashion images with AI in three moves: hand it your references, describe the picture you want, then run. Every image starts from a prompt. Add reference photos when you want to edit or restyle something you already have, or leave them out and the AI builds the scene from nothing.
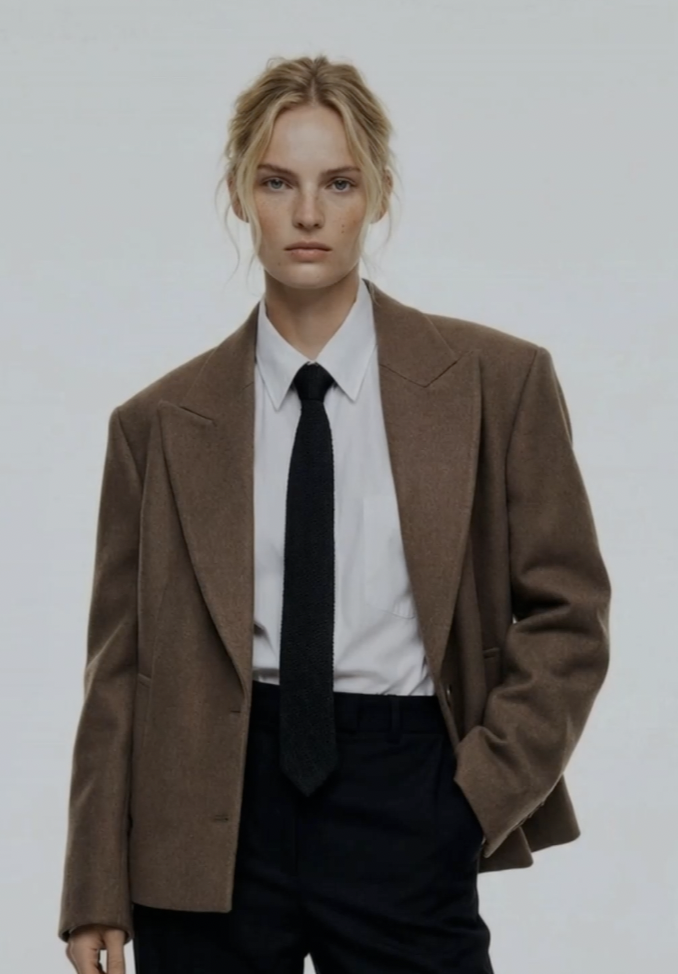
Upload your images
Drop up to 5 reference photos into the prompt bar, or up to 14 on Nano Banana 2.1: a product shot, an on-model photo, even a quick phone photo. Skip this step entirely and the AI builds the whole scene from your description alone.
Describe what you want
Type the image you want into the prompt bar. Name the subject, the setting, the light and the style. If you uploaded references, say what should change and what must stay the same. Turn on Enhance and the AI expands a short prompt into a fuller photographic brief before it runs.
Choose settings and run
Set the AI model, the aspect ratio and the resolution to suit where the image is going, whether that is a product page, a feed post or a banner, then press Run. The button shows the exact credit cost before you commit, and the image lands in History within seconds. Feed any result back in as the next run's input to change one thing at a time.
How Do You Create AI Fashion Images Without a Real Product Photo?
You write the image instead of uploading one. Leave the reference slot empty, describe the garment, the model and the scene in the prompt bar, and the AI builds every pixel from that description. All five models support it.
It suits work where the product does not exist yet, or does not need to be exact: moodboards, campaign concepts, lookbook covers, seasonal mockups, or a background plate you will composite a real product into later. Used as an AI model photo generator it invents the person as well as the clothing, which is enough for concept work before samples arrive.
Upload a reference instead whenever the garment has to be accurate. That is the route to AI generated model photos for clothing you actually sell, because the AI preserves what you tell it to preserve. Concepts get written, products get uploaded.
Before & After
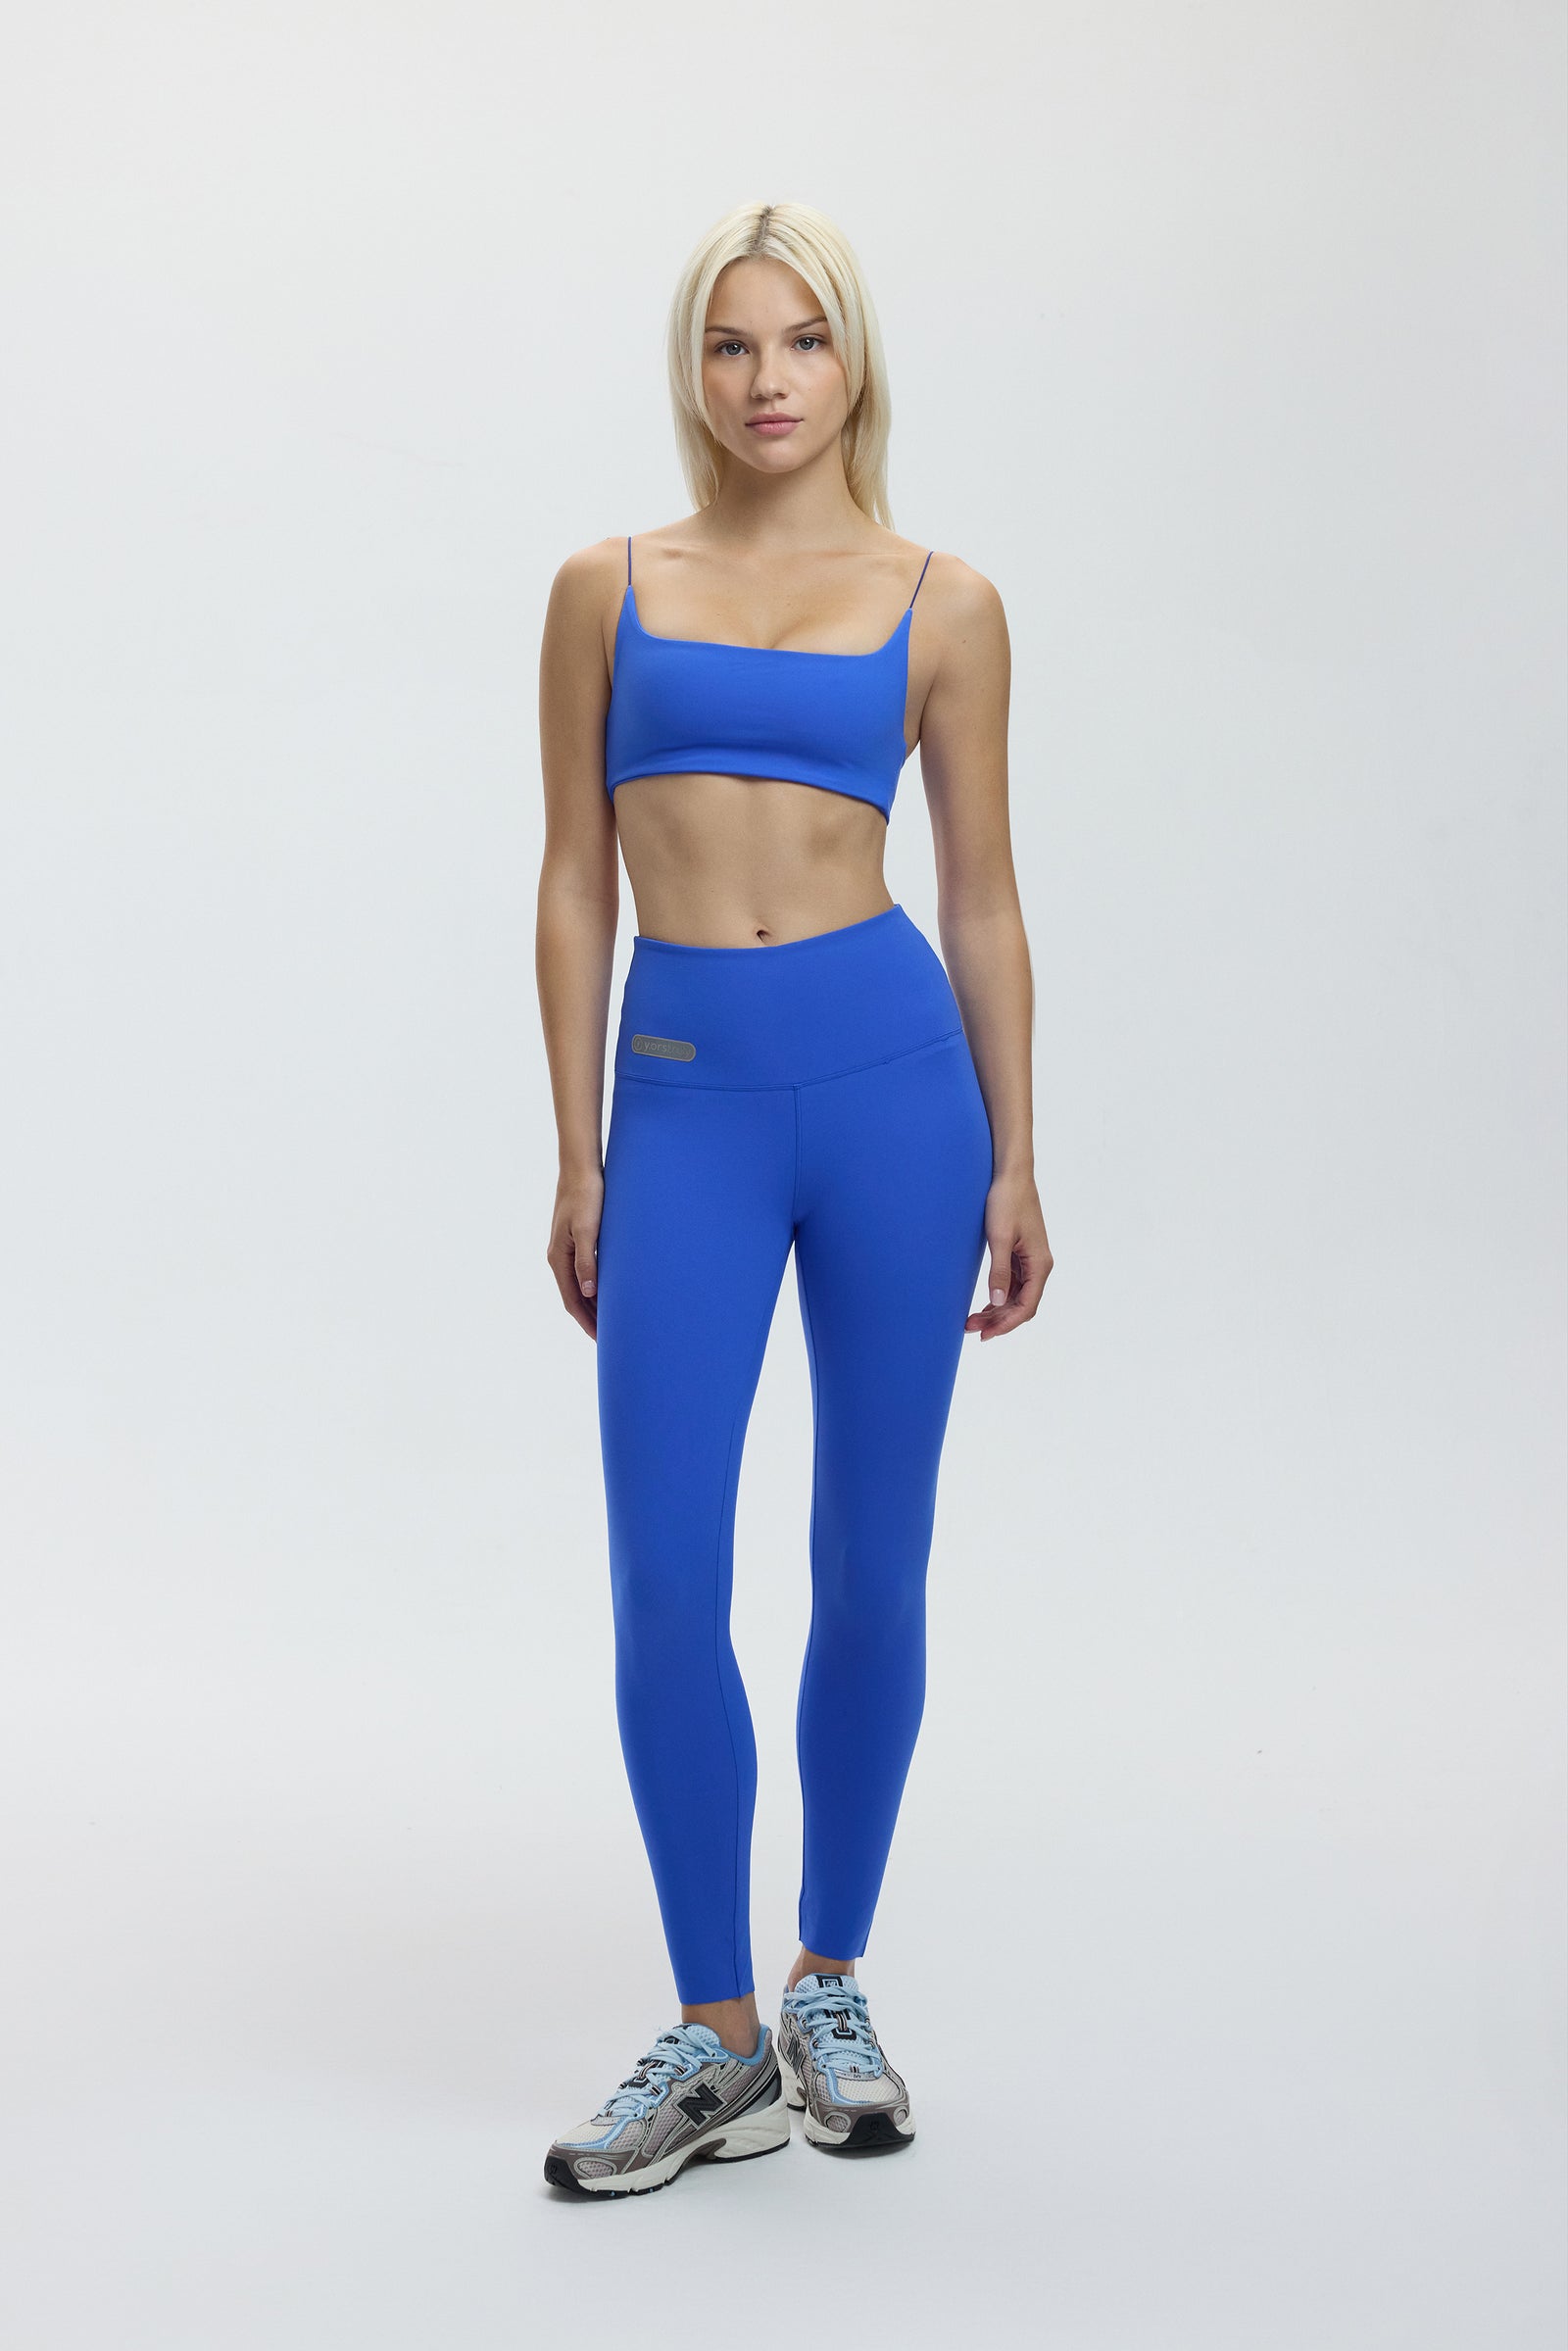
Each pair below started as one reference photo and one prompt. No set, no reshoot. The image on the right is what a single image-to-image run returned.
What Can You Create With AI?
One prompt bar covers everything a fashion brand ships. It works as an AI product photo generator for clean packshots and as a campaign tool for full scenes, with no change of workflow between the two.
Product shots
Turn an on-model photo into a clean packshot on white, or restage a product without reshooting it.
Lifestyle imagery
Put your product into scenes that would otherwise need a location shoot: street corners, apartments, rooftops.
Campaign visuals
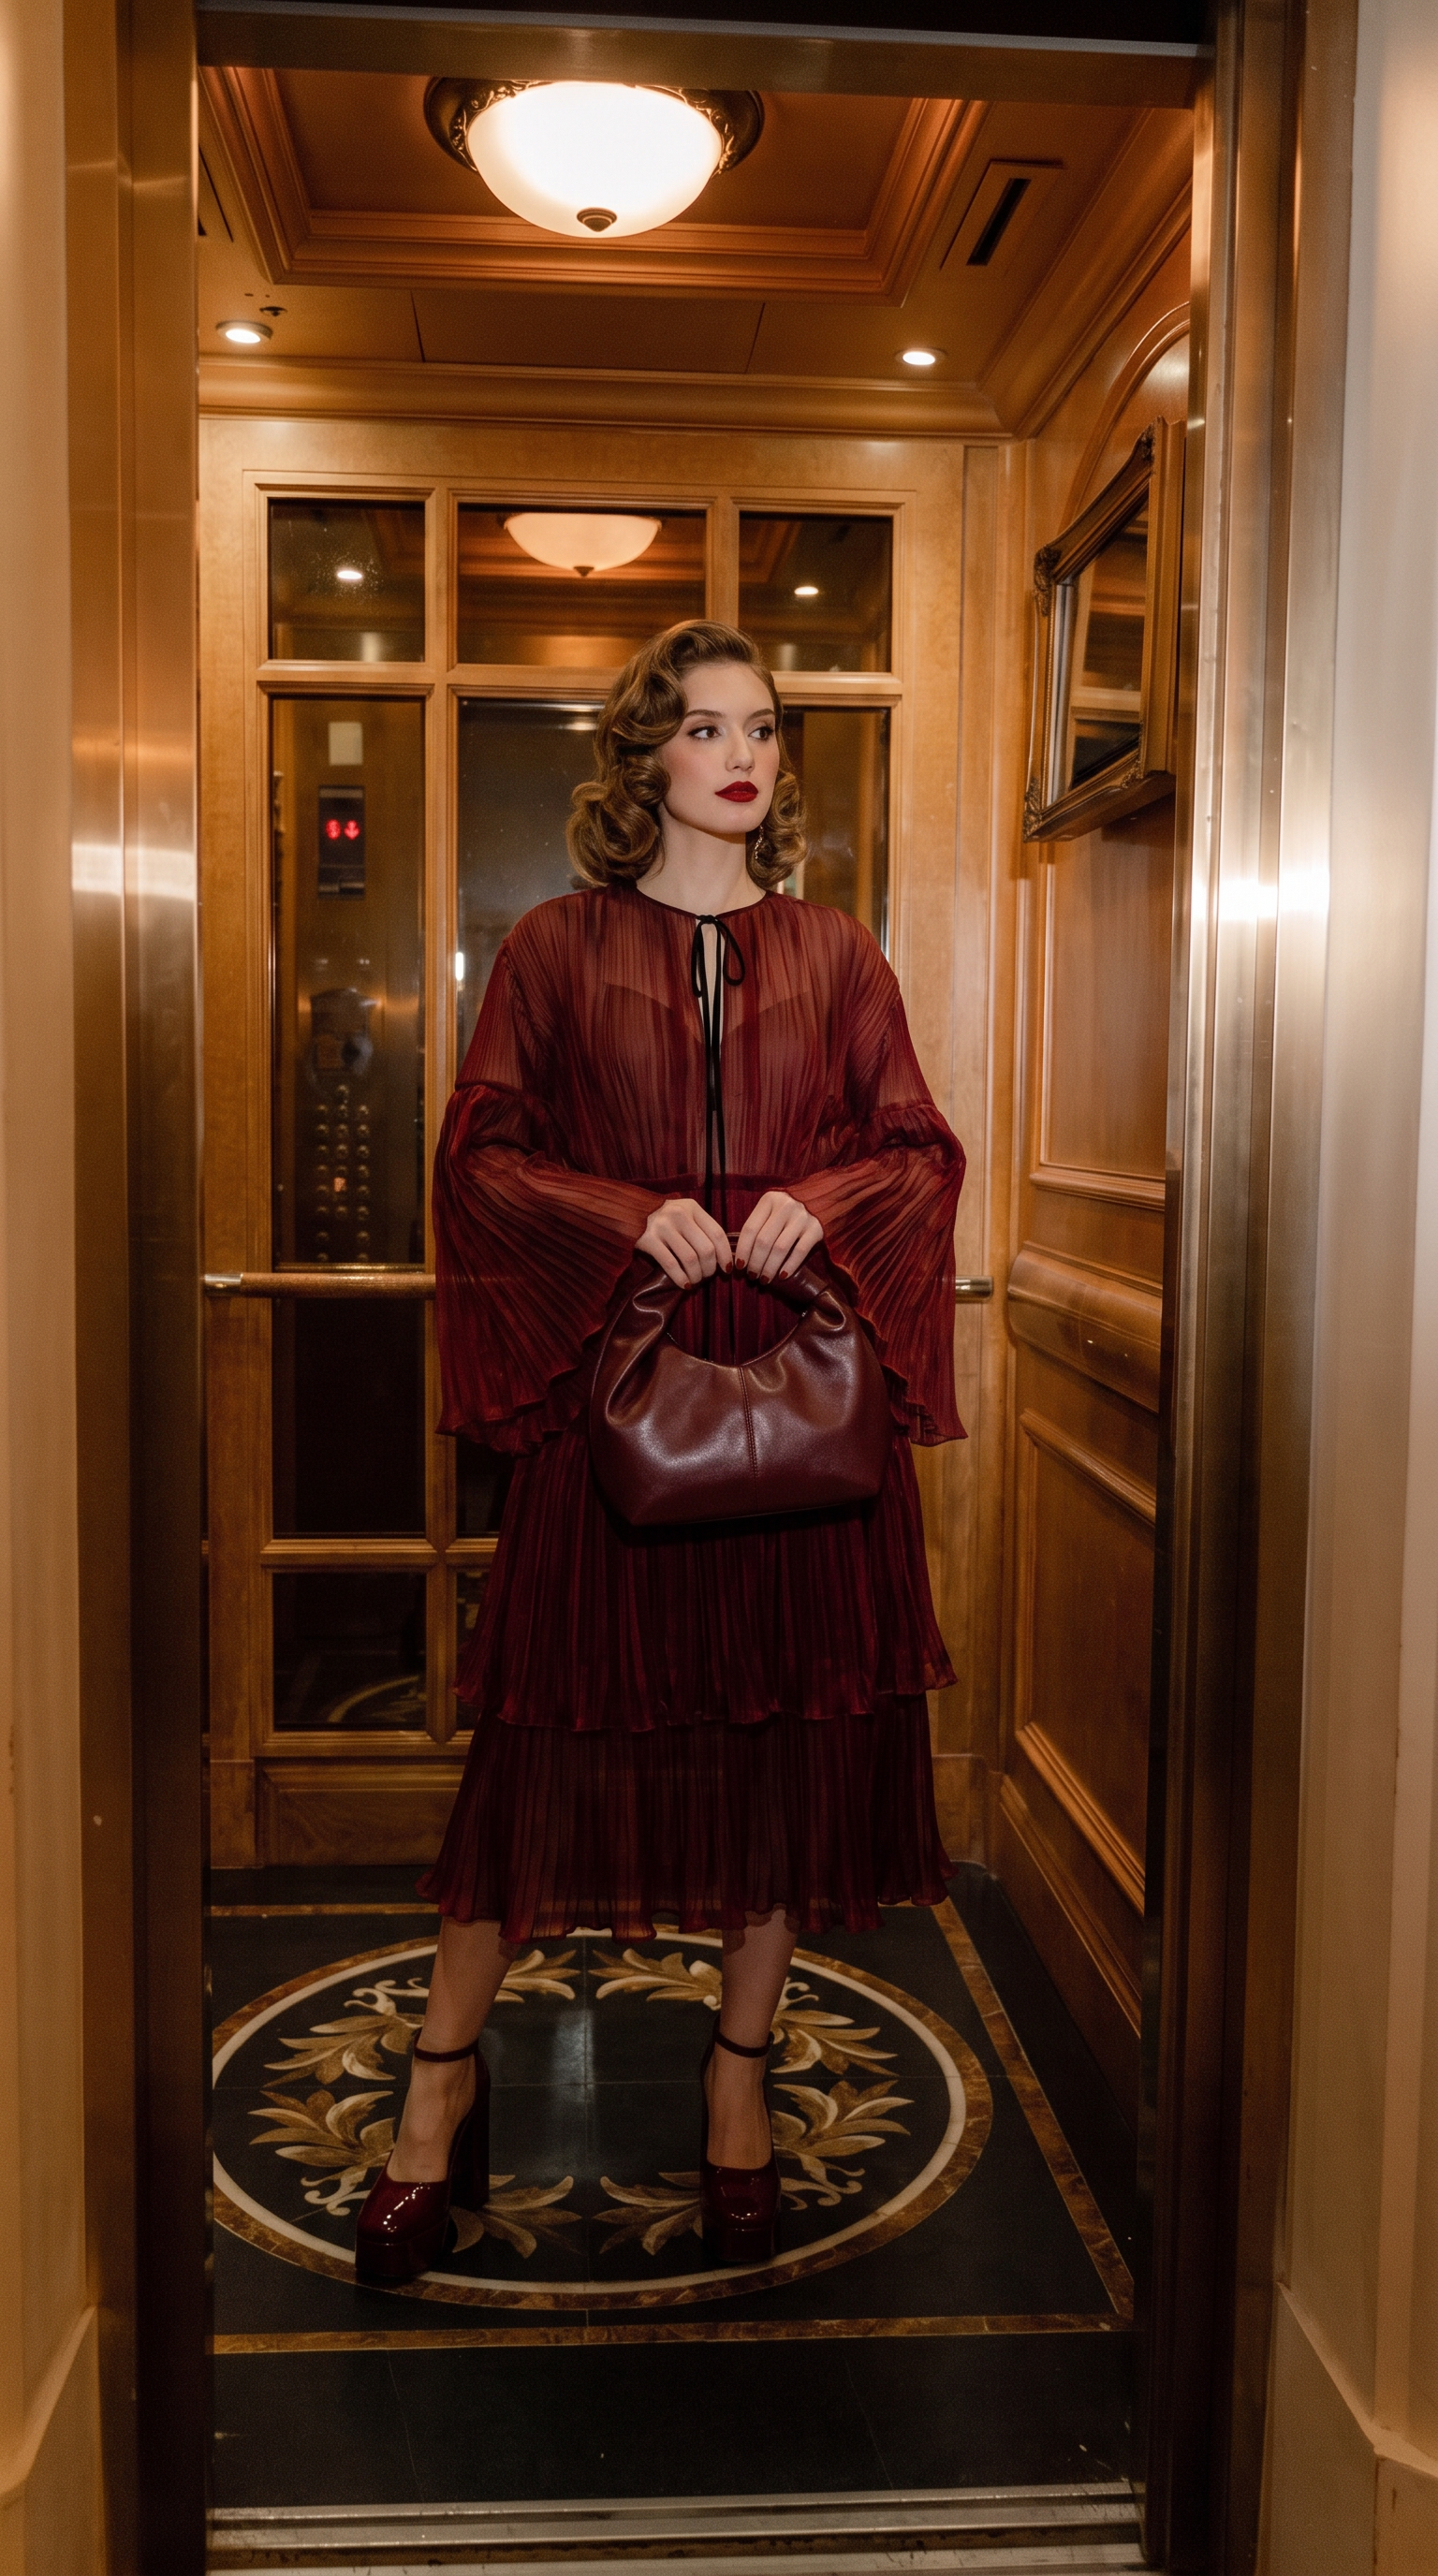
Editorial hero images with the art direction written into the prompt. Mood, lighting and styling on demand.
Model & pose variations
Change the pose, the framing or the setting while the same face and outfit carry across every variation.
Social content
Feed posts, Stories and ad creatives generated in the right aspect ratio from the start, so nothing gets cropped later.
Art & concept visuals
Pure text-to-image work for moodboards, lookbook covers and brand concepts that do not exist yet.
Can You Customize the AI Model's Pose, Setting, and Style?
Yes, and it happens in the prompt rather than in a set of dropdowns. There are no age, ethnicity or body-type pickers on this page, so you describe the person you want and the AI generates them.
The person
Age, skin tone, hair, build and expression. "A woman in her fifties, silver hair" is a complete instruction and the AI follows all of it.
The scene
Pose, wardrobe styling, location, time of day and photographic style. "Seated on a concrete bench, soft overcast light, waist-up" sets all four.
The same face twice
Upload a generated image as a reference on the next run and say "don't change her face". That is how a series reads as one shoot with one model.
The four pills in the panel handle the technical side only: Model, Quality, Ratio and Resolution. Everything about the person and the scene lives in the prompt.
Can AI-Generated Images Be Localized for Different Markets?
Yes. The same garment can be photographed into a different market by changing a few words in the prompt, with no second shoot and no second budget.
Move the location
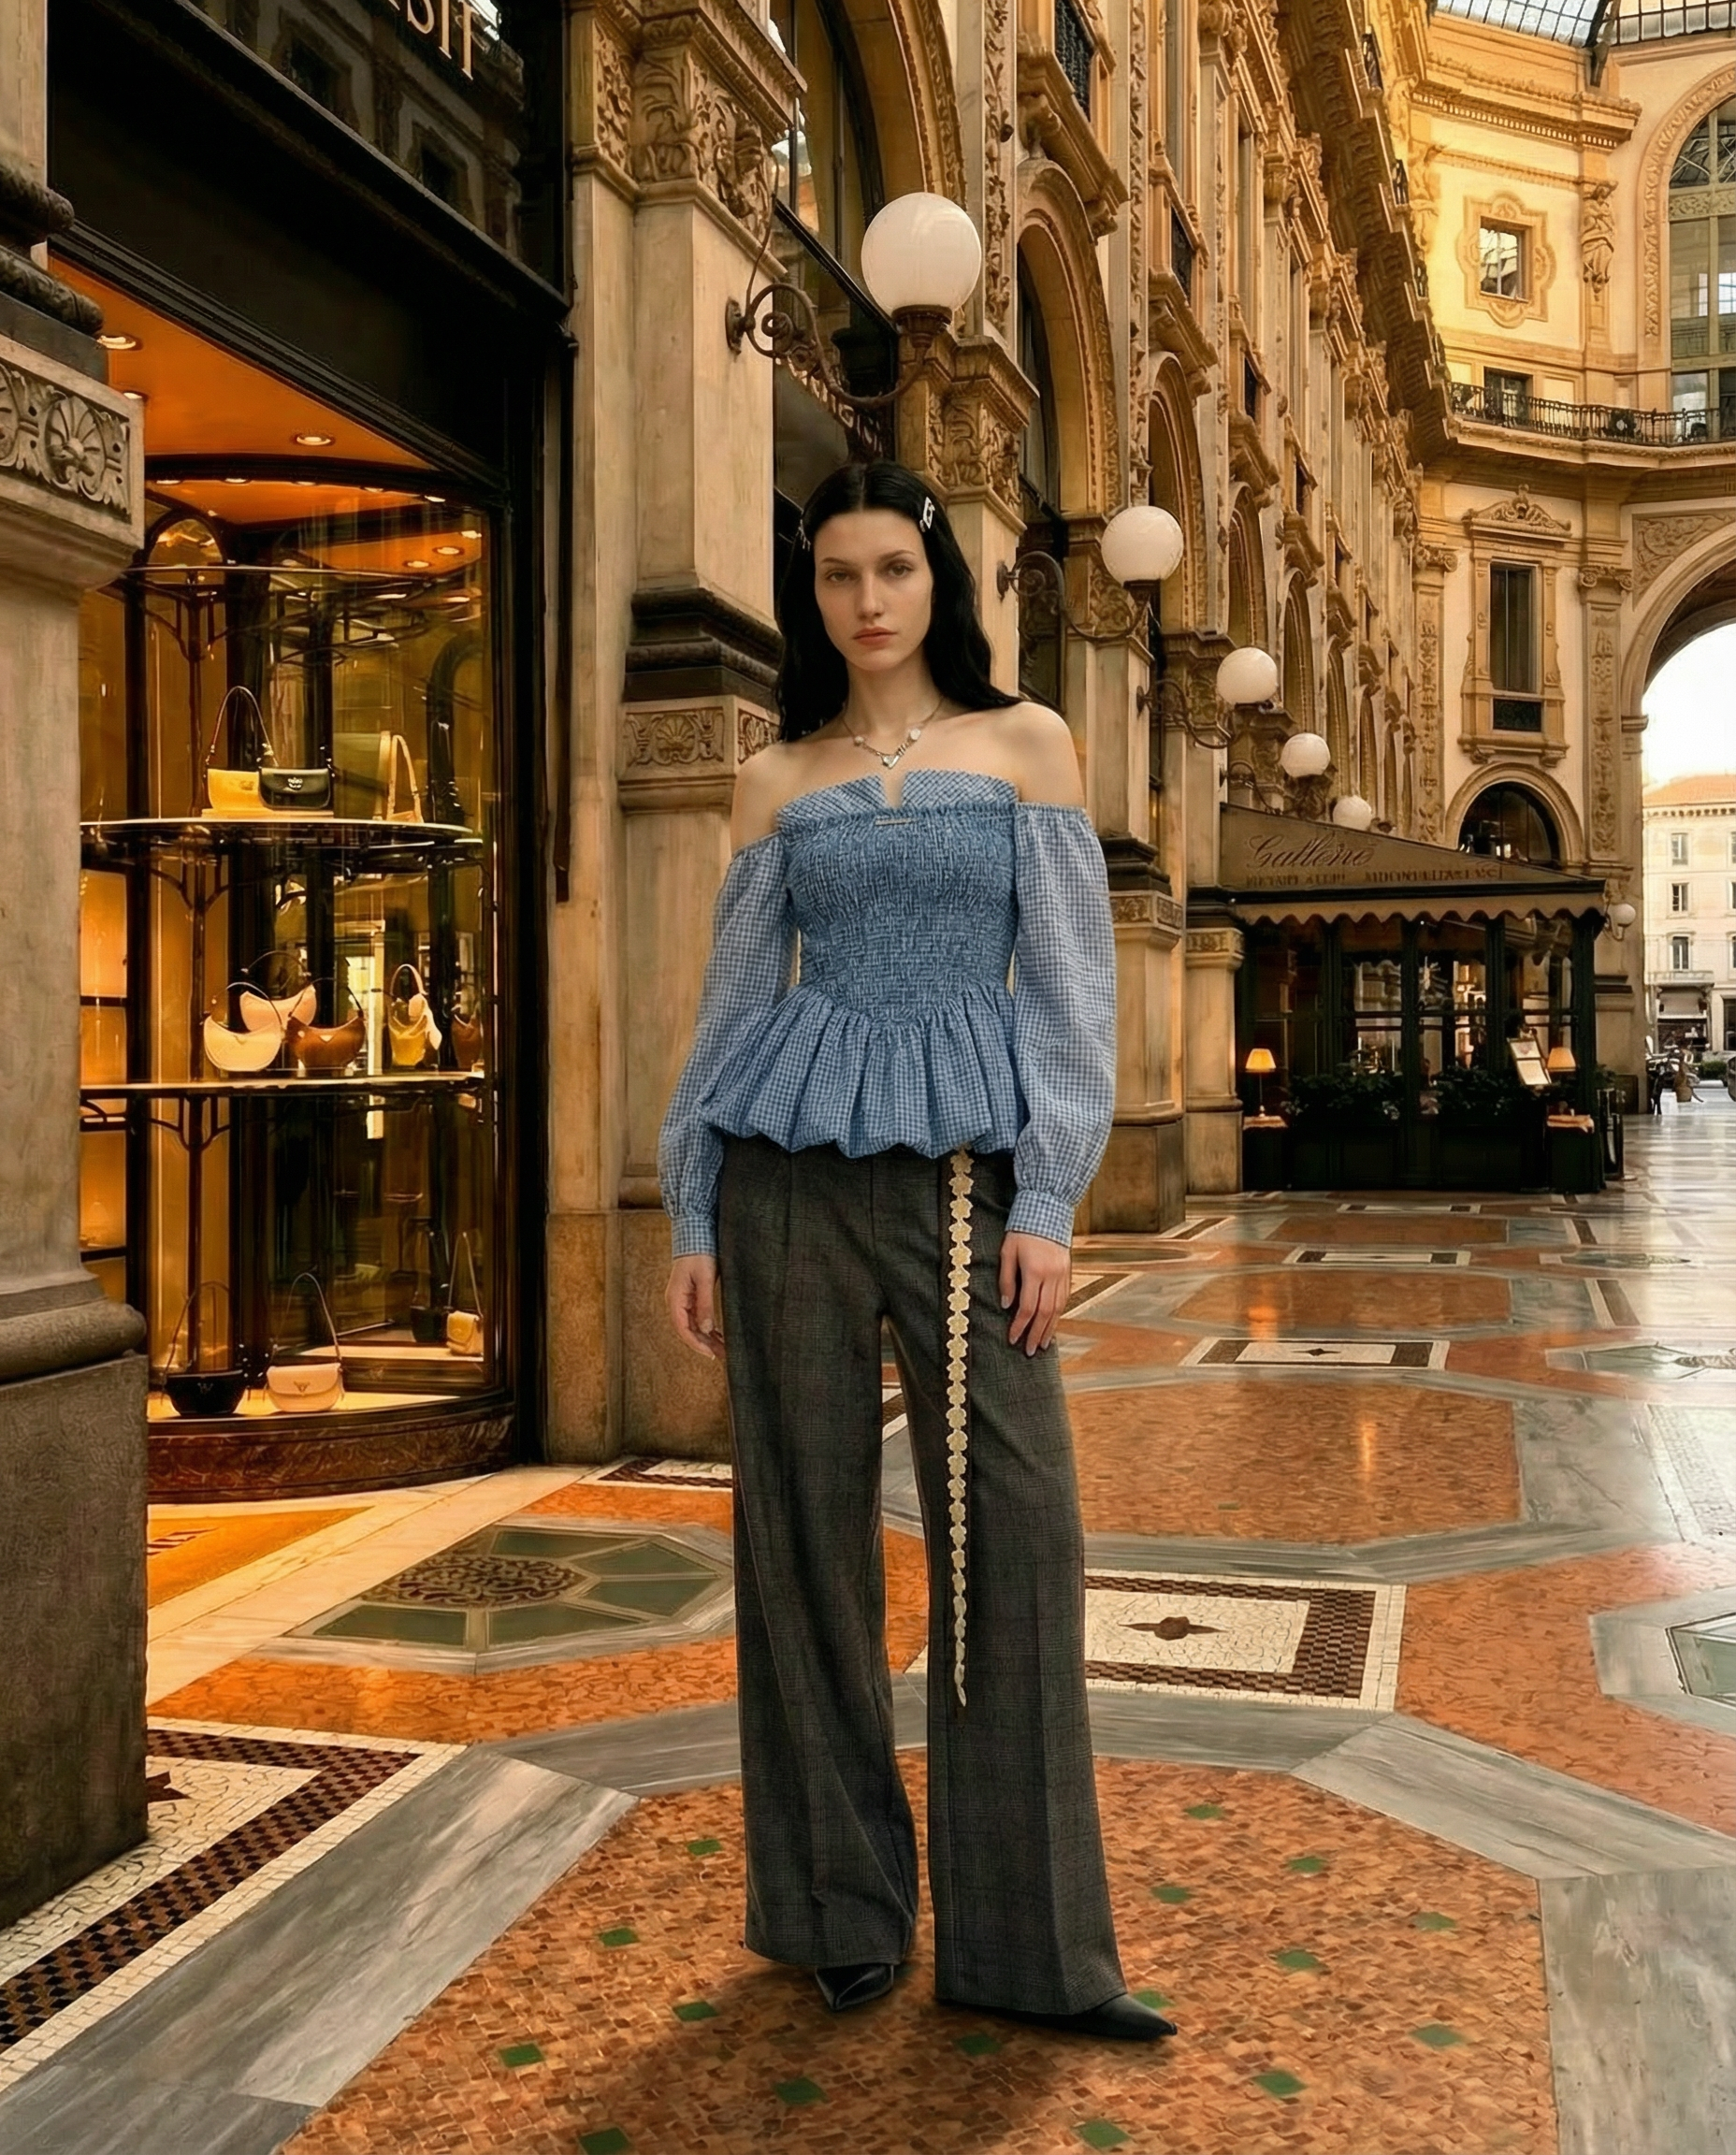
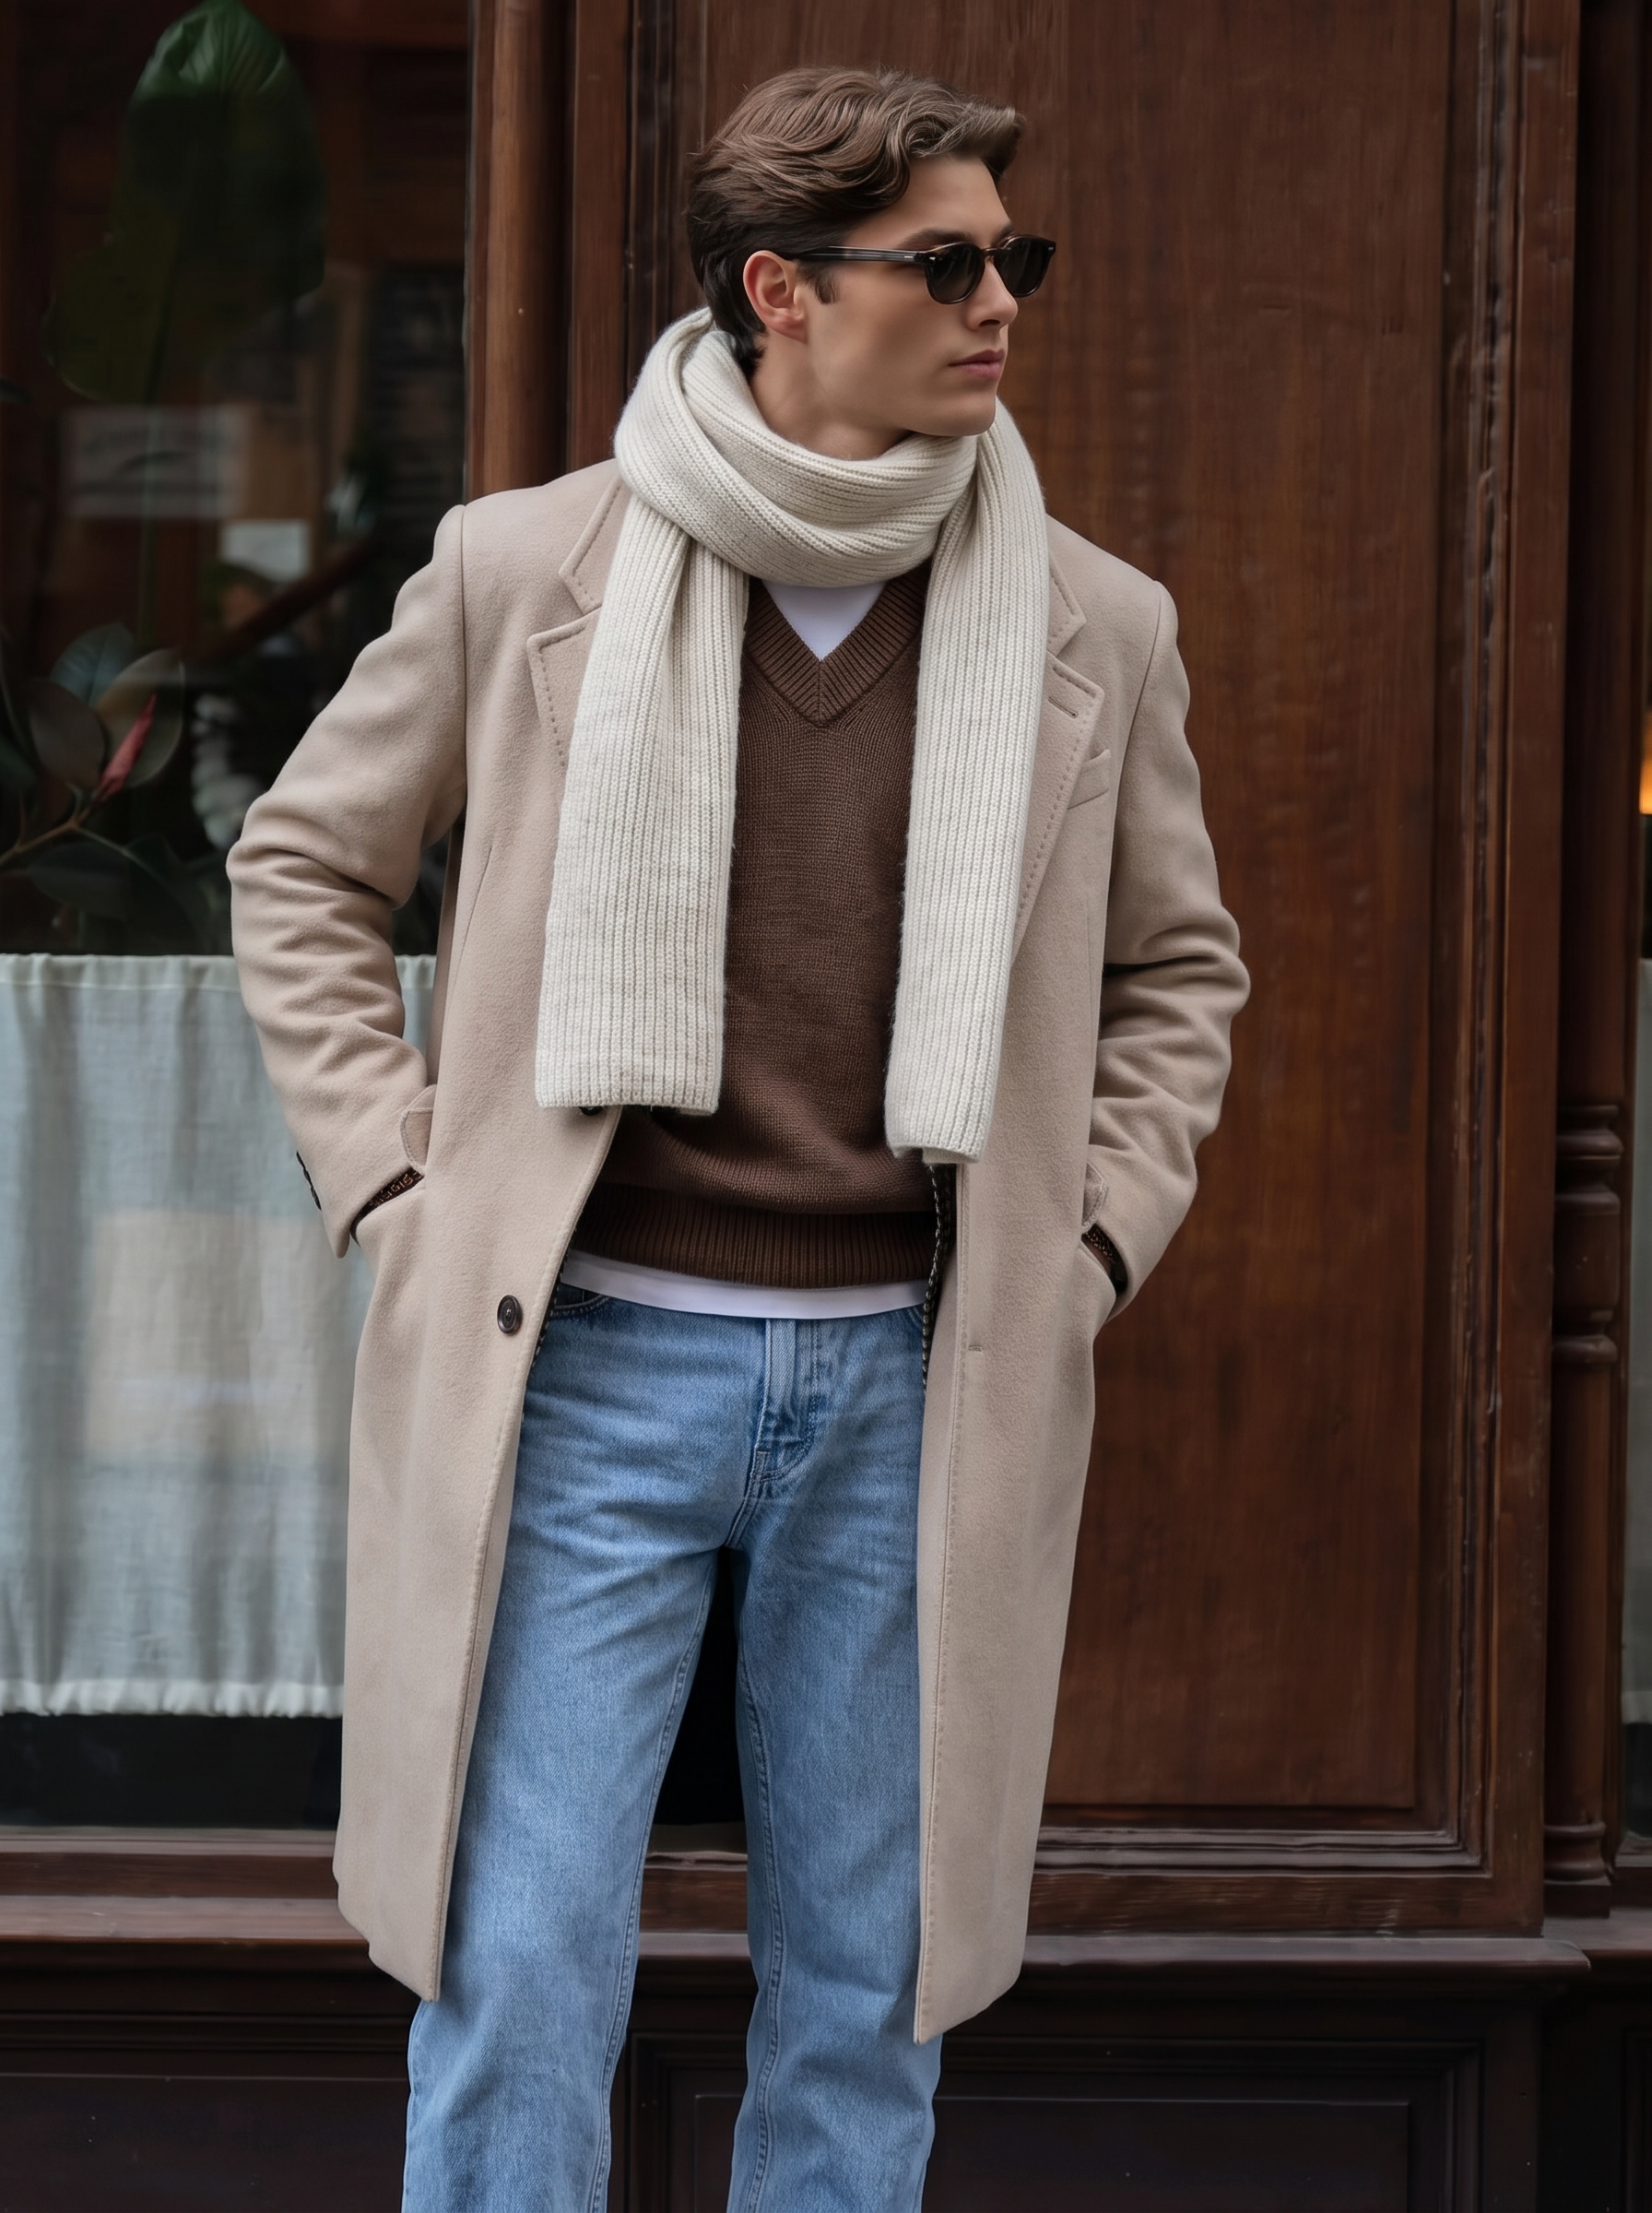
A Milan arcade for Southern Europe, a Seoul street for Korea, an overcast London pavement for the UK. The product stays put while the context moves around it.
Move the season
One coat can appear in Northern European winter light and Australian summer light on the same afternoon, which matters when your hemispheres disagree.
Move the model
Describing a different age range or appearance per market gives each storefront imagery that looks like the people shopping there, with no casting call in any country.
Keep the framing and lighting language identical across the set and the localized versions still read as one brand. Change only the words that describe the market.
Which AI Models Are Available?
The Model pill decides which engine generates your image. All eight handle both text-to-image and image-to-image, and they differ in fidelity, speed, supported formats and what a run costs.
Best quality
Nano Banana Pro
Google's flagship model, and the one to reach for when the image is going somewhere permanent. It holds lighting and texture together more convincingly than the others, and renders at 1K, 2K or 4K.
- Ratiosauto, 1:1, 4:5, 5:4, 3:4, 4:3, 2:3, 3:2, 9:16, 16:9, 21:9
- Resolutions1K, 2K, 4K
- Reference imagesup to 5
Nano Banana 2.1
Google's update to Nano Banana 2, at the same Flash speed. It renders more realistic images, sharper text and cleaner infographic layouts, follows the prompt more closely and keeps a character consistent across edits. It also takes up to 14 reference images, and a Thinking Level setting picks how much the model reasons before it draws: Minimal is fastest, High suits complex scenes.
- Ratiosauto, 1:1, 4:5, 5:4, 3:4, 4:3, 2:3, 3:2, 9:16, 16:9, 21:9, 4:1, 1:4, 8:1, 1:8
- Resolutions1K, 2K, 4K
- Thinking LevelMinimal, Medium, High
- Reference imagesup to 14
Widest formats
Nano Banana 2
Google's Flash model, and one of two here that go ultra-wide alongside Nano Banana 2.1. Ratios like 4:1 and 8:1 make it a fit for website banners and hero strips, at up to 4K.
- Ratiosauto, 1:1, 4:5, 5:4, 3:4, 4:3, 2:3, 3:2, 9:16, 16:9, 21:9, 4:1, 1:4, 8:1, 1:8
- Resolutions1K, 2K, 4K
- Reference imagesup to 5
Best instruction following
GPT Image 2
OpenAI's model, and the one that reads a long instruction most carefully. If your prompt carries five separate requirements, this is the model most likely to honour all five. Quality tiers let you trade speed against fidelity per run: Low is fastest and cheapest, Medium sits in the middle, High gives the most detail.
- Ratios1:1, 4:5, 5:4, 3:4, 4:3, 2:3, 3:2, 9:16, 16:9, 21:9
- Resolutions1K, 2K, 4K
- QualityLow, Medium, High
- Reference imagesup to 5
GPT Image 2.5
OpenAI's successor to GPT Image 2, offered in two variants. Flare is the everyday choice: sharper than GPT Image 2 at roughly half the wait. Sunburst spends longer on each image to hold intricate detail, for the run where a demanding edit needs tighter control. Both share the same Low, Medium and High quality tiers and cost the same credits.
- VariantsFlare (fast), Sunburst (precision)
- Ratios1:1, 4:5, 5:4, 3:4, 4:3, 2:3, 3:2, 9:16, 16:9, 21:9
- Resolutions1K, 2K, 4K
- QualityLow, Medium, High
- Reference imagesup to 5
 Fast & affordable
Nano Banana
Google's standard model, and the cheapest per run. This is the one for exploring ideas and pushing a prompt around before you spend credits on a final render.
- Ratiosauto, 1:1, 4:5, 5:4, 3:4, 4:3, 2:3, 3:2, 9:16, 16:9, 21:9
- Resolutionsfixed output size
- Reference imagesup to 5
Seedream 5.0
ByteDance's model, built for photoreal people and scenes. Write the whole picture from the prompt for concept work, or attach up to 5 reference photos to edit or restyle a scene, at 1K or 2K.
- Ratios1:1, 4:5, 5:4, 3:4, 4:3, 2:3, 3:2, 9:16, 16:9, 21:9
- Resolutions1K, 2K
- Reference imagesup to 5
| Model | Best for | Resolutions | Quality tiers |
|---|---|---|---|
| Nano Banana Pro | Final product page, ad and campaign assets | 1K 2K 4K | None |
| Nano Banana 2.1 | Realistic scenes, crisp text and many reference images at Flash speed | 1K 2K 4K | Minimal, Medium, High |
| Nano Banana 2 | Ultra-wide banners and hero strips at 4:1 or 8:1 | 1K 2K 4K | None |
| GPT Image 2 | Long instructions, and text on labels or packaging | 1K 2K 4K | Low, Medium, High |
| GPT Image 2.5 Flare | Everyday OpenAI runs, sharper than GPT Image 2 at half the wait | 1K 2K 4K | Low, Medium, High |
| GPT Image 2.5 Sunburst | Intricate detail when a demanding edit needs tighter control | 1K 2K 4K | Low, Medium, High |
| Nano Banana | Cheap drafts and prompt iteration | Fixed | None |
| Seedream 5.0 | Photoreal people and scenes, from a prompt or a reference | 1K 2K | None |
The workflow most people settle on: draft on Nano Banana until the composition is right, then re-run the winning prompt on Nano Banana Pro at a higher resolution. If you want the best AI image generator for product photography and would rather not test all eight, Nano Banana Pro at 2K is the safe default, with GPT Image 2.5 Flare whenever the product carries text.
Can AI Generate Product Images With Readable Text?
Yes, and the model you pick decides how well. Text on a care label, a logo across a chest print, packaging copy, the price on a swing tag: lettering is the detail image models have historically mangled, turning real words into something that looks like words from a distance and falls apart up close.
The GPT Image models render lettering the most accurately of the eight here, which makes them the ones to use as your AI product image generator whenever the product carries words a customer will read. Start with GPT Image 2.5 Flare, and switch to Sunburst when a label or logo needs an extra pass of precision.
Spell the text out in the prompt inside quotes, as in: the label reads "Made in Portugal". Keep it short, because long paragraphs still come back garbled on every model available today. Check the result at full size before it ships, since a logo with one letter wrong is worse than no logo at all.
Which Aspect Ratio Should You Choose?
The aspect ratio sets the shape of the generated image. Decide it before you run, because cropping afterwards eats into the composition you just paid for.
Auto
Matches your reference image's original framing
1:1
Product grids, marketplace thumbnails, and catalog tiles
4:5
Instagram feed posts and lookbook pages
9:16
Stories, Reels, TikTok, and vertical ads
16:9
Website heroes and presentations
21:9
Ultra-wide banners and headers
4:1 & 8:1
Full-width hero strips, Nano Banana 2 and 2.1 only
The classic photographic formats are all there: 5:4, 4:3 and 3:2, their portrait counterparts 3:4 and 2:3, and the vertical ultra-wides 1:4 and 1:8. Auto works on every model except the GPT Image models and Seedream 5.0, and the ultra-wide ratios belong to Nano Banana 2 and 2.1 alone.
Which Resolution Should You Generate At?
Resolution sets the pixel size of the generated image. Higher resolutions cost more credits per run, so generate at the size the image will actually be displayed. You can always upscale a winner afterwards.
1K
Prompt exploration and social feeds. Iterate cheaply here until the composition is right, then spend on the final render.
2K
Product detail pages and paid ads, where shoppers zoom into texture, stitching and print.
4K
Campaign heroes, lookbook covers and print. Maximum detail for the imagery a launch is built around.
Nano Banana Pro, Nano Banana 2.1, Nano Banana 2 and the GPT Image models offer all three sizes, and Seedream 5.0 offers 1K and 2K. Nano Banana generates at one fixed size, so the resolution picker only appears for the models that support it.
How Do You Write a Prompt That Works?
AI fashion photography is directed in words, so the prompt is the whole brief. It stands in for the photographer, the stylist and the location scout at the same time. Plain, specific sentences work best, and there are no magic words or keyword syntax to learn.
A strong prompt usually answers four questions. You do not need all four every time, though each one you answer takes a decision away from the AI and hands it to you.
Who is in the frame?
Name the subject and say what they are doing. "A model in a charcoal wool coat, walking" beats "a coat".
Where does it happen?
Name the location, the background and the time of day: "a rooftop in SoHo, New York, at dusk".
What is the light doing?
"Natural daylight", "soft studio lighting", "golden hour", "nice shadowing". Light is what makes a generated image feel photographed.
How is it shot?
The photography language: "editorial fashion photography", "e-commerce catalog shot", "wide angle", "full-body shot", "waist-up".
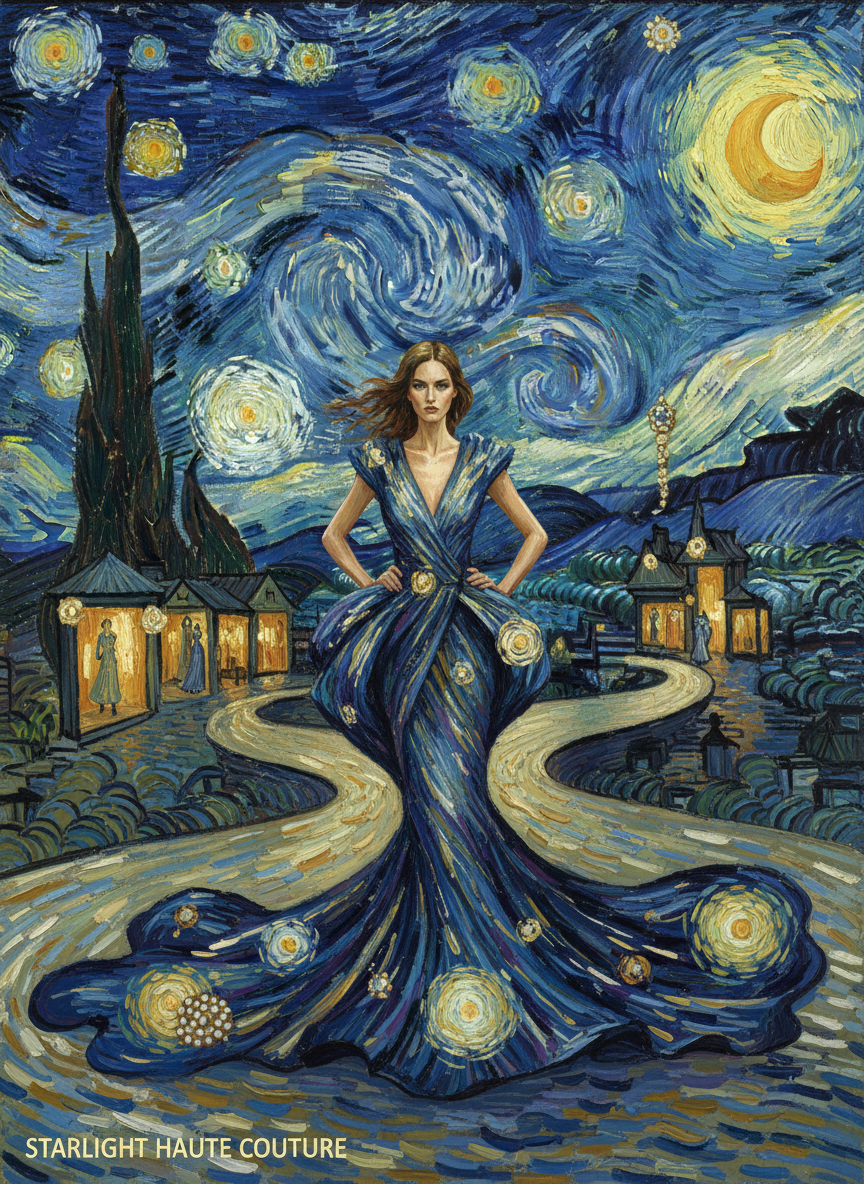
"Give me a visual like the Starry Night painting but in a fashion niche."
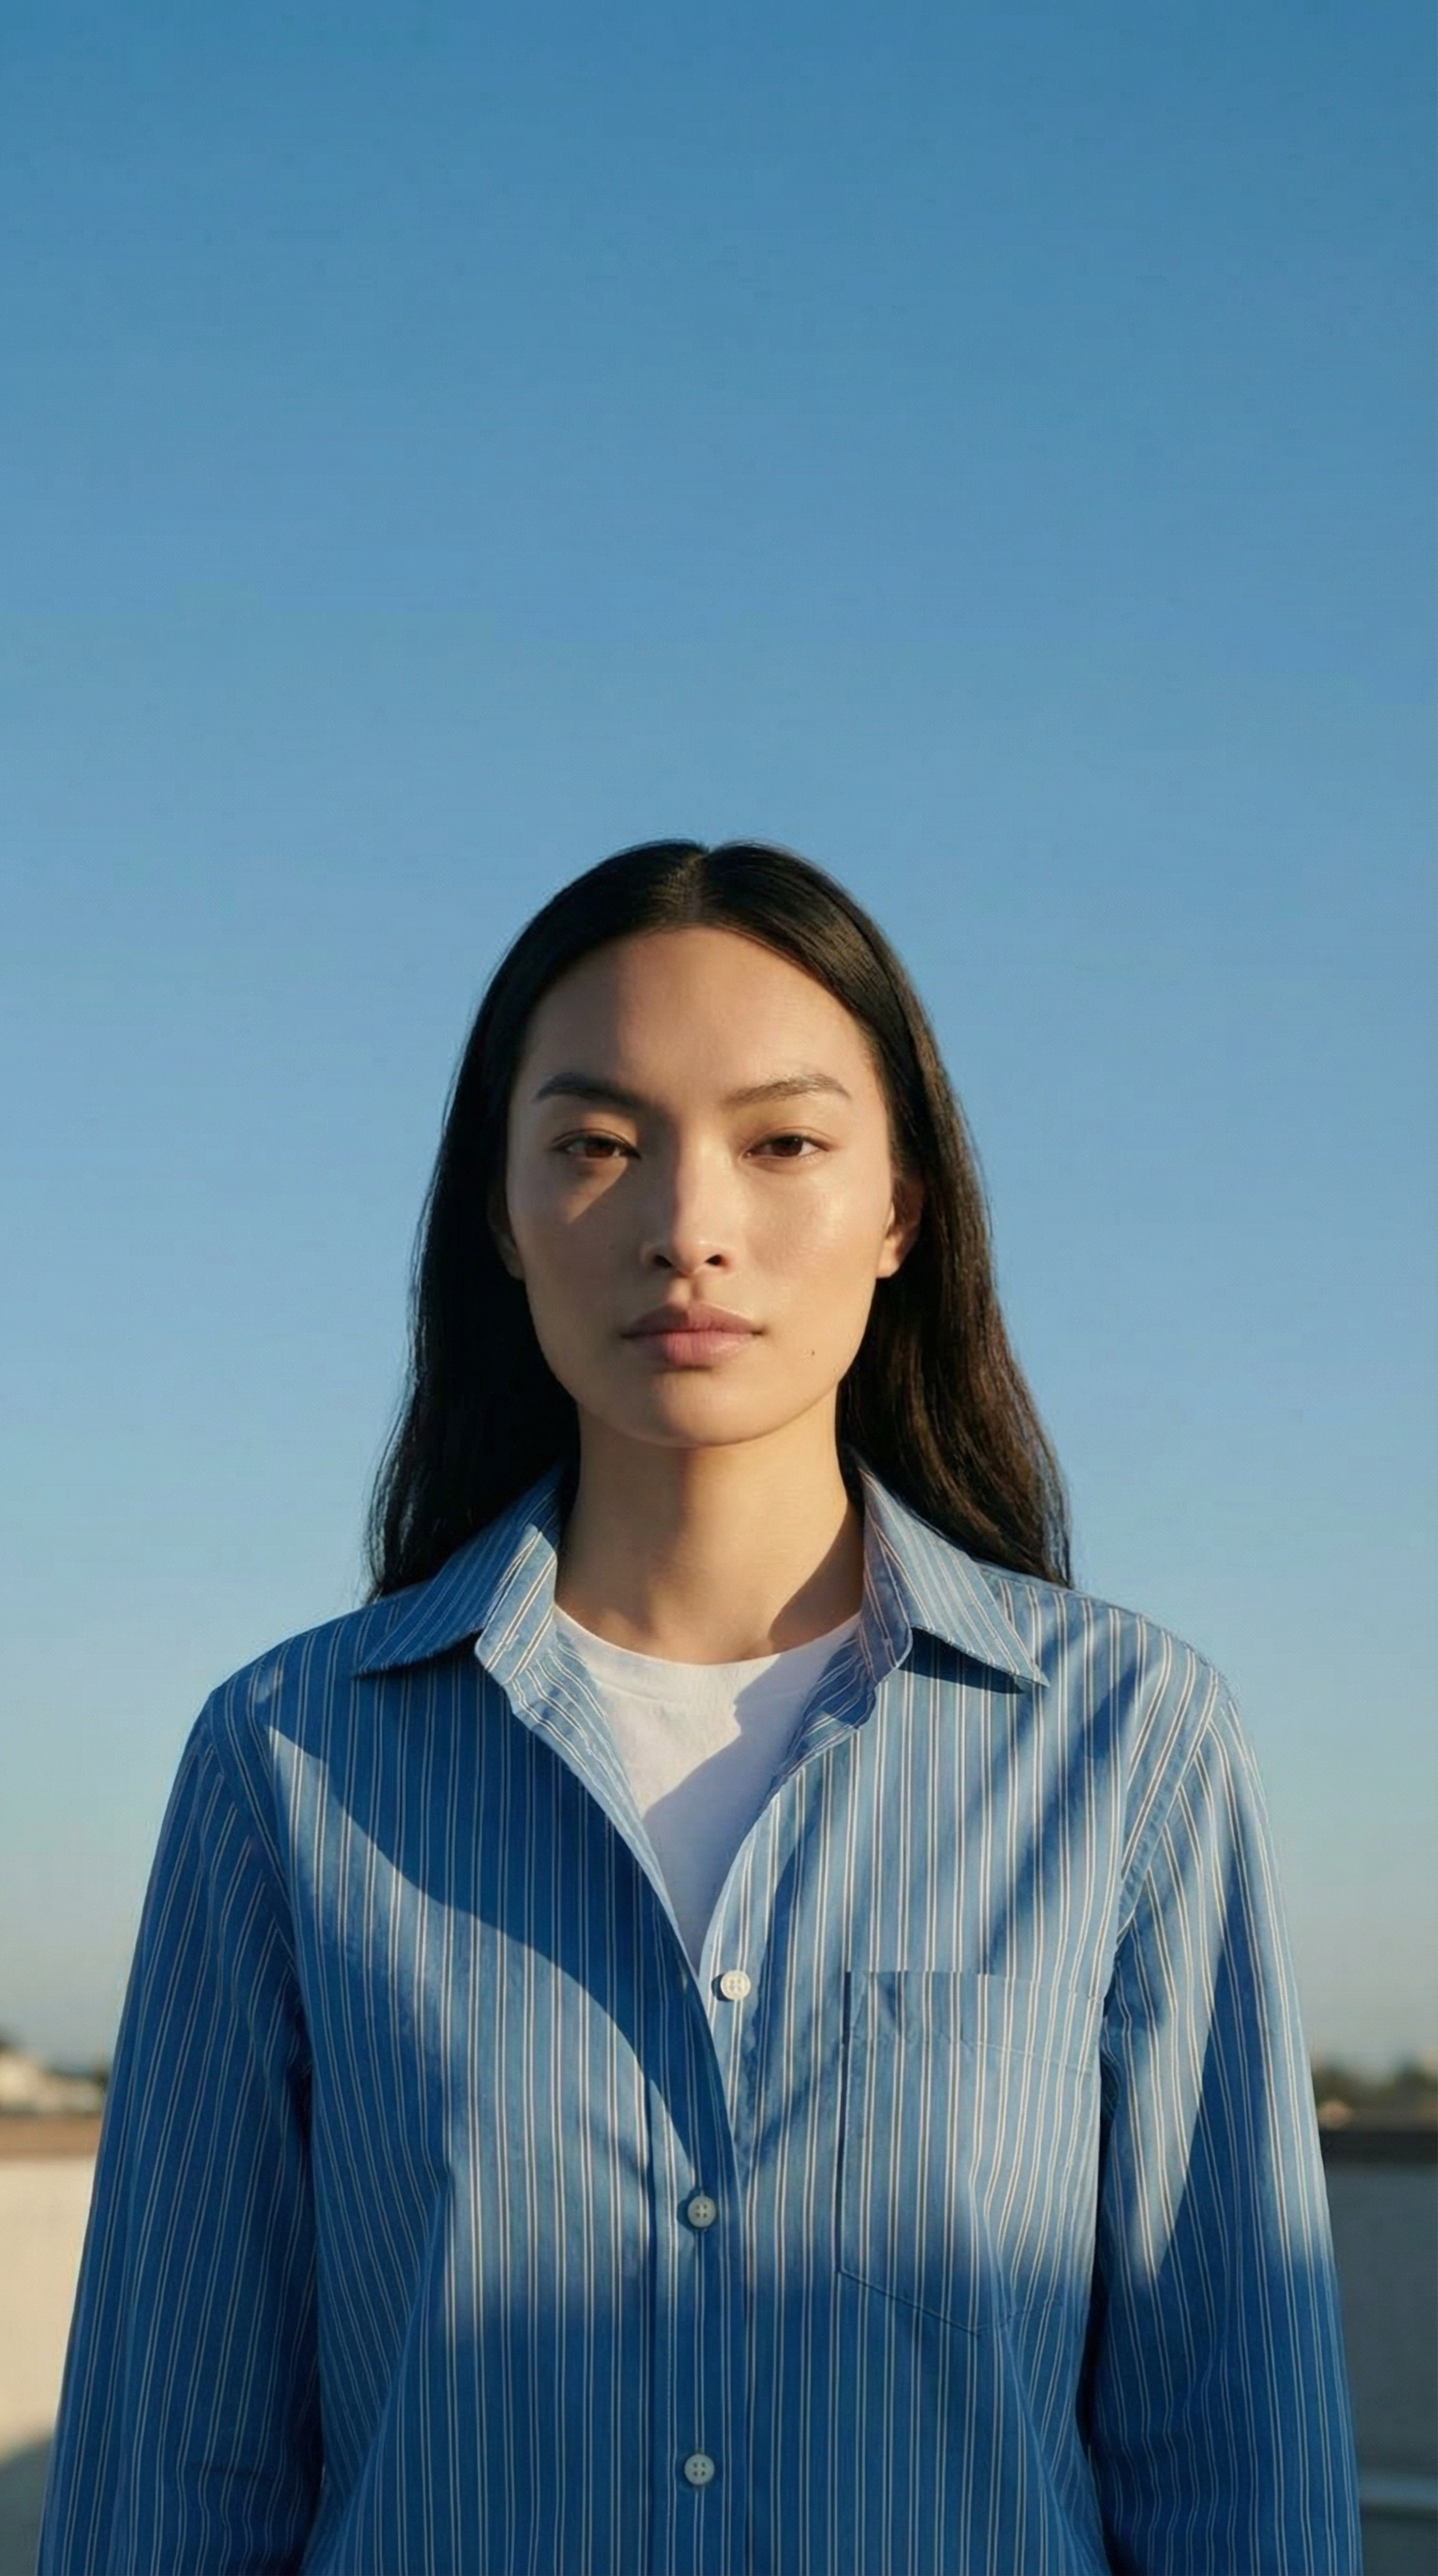
"Remove the jacket from this model. She should be on a rooftop in her blue shirt. Only blue sky visible. Standing. Waist-up shot. Don't change her face, add nice shadowing."
- When editing a reference image, state what must stay the same: "don't change her face or outfit". The AI protects everything you pin down.
- Refer to your uploads directly, as in "the reference garments" or "the woman in the black overcoat", so the AI anchors on the right image.
- Give it constraints as well as wishes: "no one else in the frame", "only blue sky visible", "full-body shot".
- Iterate one change at a time. Reuse the result as the next input and adjust the pose, then the background, then the light.
- Not sure how to phrase it? Turn on Enhance and it rewrites your short prompt into a detailed photographic brief before generating.
What Are the Most Common Mistakes?
When a result disappoints, a vague prompt or a weak reference image is almost always the reason. Here are the patterns we see most often, with the fix for each.
Write one-word prompts
"Jacket" or "fashion photo" hands every decision to the AI. Subject, scene, light and style all come back random.
Describe the photo you'd brief
Subject, setting, lighting, style. Two sentences of plain language is enough to control the result.
Upload blurry or cluttered references
Low-resolution photos and busy backgrounds hide the detail the AI needs, and faces, fabric and colors drift in the result.
Use sharp, well-lit reference photos
A clear photo on a clean background, even one from a phone, carries the subject faithfully through every edit.
- Changing everything at once? Split it into runs. Pose first, then background, then lighting.
- Details looking soft? Re-run the same prompt with Nano Banana Pro at 2K or 4K.
- Result ignored part of a long instruction? Try GPT Image 2.5 Flare, which follows complex multi-step prompts most closely.
What Can You Do With Your Results?
A generated image is usually a starting point. Everything in your History can go straight into the other studios.
- Image Upscale scales your result up to 4K for print and campaign use.
- Reframe extends the image to a new aspect ratio for banners and stories.
- Background Changer swaps the scene without regenerating the subject.
- Video Studio animates your image into a short fashion video.
- Model Swap replaces the person in a generated image while the clothing and the background stay put.
- Try-On Studio dresses a model in your garments with purpose-built virtual try-on.
Text-to-Image, Image-to-Image, Prompt: What Do They Mean?
Text-to-image
Creating an image from a written description alone. You describe the scene and the AI invents every pixel from scratch.
Image-to-image
Editing or restyling an existing photo. The AI keeps what you tell it to keep and regenerates the rest according to your prompt.
Prompt
The written instruction that directs the generation. It carries the subject, the setting, the lighting and the style you want in the final image.
Reference image
A photo you upload as input for image-to-image. Up to 5 per run, whether that is a product shot, a model photo or a previous result.
Frequently Asked Questions
Do I need a real product photo to use AI image generation?
How many credits does an image generation cost?
What is the difference between text-to-image and image-to-image?
Can I change the model's age, skin tone, and style in generated images?
Is a phone photo good enough as a reference image?
Which AI models does Fash Studio use to generate these images?
Which AI model should I choose?
How do I write a good prompt?
Can I edit an existing photo instead of generating from scratch?
Can AI generate product photos from a single image?
How long does it take to generate an image?
Do I own the images I generate?
Are my uploads private?
Ready to create your first image?
Sign up free and generate your first fashion visual in under a minute.
Get Started