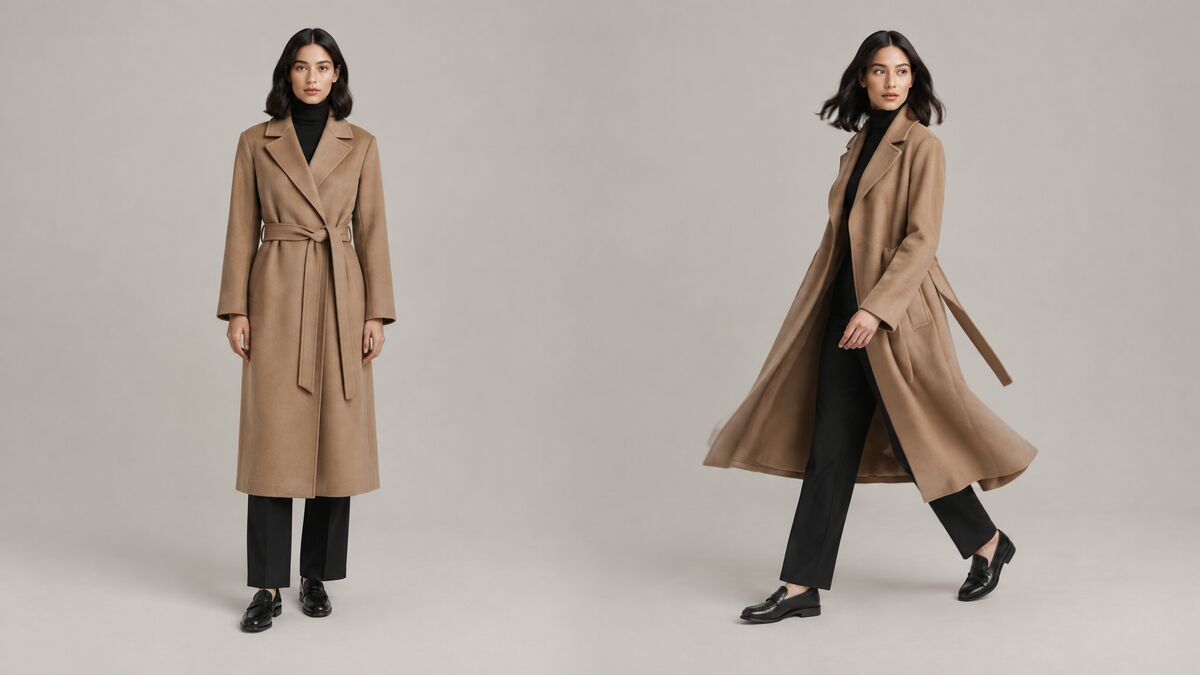
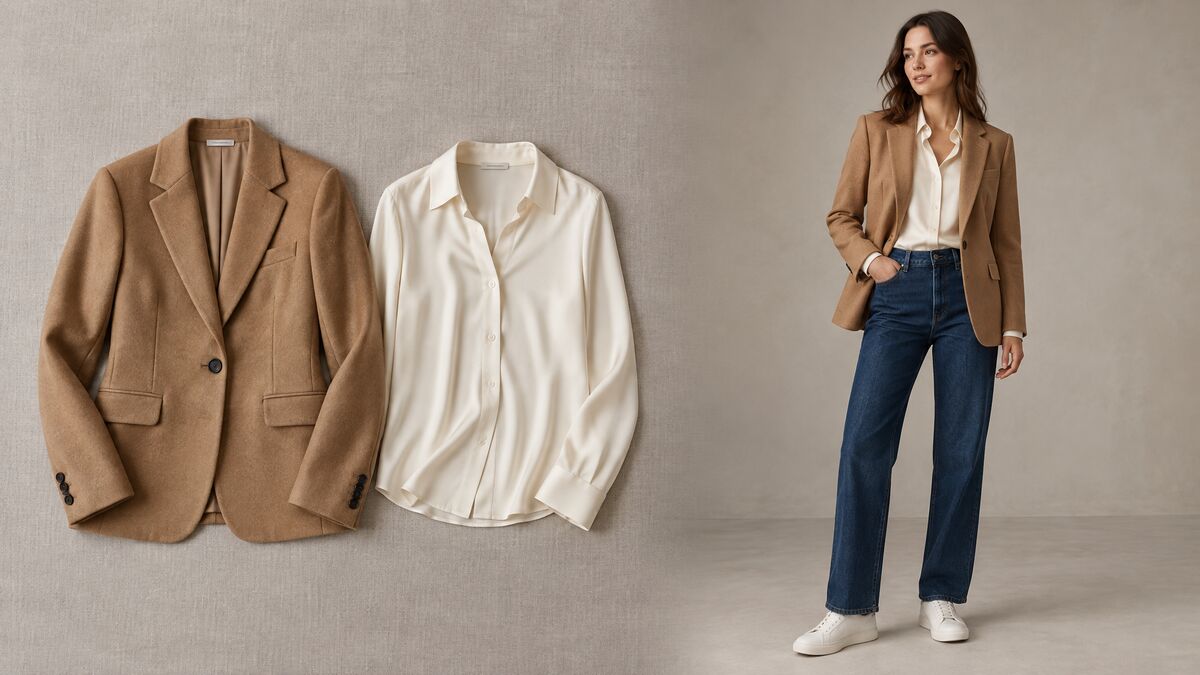
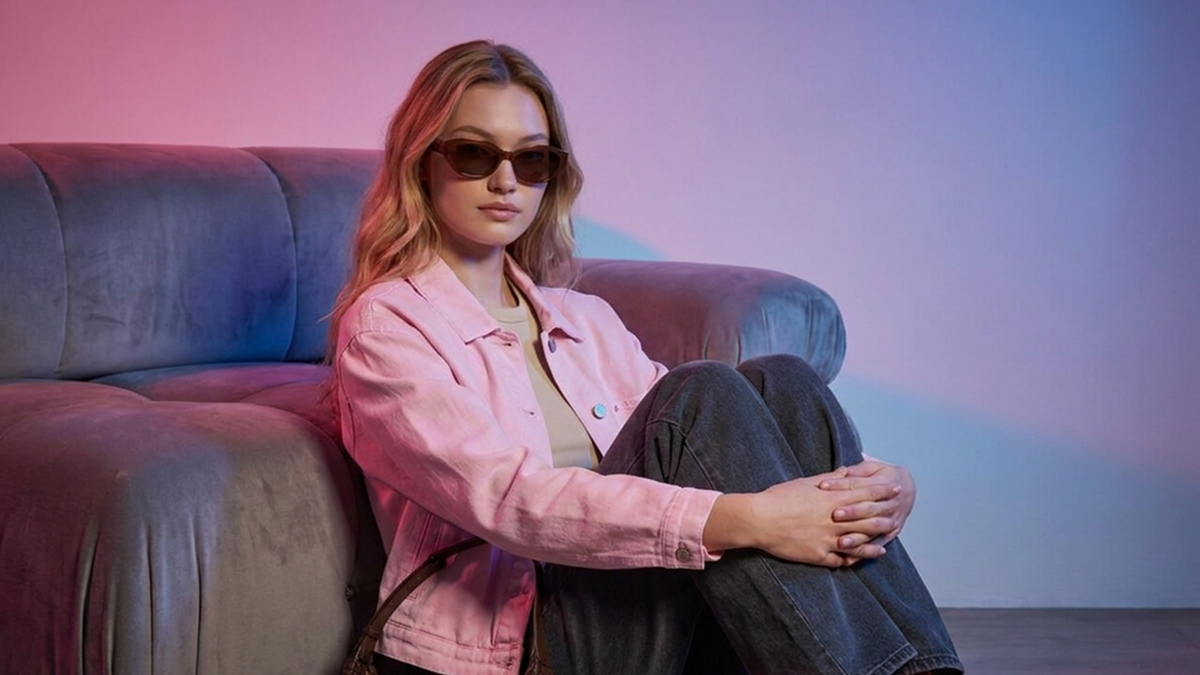
How to Turn Flat Lay and Mannequin Photos into On-Model Images with AI
11 min readYou can turn the flat lay and mannequin product photos you already have into realistic on-model images without booking a shoot. This guide shows how to prepare the input, run the conversion step by step and check the result before you publish.
What you'll find in this article
- Can AI turn a flat lay into an on-model photo?
- Flat lay vs ghost mannequin vs on-model: which input works best?
- How should you prepare a flat lay or mannequin photo for AI?
- How do you turn a flat lay into an on-model image, step by step?
- How do you choose the right model photo?
- How do you build a full outfit from separate product photos?
- How do you check the result before you publish?
- What are the common mistakes when converting flat lays to on-model images?
- Frequently asked questions
Going from flat lay to model, or from mannequin to model, takes one AI virtual try-on run: upload the garment photo and a model photo, and the AI dresses the model in your garment. Results look real when the input is prepared well: the garment unfolded, evenly lit, true to color and fully visible, plus a full-body model photo.
Key takeaways
- AI virtual try-on turns an existing flat lay, ghost-mannequin or mannequin photo into an on-model image without a photoshoot.
- The quality of the garment photo sets the ceiling for the result, so preparation matters more than any setting.
- A good input shows the whole garment unfolded, in true color, under soft even light, on a plain background.
- The model photo should be full-body, head to toe, with one person facing the camera.
- Every result should be checked against the real product for color, print, texture and length before it is published.
Can AI turn a flat lay into an on-model photo?
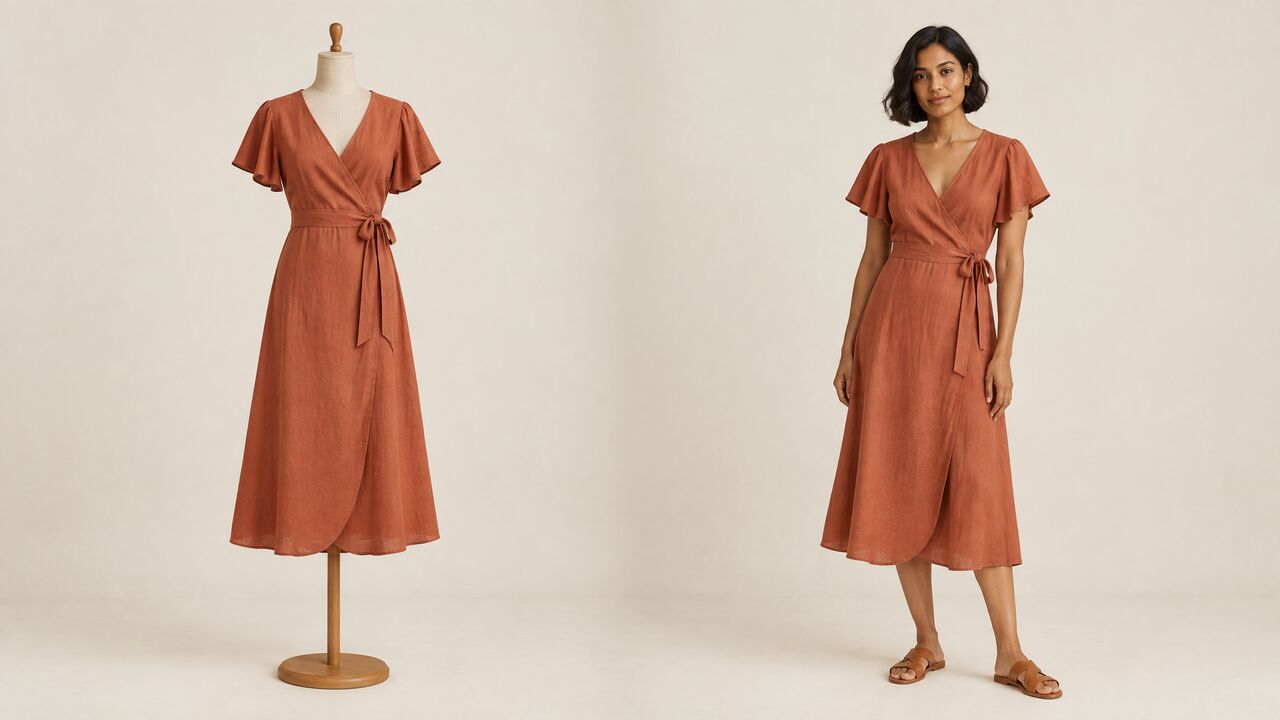
Yes, AI virtual try-on turns a flat lay or mannequin photo into an on-model photo by dressing a model image in the garment from your product photo. The AI reads the garment's shape, color, print and texture. It then re-renders the garment on the model's body with realistic folds and shadows.
The model's face, hair, skin tone, body shape and pose stay the same by default; only the clothing changes. That means showing clothes on models no longer requires booking a clothes model for every new product.
The conversion works with photos many stores already have: flat lays, ghost-mannequin shots, dress-form photos and older on-model images. If you are new to the technology, start with our explainer on what AI virtual try-on is. This guide skips the theory and focuses on what decides whether a result looks real: the input photos and the review before publishing.
Flat lay vs ghost mannequin vs on-model: which input works best?
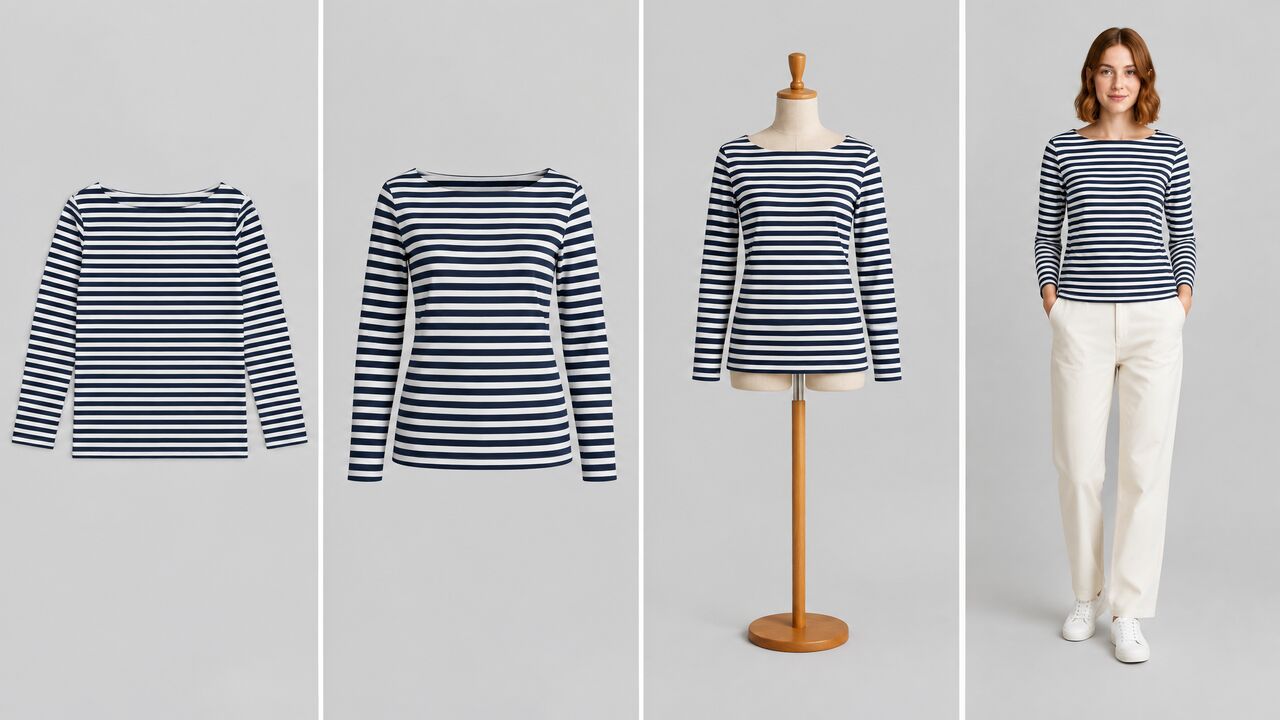
The best input is the one that shows the garment most completely, unfolded and in true color, and each photo type has its own strengths and risks:
| Input type | What it shows | Strengths as AI input | Watch-outs |
|---|---|---|---|
| Flat lay | The garment laid flat on a surface, shot from above | Shows the full shape, print and details in one even view; easy to shoot consistently | Creases and folded sleeves hide the cut; no sense of volume or drape |
| Ghost mannequin | The garment shot on a form that is edited out, so it looks hollow | Shows volume, neckline and drape close to how the garment sits on a body | Editing errors at the neck or armholes can carry into the result |
| Mannequin | The garment on a visible mannequin or dress form | Shows volume and length; quick to shoot in-house | Pins, clips and a poorly fitting form change the shape the AI reads |
| Existing on-model photo | The garment already worn by a person | Shows real fit and drape on a body | Arms, hair and bags can cover parts of the garment; the original pose shapes the folds |
All four types can work for virtual try-on of clothes. If you have several photos of the same product, use the one where the front is fully visible, unfolded and evenly lit. A cluttered on-model photo is usually the weakest, because parts of the garment are hidden.
How should you prepare a flat lay or mannequin photo for AI?
Prepare the photo so the AI can see the whole garment clearly, in true color, with nothing hiding its shape. Use this checklist before every upload:
- Show the full garment, unfolded. Lay sleeves, legs and hems out straight so the complete cut is visible from neckline to hem.
- Remove creases that hide the cut. Steam or press the garment first. A deep fold can be read as a seam, a pleat or a different length.
- Use soft, even light. Diffused daylight or a softbox avoids hard shadows that the AI may copy into the result.
- Keep color true to life. Set white balance for daylight and avoid warm indoor bulbs that shift the fabric's tone.
- Use a plain, contrasting background. If a photo already has a busy background, clean it up with an AI background remover before you upload it.
- Shoot straight on. For flat lays, shoot from directly above. For mannequins, shoot from the front at chest height to avoid distortion.
- Make details visible. Buttons, zips, prints, pockets and labels should be sharp and uncovered.
- Use one garment per photo. Separate images let the AI read each item on its own.
- Use high resolution. Fine prints, stitching and small logos need a sharp, uncompressed source to come out accurately.
- Remove hands and props. Clips, hangers, tags, hands and styling props should not cover any part of the garment.
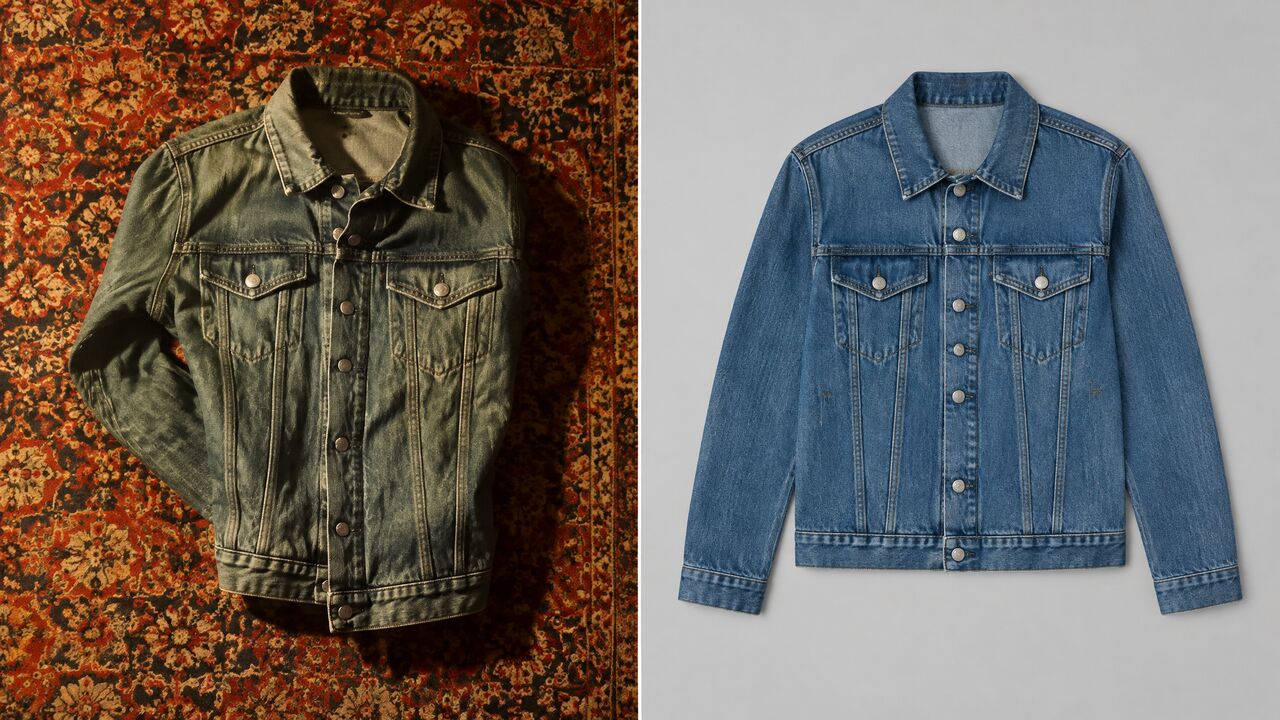
Flat lay photography for AI follows the same basics as for a product page, but the AI treats creases, color casts and hidden details as part of the garment.
How do you turn a flat lay into an on-model image, step by step?
Turning a flat lay into an on-model image takes seven steps, from uploading the garment to reviewing the result. The steps below follow the Fash Studio try-on flow, and most AI clothes try-on tools use a similar sequence.
- Upload your garment images. Add up to 5 garment images, one item per image. Flat lays, ghost-mannequin shots and existing on-model photos all work.
- Choose a model. Pick a built-in AI model or upload your own full-body model photo. Use one person, shown head to toe and facing the camera.
- Pick a background (optional). Choose one of 28 built-in backgrounds across studio, architecture and interiors, outdoor and resort, and city settings. Or leave the field empty to keep the model photo's original setting.
- Choose the AI model. Nano Banana Pro holds fabric texture, stitching and print detail better. Nano Banana uses fewer credits with slightly less fine detail, which makes it useful for drafts.
- Add a prompt (optional). Use the prompt to direct the scene, location, light, pose or photographic style. The garment stays as uploaded, so describe the setting rather than changes to the product.
- Set the resolution and aspect ratio. Resolution options are 1K, 2K and 4K, depending on the AI model. Aspect ratio options include Auto, 1:1, 4:5, 9:16 and 16:9, so match the format to where the image will appear.
- Run and check History. The Run button shows the exact credit price before each run. Each run produces one image in History, and up to 7 generations can process at the same time. There is no bulk uploader, so each product is its own run.
How do you choose the right model photo?
The right model photo is a full-body, head-to-toe shot of one person facing the camera, in a pose that suits the garment. The AI needs to see the whole body the garment will sit on.
- Full body, one person. Headshots and group photos work poorly. A headshot gives the AI nothing to fit trousers or shoes to, and a group photo makes it unclear who should wear the garment.
- Facing the camera. A front-facing pose shows the garment's front, which is usually what the product photo shows.
- A pose that suits the garment. A standing pose suits long dresses and coats. Arms slightly away from the body help show tops and jackets without arms covering the sides.
A built-in virtual model is the quickest option. In Fash Studio, the built-in AI models cover a spread of looks, body types and ages. If you upload your own model photo, use only photos you have the rights and the person's consent to use.
To try on clothes on several people without new product photos, run the same garment with different model photos. To show a finished result on another person, an AI model swap replaces the person and keeps the outfit.
How do you build a full outfit from separate product photos?
To build a full outfit, upload each item as its own product photo in the same run, and the AI combines them on one model. Fash Studio accepts up to 5 garment images per run, for example a top, trousers, shoes and a bag.
Outfit runs let you model clothes from separate product photos as one complete look. They are useful for "complete the look" sections, styling pages and cross-selling. A few rules keep the result believable:
- One item per category. Two tops or two pairs of shoes in one run leave the AI to guess which one to use.
- Items that belong together. Choose pieces from the same season, formality and color story, the way a stylist would.
- Matching photo quality. If one item is a sharp ghost-mannequin shot and another is a dark phone photo, the weaker input will look less convincing.
- Clear layering. When a jacket goes over a shirt, say so in the prompt, along with details such as a tucked or untucked top.
How do you check the result before you publish?
Check every AI on-model image against the real product before it goes live, because a misleading product photo leads to disappointed customers and returns. Review each result for:
- Color. Compare the result with the physical garment under daylight, not with the input photo alone.
- Print and logo placement. Stripes, patterns and logos should sit where they sit on the real product, at the right scale.
- Fabric texture. Knit, denim, satin and linen should read as their real material.
- Length and fit. Hems, sleeve lengths and the overall silhouette should match the product's real proportions.
- Edges at hands and hair. Look for blurred or merged edges where the garment meets hands, hair and accessories.
- Background consistency. Images on the same category page should share a background and light so the catalog looks unified.
If a result fails any check, improve the input photo or adjust the prompt and run again. For more on keeping product backgrounds clean and consistent across a catalog, see our guide to the AI background studio.
What are the common mistakes when converting flat lays to on-model images?
Most failed flat lay conversions come from a handful of input mistakes, and each one has a simple fix:
- Folded garments. A folded garment hides its shape, so the AI may guess the length or cut wrongly. Fix: lay the garment fully flat and unfolded, and steam out deep creases.
- Wrong color under warm light. Indoor bulbs tint fabric yellow or orange, and the AI copies that tint. Fix: shoot in daylight or set white balance correctly.
- Low-resolution input. Small, blurry or compressed photos lose prints, stitching and logos. Fix: reshoot at full resolution, or upscale an existing photo with an AI image upscaler before uploading.
- Busy background. Patterned surfaces and clutter make garment edges harder to read. Fix: shoot on a plain, contrasting surface or remove the background first.
- A headshot as the model photo. Without a visible body, the AI cannot place trousers, dresses or shoes. Fix: use a full-body, head-to-toe photo of one person.
- Expecting the pose to change on its own. The model keeps the pose from the model photo by default. Fix: choose a model photo whose pose suits the garment, or describe the pose you want in the prompt.
The fastest way to see what your product photos can do is to test one. Upload your flat lay or mannequin photo to Fash Studio's AI virtual try-on and get your first on-model image.
Frequently asked questions
Can I use ghost mannequin photos instead of flat lays?
Yes, ghost-mannequin photos work as AI try-on input, and they often show volume and drape well. Check the neck and armhole edits before uploading, because editing errors can carry into the result. Flat lays and existing on-model photos also work.
How many garments can I put on one model at once?
Fash Studio accepts up to 5 garment images per run and combines them into one outfit on one model. A typical outfit is a top, trousers, shoes and a bag. Upload each item as its own image so the AI can read them separately.
Will the AI change the color of my product?
When you use AI to try on clothes, the result follows the color in your input photo. If the photo was shot under warm light or with the wrong white balance, the result will carry that tint. Shoot in daylight, and compare every result with the real product before publishing.
Can I use my own model instead of an AI model?
Yes, you can upload your own model photo instead of using a built-in AI model. Use a full-body, head-to-toe photo of one person facing the camera, in clear light. Use only photos you have the rights and the person's consent to use.
Which resolution should I choose for product pages?
Choose 2K or 4K on Nano Banana Pro for product pages where shoppers zoom in on fabric and details. 1K suits drafts and quick tests. The Run button shows the exact credit price before each run.
Do I own the on-model images I create?
Fash Studio states that every generated image can be used commercially, including on product pages, marketplaces, social media and ads. You still need the rights to your product photos and consent from any real person in a model photo. Uploads are encrypted and are never shared, sold or used for training.
Create your first realistic fashion image in minutes.
Join thousands of brands turning product photos into model imagery, videos, and campaigns.
Get started →