AI Fashion Image Generation, Explained
Turn a written idea or a single product photo into studio-quality imagery. This guide covers text-to-image and image-to-image workflows, what each setting does, and how to write prompts that get the result you pictured.
Why Brands Generate Instead of Shoot
Great imagery used to require a great budget — a studio, a crew, and a new production for every visual. Here is what changes when images become something you generate.
No studio dependency
Every new visual used to mean booking a studio, setting up lighting, and coordinating a production team. Now it is a prompt and a few credits.
One photo, endless variations
A single product photo becomes dozens of unique images — different scenes, poses, and moods — so you can test what converts instead of guessing.
Any setting, any season
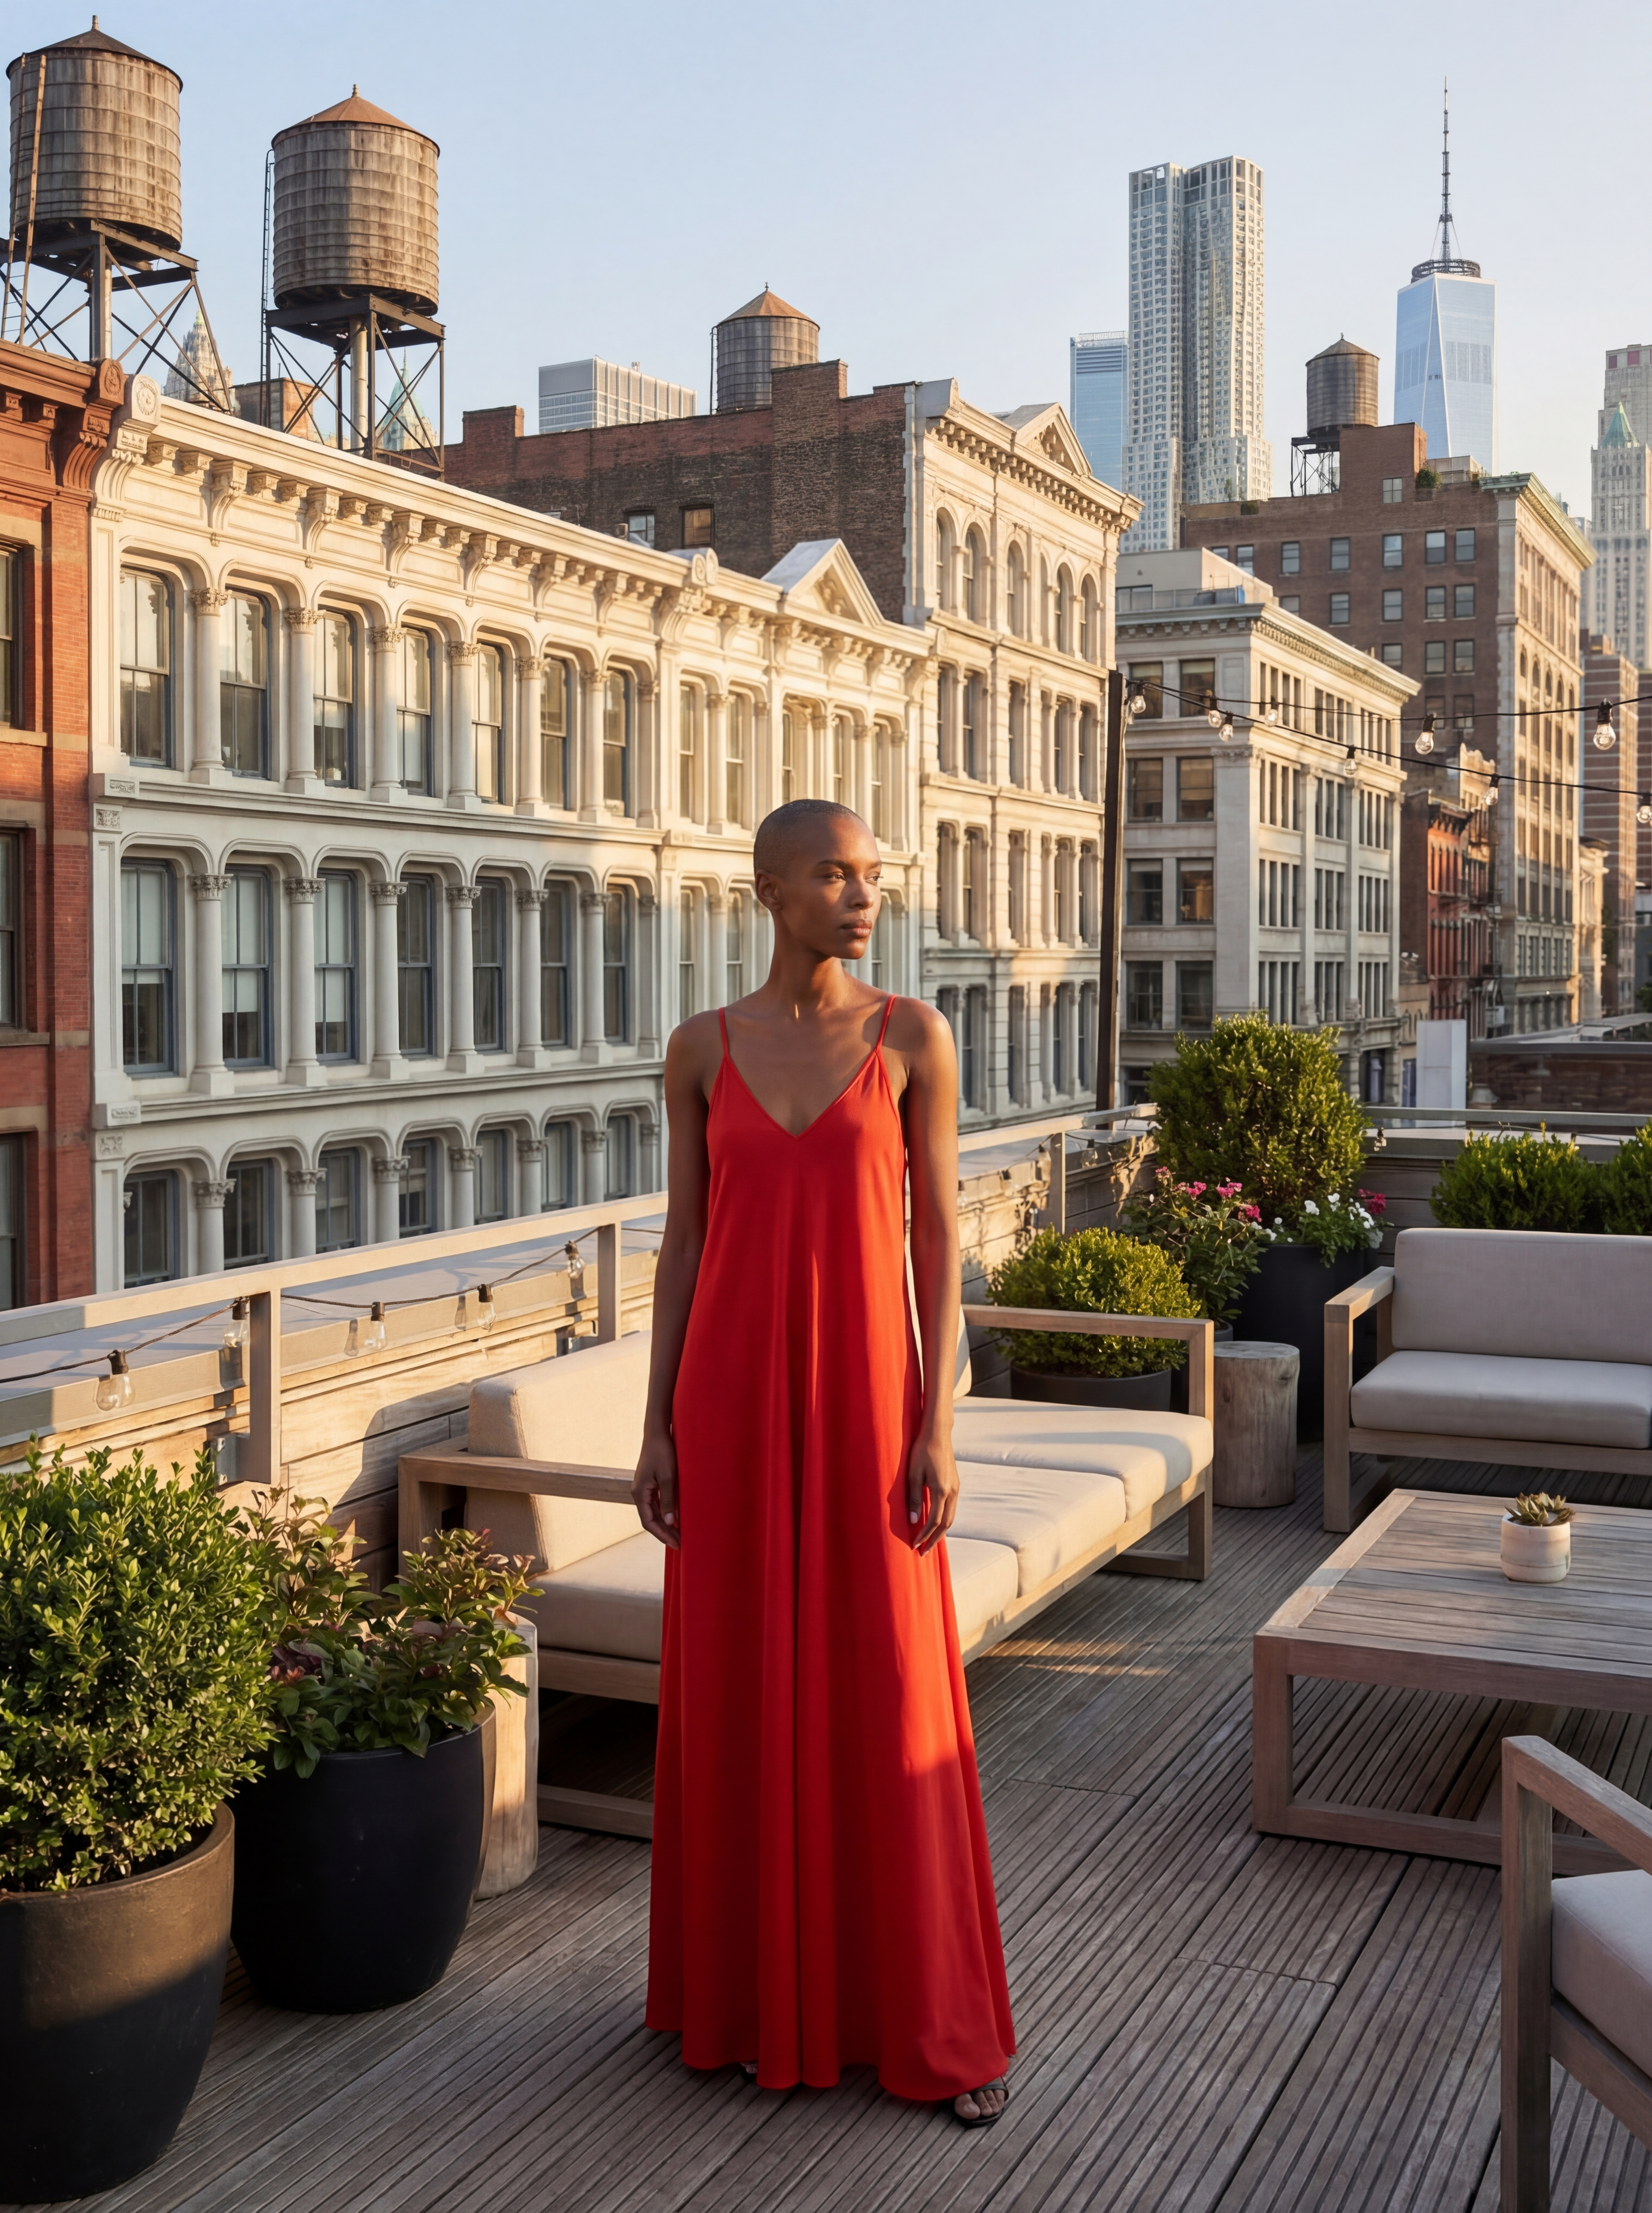
A beach in winter, a Parisian street, a rooftop at golden hour. Describe the location instead of scouting it — no travel, no weather delays.
Consistent across your catalog
Repeat the same lighting style and aesthetic across every product and every market. Your imagery stays on-brand as the catalog grows.
How Image Generation Works
Every image starts from a prompt. Add reference images when you want to edit or restyle an existing photo; leave them out to create from scratch.
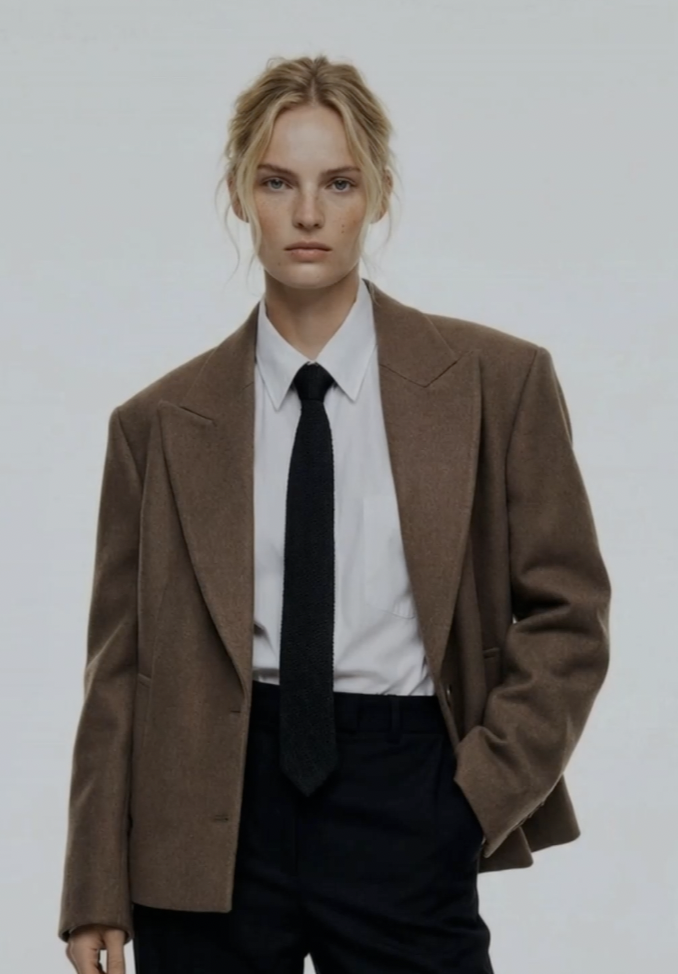
Describe your image
Type what you want to see in the prompt bar. To edit an existing photo instead, upload up to 5 reference images — a product shot, an on-model photo, even a quick phone photo — and describe the change.
Pick your AI model and settings
Choose the AI model, aspect ratio, and resolution for the destination — product page, feed post, or banner. Turn on Enhance to let AI expand your prompt with photographic detail automatically.
Run and refine
The exact credit cost is shown on the Run button, and your image lands in History within seconds. Reuse any result as the next run's input to change one thing at a time until it is exactly right.
Before & After
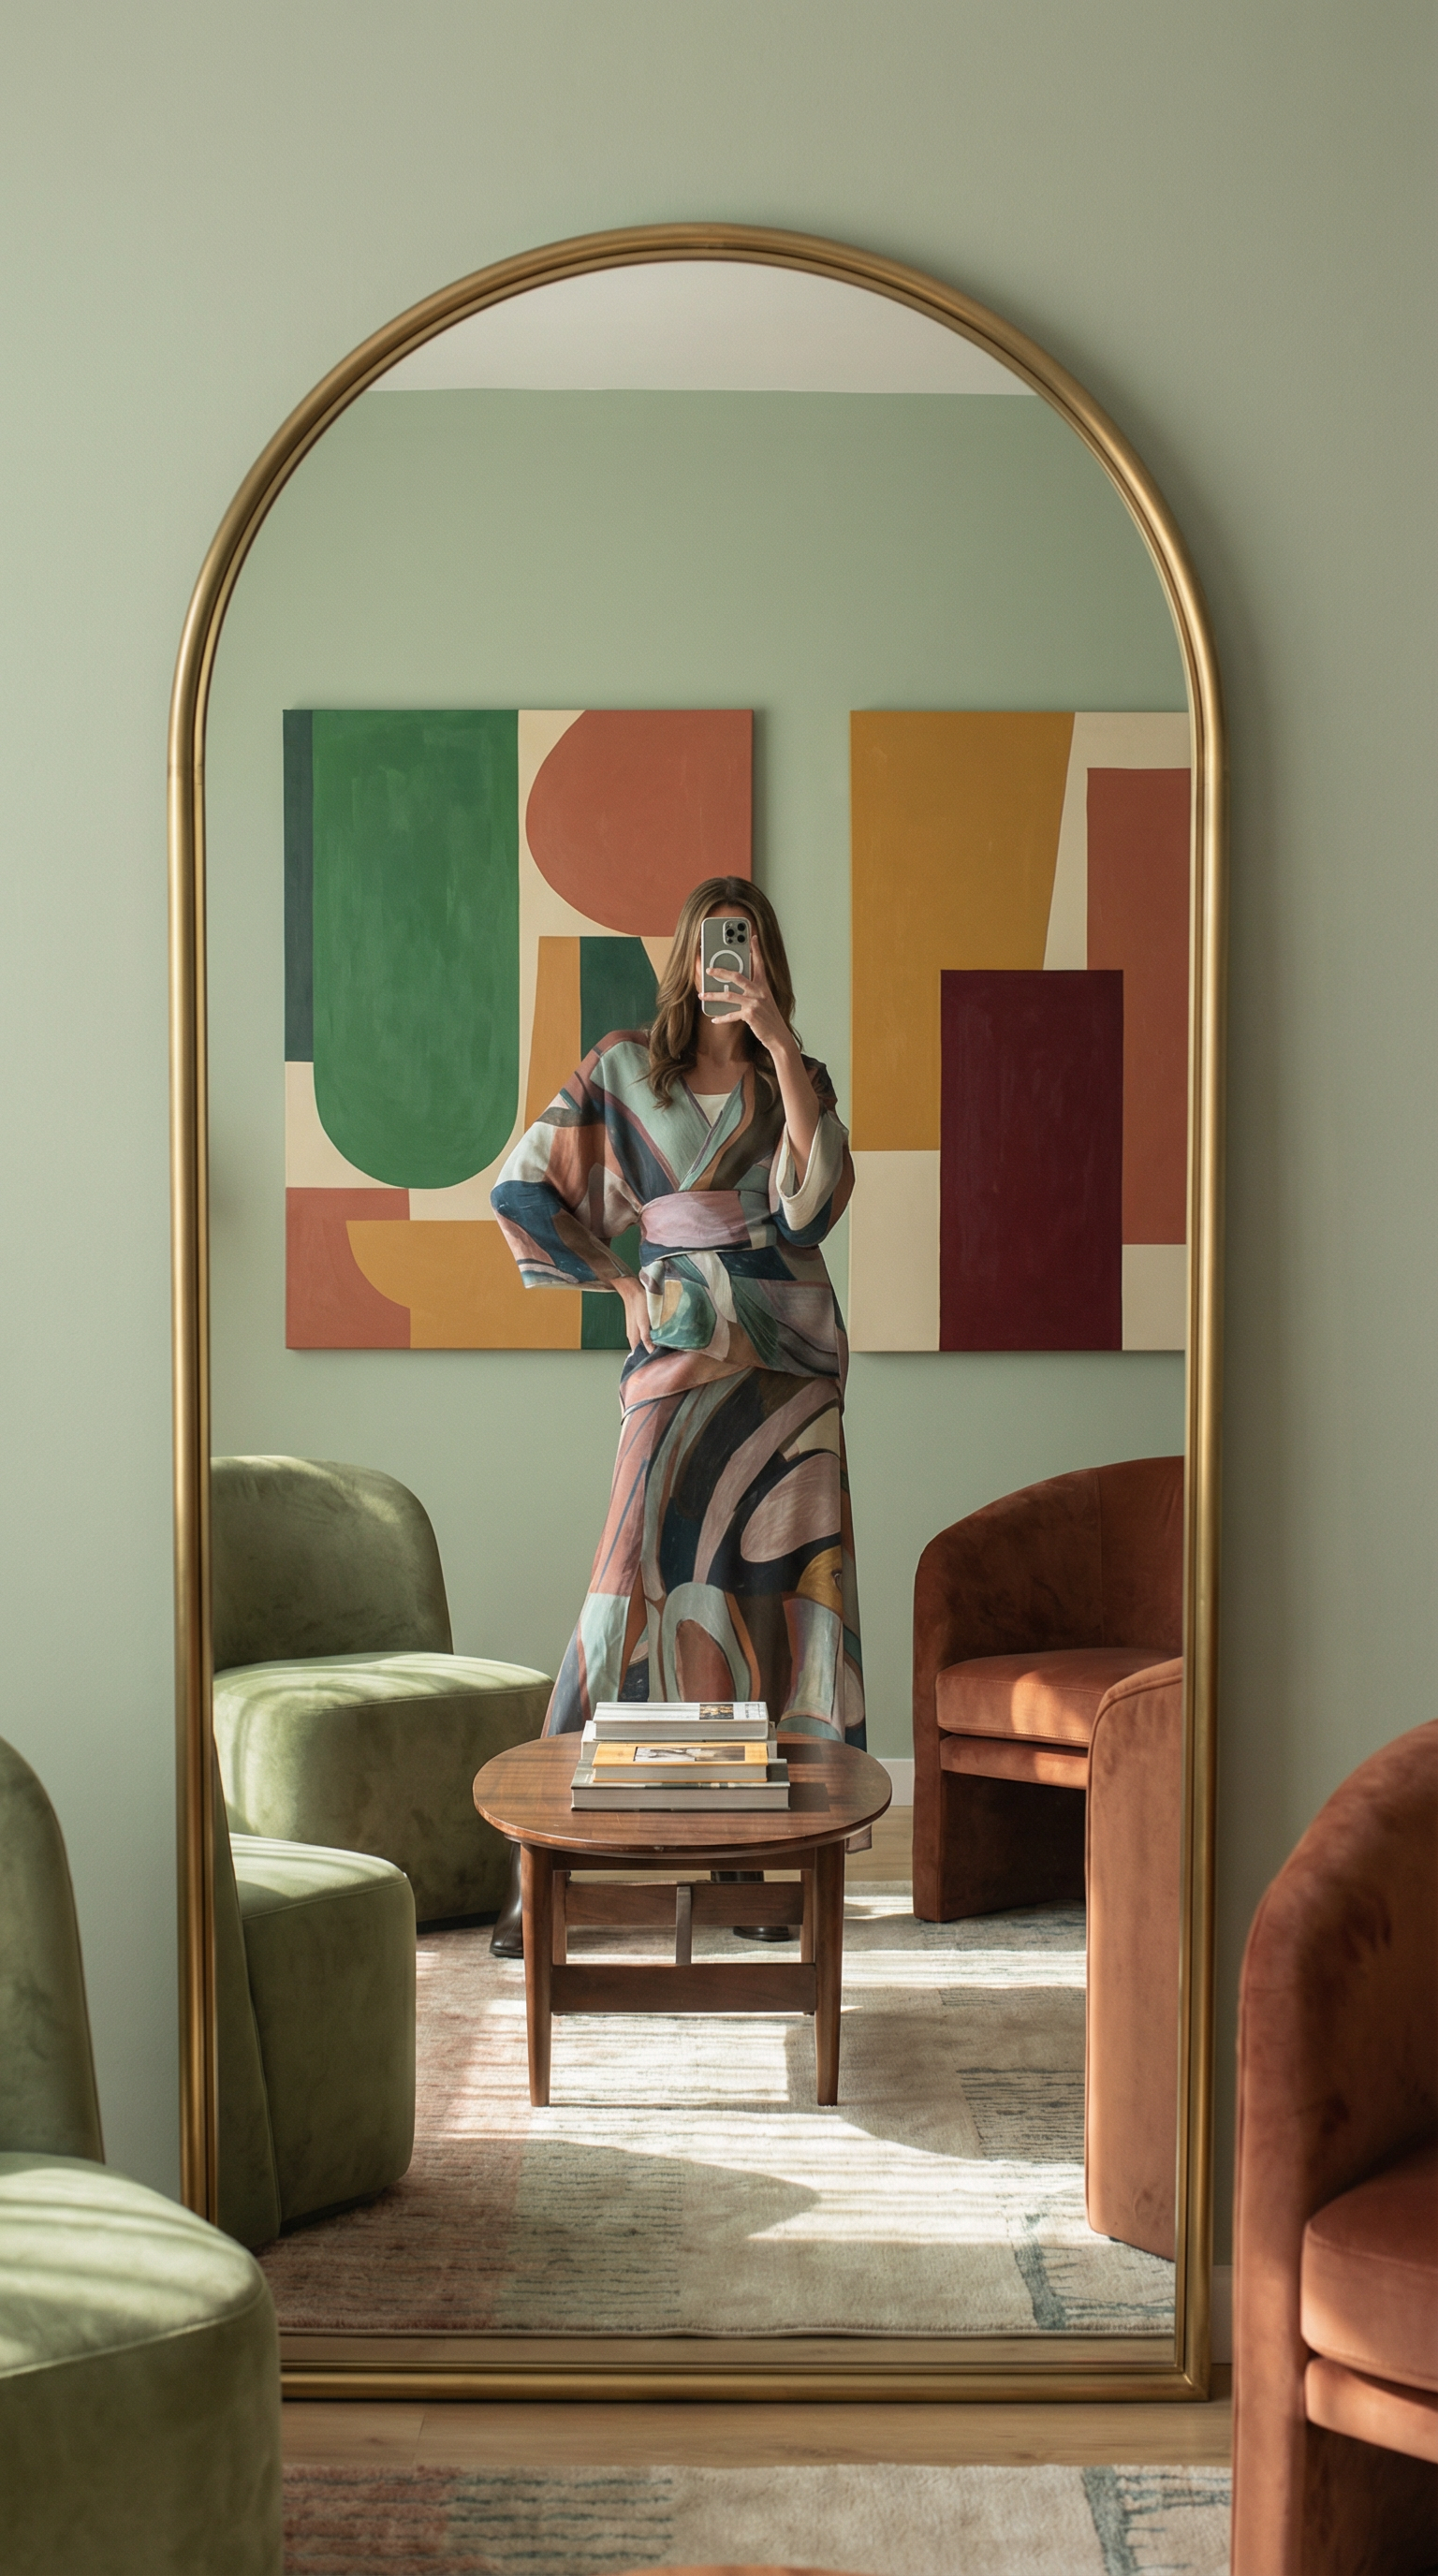
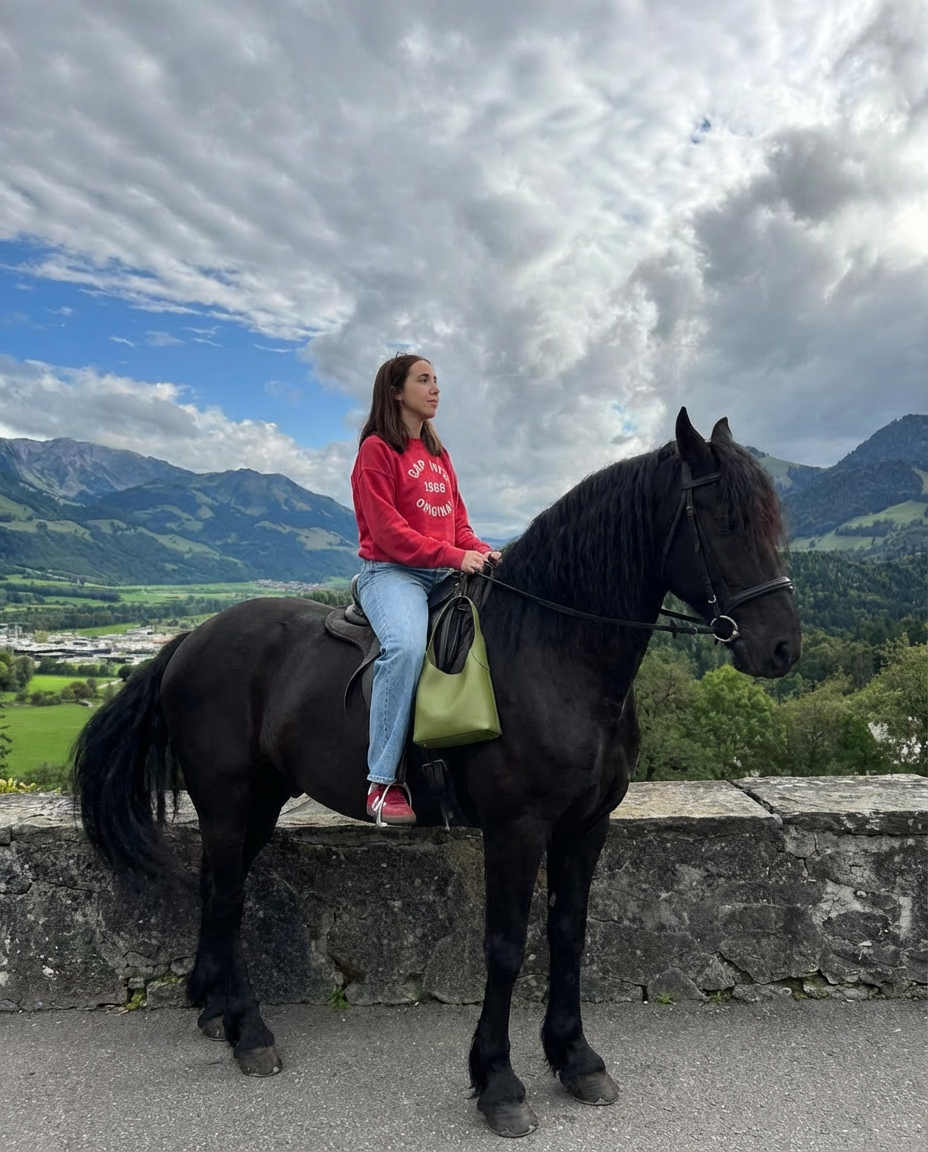
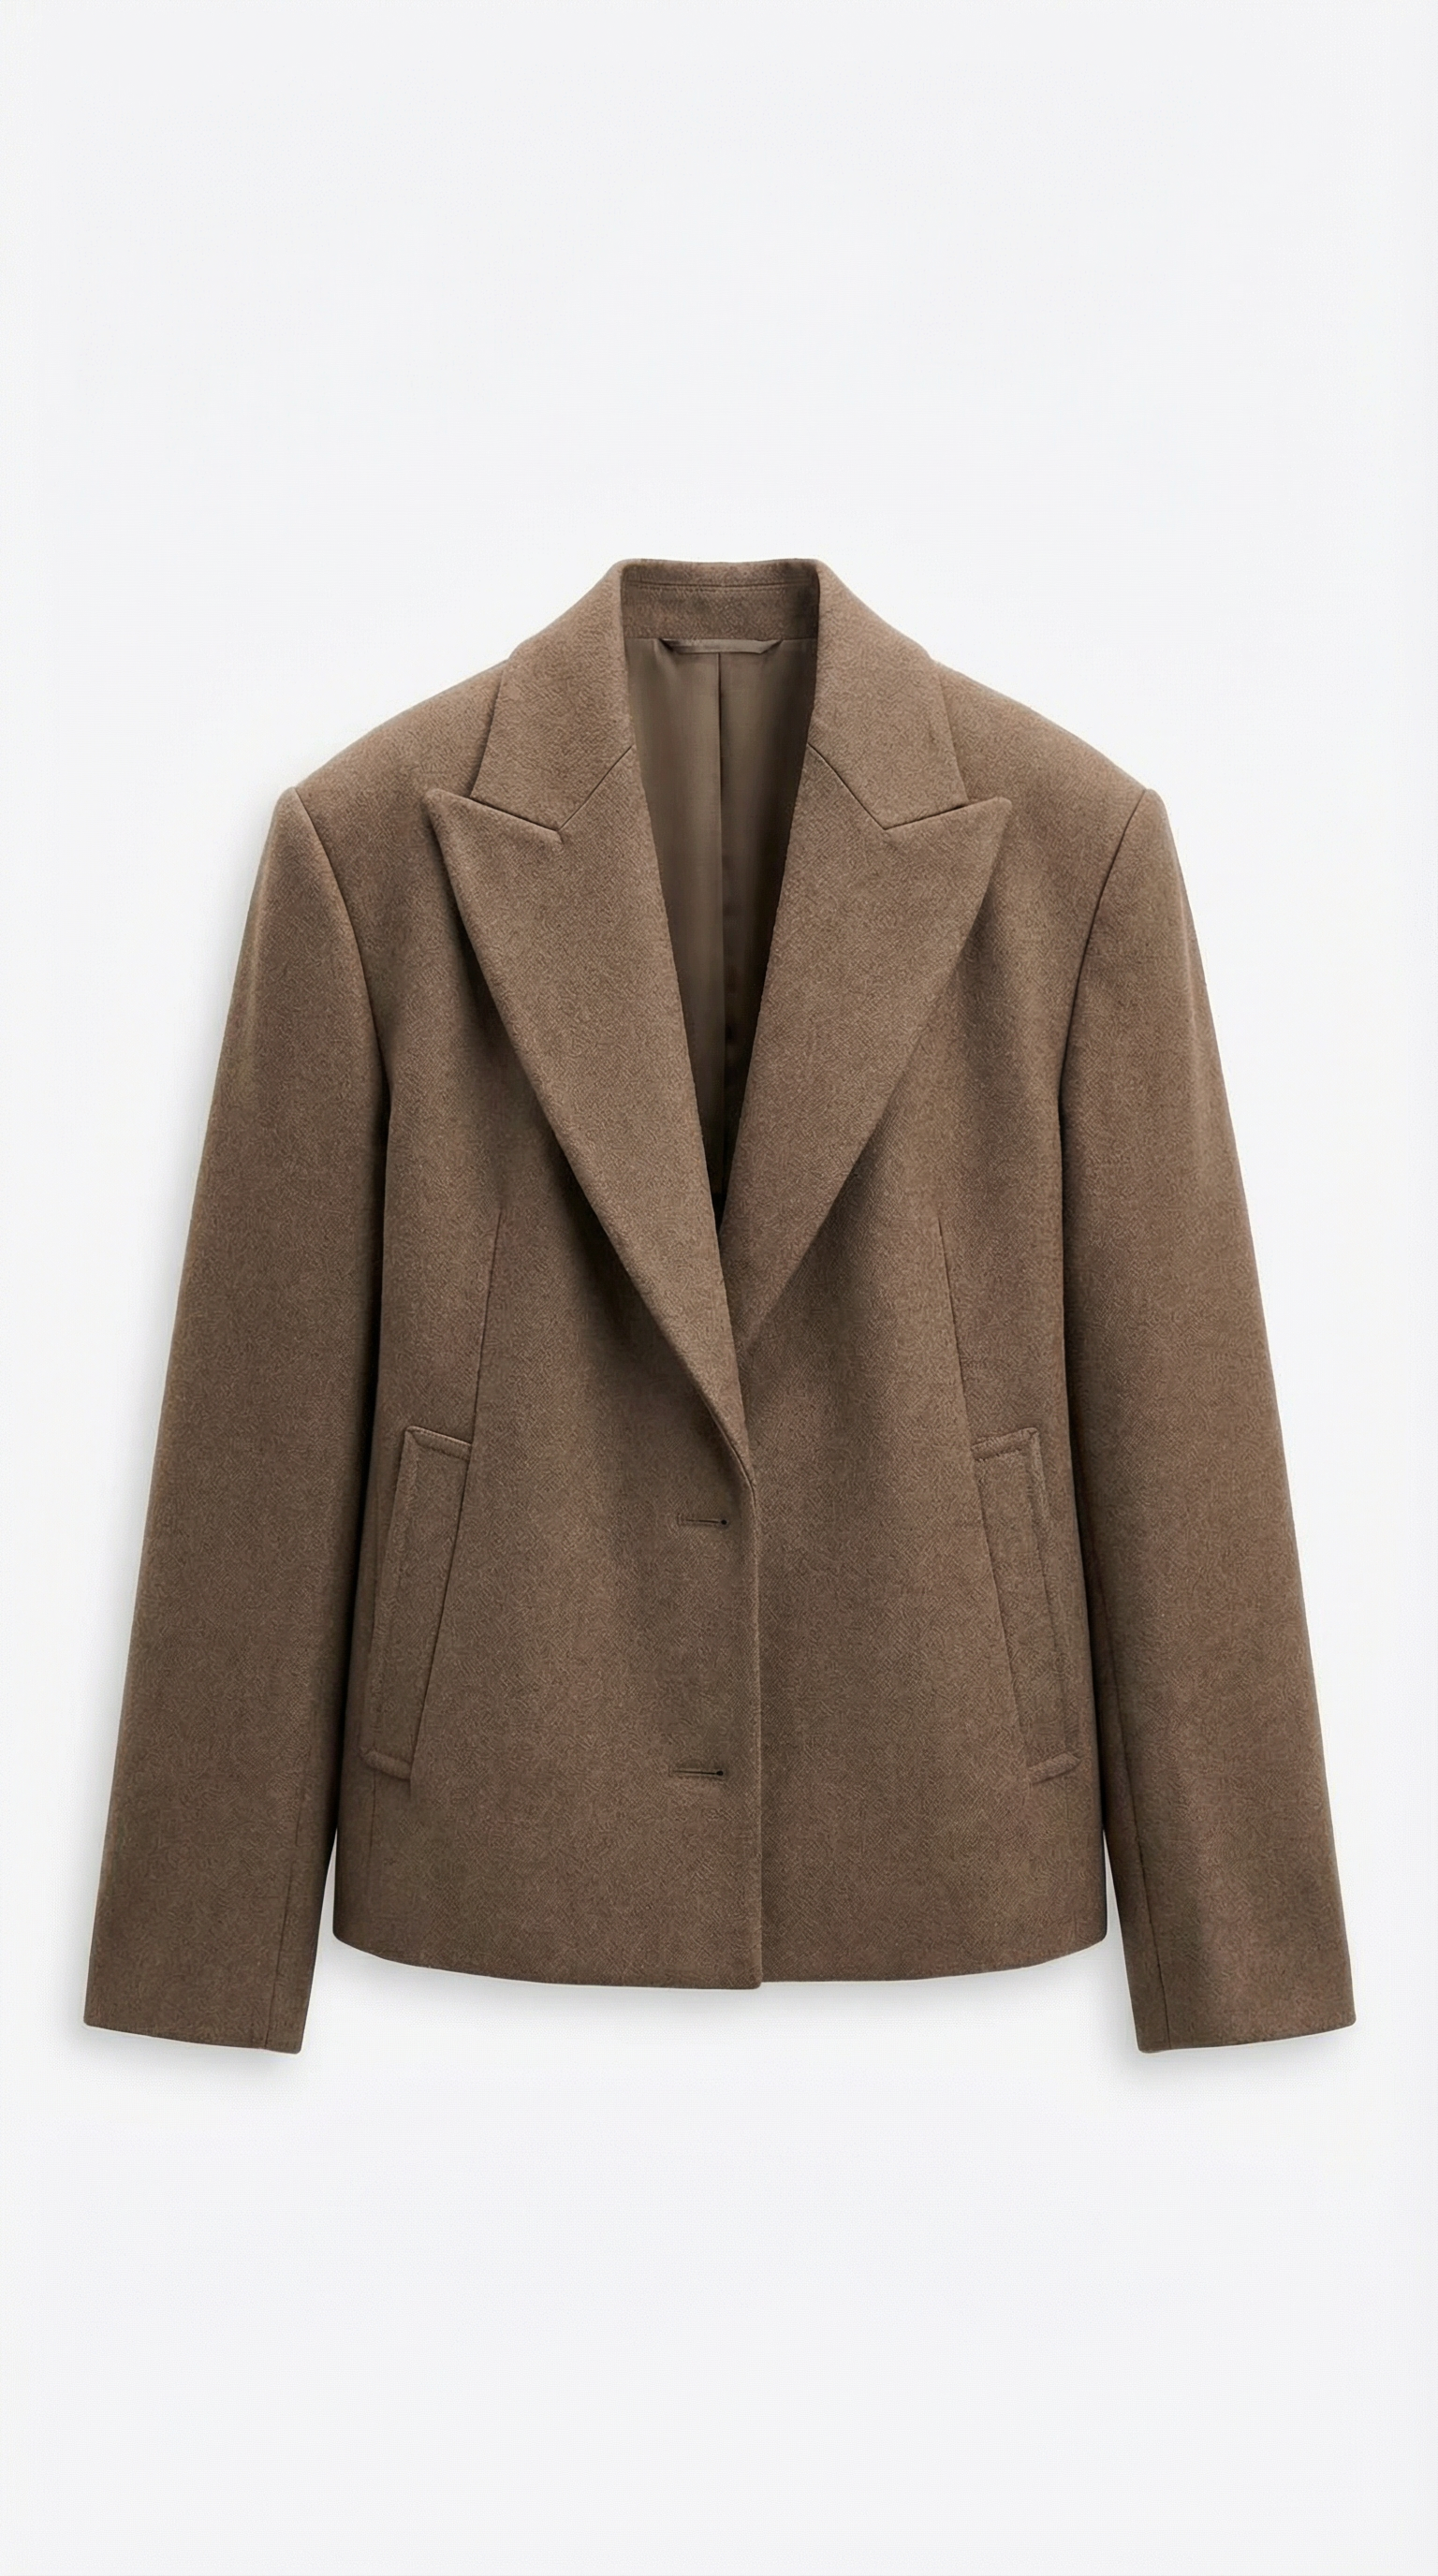
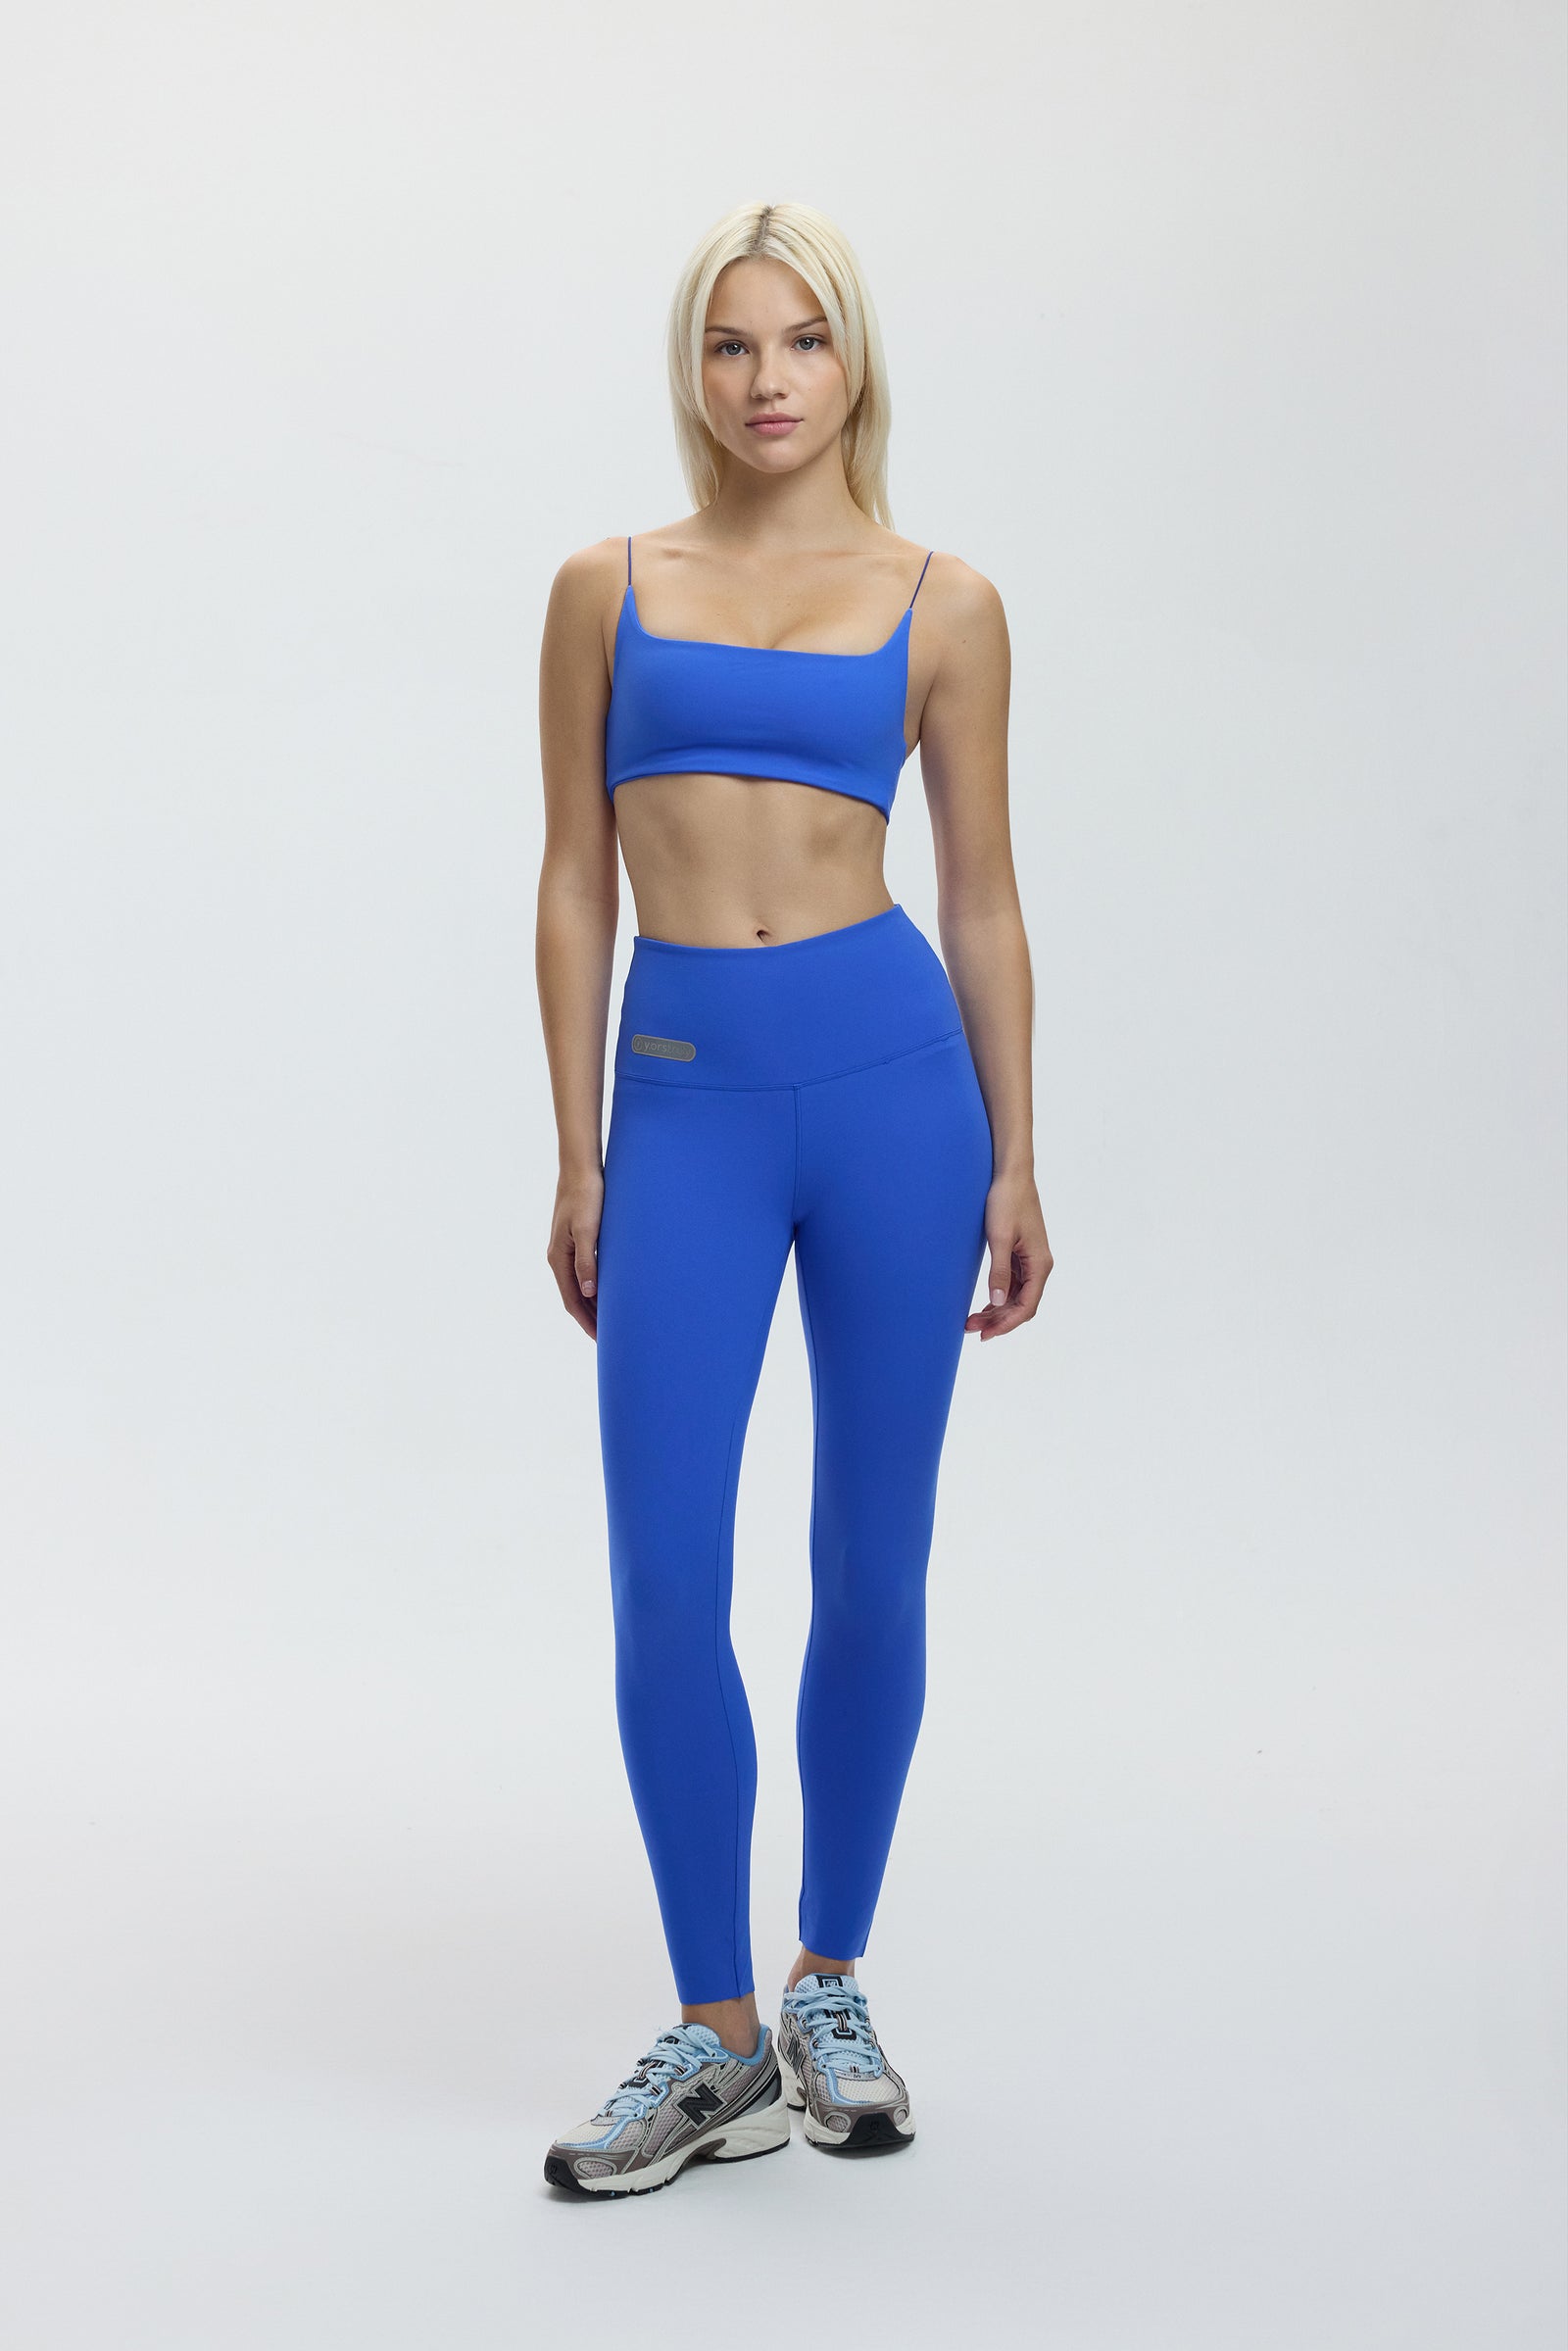
Each example below started as a single reference photo and one prompt — no set, no reshoot. This is the exact transformation the studio performs on every image-to-image run.
What Can You Create?
The same prompt bar covers every visual a fashion brand ships — from a clean packshot to a full campaign scene.
Product shots
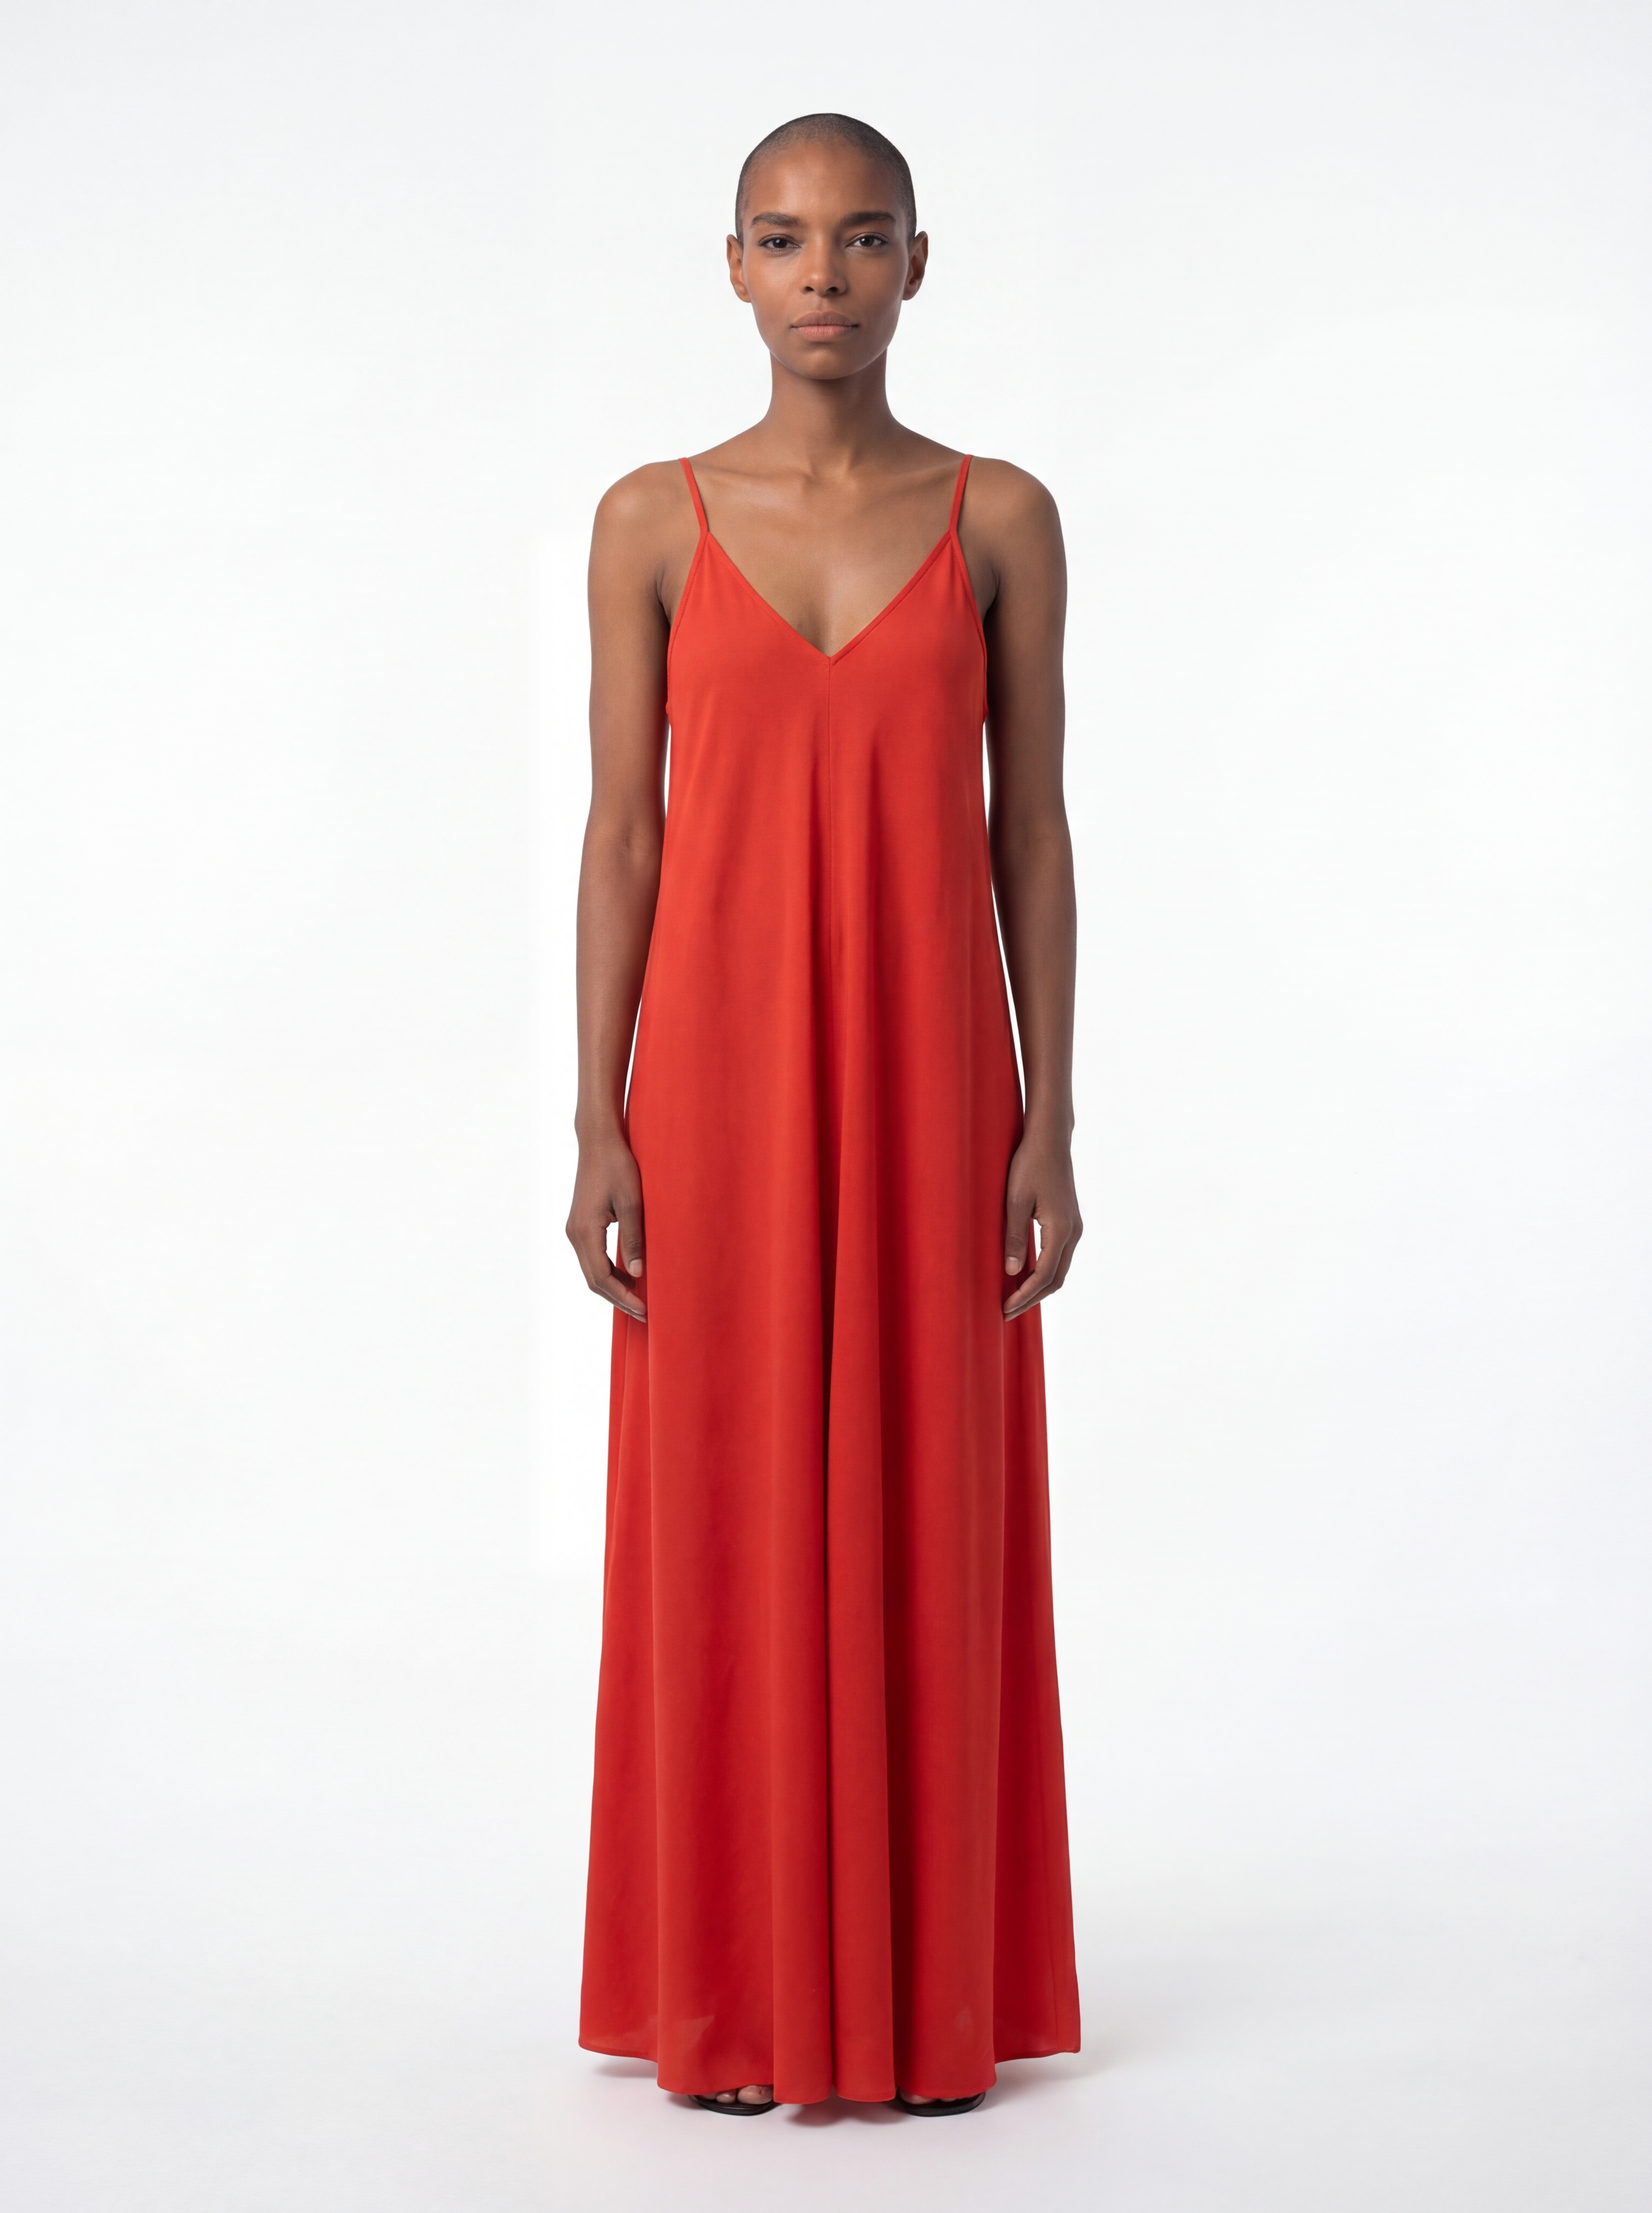
Turn an on-model photo into a clean packshot on a white background, or restage a product without reshooting it.
Lifestyle imagery
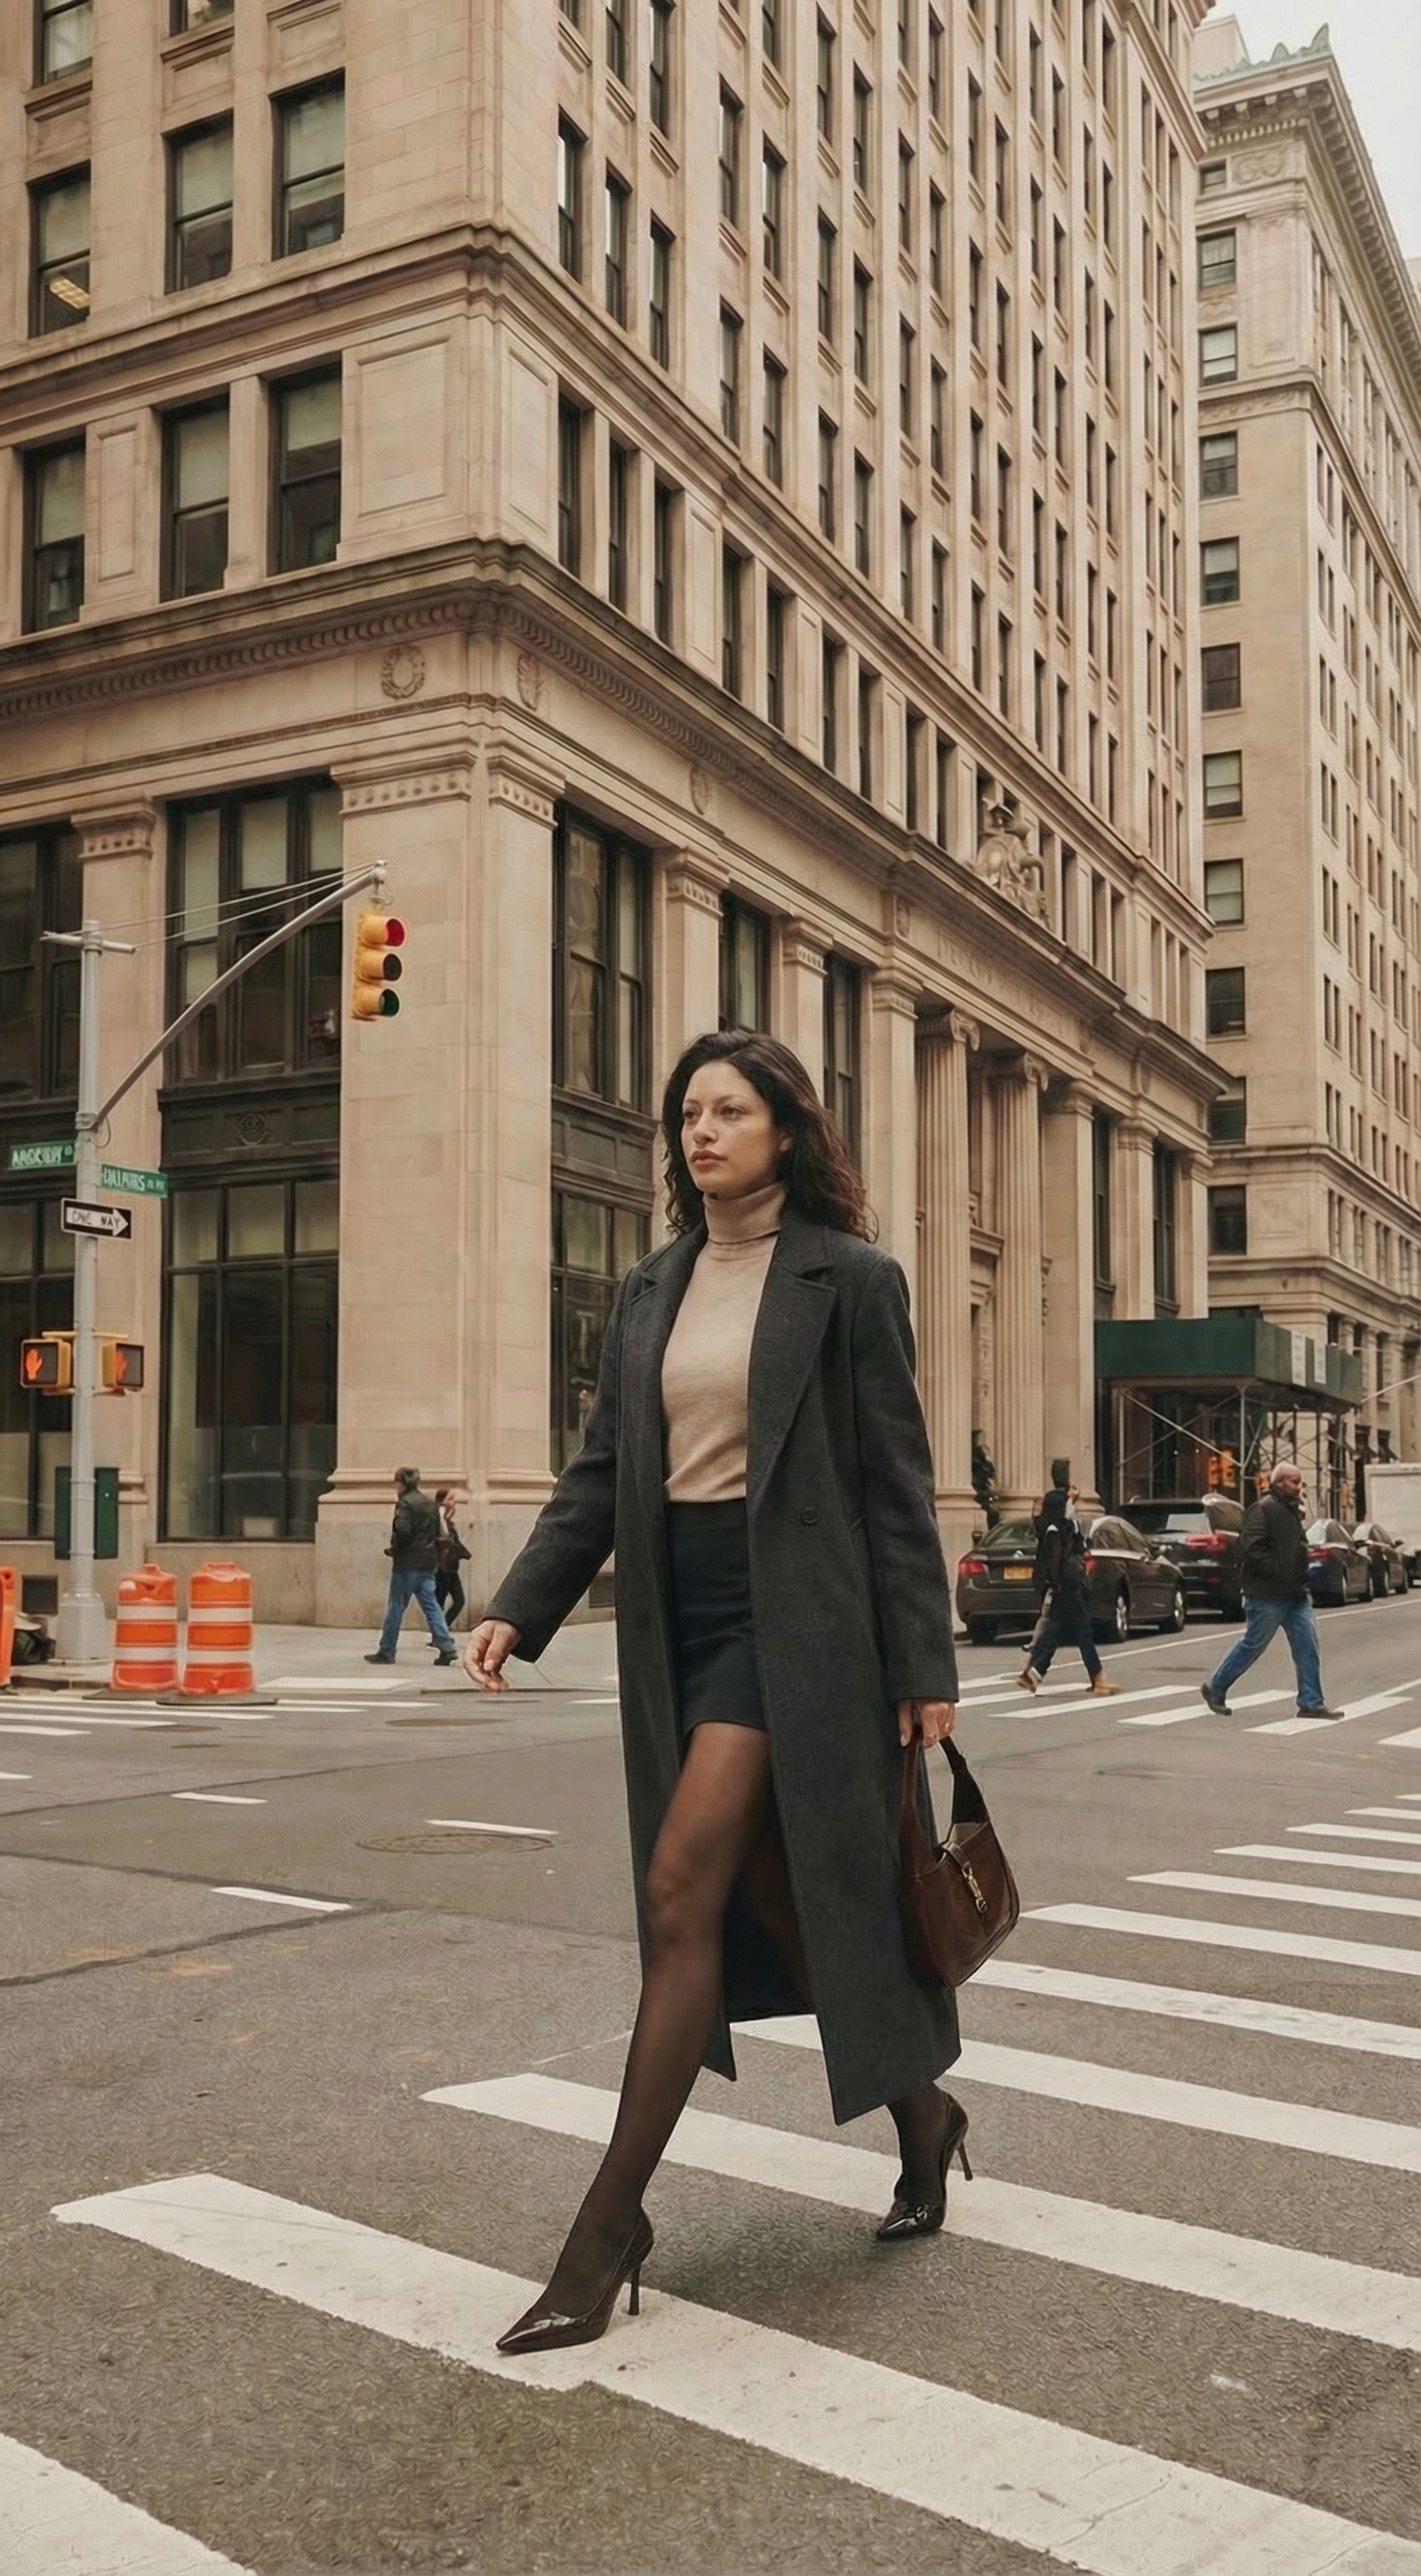
Place your product in real-world scenes — street corners, apartments, rooftops — that would take a location shoot to produce.
Campaign visuals
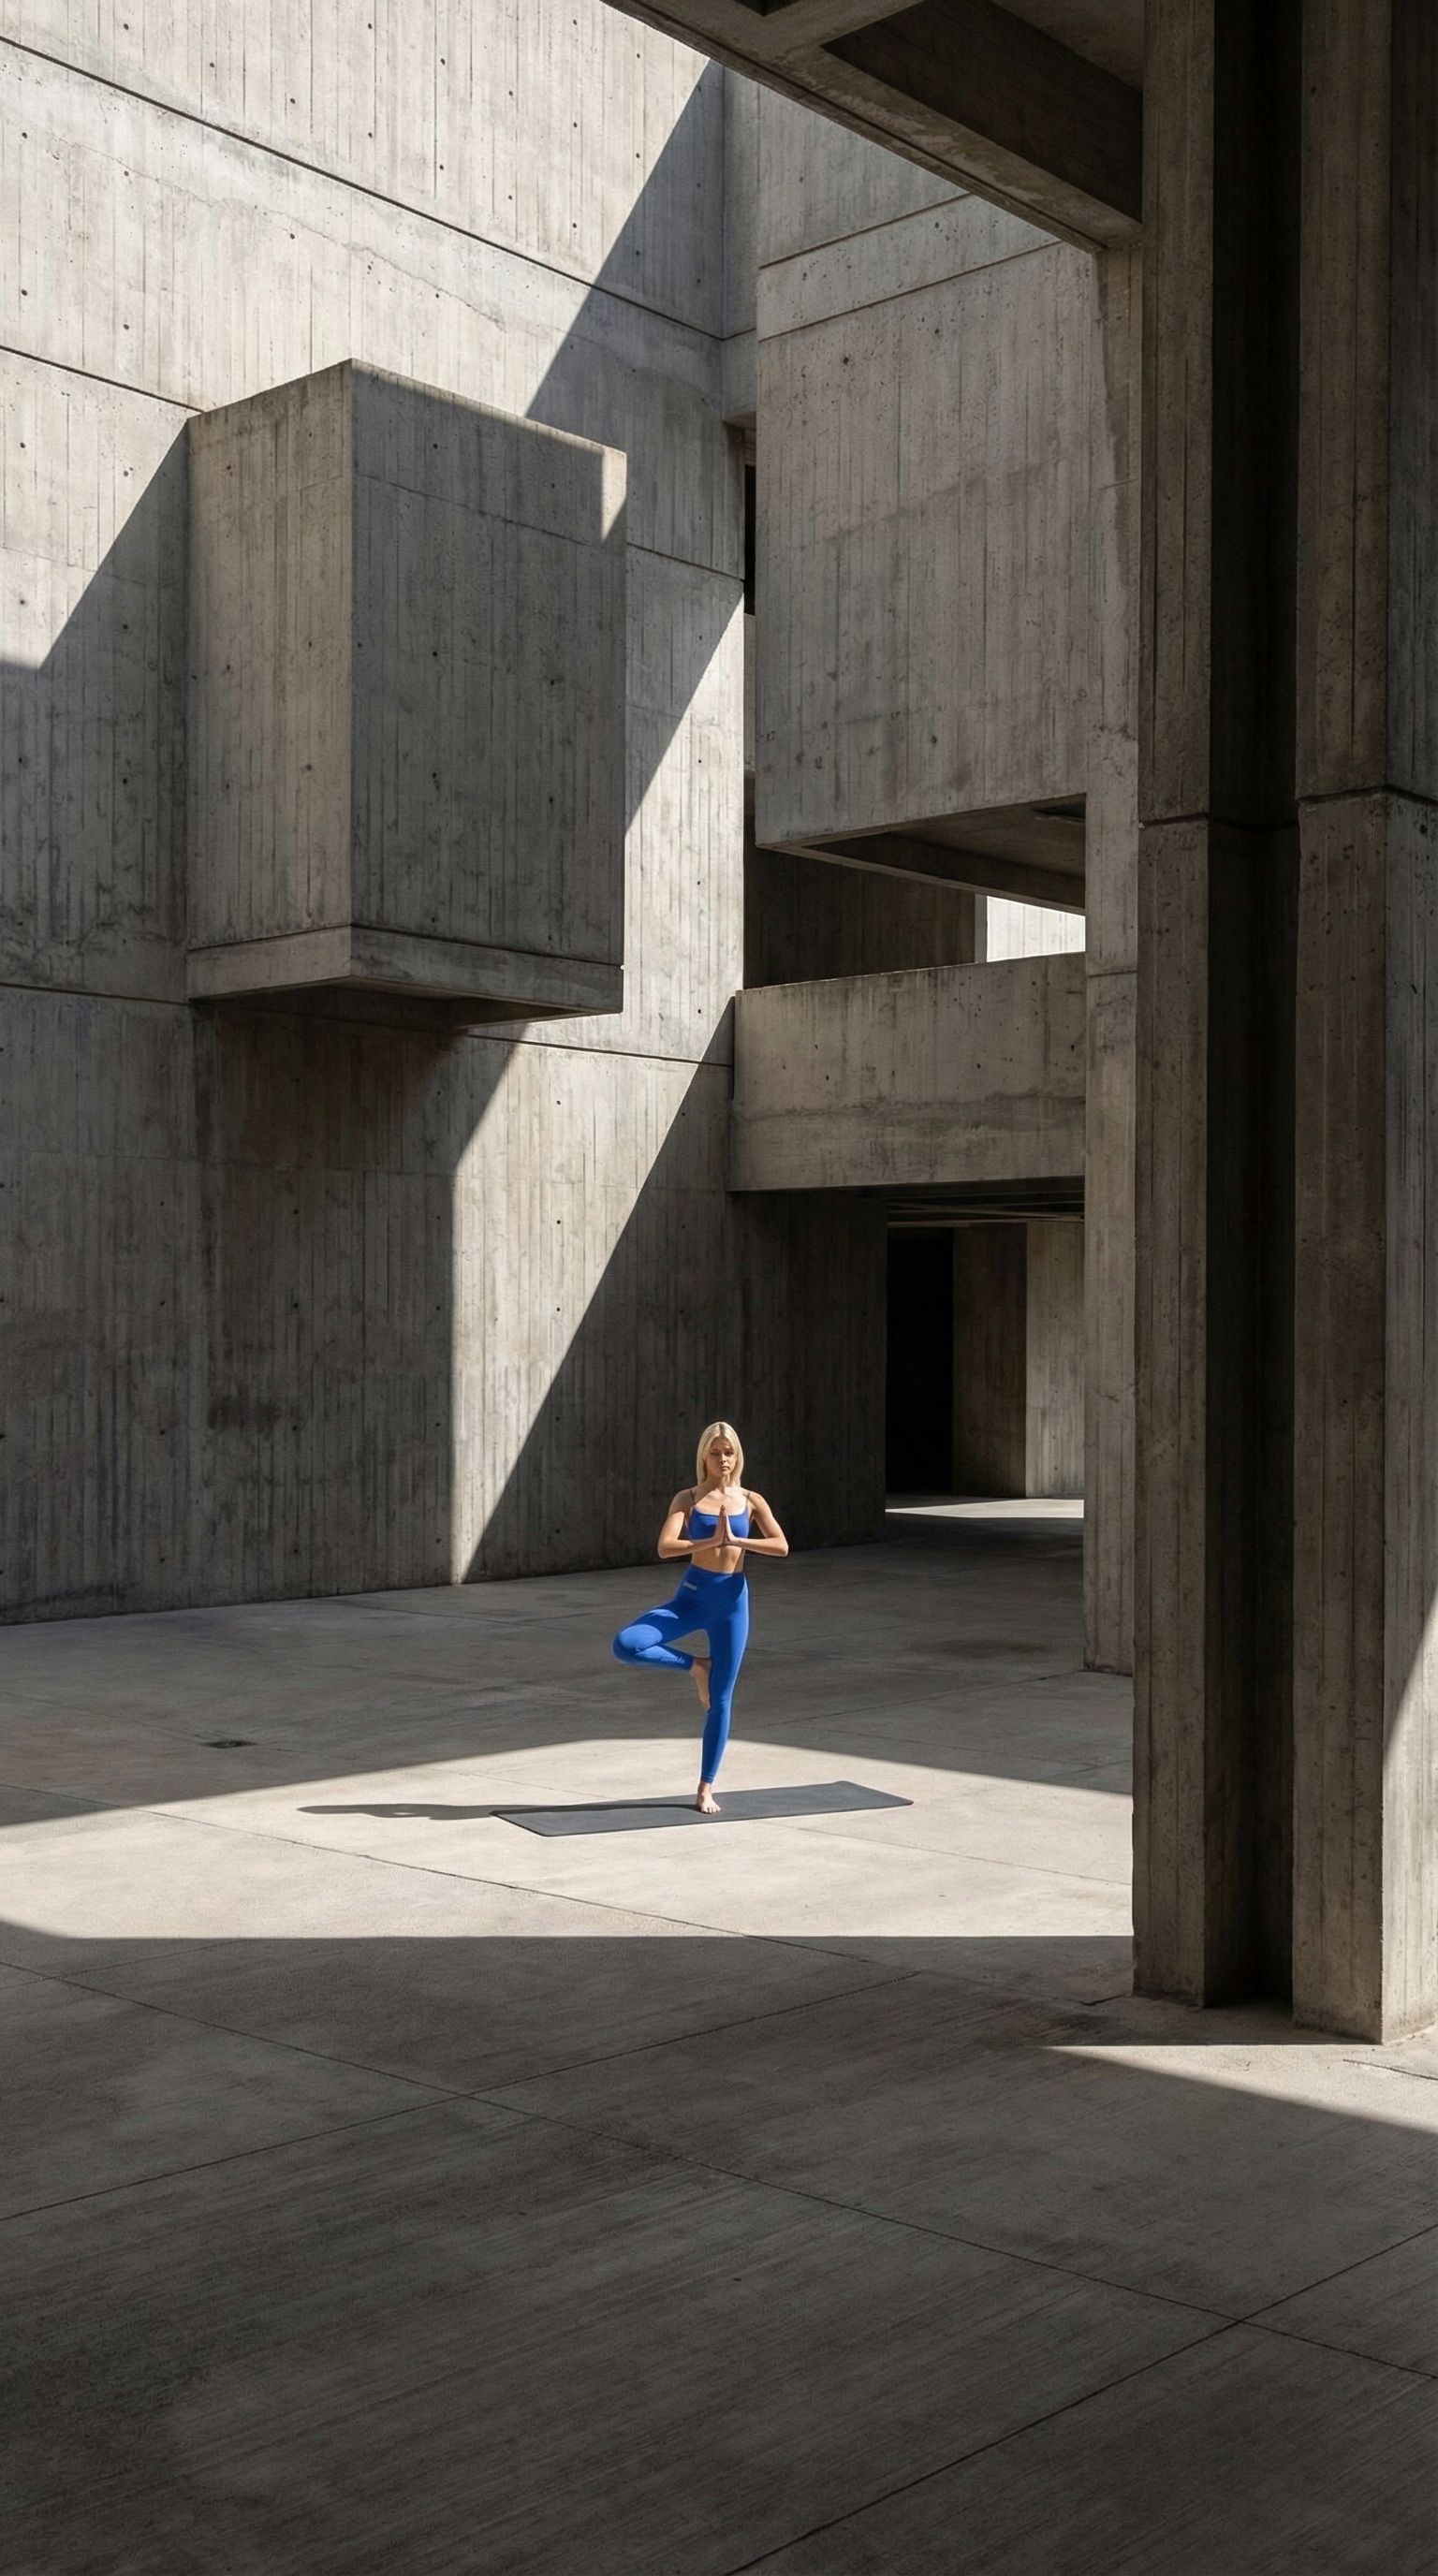
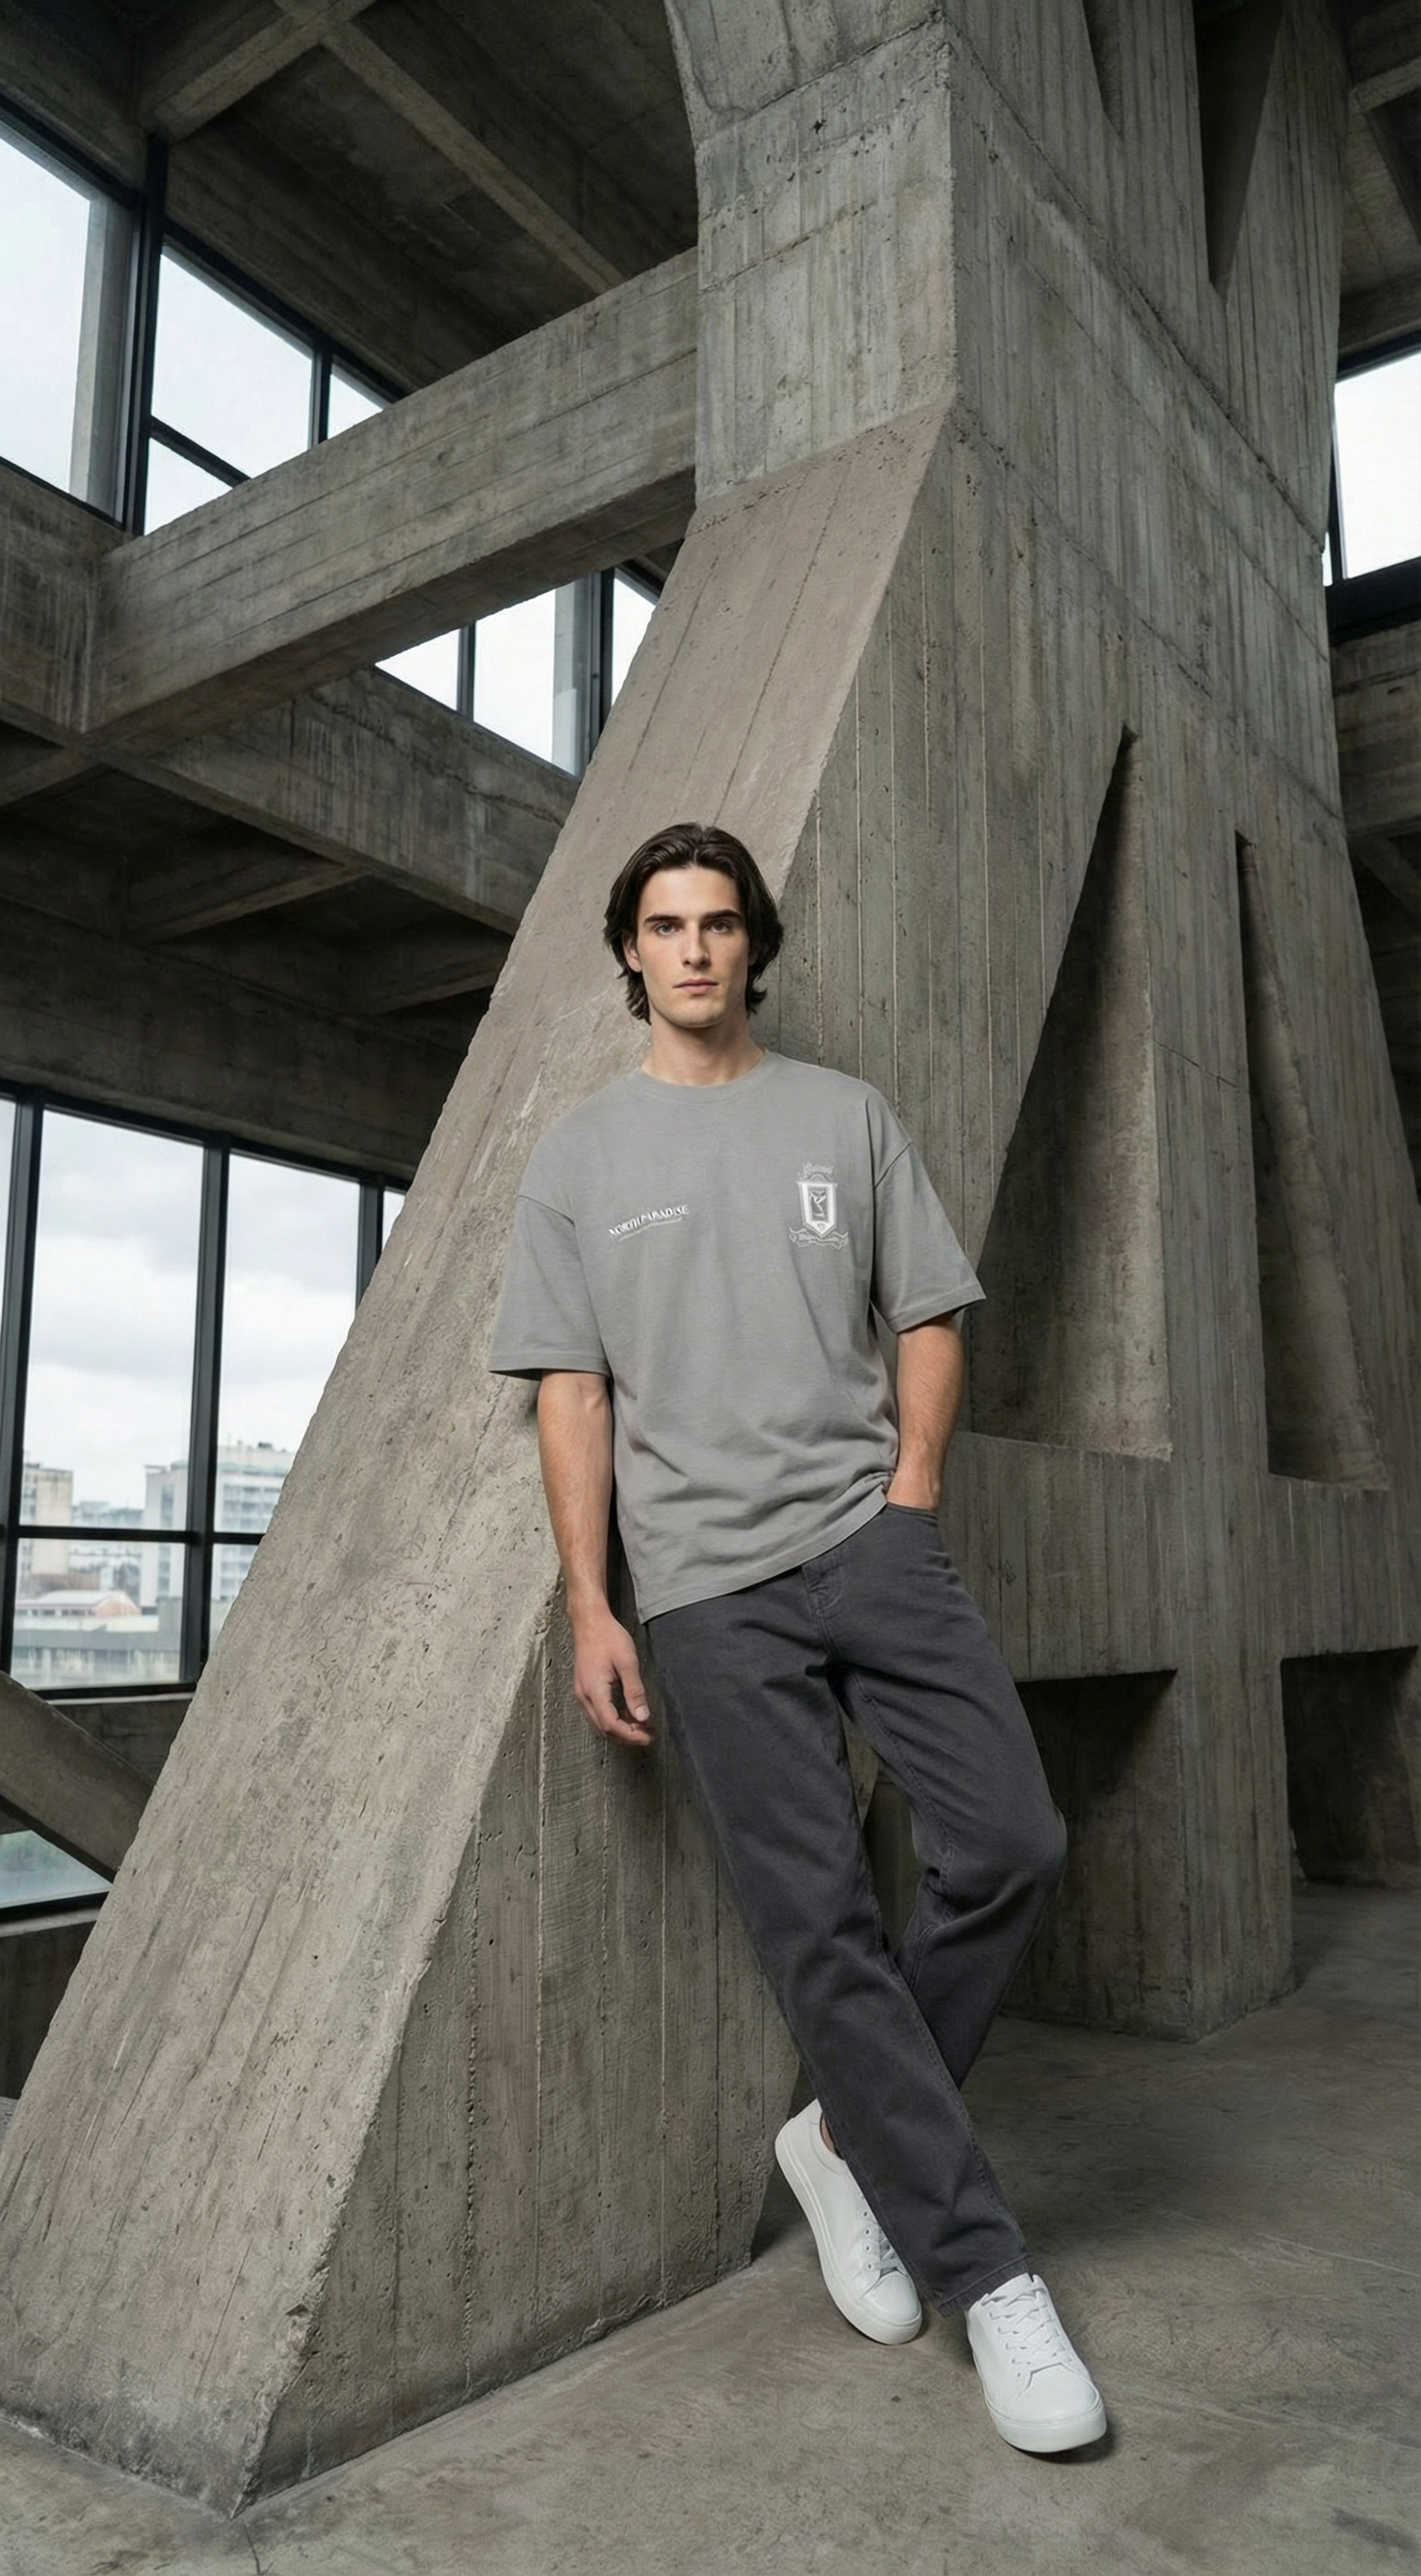
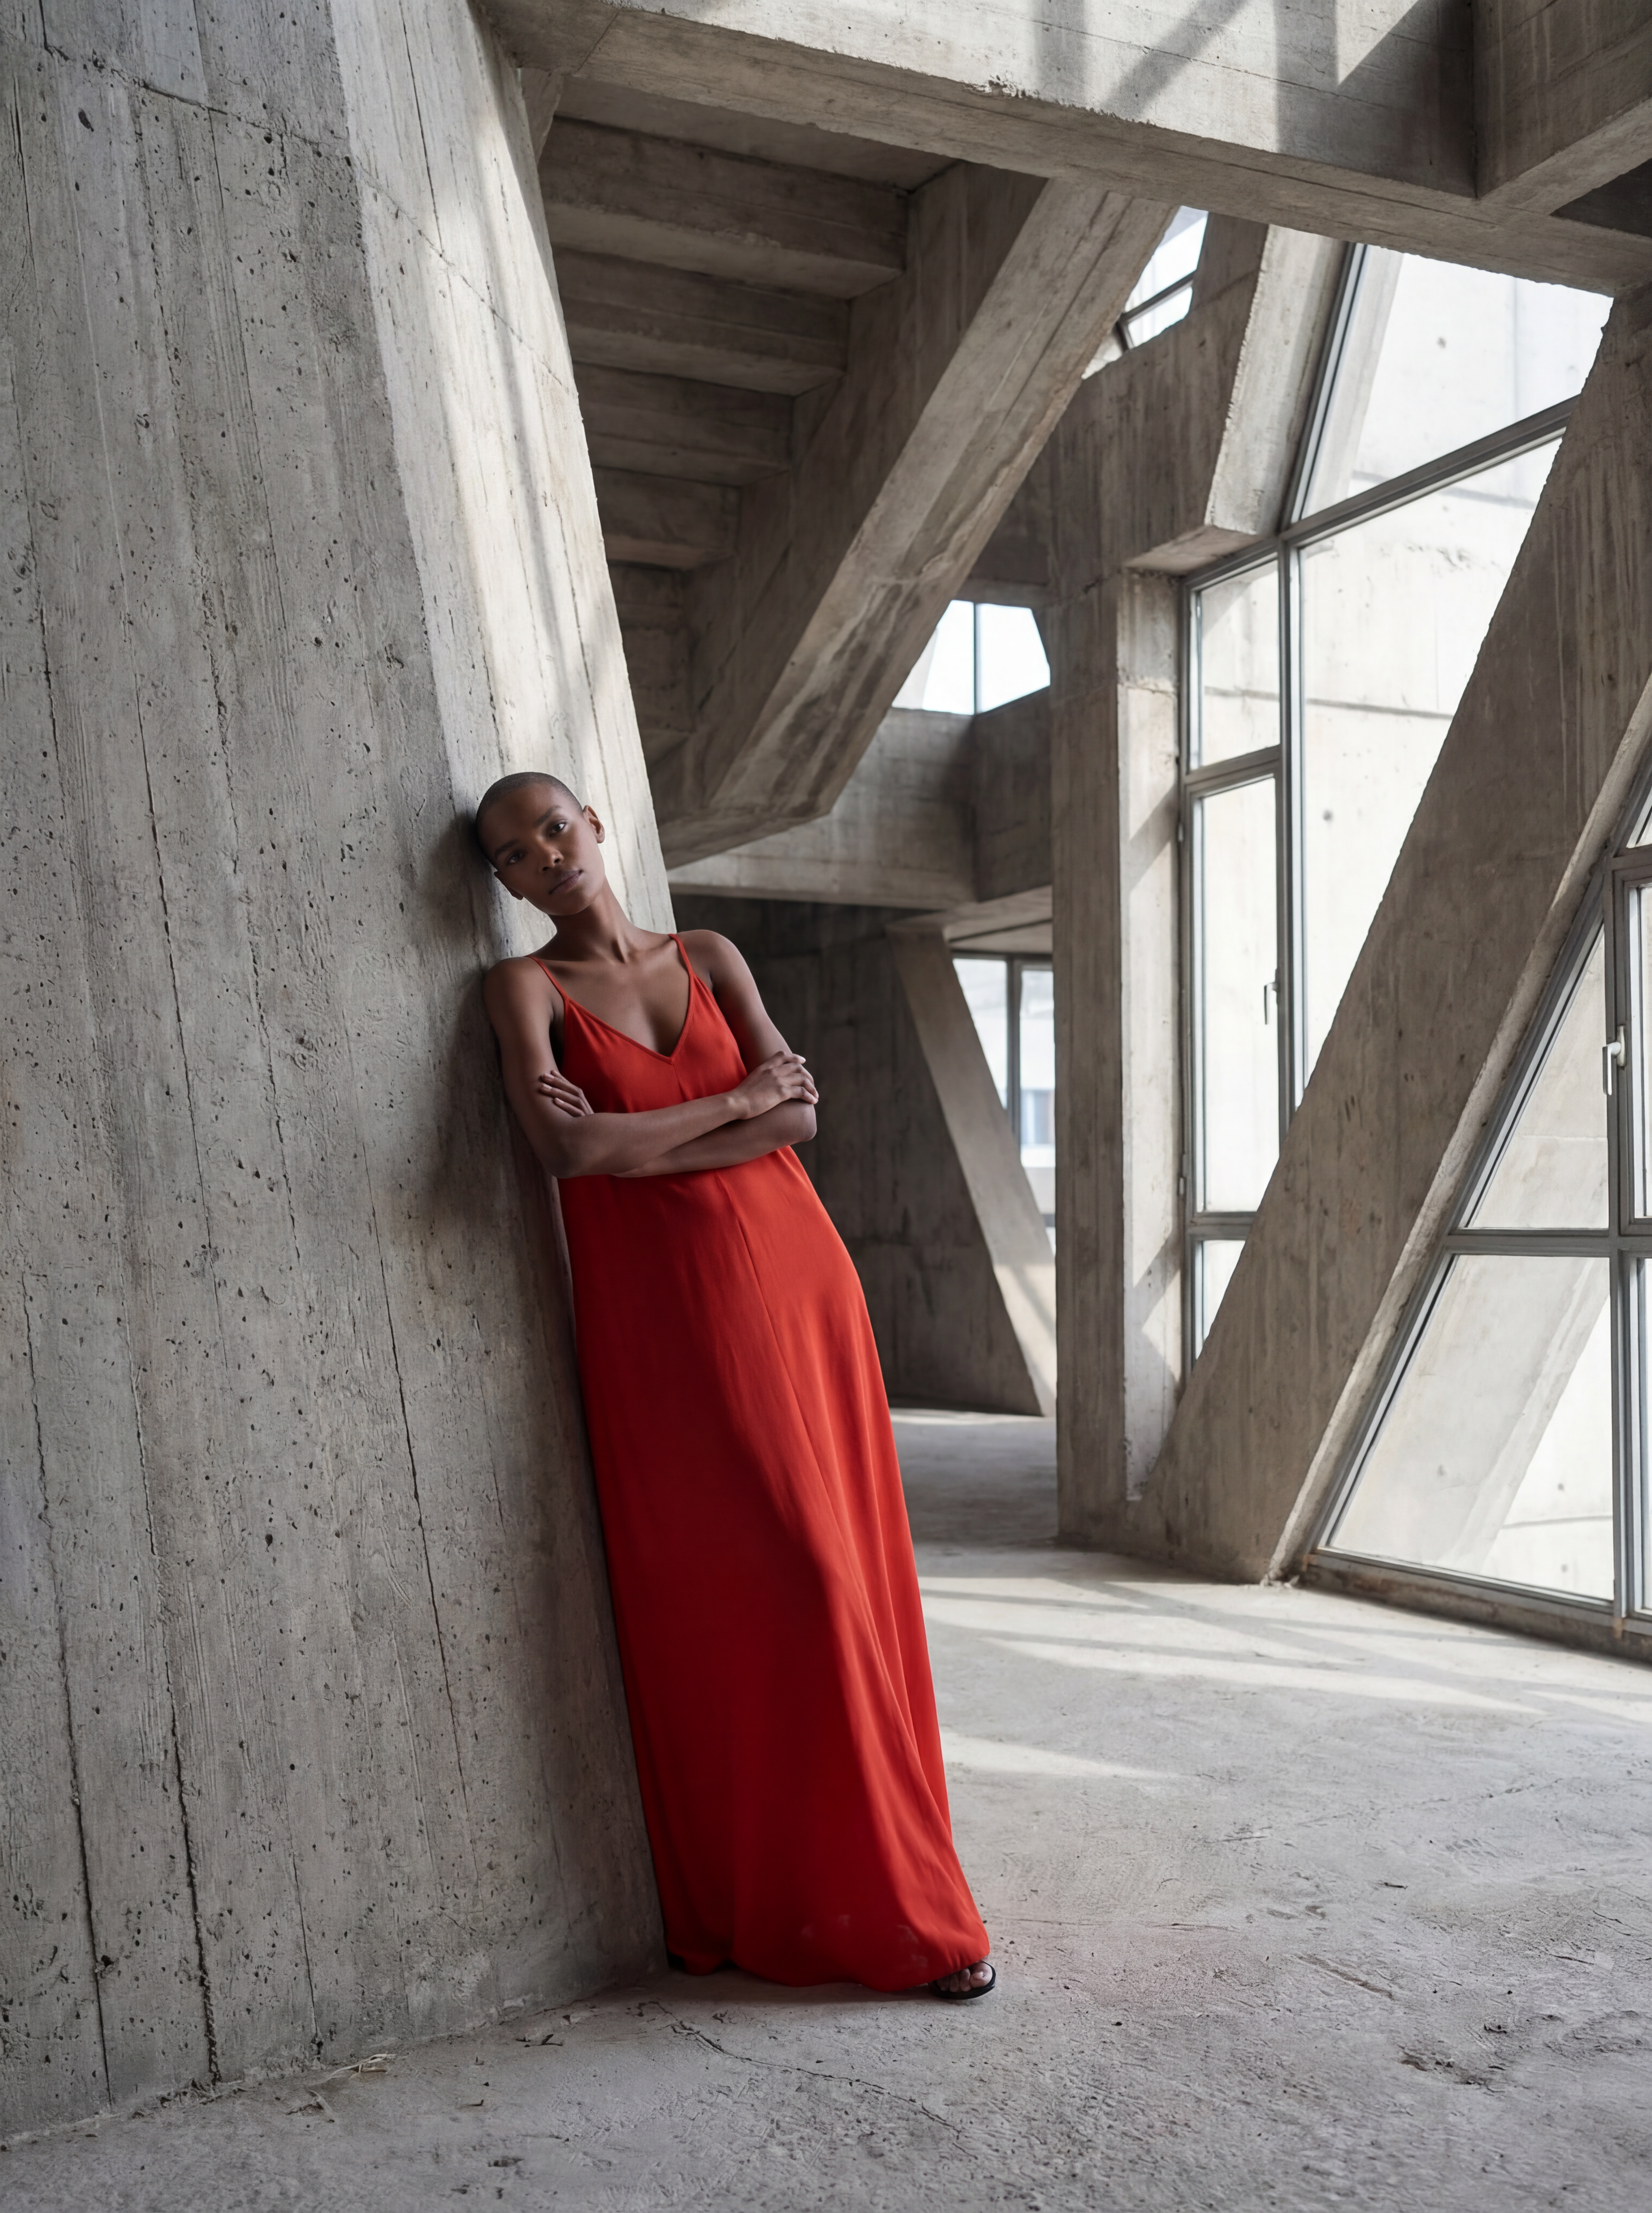
Editorial-grade hero images with art direction baked into the prompt: mood, lighting, and styling on demand.
Model & pose variations
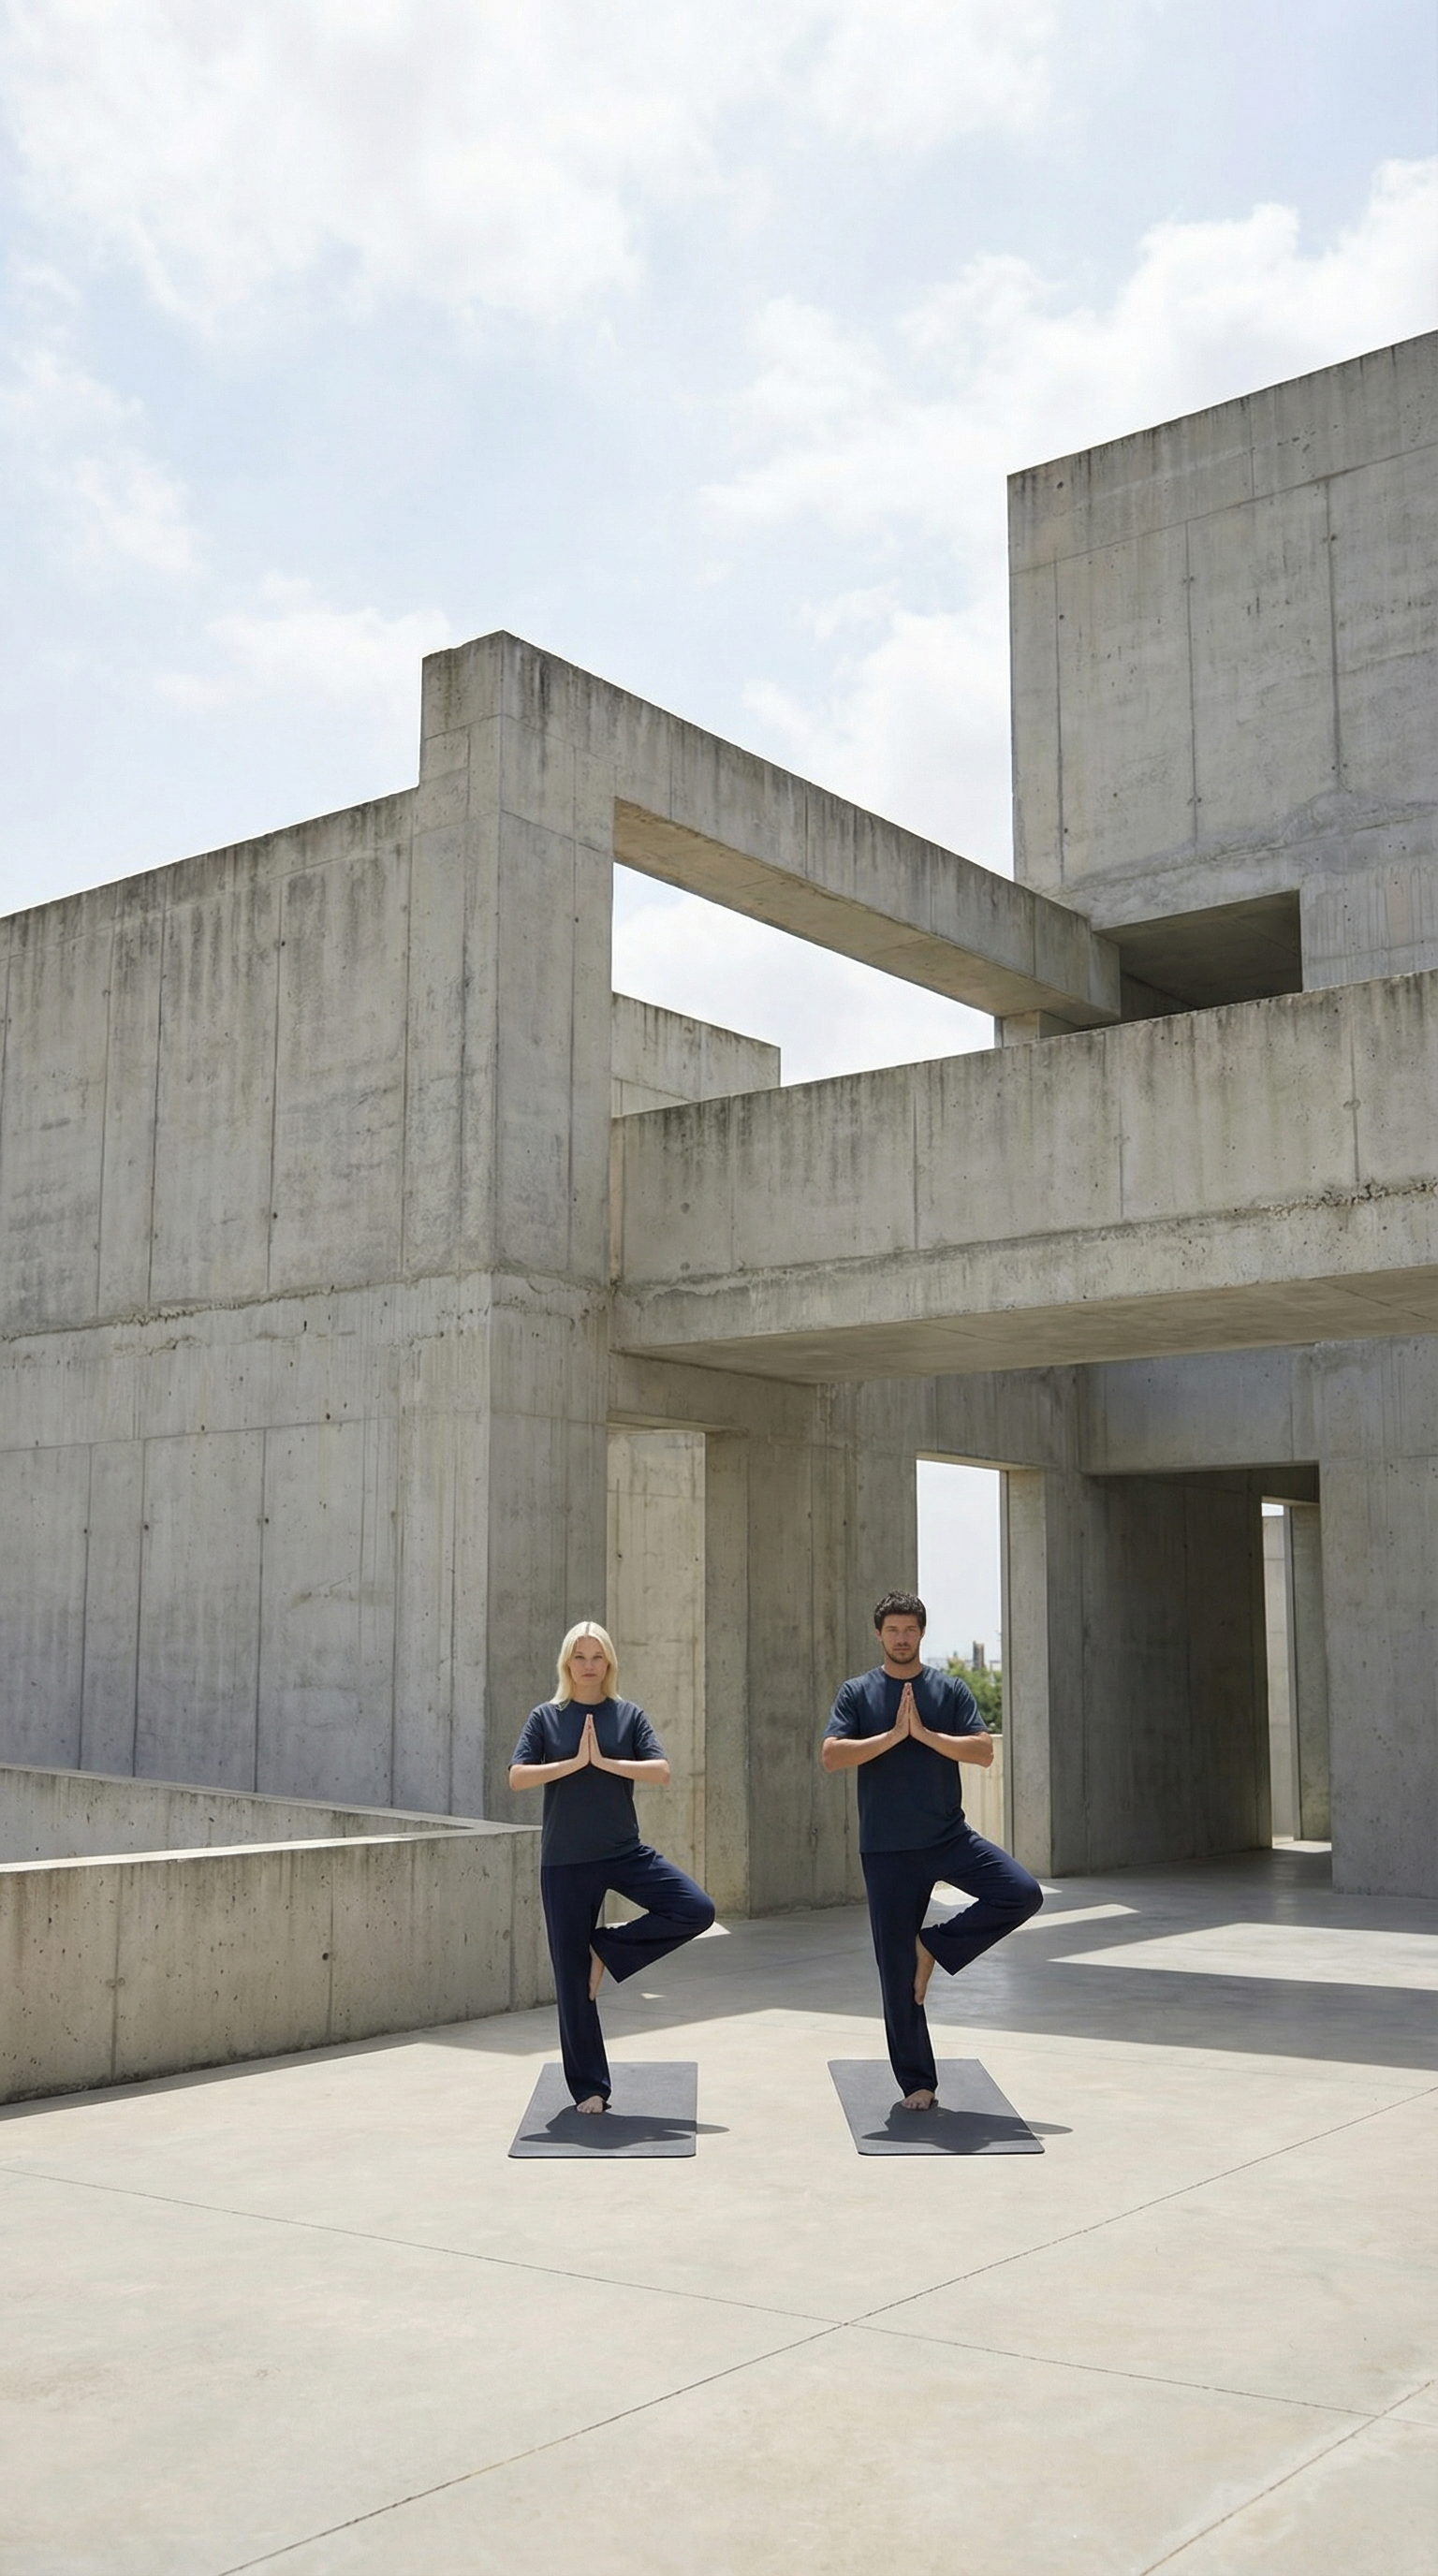
Change the pose, the framing, or the setting while keeping the same face and outfit across every variation.
Social content
Feed posts, Stories, and ad creatives in the right aspect ratio from day one — no cropping afterwards.
Art & concept visuals
Pure text-to-image creation for moodboards, lookbook covers, and brand concepts that don't exist yet.
What Are the AI Models?
The model picker decides which AI engine generates your image. All of them handle both text-to-image and image-to-image — they differ in fidelity, speed, supported formats, and credit cost.
Best quality
Nano Banana Pro
Google's flagship generation model. The highest fidelity, the most realistic lighting and texture, and 1K, 2K, and 4K output. Use it for final assets that go on product pages, ads, and campaigns.
- Ratiosauto, 1:1, 4:5, 5:4, 3:4, 4:3, 2:3, 3:2, 9:16, 16:9, 21:9
- Resolutions1K, 2K, 4K
- Reference imagesup to 5
Widest formats
Nano Banana 2
Google's newest generation model with the widest format support — including ultra-wide ratios like 4:1 and 8:1 for website banners and hero strips, at up to 4K.
- Ratiosauto, 1:1, 4:5, 5:4, 3:4, 4:3, 2:3, 3:2, 9:16, 16:9, 21:9, 4:1, 1:4, 8:1, 1:8
- Resolutions1K, 2K, 4K
- Reference imagesup to 5
Best instruction following
GPT Image 2
OpenAI's generation model. Excellent at following long, precise instructions, with selectable quality tiers so you can trade speed for fidelity per run: Low is the fastest and cheapest, Medium balances speed and detail, and High delivers the best visual fidelity.
- Ratios1:1, 4:5, 5:4, 3:4, 4:3, 2:3, 3:2, 9:16, 16:9, 21:9
- Resolutions1K, 2K, 4K
- QualityLow, Medium, High
- Reference imagesup to 5
Fast & affordable
Nano Banana
Google's standard generation model. The fastest and cheapest per run — ideal for exploring ideas and iterating on prompts before committing credits to a final render.
- Ratiosauto, 1:1, 4:5, 5:4, 3:4, 4:3, 2:3, 3:2, 9:16, 16:9, 21:9
- Resolutionsfixed output size
- Reference imagesup to 5
A good workflow: draft with Nano Banana until the composition feels right, then re-run the winning prompt with Nano Banana Pro at a higher resolution.
Choosing an Aspect Ratio
The aspect ratio sets the shape of your image. Pick it based on where the image will live — cropping afterwards cuts into your composition, so it pays to decide upfront.
Auto
Matches your reference image's original framing
1:1
Product grids, marketplace thumbnails, and catalog tiles
4:5
Instagram feed posts and lookbook pages
9:16
Stories, Reels, TikTok, and vertical ads
16:9
Website heroes and presentations
21:9
Ultra-wide banners and headers
4:1 & 8:1
Full-width hero strips — Nano Banana 2 only
Every classic photographic format is supported too — 5:4, 4:3, and 3:2, their portrait counterparts 3:4 and 2:3, and the vertical ultra-wides 1:4 and 1:8. Auto is available on every model except GPT Image 2, and the ultra-wide ratios are exclusive to Nano Banana 2.
Picking a Resolution
Resolution sets the pixel size of the generated image. Higher resolutions cost more credits per run, so generate at the size the image will actually be displayed — you can always upscale a winner later.
1K
Prompt exploration and social feeds. Iterate cheaply until the composition is right, then spend credits on the final render.
2K
Product detail pages and paid ads, where shoppers zoom into texture, stitching, and print.
4K
Campaign heroes, lookbook covers, and print — maximum detail for the imagery that anchors a launch.
Nano Banana Pro, Nano Banana 2, and GPT Image 2 offer all three sizes. Nano Banana generates at a fixed output size, so the resolution picker appears only for the models that support it.
Writing Prompts That Work
The prompt is the whole brief: it plays the role of the photographer, the stylist, and the location scout at once. The models respond best to plain, specific sentences — no keywords, no magic words.
A strong prompt usually answers four questions. You don't need all four every time, but each one you answer takes a decision away from the AI and gives it to you.
Subject
Who or what is in the frame, and what are they doing? "A model in a charcoal wool coat, walking" beats "a coat".
Setting
Where does it happen? Name the location, the background, and the time of day: "a rooftop in SoHo, New York, at dusk".
Lighting & mood
"Natural daylight", "soft studio lighting", "golden hour", "nice shadowing" — light is what makes a generated image feel photographed.
Style & framing
The photography language: "editorial fashion photography", "e-commerce catalog shot", "wide angle", "full-body shot", "waist-up".
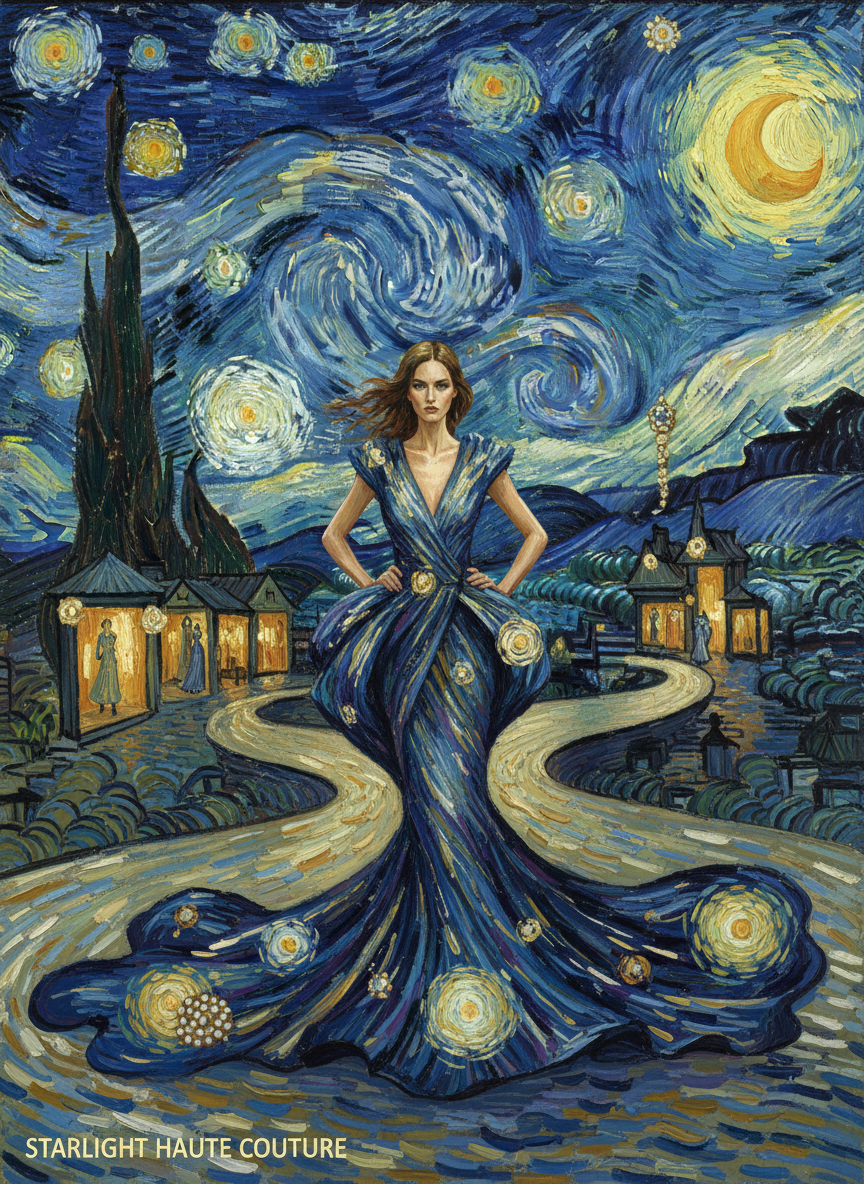
"Give me a visual like the Starry Night painting but in a fashion niche."
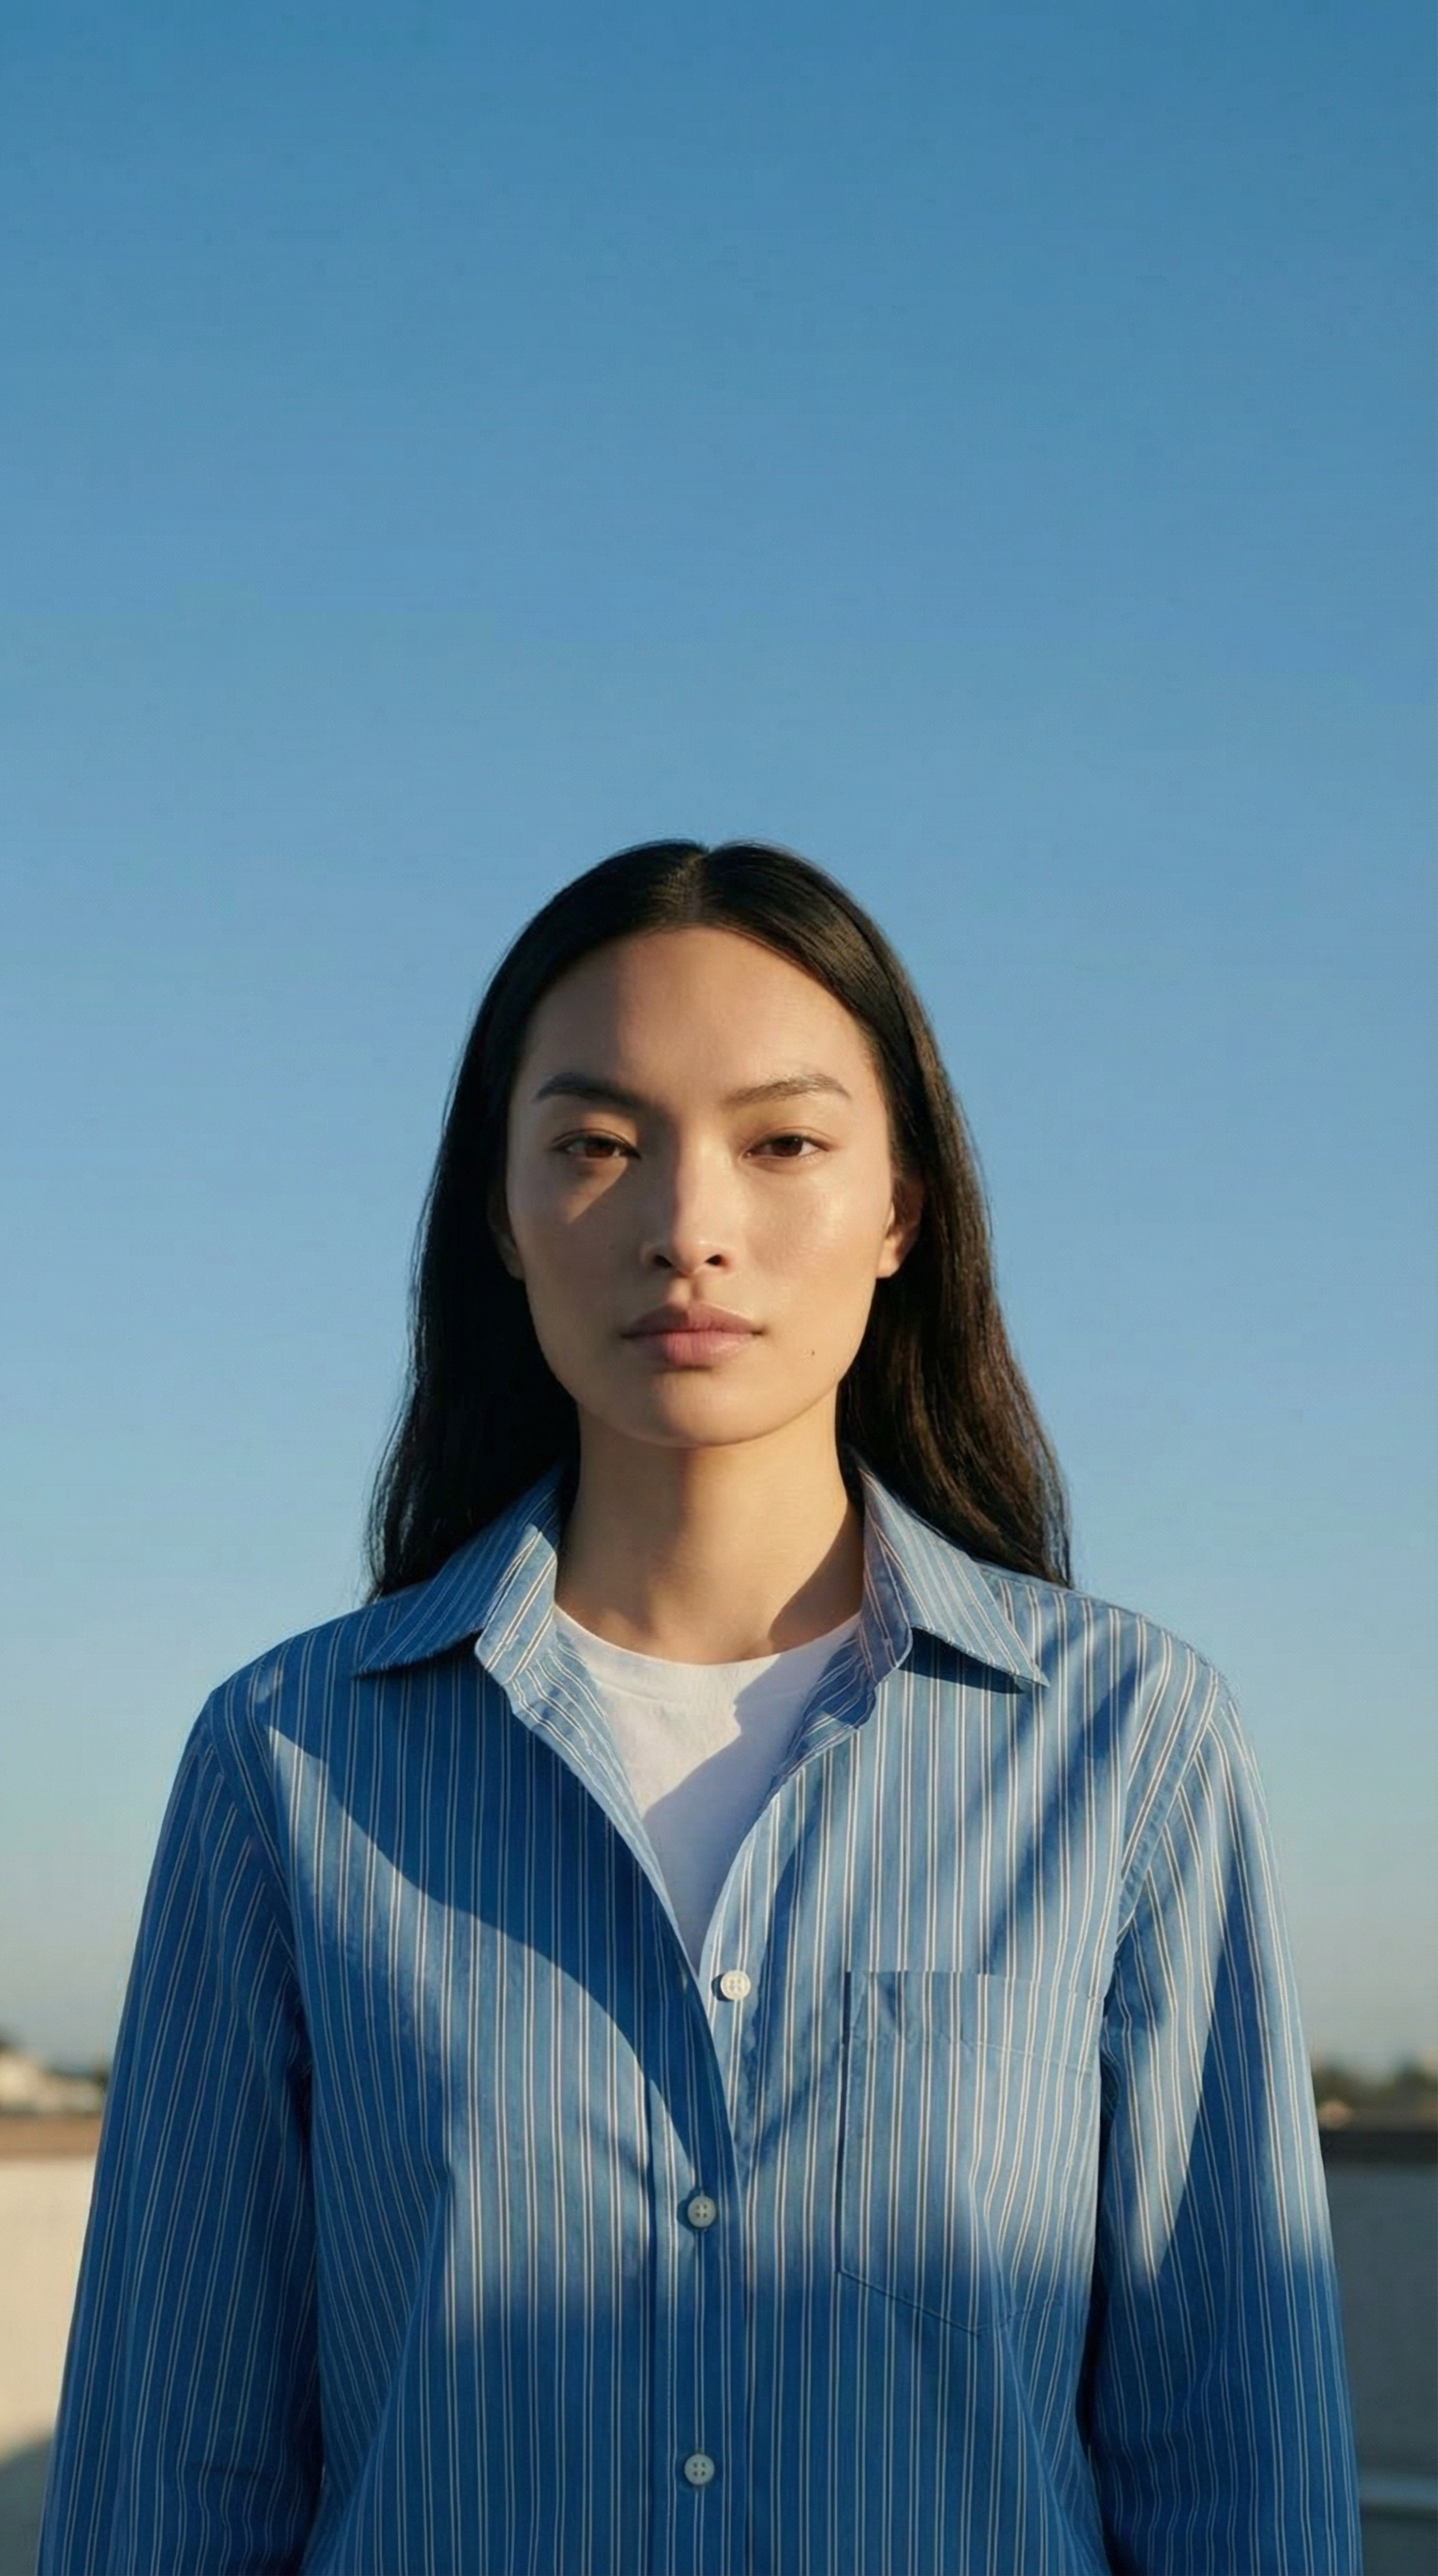
"Remove the jacket from this model. She should be on a rooftop in her blue shirt. Only blue sky visible. Standing. Waist-up shot. Don't change her face, add nice shadowing."
- When editing a reference image, state what must stay the same: "don't change her face or outfit". The AI protects everything you pin down.
- Refer to your uploads directly — "the reference garments", "the woman in the black overcoat" — so the AI anchors on the right image.
- Give constraints, not just wishes: "no one else in the frame", "only blue sky visible", "full-body shot".
- Iterate one change at a time. Reuse the result as the next input and adjust the pose, then the background, then the light.
- Not sure how to phrase it? Turn on Enhance — it rewrites your short prompt into a detailed photographic brief before generating.
Common Mistakes to Avoid
Most disappointing results trace back to vague prompts or weak reference images, not the AI. These are the patterns we see most often — and what to do instead.
Write one-word prompts
"Jacket" or "fashion photo" leaves every decision to the AI — subject, scene, light, and style all become random.
Describe the photo you'd brief
Subject, setting, lighting, style — a two-sentence brief in plain language is enough to control the result.
Upload blurry or cluttered references
Low-resolution photos and busy backgrounds hide the details the AI needs, so faces, fabric, and colors drift in the result.
Use sharp, well-lit reference photos
A clear photo on a clean background — even from a phone — preserves the subject faithfully through every edit.
- Changing everything at once? Split it into runs — pose first, then background, then lighting.
- Details looking soft? Re-run the same prompt with Nano Banana Pro at 2K or 4K.
- Result ignored part of a long instruction? Try GPT Image 2 — it follows complex, multi-step prompts most closely.
What to Do With Your Results
A generated image is usually the start of the pipeline, not the end. Every result in your History can flow straight into the other studios.
- Image Upscale — scale your result up to 4K for print and campaign use.
- Reframe — extend the image to a new aspect ratio for banners and stories.
- Background Changer — swap the scene without regenerating the subject.
- Video Studio — animate your image into a short fashion video.
- Try-On Studio — dress a model in your garments with purpose-built virtual try-on.
Text-to-Image, Image-to-Image, Prompt — What Do They Mean?
Text-to-image
Creating an image from a written description alone. You describe the scene; the AI invents every pixel from scratch.
Image-to-image
Editing or restyling an existing photo. The AI keeps what you tell it to keep and regenerates the rest according to your prompt.
Prompt
The written instruction that directs the generation — the subject, setting, lighting, and style you want in the final image.
Reference image
A photo you upload as input for image-to-image. Up to 5 per run — a product shot, a model photo, or a previous result.
Frequently Asked Questions
Ready to create your first image?
Sign up free and generate your first fashion visual in under a minute.
Get Started